If you’re a fan of both tacos and grilled cheese sandwiches, then you’re in for a real treat with this Taco Grilled Cheese recipe! It marries the zesty flavors of taco seasoning with the melty goodness of cheese, all nestled between crispy sourdough bread. Perfect for a quick weeknight dinner or a fun weekend lunch, this dish is sure to become a favorite in your household. Let’s dive into the deliciousness!
Why It Works Every Time
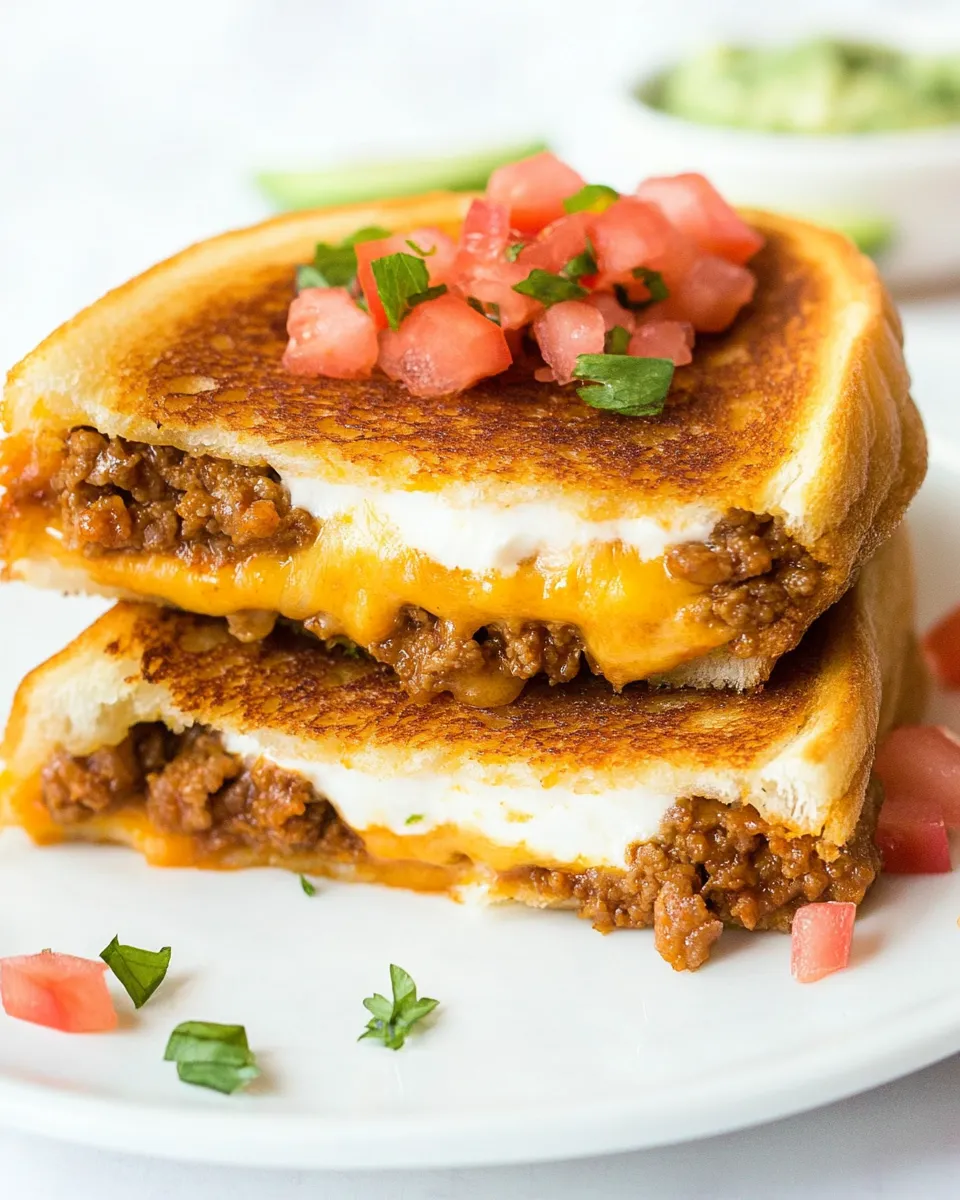
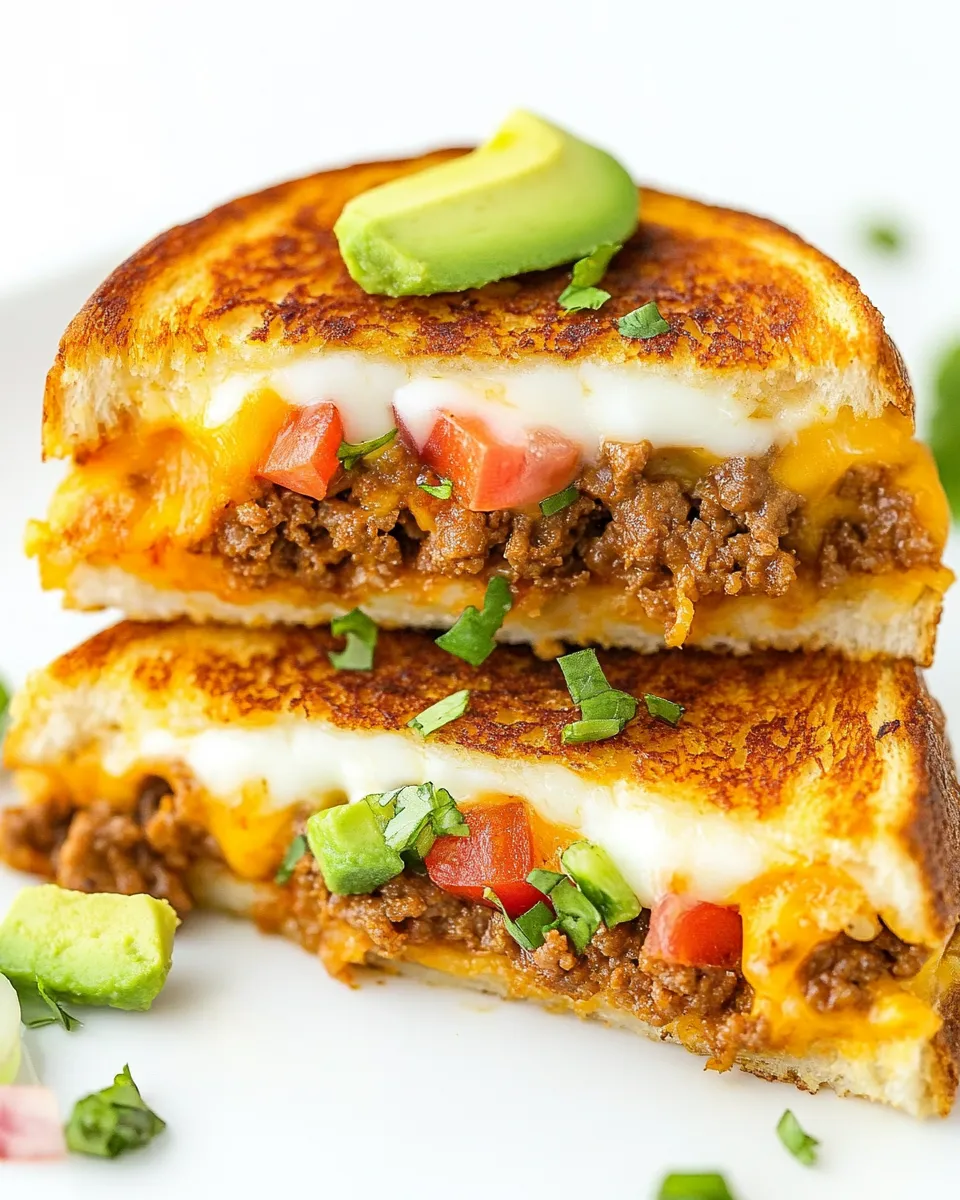
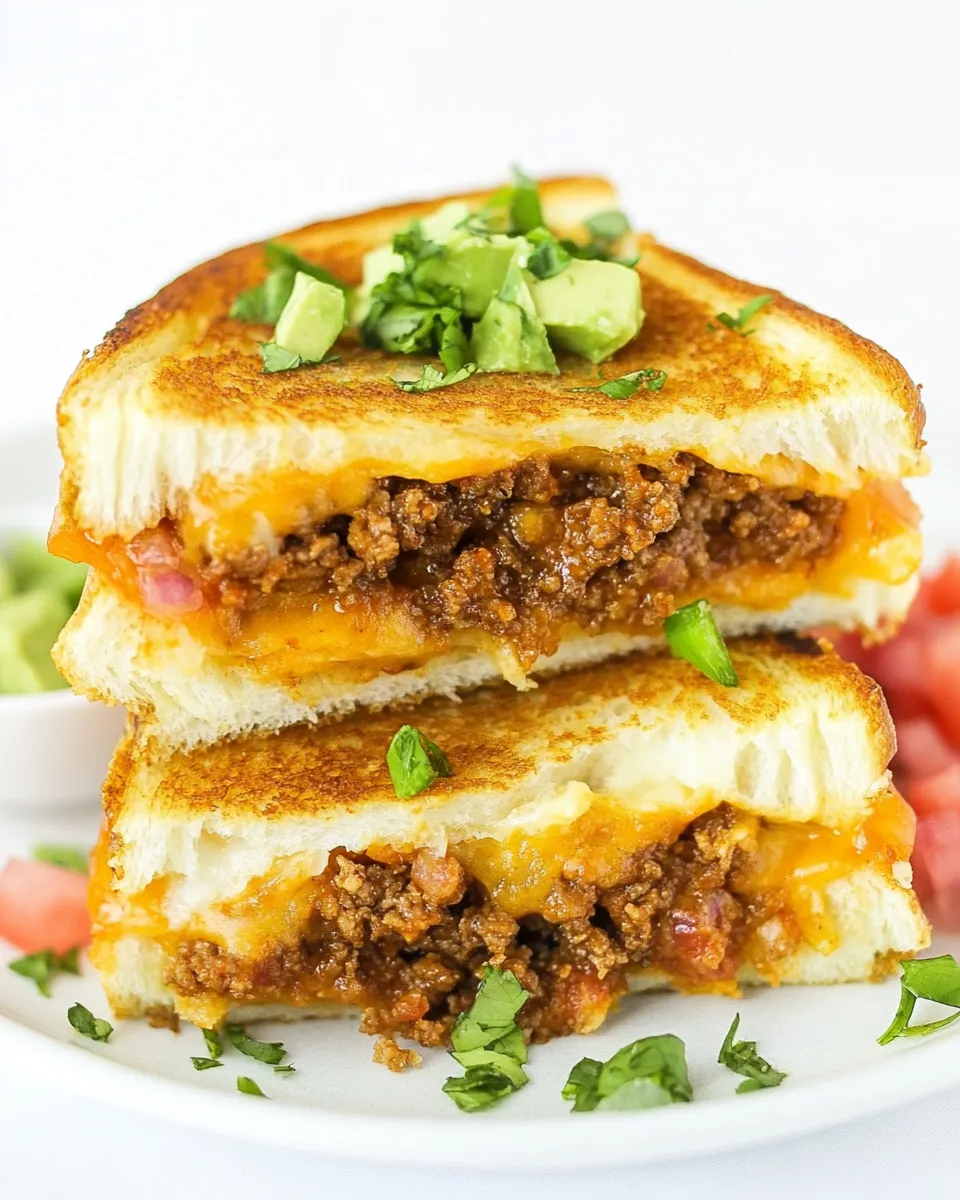
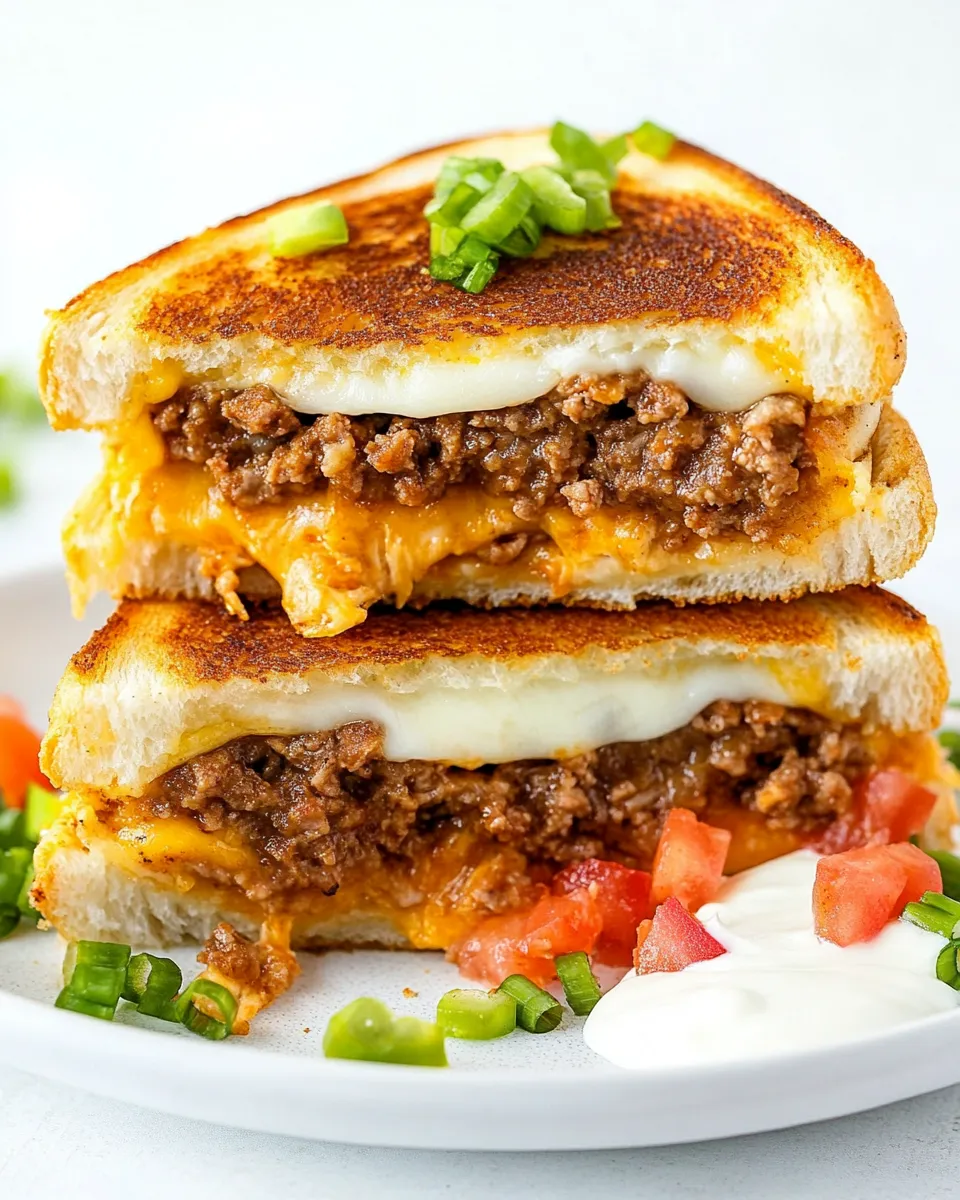
The magic of Taco Grilled Cheese lies in its simplicity and flavor. The combination of seasoned ground beef and gooey cheddar cheese creates a savory filling that is both hearty and satisfying. Sourdough bread provides the perfect crunch while complementing the filling with its tangy notes. Plus, the customizable toppings like sour cream, guacamole, and fresh tomatoes elevate this dish to restaurant-quality status right in your own kitchen.
Ingredient Checklist
- 1 lb ground beef: The star of the dish, providing protein and richness.
- 1 (1 oz) package Old El Paso seasoning: Adds a burst of taco flavor.
- 1/2 cup water: To help dissolve the seasoning and cook the beef.
- 12 slices of sourdough bread: The perfect vessel for our cheesy filling.
- 6 tablespoons butter, softened: For grilling the sandwiches to golden perfection.
- 3 cups shredded cheddar cheese: Melts beautifully and brings the cheesy goodness.
- Toppings: Sour cream, guacamole, diced tomatoes, and sliced green onions for added flavor and freshness.
Kitchen Gear Checklist
- Large skillet: For browning the beef and toasting the sandwiches.
- Spatula: To flip the sandwiches without losing any filling.
- Measuring cups and spoons: For accuracy in the recipe.
- Knife and cutting board: To prepare your toppings and slice the sandwiches.
Taco Grilled Cheese: How It’s Done
Step 1: Cook the Beef
Start by heating your large skillet over medium heat. Add the ground beef and cook until it’s browned, breaking it up with a spatula as it cooks. This should take about 5-7 minutes.
Step 2: Add the Seasoning
Once the beef is cooked, drain any excess fat if necessary. Stir in the Old El Paso seasoning and water, mixing well. Let it simmer for about 5 minutes until the sauce thickens and coats the beef evenly.
Step 3: Prepare the Bread
While the beef is simmering, spread softened butter on one side of each slice of sourdough bread. This will give your sandwiches a crispy, golden crust when grilled.
Step 4: Assemble the Sandwiches
On the non-buttered side of half the slices, layer a generous amount of the seasoned beef followed by a hefty portion of shredded cheddar cheese. Top with another slice of bread, buttered side up.
Step 5: Grill the Sandwiches
Place the sandwiches in the preheated skillet. Cook for about 3-4 minutes on each side until the bread is golden brown and the cheese has melted. You may need to do this in batches depending on the size of your skillet.
Step 6: Serve with Toppings
Once cooked, remove the sandwiches from the skillet and let them sit for a minute before slicing. Serve with your choice of toppings like sour cream, guacamole, diced tomatoes, and green onions for a fresh kick.
Substitutions by Diet
- Ground beef: Substitute with ground turkey, chicken, or even a plant-based ground meat alternative.
- Sourdough bread: Use whole wheat or gluten-free bread for a healthier or gluten-free option.
- Cheddar cheese: Feel free to use Monterey Jack, pepper jack, or a dairy-free cheese alternative.
- Toppings: Customize with your favorite toppings such as jalapeños for heat or lettuce for crunch.
Missteps & Fixes
Even the best cooks can run into trouble. Here are a few common missteps and how to fix them:
- Sandwiches not browning: If your sandwiches aren’t browning, your skillet might not be hot enough. Turn up the heat slightly and check again.
- Cheese not melting: If the cheese isn’t melting, cover the skillet with a lid for a minute to create steam that will help melt the cheese.
- Overcooked beef: Keep an eye on the ground beef to avoid drying it out. Cook just until browned and then add seasoning.
Storage Pro Tips
To enjoy your Taco Grilled Cheese later, follow these storage tips:
- Refrigeration: Store any leftovers in an airtight container in the fridge for up to 3 days.
- Freezing: You can freeze uncooked assembled sandwiches. Wrap them tightly in foil or plastic wrap and place them in a freezer bag for up to 2 months.
- Reheating: For best results, reheat in a skillet over medium heat until warmed through, rather than using the microwave, to keep the bread crispy.
FAQ
Can I make Taco Grilled Cheese vegetarian?
Absolutely! Simply substitute the ground beef with a meat alternative like lentils or a plant-based ground meat. You can also add extra veggies like bell peppers or mushrooms for added texture.
What can I serve with Taco Grilled Cheese?
This sandwich pairs wonderfully with a side salad, tortilla chips, or even a warm bowl of Ground Beef Enchilada Casserole With Corn Tortillas for a complete meal.
Can I use a different type of cheese?
Yes! While cheddar is traditional, feel free to experiment with other cheeses like Monterey Jack, pepper jack, or even a blend of your favorites for a unique flavor twist.
How do I ensure my grilled cheese is crispy?
Make sure to butter the outside of the bread generously and cook over medium heat. This allows for an even golden crust without burning the bread.
Before You Go
The Taco Grilled Cheese is a must-try for anyone who loves flavorful, cheesy comfort food. Its vibrant flavors, crispy texture, and melty cheese will have you craving more with every bite. Whether you’re whipping it up for a family dinner or a casual gathering with friends, this dish is sure to impress. Don’t forget to customize it with your favorite toppings and sides for a meal that’s as unique as you are. Enjoy your culinary adventure with this delightful fusion of taco and grilled cheese goodness!
Taco Grilled Cheese
Ingredients
Equipment
Method
- Start by heating your large skillet over medium heat. Add the ground beef and cook until it's browned, breaking it up with a spatula as it cooks. This should take about 5-7 minutes.
- Once the beef is cooked, drain any excess fat if necessary. Stir in the Old El Paso seasoning and water, mixing well. Let it simmer for about 5 minutes until the sauce thickens and coats the beef evenly.
- While the beef is simmering, spread softened butter on one side of each slice of sourdough bread. This will give your sandwiches a crispy, golden crust when grilled.
- On the non-buttered side of half the slices, layer a generous amount of the seasoned beef followed by a hefty portion of shredded cheddar cheese. Top with another slice of bread, buttered side up.
- Place the sandwiches in the preheated skillet. Cook for about 3-4 minutes on each side until the bread is golden brown and the cheese has melted. You may need to do this in batches depending on the size of your skillet.
- Once cooked, remove the sandwiches from the skillet and let them sit for a minute before slicing. Serve with your choice of toppings like sour cream, guacamole, diced tomatoes, and green onions for a fresh kick.
Notes
- For a vegetarian option, substitute the ground beef with lentils or a plant-based ground meat.
- Use whole wheat or gluten-free bread for a healthier or gluten-free version.
- Experiment with different cheeses like Monterey Jack or a dairy-free alternative.