If you’re looking for a way to preserve the vibrant flavors of summer, look no further than this Canned Bell Peppers Recipe. Not only do these canned bell peppers add a pop of color to your pantry, but they also offer a delightful burst of flavor to a variety of dishes throughout the year. Whether you’re a seasoned canner or a beginner, this recipe is easy to follow and yields delicious results. Imagine opening a jar in the middle of winter and being transported back to those sun-soaked farmers’ markets. Let’s dive in!
What Sets This Recipe Apart
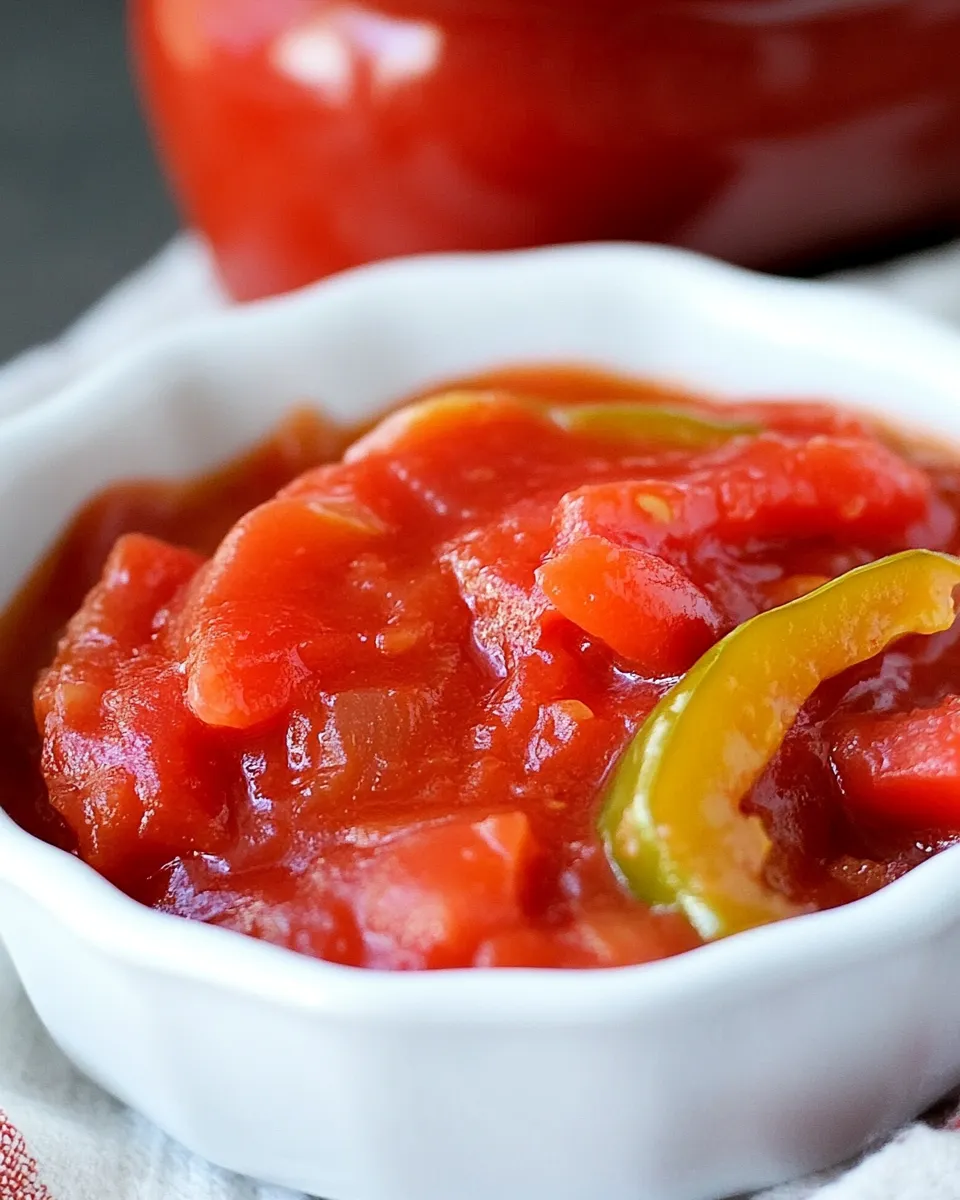
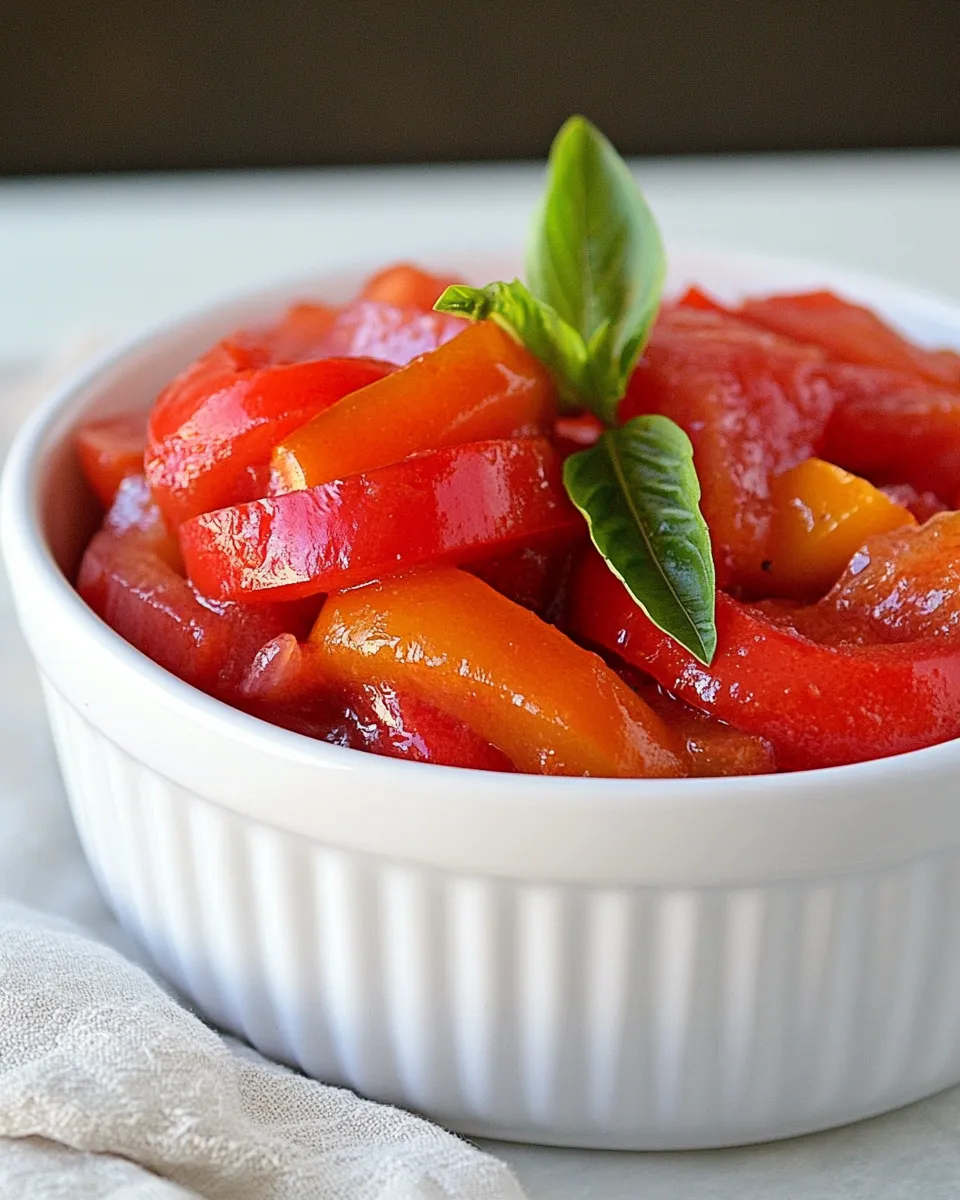
What makes this Canned Bell Peppers Recipe truly special is the combination of fresh, juicy red bell peppers with a flavorful brine that enhances their natural sweetness. The use of homemade tomato juice adds a personal touch and an extra layer of flavor, making these peppers perfect for salads, sandwiches, or as a side dish. Plus, they make a fantastic addition to dishes like Creamy Buffalo Ranch Chicken Stuffed Peppers or Cheesy Chicken And Rice Stuffed Peppers.
Ingredient Checklist
To get started, gather the following ingredients:
- 5-6 lbs red bell peppers, seeded and sliced
- 6 1/2 cups tomato juice (homemade is best)
- 1/2 cup extra light olive oil
- 3/4 cup granulated sugar
- 3 Tbsp sea salt (use iodine-free salt)
- 1/2 cup white vinegar
Make sure to choose fresh, firm bell peppers for the best results. Their vibrant color and sweet flavor will shine through in the final product.
Tools & Equipment Needed
Before you begin, gather the following tools and equipment:
- Canning jars: Use pint or quart jars depending on your preference.
- Jar lids and rings: Ensure they are clean and in good condition.
- Large pot: For boiling the jars and preparing the brine.
- Canning funnel: This will help you fill the jars without making a mess.
- Kitchen tongs: For safely handling hot jars.
- Cutting board and knife: Essential for preparing your peppers.
With all your ingredients and tools ready, you’ll be on your way to canning delicious bell peppers like a pro!
Canned Bell Peppers Recipe Cooking Guide
Now, let’s get to the fun part—canning those bell peppers!
Step 1: Prepare the Jars
Start by sterilizing your canning jars and lids. Place them in a large pot of boiling water for about 10 minutes. This step ensures that your jars are free from any bacteria.
Step 2: Make the Brine
In a large pot, combine the tomato juice, extra light olive oil, granulated sugar, sea salt, and white vinegar. Bring the mixture to a boil over medium heat, stirring occasionally until the sugar and salt are fully dissolved.
Step 3: Pack the Peppers
While the brine is heating, pack the sliced red bell peppers into the sterilized jars. Fill each jar, leaving about 1/2 inch of headspace at the top. It’s okay if the peppers are packed tightly; they will soften during the canning process.
Step 4: Pour the Brine
Once your brine is boiling, carefully pour it over the packed peppers in each jar, ensuring that the peppers are fully submerged. Use your canning funnel for easy pouring and to minimize spills.
Step 5: Seal the Jars
Wipe the rims of the jars with a clean cloth to remove any residue. Place the sterilized lids on top and screw on the rings until they are fingertip-tight.
Step 6: Process the Jars
Place the jars in a large pot of boiling water, ensuring that the water covers the jars by at least an inch. Process the jars for 15-20 minutes. This will help seal the jars and preserve the peppers.
Step 7: Cool and Store
After processing, carefully remove the jars from the water using your kitchen tongs. Place them on a clean towel or cooling rack to cool completely. As they cool, you should hear the satisfying “pop” of the lids sealing. Once cooled, check that the lids are sealed properly before storing them in a cool, dark place.
Customize for Your Needs
The beauty of this Canned Bell Peppers Recipe is that it can be tailored to fit your taste preferences. Here are some ideas to make it your own:
- Add spices like black pepper, garlic powder, or crushed red pepper flakes for an extra kick.
- Experiment with different types of vinegar, such as apple cider vinegar, for a unique flavor.
- Mix in other vegetables like onion or zucchini for a colorful medley.
- Try using different types of bell peppers, such as yellow or green, for a variety of flavors.
Don’t Do This
To ensure the best results when canning, avoid the following common mistakes:
- Do not skip the sterilization step for your jars, as this can lead to spoilage.
- Do not overfill the jars; always leave the recommended headspace for proper sealing.
- Avoid using overly ripe or damaged peppers, as they may not preserve well.
- Do not alter the proportions of the brine ingredients, as this can affect the safety and flavor of the canned peppers.
Cooling, Storing & Rewarming
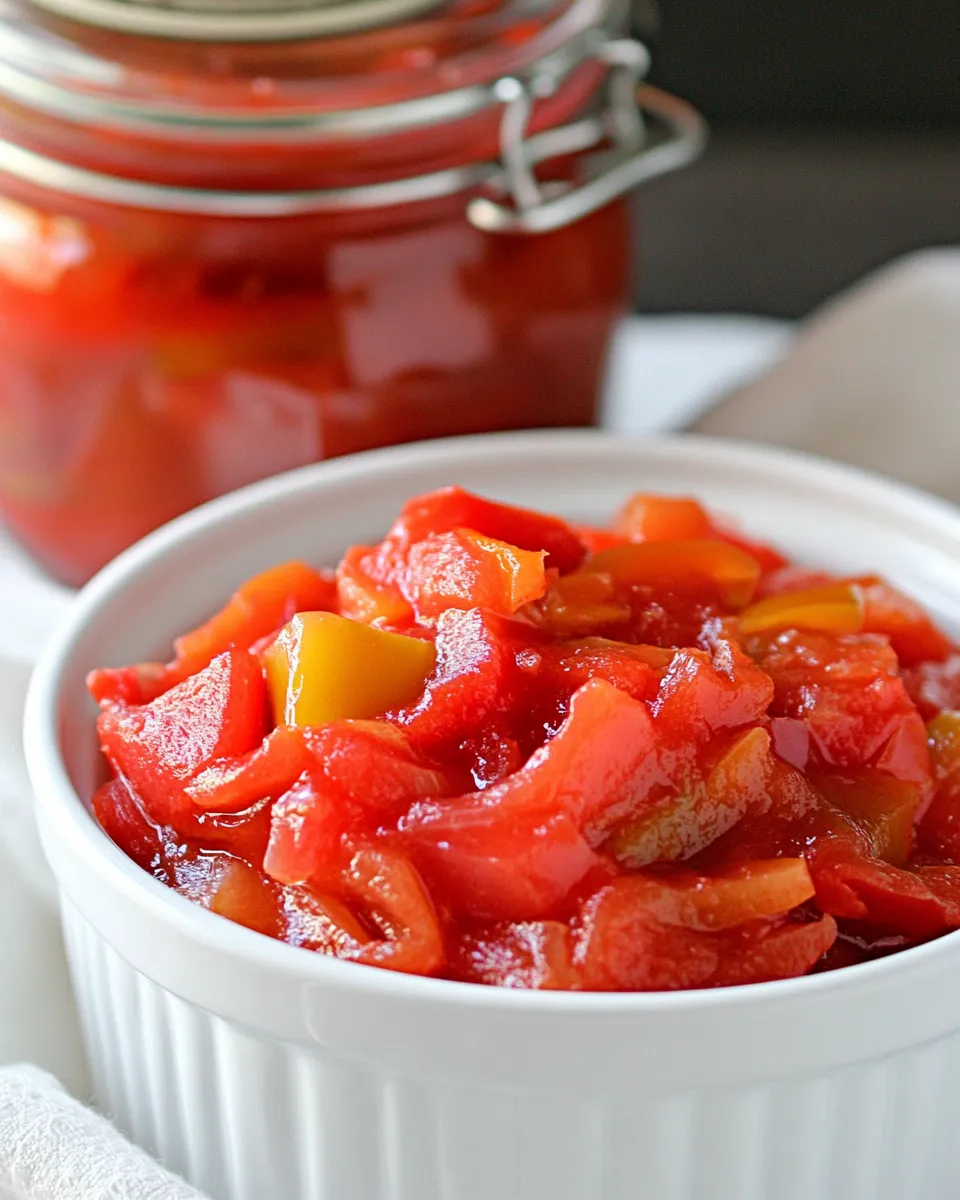
Once your jars of bell peppers have cooled and sealed, it’s essential to store them correctly:
Store your canned bell peppers in a cool, dark place, such as a pantry or cupboard. They can last for up to a year when stored properly. If you notice any jars that haven’t sealed, refrigerate them and use the contents within a week. When you’re ready to enjoy your peppers, simply open a jar and use them in your favorite recipes, such as Creamy Chicken Paprika, or toss them into salads, sandwiches, or as a side for grilled meats.
Common Qs About Canned Bell Peppers Recipe
Can I use other colors of bell peppers for this recipe?
Absolutely! While red bell peppers provide a sweet flavor and vibrant color, you can mix in yellow, orange, or even green bell peppers for variety.
How long do canned bell peppers last?
When stored in a cool, dark place, your canned bell peppers can last up to a year. Just be sure to check the seals before using them.
Can I adjust the sweetness of the brine?
Yes, you can adjust the amount of sugar to your taste. If you prefer less sweetness, feel free to reduce the sugar content.
What can I make with canned bell peppers?
Canned bell peppers are incredibly versatile! Use them in salads, pastas, or on top of pizzas. They also work wonderfully in dishes like Creamy Buffalo Ranch Chicken Stuffed Peppers or as a flavorful addition to stir-fries.
Once you’ve mastered the , consider trying your hand at these delicious dishes:
Final Thoughts
Canning is a rewarding process that not only preserves food but also captures the essence of seasonal ingredients. This Canned Bell Peppers Recipe is perfect for beginners and seasoned canners alike, offering a delicious way to enjoy the flavors of summer all year round. With a few simple ingredients and steps, you’ll have jars of bright, flavorful bell peppers ready to enhance your meals whenever you need them. So grab those fresh peppers and let’s get canning!
Canned Bell Peppers Recipe
Ingredients
Equipment
Method
- Step 1: Prepare the Jars - Start by sterilizing your canning jars and lids. Place them in a large pot of boiling water for about 10 minutes.
- Step 2: Make the Brine - In a large pot, combine the tomato juice, extra light olive oil, granulated sugar, sea salt, and white vinegar. Bring to a boil over medium heat.
- Step 3: Pack the Peppers - While the brine is heating, pack the sliced red bell peppers into the sterilized jars, leaving about 1/2 inch of headspace.
- Step 4: Pour the Brine - Once boiling, carefully pour the brine over the packed peppers, ensuring they are fully submerged.
- Step 5: Seal the Jars - Wipe the rims of the jars, place the lids on top, and screw on the rings until fingertip-tight.
- Step 6: Process the Jars - Place the jars in a large pot of boiling water, covering them by at least an inch, and process for 15-20 minutes.
- Step 7: Cool and Store - Carefully remove the jars, let them cool completely, and check that the lids are sealed properly before storing.
Notes
- Choose fresh, firm bell peppers for the best results.
- Experiment with different spices for added flavor.
- Store in a cool, dark place for optimal shelf life.