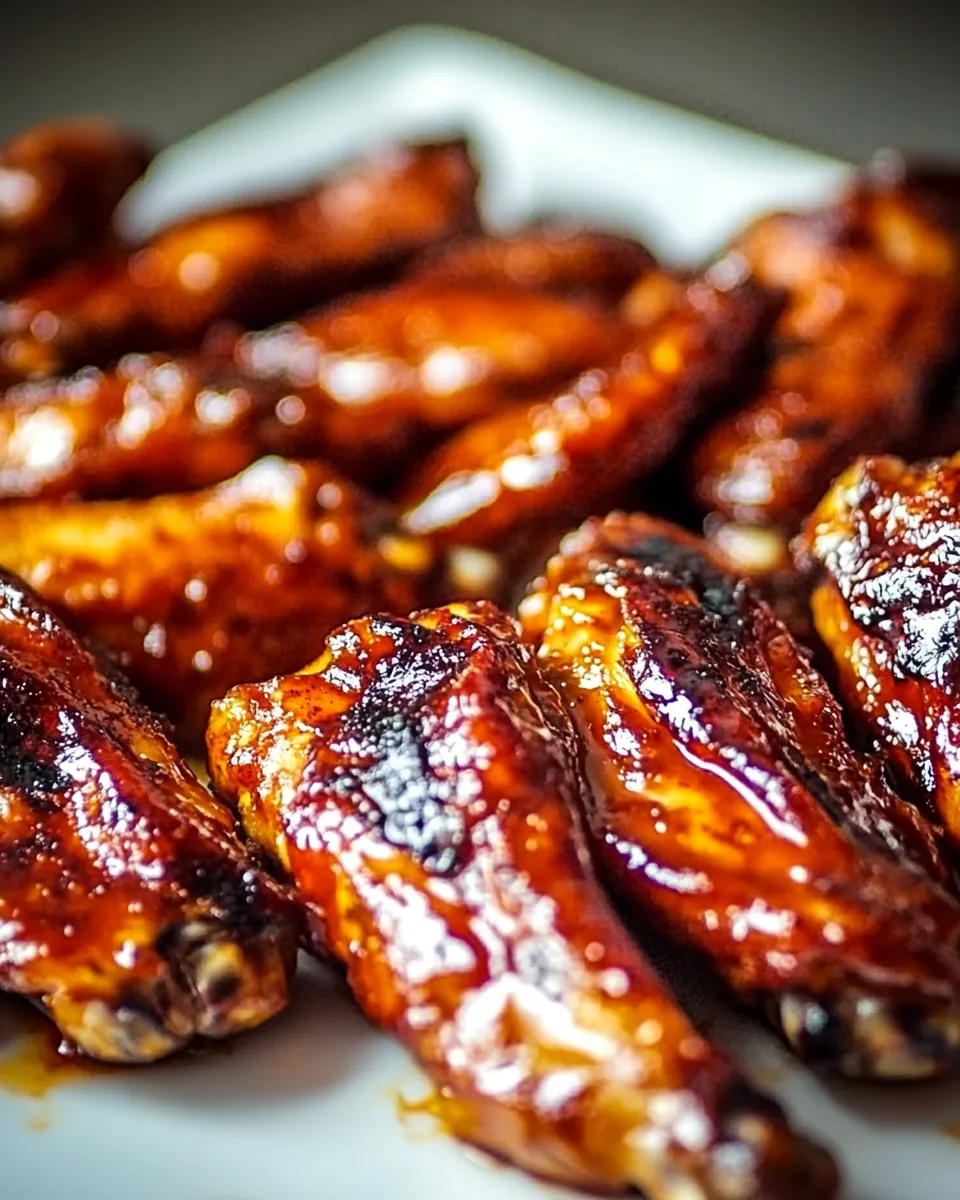
When it comes to preparing chicken wings, knowing how to cut them properly can elevate your cooking experience and ensure even cooking. Whether you’re planning a game day feast or a cozy family dinner, learning how to cut chicken wings is a skill worth mastering. In this article, we’ll walk you through the process step-by-step, ensuring you get the best results every time.
What You’ll Love About This Recipe
– Cutting your own chicken wings allows you to customize the size and shape.
– It’s budget-friendly, as whole wings are often cheaper than pre-cut ones.
– You’ll have the satisfaction of preparing your food from scratch.
– Perfectly cut wings mean better seasoning and cooking consistency.
– They are versatile for various recipes, including spicy, grilled, or baked options.
Shopping List
- 12 whole chicken wings
- Sharp chef’s knife
- Cutting board
- Paper towels
- Plastic wrap or a container for storage
Essential Tools for Success
- Sharp chef’s knife: A good quality knife makes cutting easier and safer.
- Cutting board: A stable surface is crucial for safe cutting.
- Paper towels: Use these for drying the wings before cutting.
- Plastic wrap or container: For storing your cut wings until you’re ready to cook.
How To Cut Chicken Wings in Steps
Step 1: Prepare Your Workstation
Start by clearing a clean surface and setting up your cutting board. Place your sharp chef’s knife nearby, and ensure you have paper towels to dry the wings.
Step 2: Pat Dry the Wings
Using paper towels, pat the chicken wings dry. This helps to prevent slipping and allows for better handling while cutting.
Step 3: Identify the Wing Sections
Each chicken wing consists of three sections: the drumette, the flat (or wingette), and the tip. Familiarize yourself with these parts as you will be cutting them apart.
Step 4: Cut the Wing Tip Off
Lay the wing flat on the cutting board. Starting at the joint, use your knife to cut through the skin and cartilage to remove the wing tip. Discard or save for making stock.
Step 5: Separate the Drumette and Flat
Next, hold the wing by the flat section and bend it slightly to expose the joint. Carefully cut through the joint to separate the drumette from the flat. You may need to apply a little pressure to ensure a clean cut.
Step 6: Repeat for Remaining Wings
Continue this process for all 12 chicken wings, ensuring each cut is clean. If you’re making a large batch, try to keep the wings organized for easier cooking later.
Step 7: Clean Up
Once you have cut all the wings, clean your workstation and wash your knife and cutting board thoroughly to avoid any cross-contamination.
What to Use Instead
- Boneless chicken thighs can be used for a similar texture and flavor.
- Vegetarian alternatives like seitan or tofu can be marinated and cooked in a similar style.
- Alternatively, you can buy pre-cut wings if you’re short on time.
Cook’s Commentary
The art of cutting chicken wings is not just about separating the parts; it’s also about understanding the best way to cook each section. The drumette is meatier and takes longer to cook, while the flat has less meat but is great for absorbing sauces. When you learn how to cut chicken wings properly, you can experiment with different cooking methods, from frying to baking or even grilling. I often recommend marinating the sections separately to enhance their individual flavors.
Storing, Freezing & Reheating
Once you’ve cut your chicken wings, you can store them in the refrigerator for up to 1-2 days. If you want to keep them longer, consider freezing them. Place the wings in an airtight container or wrap them tightly in plastic wrap. They can be frozen for up to six months. When you’re ready to use them, simply thaw in the refrigerator overnight. To reheat, bake in the oven at 375°F (190°C) until heated through, ensuring they stay juicy and flavorful.
Questions People Ask
Can I cut chicken wings ahead of time?
Yes! You can cut chicken wings a day in advance. Just make sure to store them properly in the refrigerator to keep them fresh.
What is the best way to cook chicken wings?
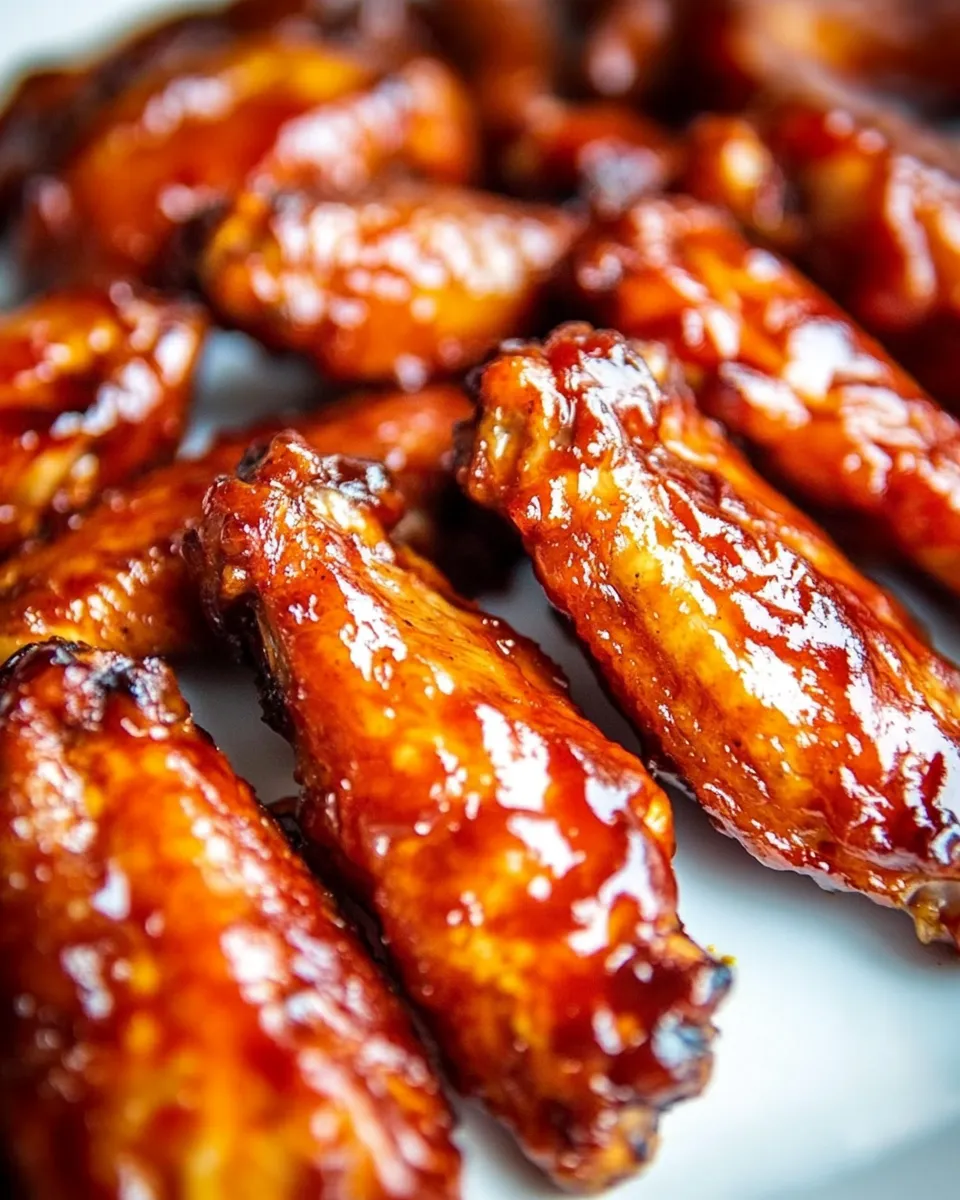
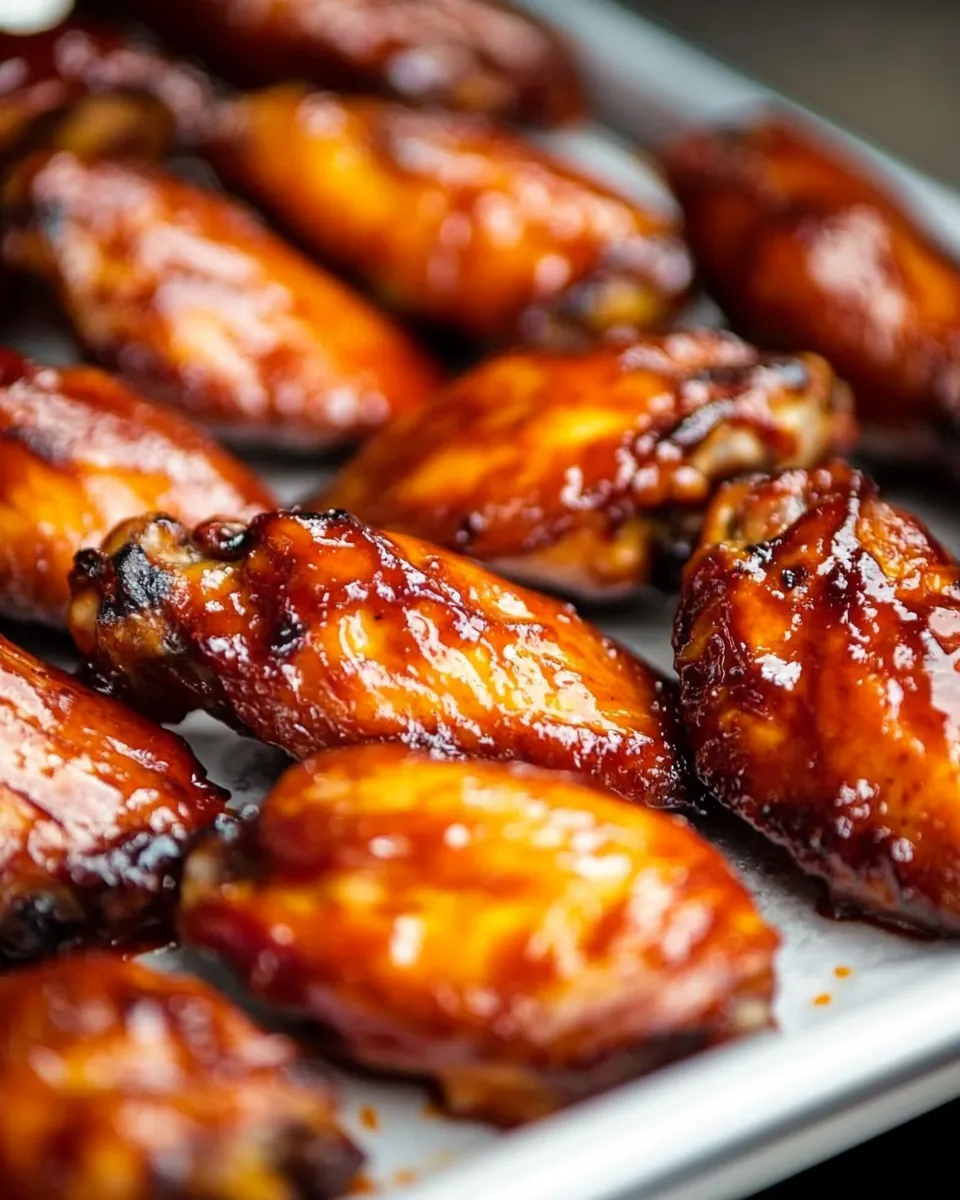
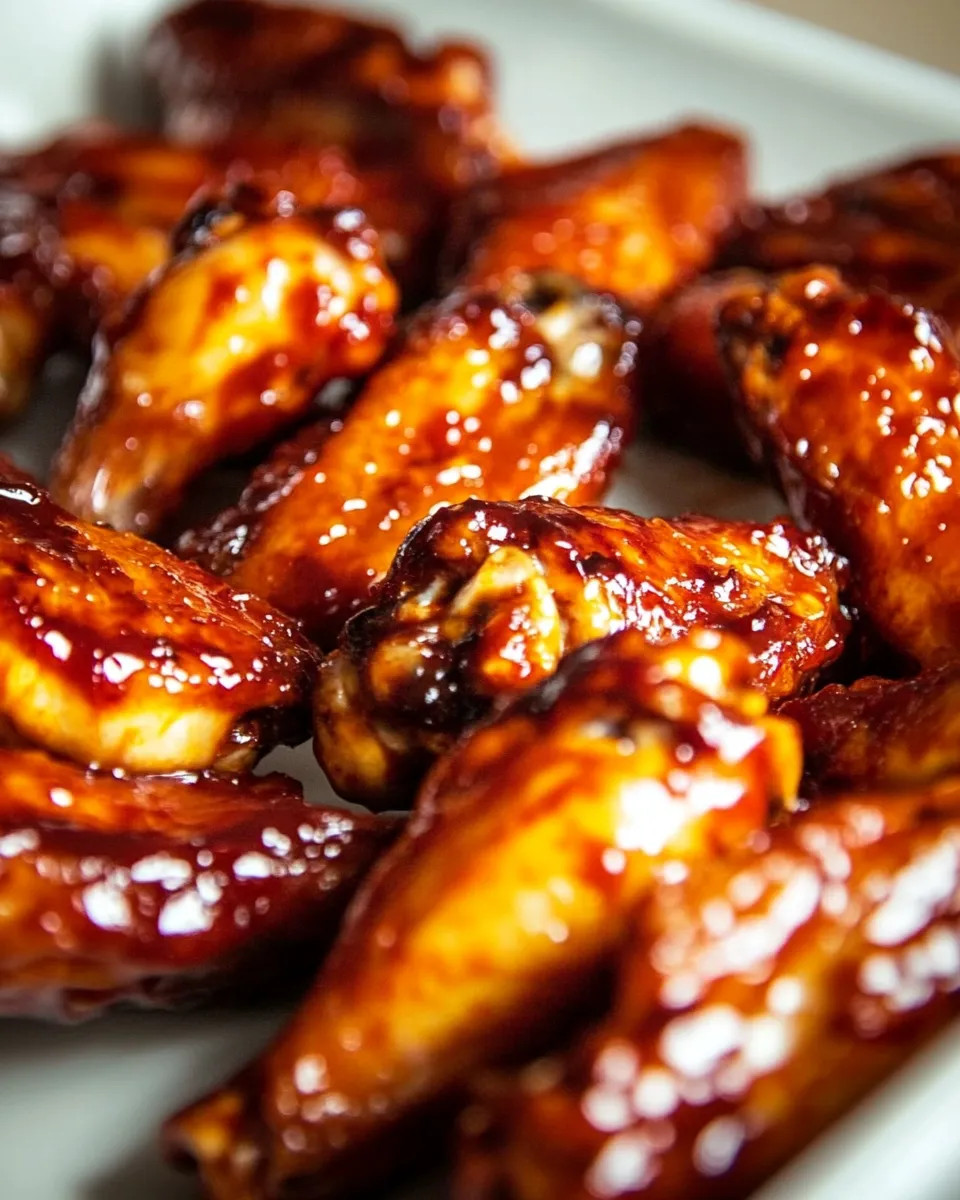
There are many delicious ways to cook chicken wings, including baking, frying, and grilling. Baking is a healthier option, while frying gives a crispy texture. You can also try making chicken enchiladas with leftovers!
Do I need to remove the skin from chicken wings?
No, the skin adds flavor and helps to retain moisture during cooking. It’s best to leave the skin on unless you prefer them skinless.
Can I use chicken wing tips?
Absolutely! Chicken wing tips can be used to make flavorful stock or broth. They add depth and richness to soups and sauces.
In Closing
Mastering how to cut chicken wings not only enhances your culinary skills but also opens up a world of flavor possibilities. By following these simple steps, you can enjoy your deliciously cut wings, ready for your favorite cooking methods. Whether you choose to bake, grill, or fry, your perfectly cut wings will impress family and friends alike. Enjoy your cooking adventure!
How To Cut Chicken Wings
Ingredients
Equipment
Method
- Step 1: Prepare Your Workstation - Start by clearing a clean surface and setting up your cutting board. Place your sharp chef's knife nearby, and ensure you have paper towels to dry the wings.
- Step 2: Pat Dry the Wings - Using paper towels, pat the chicken wings dry. This helps to prevent slipping and allows for better handling while cutting.
- Step 3: Identify the Wing Sections - Each chicken wing consists of three sections: the drumette, the flat (or wingette), and the tip. Familiarize yourself with these parts as you will be cutting them apart.
- Step 4: Cut the Wing Tip Off - Lay the wing flat on the cutting board. Starting at the joint, use your knife to cut through the skin and cartilage to remove the wing tip. Discard or save for making stock.
- Step 5: Separate the Drumette and Flat - Next, hold the wing by the flat section and bend it slightly to expose the joint. Carefully cut through the joint to separate the drumette from the flat. You may need to apply a little pressure to ensure a clean cut.
- Step 6: Repeat for Remaining Wings - Continue this process for all 12 chicken wings, ensuring each cut is clean. If you're making a large batch, try to keep the wings organized for easier cooking later.
- Step 7: Clean Up - Once you have cut all the wings, clean your workstation and wash your knife and cutting board thoroughly to avoid any cross-contamination.
Notes
- Cut wings can be stored in the refrigerator for 1-2 days.
- Freeze cut wings in an airtight container for up to six months.
- Thaw frozen wings in the refrigerator overnight before cooking.