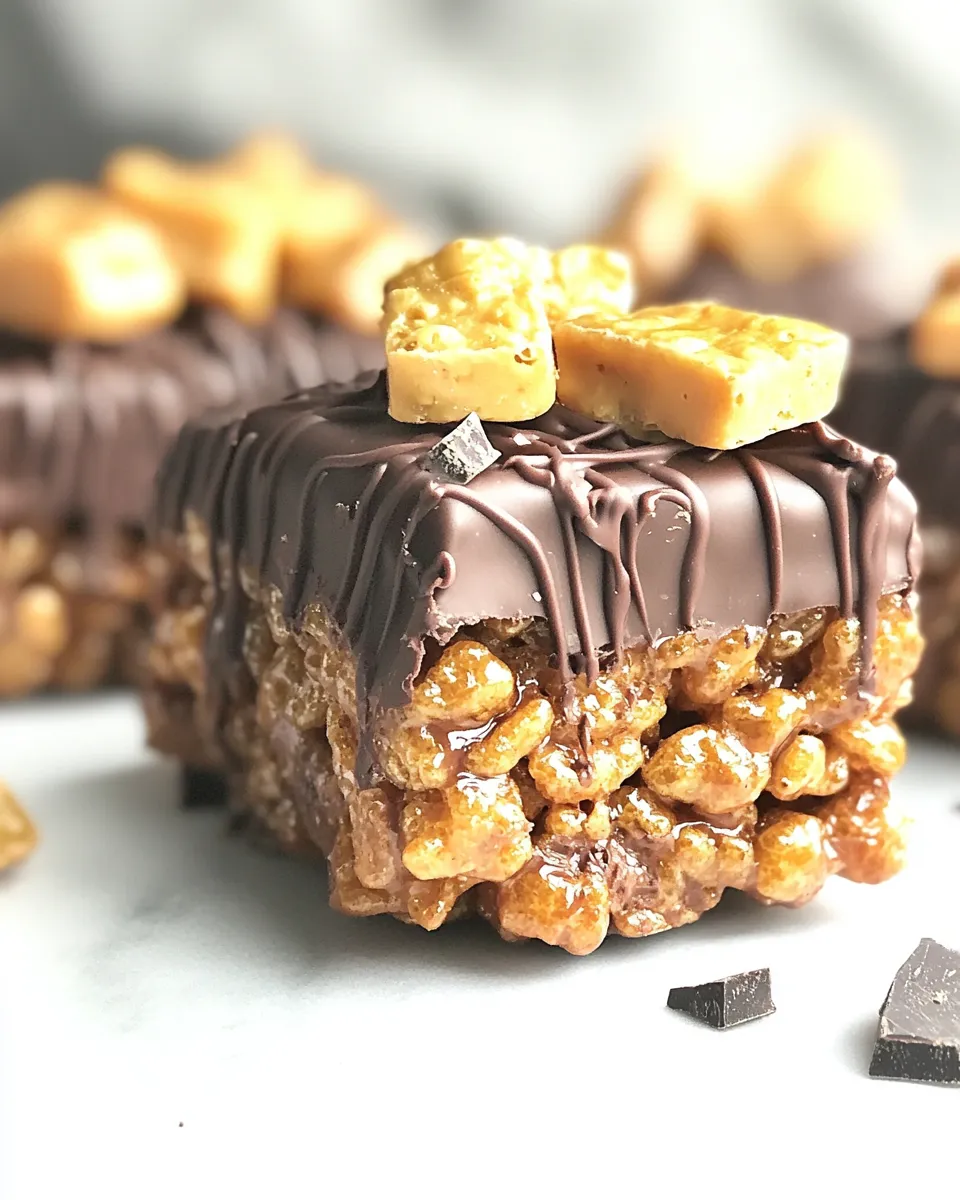
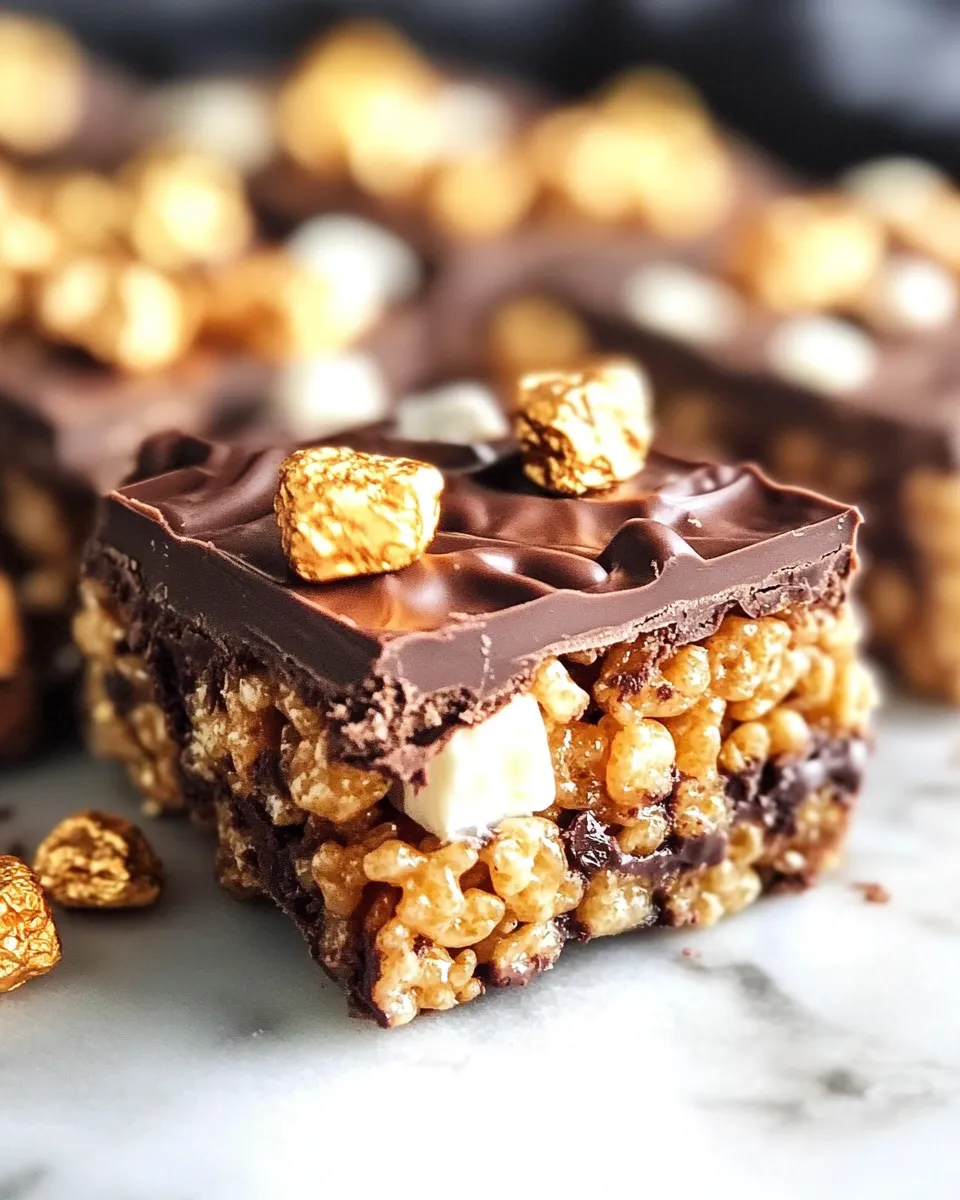
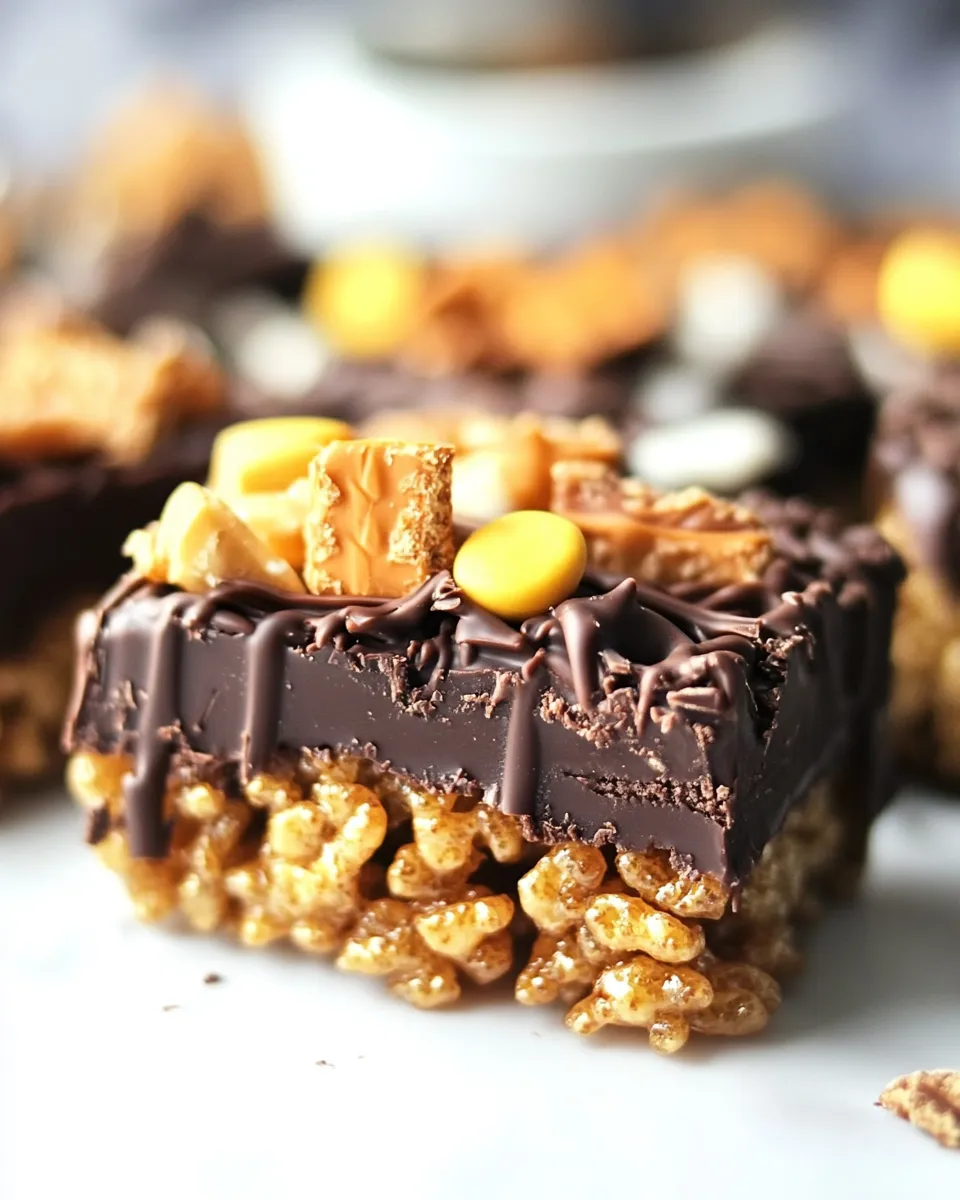
If you’re on the lookout for a dessert that perfectly balances nostalgia and indulgence, look no further than these Butterfinger Chocolate Rice Krispie Treats. Imagine the classic Rice Krispie treat you know and love, but with an exciting twist of creamy peanut butter, crunchy Butterfinger pieces, and a rich dark chocolate drizzle. Whether you’re hosting a party, packing a lunch, or simply satisfying a sweet tooth, these treats will surely become a favorite. Plus, they come together in no time, making them a perfect last-minute treat for any occasion.
Why This Recipe Belongs in Your Rotation

Butterfinger Chocolate Rice Krispie Treats are not just your average dessert; they combine the delightful crunch of Rice Krispies with the irresistible flavors of Butterfinger candy and creamy peanut butter. This recipe is versatile, making it suitable for warm afternoons or cozy evenings. The combination of textures—crispiness from the cereal, chewiness from the marshmallows, and the crunch from the Butterfinger and peanut butter cups—creates a treat that’s both satisfying and fun to eat. Plus, who can resist a dessert that includes chocolate? It’s an easy, no-bake recipe that allows you to whip up a batch in just about 30 minutes.
Your Shopping Guide
To make these delicious Butterfinger Chocolate Rice Krispie Treats, you’ll need the following ingredients. Make sure to grab these items during your next grocery run:
- 8 cups Chocolate Rice Krispies – for that delightful chocolatey crunch.
- 3 cups mini marshmallows – to add the classic gooey texture.
- 11.5 oz Fun Size Butterfinger, wrapping removed and halved – for that iconic Butterfinger taste.
- 6 Peanut Butter Cups, wrapping removed and quartered – to enhance the peanut butter flavor.
- 10 ounces dark melting chocolate, chopped – for a luscious chocolate drizzle.
- 2/3 cup peanut butter, creamy – for richness and flavor.
- 2 tbsp honey, or maple syrup – to sweeten the mix naturally.
- 1/4 tsp ground cinnamon, optional – to add a hint of warmth.
Recommended Tools
Having the right tools will make your experience much smoother. Here’s what you’ll need:
- Large Mixing Bowl – for combining all your ingredients.
- Spatula – perfect for mixing and spreading your treats evenly.
- 9×13-inch Baking Pan – to shape your treats into a perfect slab.
- Double Boiler or Microwave-Safe Bowl – for melting the dark chocolate.
- Measuring Cups and Spoons – to ensure accuracy in your ingredients.
Butterfinger Chocolate Rice Krispie Treats Cooking Guide
Ready to make these delectable treats? Follow this step-by-step guide to bring them to life in your kitchen.
Step 1: Prepare Your Baking Pan
Begin by greasing your 9×13-inch baking pan with a little butter or non-stick spray. This will help your treats release easily after they’ve set.
Step 2: Melt the Marshmallows and Peanut Butter
In a large mixing bowl, combine the mini marshmallows and creamy peanut butter. You can melt these together in a double boiler or microwave. If using the microwave, heat them in 30-second intervals, stirring in between until completely melted and smooth.
Step 3: Mix in the Chocolate Rice Krispies
Once your marshmallow and peanut butter mixture is melted, remove it from the heat and pour in the 8 cups of Chocolate Rice Krispies. Stir gently until all the cereal is well coated.
Step 4: Fold in the Candy
Add the halved Butterfinger pieces and quartered Peanut Butter Cups to the mixture. Fold them in carefully to avoid breaking the candy too much, ensuring they are evenly distributed throughout the Rice Krispies.
Step 5: Transfer to the Baking Pan
Pour the mixture into your prepared baking pan. Use a spatula to press it down evenly, making sure it’s compact. The denser it is, the better it will hold together.
Step 6: Melt the Dark Chocolate
In a double boiler or a microwave-safe bowl, melt the chopped dark chocolate until it’s smooth. If you like, you can add a little honey or maple syrup to the chocolate for extra sweetness.
Step 7: Drizzle the Chocolate
Once the dark chocolate is melted, drizzle it over the pressed Rice Krispie mixture. You can use a spoon or a piping bag for more control over the drizzle pattern.
Step 8: Let It Set
Allow the treats to cool at room temperature for about 30 minutes. If you want to speed up the process, you can place them in the refrigerator for about 15 minutes until set.
Step 9: Cut and Serve
Once set, use a sharp knife to cut the treats into squares or rectangles. Serve immediately and enjoy the delightful combination of flavors and textures.
Warm & Cool Weather Spins
These Butterfinger Chocolate Rice Krispie Treats are versatile for any season. Here are some suggestions to adapt them to your needs:
- Warm Weather: Serve them chilled. After cutting, store them in the fridge to keep them firm and cool on hot days.
- Cool Weather: Pair them with a warm cup of hot cocoa for a comforting treat. You could even melt some additional chocolate to dip the edges of the treats for extra indulgence.
Little Things that Matter
Here are a few tips to ensure your Butterfinger Chocolate Rice Krispie Treats turn out perfectly:
- Be sure to use fresh marshmallows for the best texture.
- Don’t overheat the marshmallows; they should be just melted, not bubbling.
- Press the mixture into the pan firmly, but don’t squish it too hard, or it could become too dense.
- Experiment with different types of chocolate or candy for a fun twist!
Shelf Life & Storage
These Butterfinger Chocolate Rice Krispie Treats can be stored in an airtight container at room temperature for up to 3 days. If you want to keep them longer, refrigerate them for up to a week. Just ensure they are wrapped well to prevent them from drying out.
Quick Q&A
Can I use regular Rice Krispies instead of Chocolate Rice Krispies?
Absolutely! While the Chocolate Rice Krispies enhance the chocolate flavor, regular Rice Krispies will work just fine if you prefer a less sweet treat.
What can I use instead of Butterfinger?
If you’re looking for alternatives, you could use any other chocolate-covered candy bar, such as Snickers or Milky Way, to create a different flavor profile.
Can I make these treats vegan?
Yes! You can substitute the marshmallows with vegan marshmallows and use a dairy-free chocolate and peanut butter for a vegan version.
How do I cut the treats without them falling apart?
Use a sharp knife that’s been lightly greased to cut the treats. Cutting them while they are slightly warm can also help them hold together better.
Let’s Eat
Now that you have the perfect recipe for Butterfinger Chocolate Rice Krispie Treats, it’s time to gather your ingredients and get started. These treats are not only delicious but also a fun way to spend time in the kitchen. Whether you’re sharing them with friends or indulging on your own, each bite will remind you of the joy of childhood treats—all while satisfying your cravings for chocolate and peanut butter. Enjoy!
Butterfinger Chocolate Rice Krispie Treats
Ingredients
Equipment
Method
- Begin by greasing your 9x13-inch baking pan with a little butter or non-stick spray. This will help your treats release easily after they’ve set.
- In a large mixing bowl, combine the mini marshmallows and creamy peanut butter. You can melt these together in a double boiler or microwave. If using the microwave, heat them in 30-second intervals, stirring in between until completely melted and smooth.
- Once your marshmallow and peanut butter mixture is melted, remove it from the heat and pour in the 8 cups of Chocolate Rice Krispies. Stir gently until all the cereal is well coated.
- Add the halved Butterfinger pieces and quartered Peanut Butter Cups to the mixture. Fold them in carefully to avoid breaking the candy too much, ensuring they are evenly distributed throughout the Rice Krispies.
- Pour the mixture into your prepared baking pan. Use a spatula to press it down evenly, making sure it’s compact. The denser it is, the better it will hold together.
- In a double boiler or a microwave-safe bowl, melt the chopped dark chocolate until it’s smooth. If you like, you can add a little honey or maple syrup to the chocolate for extra sweetness.
- Once the dark chocolate is melted, drizzle it over the pressed Rice Krispie mixture. You can use a spoon or a piping bag for more control over the drizzle pattern.
- Allow the treats to cool at room temperature for about 30 minutes. If you want to speed up the process, you can place them in the refrigerator for about 15 minutes until set.
- Once set, use a sharp knife to cut the treats into squares or rectangles. Serve immediately and enjoy the delightful combination of flavors and textures.
Notes
- Be sure to use fresh marshmallows for the best texture.
- Don’t overheat the marshmallows; they should be just melted, not bubbling.
- Press the mixture into the pan firmly, but don’t squish it too hard, or it could become too dense.