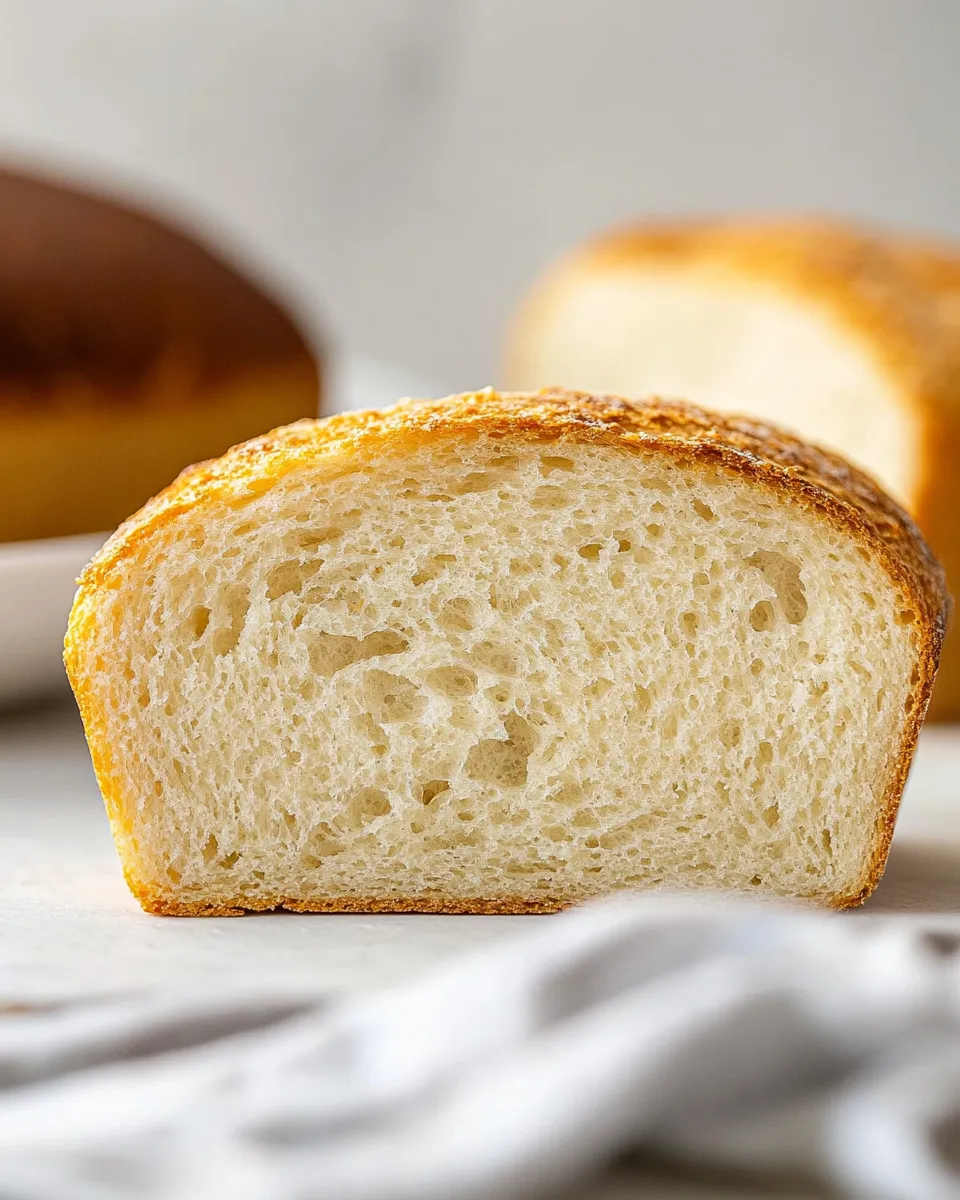
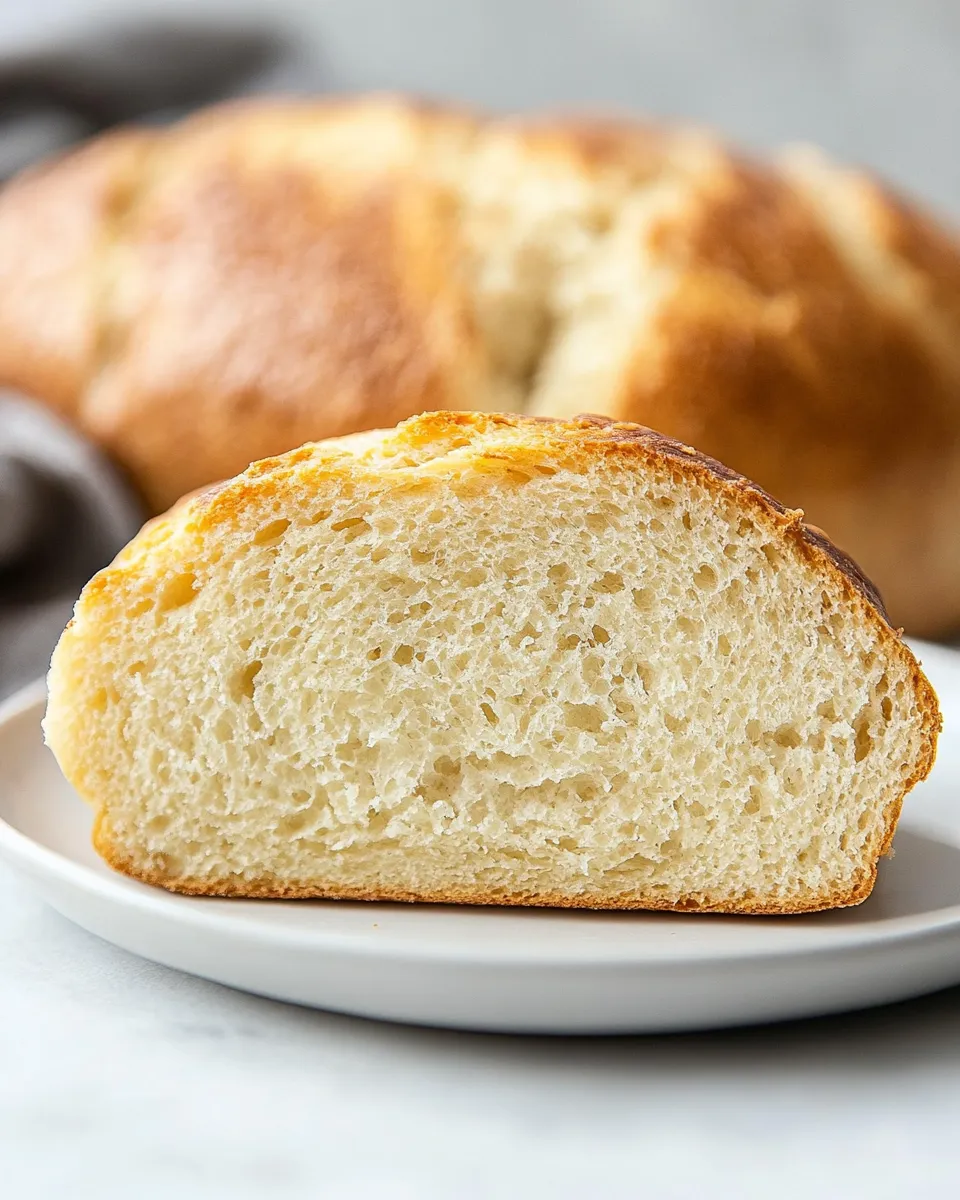
If there’s one bread that evokes warmth and comfort, it’s peasant bread. This rustic loaf has a simple set of ingredients, yet it delivers an irresistible flavor and texture that can elevate any meal. With its chewy crust and soft, airy interior, peasant bread is perfect for everything from slathering with butter to mopping up hearty soups. In this guide, we’ll explore how to make this delightful bread from scratch, and share tips and variations to keep your baking adventures exciting.
Reasons to Love Peasant Bread
Peasant bread is not just delicious; it’s also incredibly versatile. Here are a few reasons to fall in love with this classic loaf:
- Simple Ingredients: You only need basic pantry staples to whip up this bread, making it accessible for everyone.
- Easy to Make: The process is straightforward, making it perfect for both novice and experienced bakers.
- Great for Sharing: This bread is ideal for gatherings, adding a rustic charm to any table.
- Perfect for Meal Prep: It stores well and can be used in various recipes throughout the week.
Shopping List
Before you get started on your peasant bread journey, here’s what you’ll need to gather:
- 2 cups warm water
- 2 tablespoons honey
- 4 cups all-purpose flour
- 1 package instant yeast (about 2 ¼ teaspoons)
- 2 teaspoons salt
- Softened butter for greasing bowls and loaf
Prep & Cook Tools
Gather the following tools to make your baking experience smooth and enjoyable:
- Mixing Bowl: A large bowl is essential for mixing the dough.
- Wooden Spoon or Dough Scraper: For combining ingredients and shaping the dough.
- Loaf Pan: This will give your bread its shape while baking.
- Towel or Plastic Wrap: To cover the dough while it rises.
- Oven: Preheat your oven for the perfect baking environment.
Peasant Bread: From Prep to Plate
Making peasant bread is a rewarding experience. Follow these simple steps to create your own loaf:
Step 1: Mix the Wet Ingredients
In a large mixing bowl, combine 2 cups of warm water and 2 tablespoons of honey. Stir until the honey dissolves completely, then sprinkle in 1 package of instant yeast. Let it sit for about 5 minutes until it becomes frothy.
Step 2: Combine Dry Ingredients
In a separate bowl, whisk together 4 cups of all-purpose flour and 2 teaspoons of salt. This ensures even distribution of the salt and helps prevent yeast from being harmed by direct contact.
Step 3: Form the Dough
Gradually add the dry mixture to the wet ingredients, stirring with a wooden spoon until a shaggy dough forms. Don’t worry about being too precise; this bread is meant to be rustic.
Step 4: Knead the Dough
Turn the dough onto a floured surface and knead for about 8-10 minutes until it becomes smooth and elastic. If the dough is too sticky, sprinkle in a bit more flour as needed.
Step 5: First Rise
Grease a clean bowl with softened butter and place the dough inside, turning it to coat. Cover with a towel or plastic wrap and let it rise in a warm area for about 1-2 hours, or until it doubles in size.
Step 6: Shape the Dough
Once risen, punch down the dough to release the air. Transfer it to a floured surface and shape it into a loaf. Place the shaped dough into a greased loaf pan.
Step 7: Second Rise
Cover the loaf with a towel again and let it rise for another 30-45 minutes until it puffs up.
Step 8: Preheat the Oven
During the second rise, preheat your oven to 375°F (190°C).
Step 9: Bake the Bread
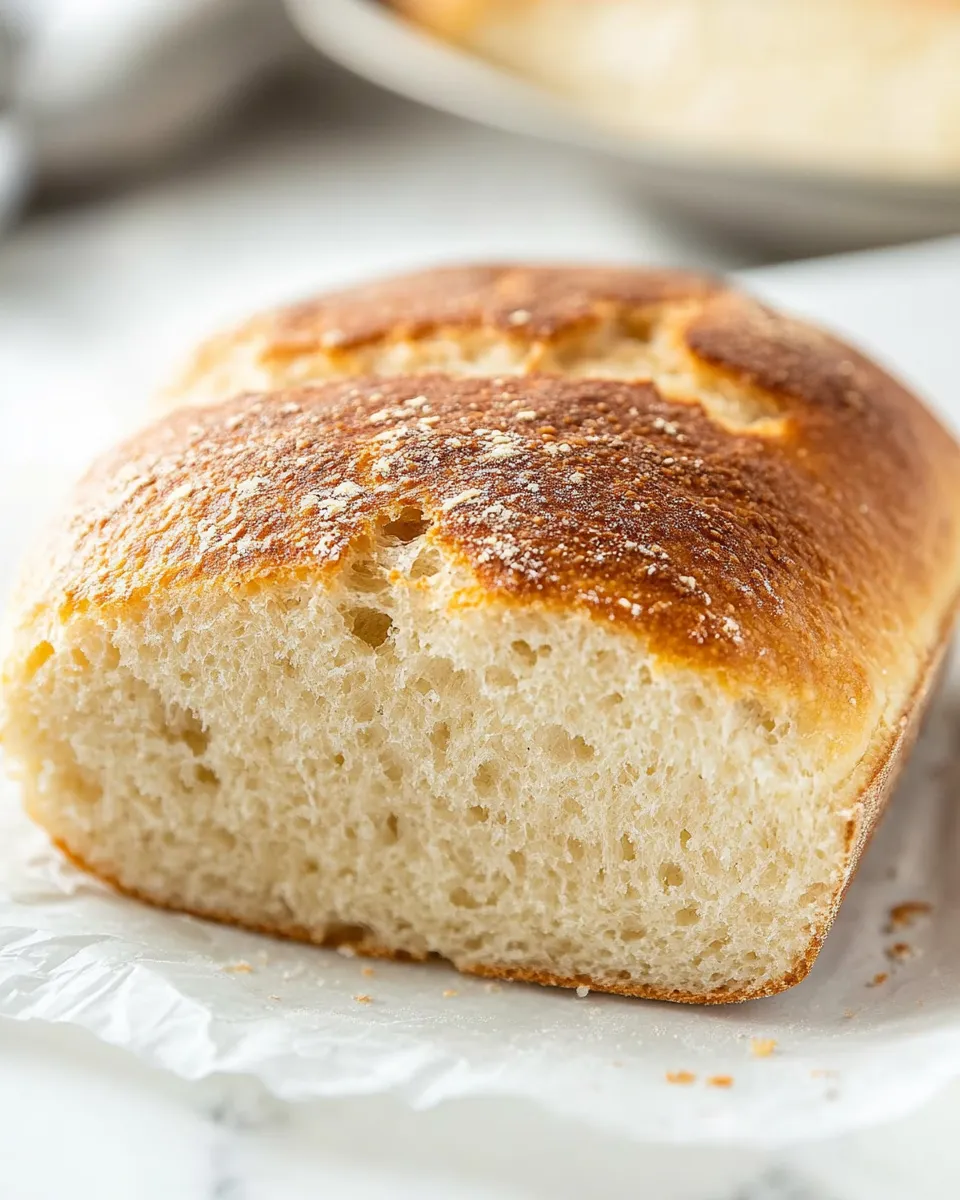
Once the second rise is complete, place the loaf in the preheated oven. Bake for 30-35 minutes, or until the top is golden brown and the loaf sounds hollow when tapped.
Step 10: Cool and Enjoy
Remove the bread from the oven and let it cool in the pan for about 10 minutes before transferring it to a wire rack. Allow it to cool completely before slicing. Enjoy your homemade peasant bread with your favorite spreads or as part of a hearty meal!
Year-Round Variations
Peasant bread is incredibly adaptable, and you can easily customize it to suit different seasons or occasions. Here are some fun variations to try:
- Herb-Infused: Add chopped fresh herbs like rosemary or thyme to the dough for a fragrant twist.
- Cheese Lover’s: Incorporate shredded cheese, such as cheddar or mozzarella, into the dough for a cheesy delight.
- Seeded Crust: Sprinkle sesame or poppy seeds on top of the loaf before baking for added texture and flavor.
- Garlic Bread: Mix minced garlic into the dough and brush the top with garlic butter before baking for a savory treat.
Common Errors (and Fixes)
Even the most seasoned bakers can encounter hiccups along the way. Here are some common issues and how to fix them:
- Dense Bread: This can happen if the flour is over-measured or the dough is over-kneaded. Make sure to spoon flour into your measuring cup and level it off.
- Under-Risen Dough: If your dough isn’t rising, it may be due to old yeast. Always check the expiration date on your yeast package.
- Burnt Crust: If the crust is browning too quickly, try placing a piece of aluminum foil over the top during the last 10 minutes of baking.
- Sticking Loaf: If your bread sticks to the pan, ensure it is well-greased before placing the dough inside.
Leftovers & Meal Prep
Peasant bread is a fantastic option for meal prep and leftovers. Here are some tips to keep it fresh:
Store any leftover bread in a paper bag at room temperature for a couple of days. For longer storage, slice the bread and freeze it in an airtight container or freezer bag. When you’re ready to enjoy, simply toast slices directly from the freezer for a quick treat. Use leftover bread for delicious bread puddings or as a base for sandwiches!
Ask the Chef
Can I use whole wheat flour instead of all-purpose flour?
Yes, you can substitute whole wheat flour, but you may need to adjust the water content, as whole wheat flour absorbs more moisture. Start with 3 cups of whole wheat flour and adjust as needed.
What can I do if my dough doesn’t rise?
If your dough doesn’t rise, ensure that your yeast is fresh. Also, try placing the dough in a warm area or near a heating source to create a cozy environment for rising.
How do I know when my bread is done baking?
The bread is done when it is golden brown on top and sounds hollow when tapped on the bottom. You can also use a thermometer; it should read about 190°F (88°C) when fully baked.
Can I add mix-ins like nuts or dried fruit?
Absolutely! Feel free to fold in nuts, dried fruits, or even chocolate chips during the kneading process for a delightful added flavor.
If you enjoyed making peasant bread, consider trying these recipes next:
Time to Try It
Now that you have all the details, it’s time to roll up your sleeves and start baking your own peasant bread. The aroma of freshly baked bread wafting through your home is unparalleled, and the satisfaction of creating something from scratch is truly rewarding. Enjoy your baking adventure and the delicious results that come with it!
Peasant Bread
Ingredients
Equipment
Method
- In a large mixing bowl, combine 2 cups of warm water and 2 tablespoons of honey. Stir until the honey dissolves completely, then sprinkle in 1 package of instant yeast. Let it sit for about 5 minutes until it becomes frothy.
- In a separate bowl, whisk together 4 cups of all-purpose flour and 2 teaspoons of salt.
- Gradually add the dry mixture to the wet ingredients, stirring with a wooden spoon until a shaggy dough forms.
- Turn the dough onto a floured surface and knead for about 8-10 minutes until it becomes smooth and elastic.
- Grease a clean bowl with softened butter and place the dough inside, turning it to coat. Cover with a towel or plastic wrap and let it rise in a warm area for about 1-2 hours, or until it doubles in size.
- Once risen, punch down the dough to release the air. Transfer it to a floured surface and shape it into a loaf. Place the shaped dough into a greased loaf pan.
- Cover the loaf with a towel again and let it rise for another 30-45 minutes until it puffs up.
- During the second rise, preheat your oven to 375°F (190°C).
- Once the second rise is complete, place the loaf in the preheated oven. Bake for 30-35 minutes, or until the top is golden brown and the loaf sounds hollow when tapped.
- Remove the bread from the oven and let it cool in the pan for about 10 minutes before transferring it to a wire rack. Allow it to cool completely before slicing.
Notes
- Store leftover bread in a paper bag at room temperature for a couple of days.
- For longer storage, freeze sliced bread in an airtight container or freezer bag.
- Use leftover bread for delicious bread puddings or as a base for sandwiches!