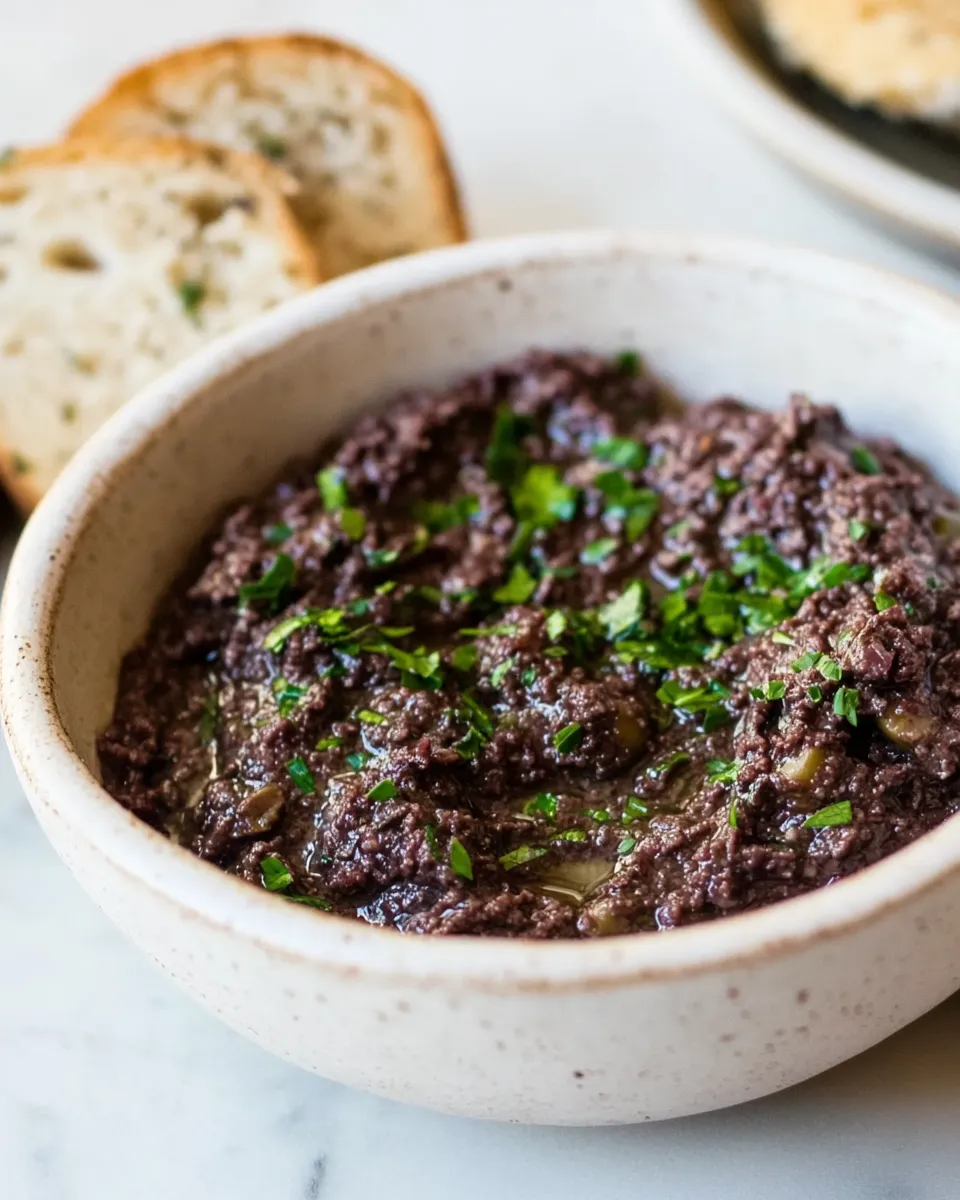
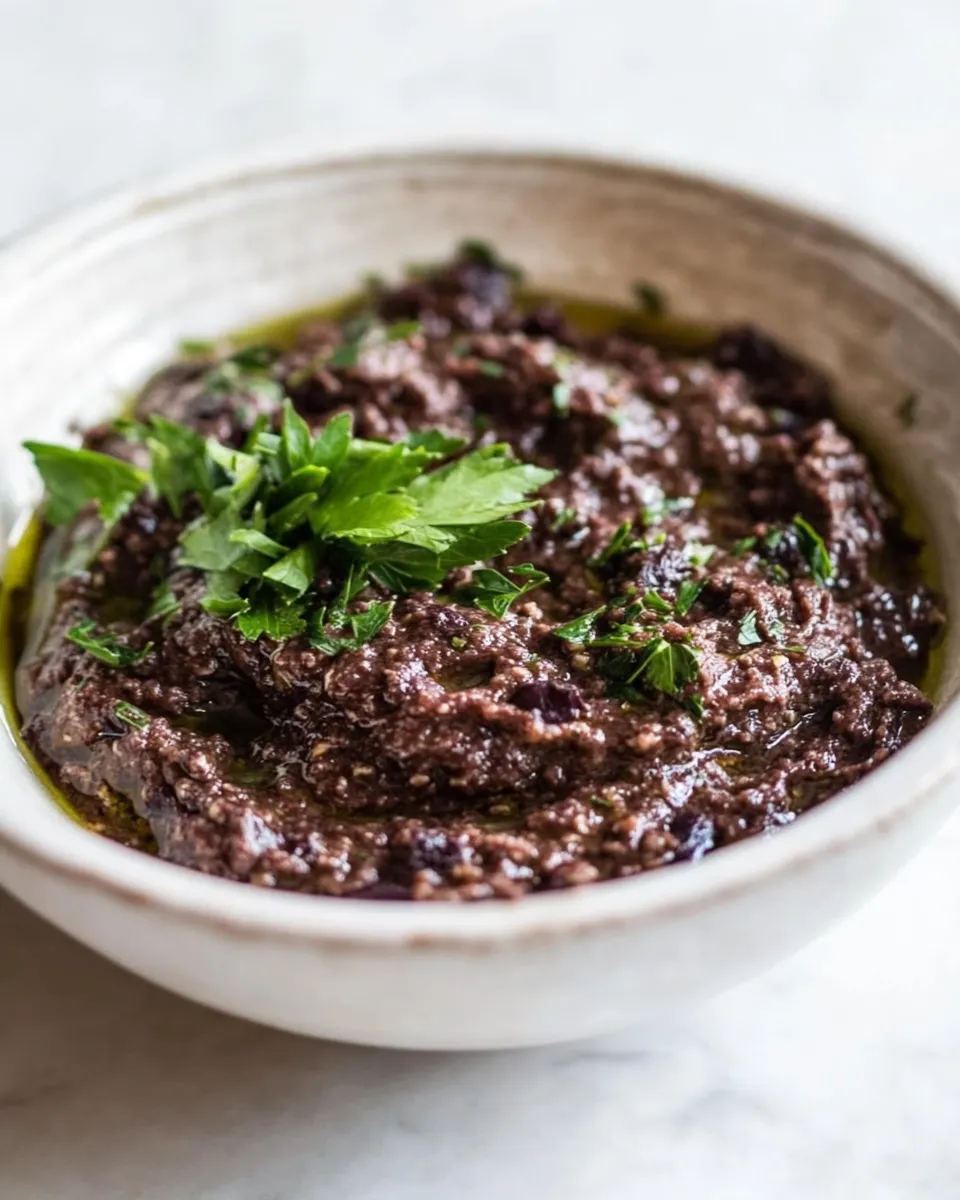
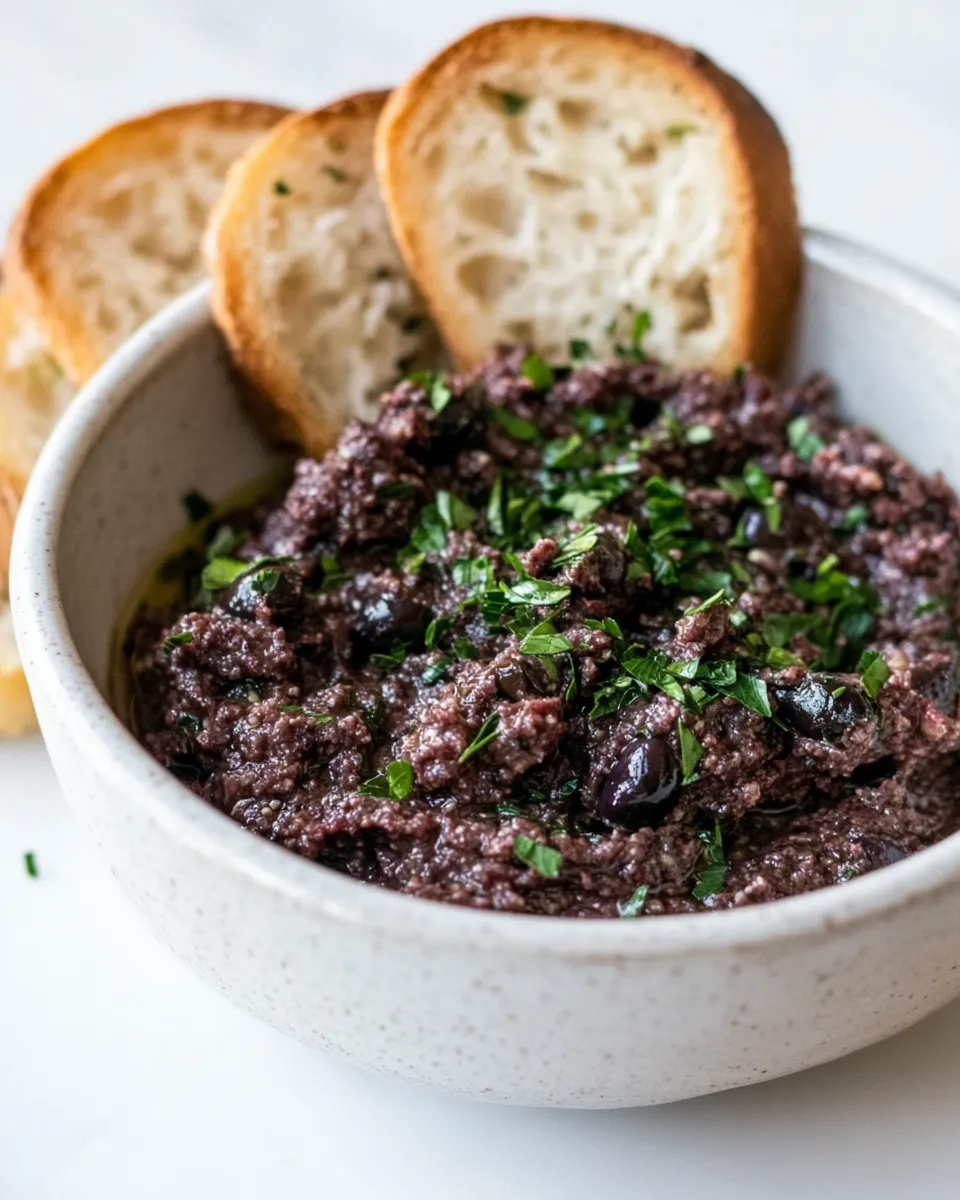
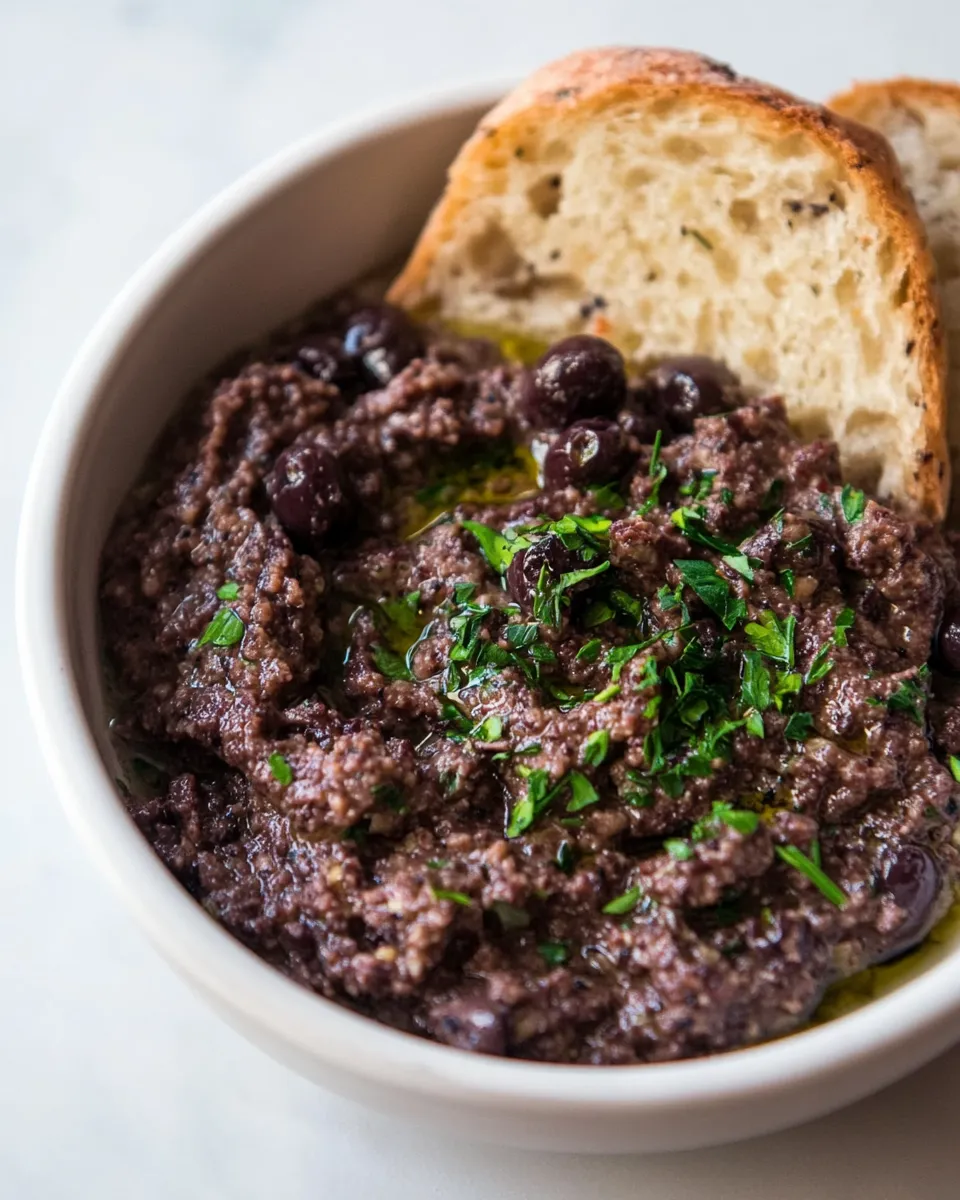
Olive tapenade is one of those glorious spreads that can elevate any appetizer platter or serve as a delicious condiment for sandwiches. With its rich, briny flavor profile, it’s a delightful combination of olives, capers, and savory ingredients that come together to create a flavorful concoction. Making olive tapenade at home is not only simple but also allows you to customize it according to your taste. Let’s dive into the details of how to make this Mediterranean delight!
Why This Recipe Is Reliable
This recipe for olive tapenade is straightforward and foolproof, making it perfect for beginner cooks and seasoned chefs alike. The balance of flavors—salty olives, tangy capers, and aromatic garlic—is a tried-and-true combination that results in a delicious spread every time. Plus, it’s a versatile recipe that can be adjusted to suit your preferences, whether you like it chunky or smooth.
What Goes In
To prepare this scrumptious olive tapenade, you’ll need the following ingredients:
- 1 1/2 cups pitted, brine-cured olives, drained – Choose a mix of black and green olives for depth of flavor (see note 1).
- 1 teaspoon anchovy paste or 2 anchovy filets, minced – This adds a lovely umami depth (see note 2).
- 3 tablespoons capers, rinsed – These bring a briny punch and a touch of acidity (see note 3).
- 1 1/2 tablespoons parsley, coarsely chopped – For a hint of freshness.
- 3 cloves garlic, roasted if desired – Roasting mellows the garlic flavor (see note 4).
- 3 tablespoons lemon juice – Brightens the overall flavor.
- Salt and freshly ground black pepper – To taste.
- 1/4 cup olive oil – This helps bind the ingredients together and adds richness.
Kitchen Gear Checklist
Before you start, gather the following kitchen tools:
- Food processor – The easiest way to blend all your ingredients.
- Measuring cups and spoons – For accurate ingredient measurements.
- Spoon or spatula – To scrape down the sides of the food processor.
- Serving dish – To present your tapenade beautifully.
Build How to Make Olive Tapenade Step by Step
Step 1: Prepare Your Ingredients
Start by gathering all your ingredients. If you prefer roasted garlic, preheat your oven to 400°F (200°C) and wrap the garlic cloves in foil. Roast them for about 30 minutes until soft and fragrant.
Step 2: Combine Ingredients in the Food Processor
In your food processor, add the drained olives, anchovy paste (or filets), rinsed capers, chopped parsley, roasted garlic (if using), lemon juice, and a pinch of salt and pepper.
Step 3: Process Until Desired Consistency
Pulse the mixture until it reaches your desired consistency. You can make it chunky for more texture or blend it smoother if you prefer a creamy spread.
Step 4: Incorporate Olive Oil
While the food processor is running, slowly drizzle in the olive oil. This will help to emulsify the tapenade and give it a lovely, rich texture.
Step 5: Taste and Adjust Seasoning
Once everything is well-blended, taste your tapenade. Adjust the seasoning with more salt, pepper, or lemon juice if needed.
Step 6: Serve and Enjoy
Transfer the tapenade to a serving dish. It can be served immediately, but letting it sit for about 30 minutes allows the flavors to meld beautifully. Serve with crusty bread, crackers, or use it as a topping for grilled chicken or fish.
Make It Diet-Friendly
You can easily modify this olive tapenade recipe to fit various dietary preferences:
- Vegan: Omit the anchovies or use a plant-based umami seasoning instead.
- Gluten-Free: Serve with gluten-free crackers or vegetables.
- Low-Sodium: Use low-sodium olives and rinse the capers thoroughly.
Notes on Ingredients
Here are some additional notes about the ingredients to ensure your tapenade turns out perfectly:
- Note 1: Use quality olives for the best flavor. Kalamata and Castelvetrano olives are excellent choices.
- Note 2: If you’re not a fan of anchovies, feel free to skip this ingredient or substitute with a bit of nutritional yeast for a savory flavor.
- Note 3: Capers can vary in saltiness, so adjust the amount based on your taste preference.
- Note 4: Roasting garlic is optional. If you prefer a sharper flavor, use raw garlic instead.
Make Ahead Like a Pro
Olive tapenade is perfect for making ahead of time. In fact, the flavors deepen and improve after a day in the fridge. Here are a few tips:
- Store it in an airtight container in the refrigerator for up to a week.
- For longer storage, consider freezing it in small portions, which can be thawed as needed.
FAQ
Can I use any type of olives for tapenade?
Yes, you can use any pitted olives you enjoy. Mixing different types, such as Kalamata and green olives, can add depth to the flavor.
Is olive tapenade gluten-free?
Yes, olive tapenade is naturally gluten-free. Just ensure any accompaniments you serve with it are also gluten-free.
How can I use olive tapenade besides as a spread?
Olive tapenade can be used as a topping for grilled meats, stirred into pasta dishes like Spaghetti With Italian Sausage And Olives, or served alongside cheeses and charcuterie.
Can I make olive tapenade without a food processor?
Yes, you can chop all the ingredients by hand for a chunky texture, but it will take more time and effort. A food processor makes it much easier!
In Closing
Olive tapenade is a delightful addition to your culinary repertoire, perfect for entertaining or simply enjoying at home. With its robust flavors and versatility, it’s sure to impress your guests and satisfy your taste buds. So, gather your ingredients, follow this guide on how to make olive tapenade, and enjoy a taste of the Mediterranean in your kitchen!
How to Make Olive Tapenade
Ingredients
Equipment
Method
- Step 1: Prepare Your Ingredients. Start by gathering all your ingredients. If you prefer roasted garlic, preheat your oven to 400°F (200°C) and wrap the garlic cloves in foil. Roast them for about 30 minutes until soft and fragrant.
- Step 2: Combine Ingredients in the Food Processor. In your food processor, add the drained olives, anchovy paste (or filets), rinsed capers, chopped parsley, roasted garlic (if using), lemon juice, and a pinch of salt and pepper.
- Step 3: Process Until Desired Consistency. Pulse the mixture until it reaches your desired consistency. You can make it chunky for more texture or blend it smoother if you prefer a creamy spread.
- Step 4: Incorporate Olive Oil. While the food processor is running, slowly drizzle in the olive oil. This will help to emulsify the tapenade and give it a lovely, rich texture.
- Step 5: Taste and Adjust Seasoning. Once everything is well-blended, taste your tapenade. Adjust the seasoning with more salt, pepper, or lemon juice if needed.
- Step 6: Serve and Enjoy. Transfer the tapenade to a serving dish. It can be served immediately, but letting it sit for about 30 minutes allows the flavors to meld beautifully. Serve with crusty bread, crackers, or use it as a topping for grilled chicken or fish.
Notes
- This tapenade can be made ahead of time; the flavors deepen after a day in the fridge.
- Store in an airtight container in the refrigerator for up to a week.
- For longer storage, freeze in small portions that can be thawed as needed.