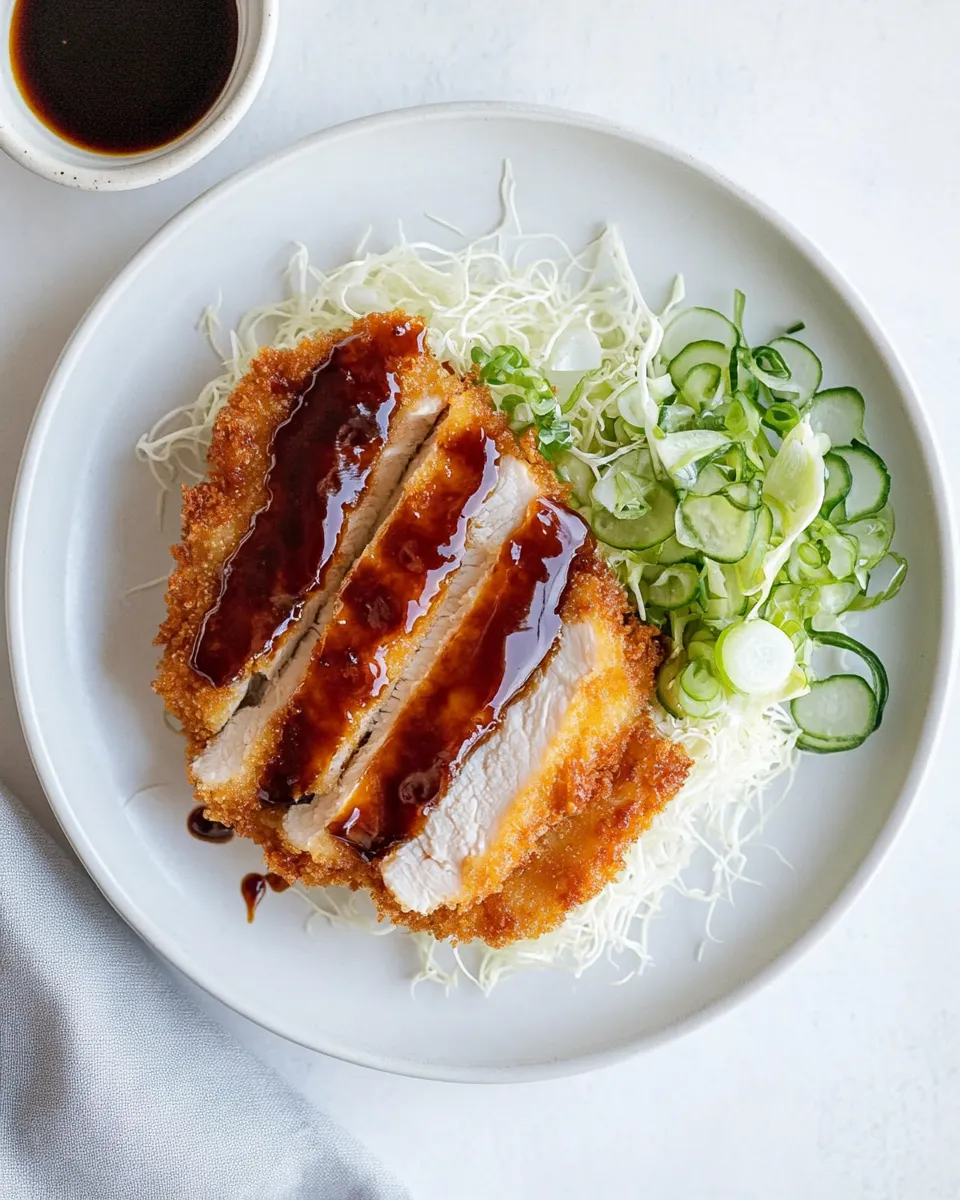
Chicken Katsu is a delightful Japanese dish that has captured the hearts and taste buds of many. This crispy, breaded chicken is not only easy to prepare but also packed with flavor. Imagine juicy chicken breasts coated in crunchy Panko breadcrumbs, served with a rich sauce that elevates each bite. Best of all, this recipe brings the comforting taste of Chicken Katsu right into your kitchen, making it the perfect choice for a weeknight dinner.
Why This Recipe is a Keeper
This Chicken Katsu recipe is a keeper for several reasons. First, it’s incredibly simple to make, making it ideal for both novice cooks and seasoned kitchen veterans. The combination of ketchup, Worcestershire sauce, and oyster sauce creates a delectable glaze that complements the crispy chicken perfectly. Plus, the dish is versatile—serve it with rice, in a sandwich, or alongside a fresh salad. It’s a meal that’s sure to satisfy everyone at the table while being a hit with both kids and adults alike.
Your Shopping Guide
Before you head to the store, let’s make sure you have everything you need for this Chicken Katsu recipe. Here’s a detailed list of ingredients:
- 6 tablespoons ketchup – for a sweet and tangy flavor.
- 7 tablespoons Worcestershire sauce – adds depth and richness.
- 3 tablespoons oyster sauce – enhances umami taste.
- 1 tablespoon granulated sugar – balances the savory flavors.
- 2 boneless, skinless chicken breasts – the star of the dish.
- 1 teaspoon kosher salt – to season the chicken.
- 1 teaspoon ground black pepper – for a touch of spice.
- 1 cup all-purpose flour – for the initial coating.
- 2 large eggs (beaten) – helps the breadcrumbs stick.
- 1 cup Panko breadcrumbs – for that extra crunch.
- 1 cup vegetable oil (for frying) – ensures even frying.
Prep & Cook Tools
To make your cooking experience smooth and enjoyable, gather the following tools:
- Meat mallet or rolling pin – for flattening the chicken breasts.
- Three shallow bowls – for flour, eggs, and breadcrumbs.
- Large skillet – for frying the chicken.
- Slotted spoon or tongs – for flipping and removing the chicken.
- Paper towels – to drain excess oil.
Chicken Katsu in Steps

Now that you have everything ready, let’s dive into the step-by-step process of making Chicken Katsu.
Step 1: Prepare the Chicken
Start by placing the boneless, skinless chicken breasts between two pieces of plastic wrap. Use a meat mallet or rolling pin to gently pound the chicken to about 1/2-inch thickness. This ensures even cooking and tenderness.
Step 2: Season the Chicken
Sprinkle both sides of the chicken breasts with kosher salt and ground black pepper. This simple seasoning will enhance the flavors of the chicken.
Step 3: Set Up Your Breading Station
In three shallow bowls, prepare your breading station. In the first bowl, place the all-purpose flour. In the second bowl, beat the eggs. In the third bowl, add the Panko breadcrumbs.
Step 4: Bread the Chicken
Dredge each chicken breast in flour, shaking off the excess. Next, dip it into the beaten eggs, allowing any excess egg to drip off. Finally, coat the chicken in Panko breadcrumbs, pressing gently to ensure an even coating. Repeat this process with each chicken breast.
Step 5: Prepare the Sauce
In a small bowl, combine the ketchup, Worcestershire sauce, oyster sauce, and granulated sugar. Mix well until the sugar is dissolved and the sauce is smooth. Set aside.
Step 6: Fry the Chicken
In a large skillet, heat the vegetable oil over medium-high heat. Once hot, carefully add the breaded chicken breasts. Fry for about 4-5 minutes on each side, or until golden brown and cooked through. Use a slotted spoon or tongs to flip the chicken.
Step 7: Drain and Serve
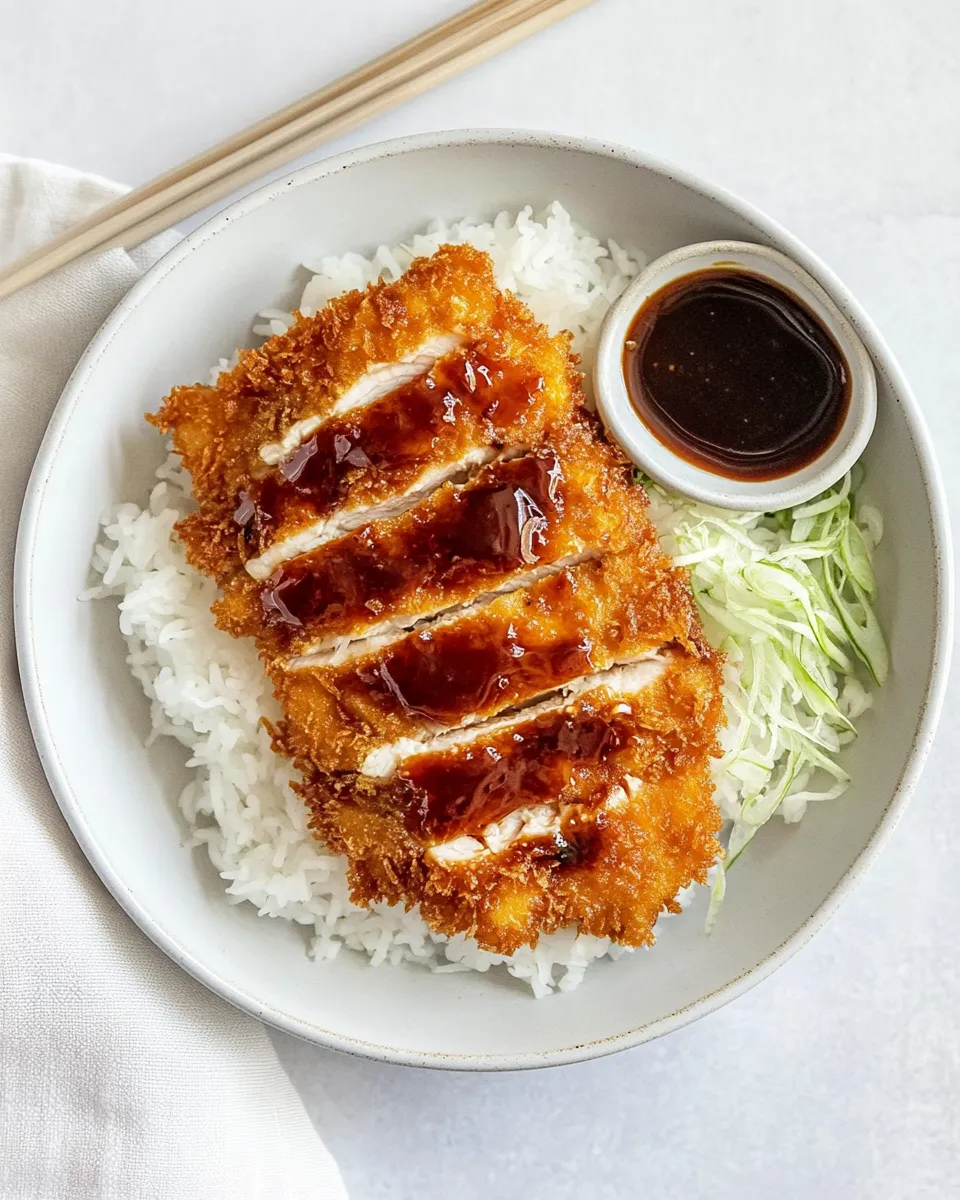
Once cooked, transfer the Chicken Katsu to a plate lined with paper towels to drain excess oil. Slice the chicken into strips and serve with the prepared sauce drizzled on top or on the side for dipping.
Better Choices & Swaps
Making Chicken Katsu can be flexible depending on dietary preferences or what you have on hand. Here are some better choices and swaps:
- Gluten-free option: Use gluten-free flour and breadcrumbs instead of all-purpose flour and Panko.
- Chicken thighs: Substitute chicken breasts with boneless, skinless chicken thighs for a juicier option.
- Air frying: Instead of deep frying, use an air fryer for a healthier option, reducing the oil needed.
Steer Clear of These
To ensure your Chicken Katsu turns out perfectly, here are a few things to avoid:
- Do not overcrowd the skillet while frying; this can lead to soggy chicken.
- Avoid using regular breadcrumbs; Panko is essential for that signature crunch.
- Don’t skip the seasoning; proper seasoning is key to flavorful chicken.
Storing Tips & Timelines
If you have leftovers (which is rare, but possible!), here’s how to store them:
- Refrigerate in an airtight container for up to 3 days.
- To reheat, place in an oven preheated to 350°F (175°C) until heated through to maintain crispiness.
- Freezing is not recommended as it can affect the texture of the breading.
Common Questions
Can I make Chicken Katsu ahead of time?
You can prepare the chicken and bread it ahead of time, then store it in the refrigerator until you’re ready to fry it. This makes for a quick meal when you’re short on time.
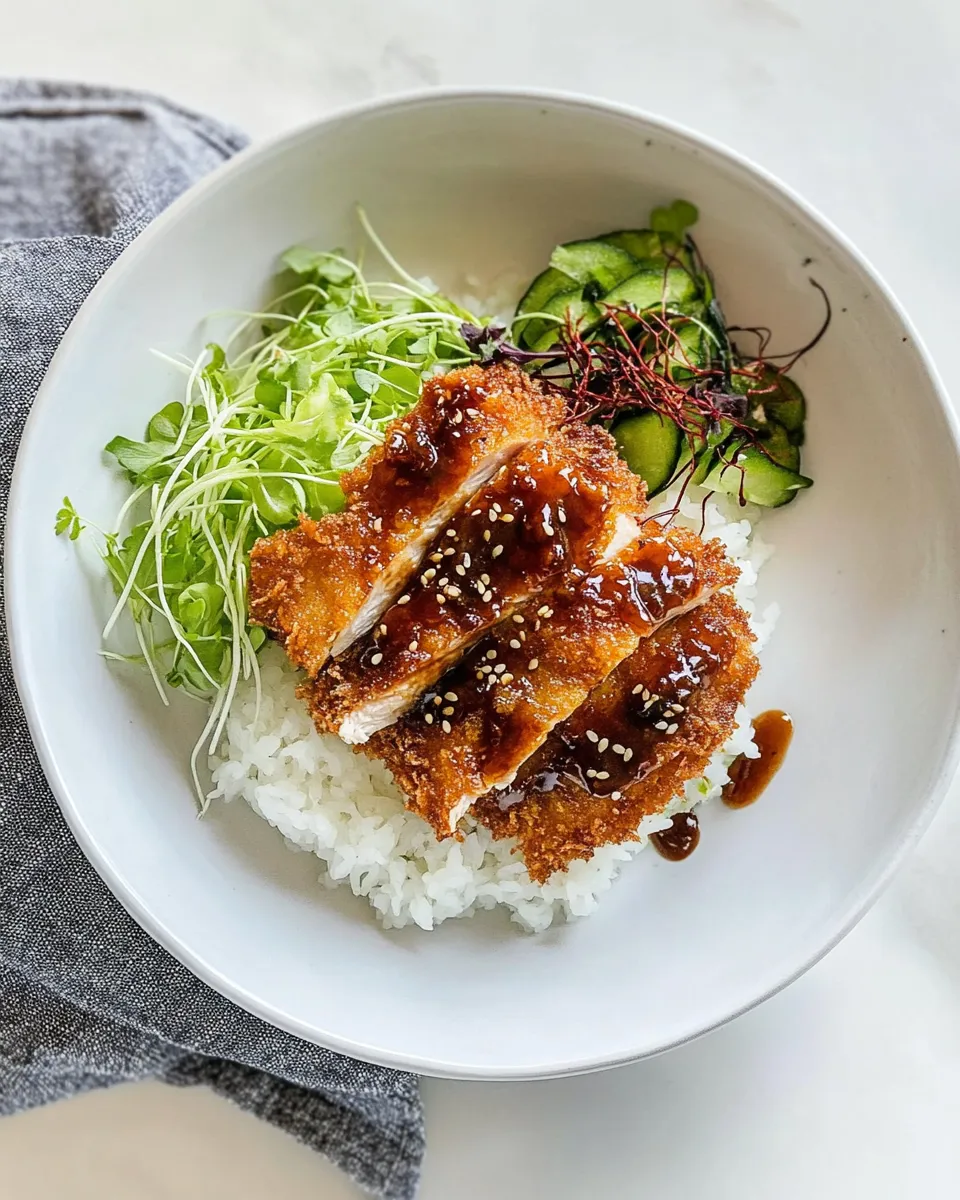
What can I serve with Chicken Katsu?
Chicken Katsu pairs beautifully with steamed rice, a fresh salad, or even inside a sandwich. For a unique twist, try it with Creamy Pesto Gnocchi With Crispy Chicken Cutlets for a delicious fusion meal.
Is Chicken Katsu spicy?
No, traditional Chicken Katsu is not spicy. However, you can add chili flakes or serve it with a spicy dipping sauce if you prefer some heat.
Can I use chicken breast with skin on?
While it’s possible to use skin-on chicken breasts, it’s best to remove the skin for this recipe to achieve the classic crispy texture that Chicken Katsu is known for.
If you’re looking for more quick and delicious meals, consider these options:
The Last Word
Chicken Katsu is a wonderful dish that combines simplicity with flavor. With just a handful of ingredients and simple techniques, you can create a restaurant-quality meal right at home. The crispy exterior paired with the savory sauce makes every bite a delight. Whether you’re making it for a family dinner or impressing guests, this Chicken Katsu recipe is sure to be a favorite. Enjoy the crunch, savor the sauce, and let this delightful dish bring joy to your table.
Chicken Katsu
Ingredients
Equipment
Method
- Start by placing the boneless, skinless chicken breasts between two pieces of plastic wrap. Use a meat mallet or rolling pin to gently pound the chicken to about 1/2-inch thickness. This ensures even cooking and tenderness.
- Sprinkle both sides of the chicken breasts with kosher salt and ground black pepper. This simple seasoning will enhance the flavors of the chicken.
- In three shallow bowls, prepare your breading station. In the first bowl, place the all-purpose flour. In the second bowl, beat the eggs. In the third bowl, add the Panko breadcrumbs.
- Dredge each chicken breast in flour, shaking off the excess. Next, dip it into the beaten eggs, allowing any excess egg to drip off. Finally, coat the chicken in Panko breadcrumbs, pressing gently to ensure an even coating. Repeat this process with each chicken breast.
- In a small bowl, combine the ketchup, Worcestershire sauce, oyster sauce, and granulated sugar. Mix well until the sugar is dissolved and the sauce is smooth. Set aside.
- In a large skillet, heat the vegetable oil over medium-high heat. Once hot, carefully add the breaded chicken breasts. Fry for about 4-5 minutes on each side, or until golden brown and cooked through. Use a slotted spoon or tongs to flip the chicken.
- Once cooked, transfer the Chicken Katsu to a plate lined with paper towels to drain excess oil. Slice the chicken into strips and serve with the prepared sauce drizzled on top or on the side for dipping.
Notes
- For a gluten-free option, use gluten-free flour and breadcrumbs.
- Substitute chicken breasts with chicken thighs for a juicier option.
- To maintain crispiness, reheat in the oven at 350°F (175°C).