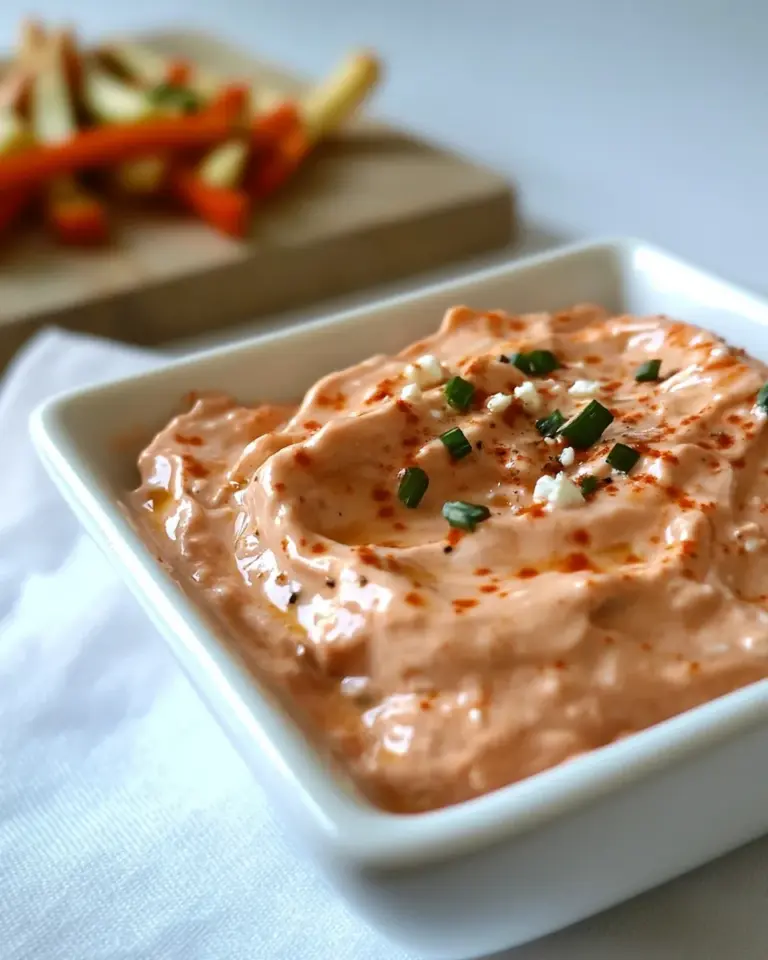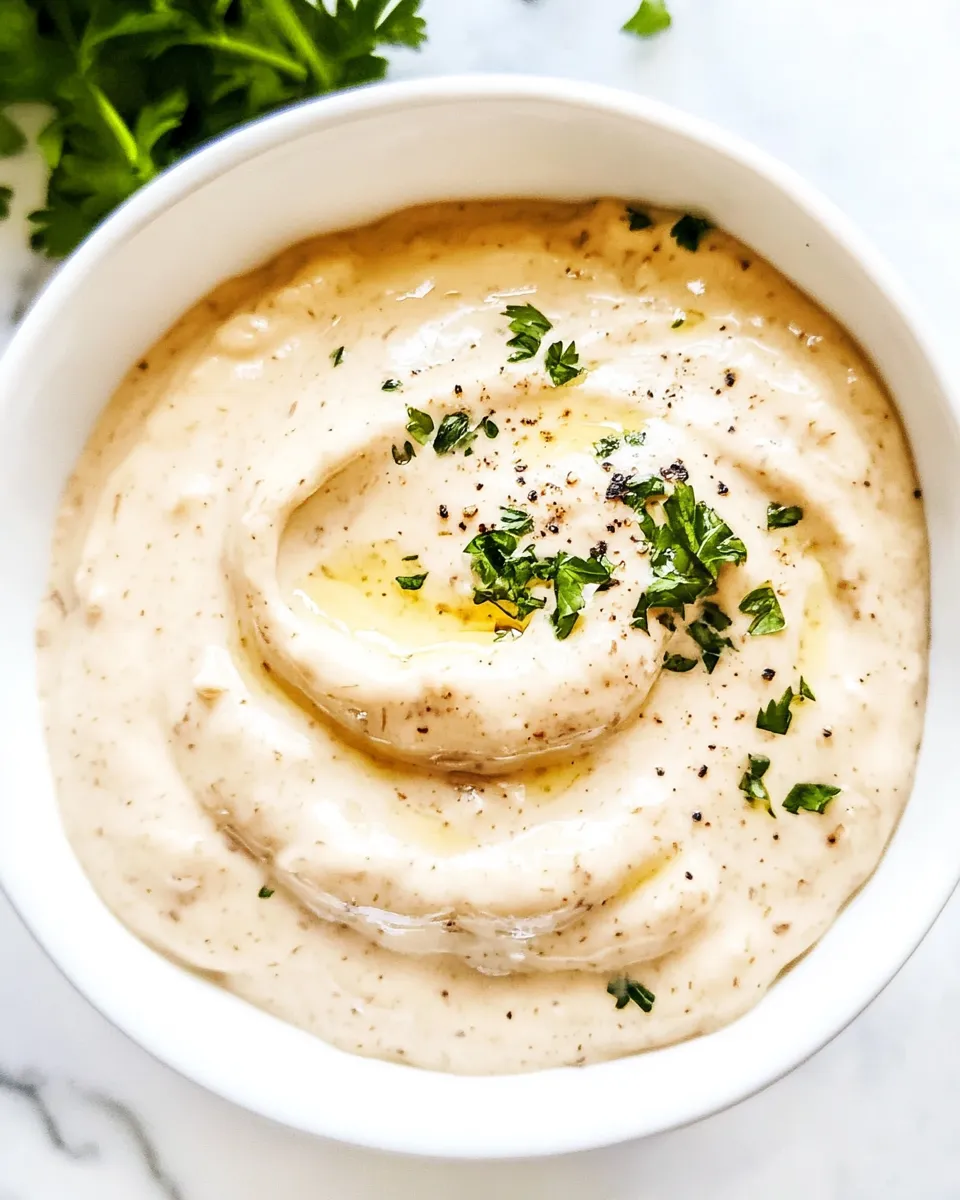
If you’re looking to elevate your meals with a creamy, flavorful dip, look no further than this Easy Garlic Aioli. This versatile condiment is perfect for everything from spreading on sandwiches to serving as a dip for veggies and fries. With just a handful of ingredients, you can whip up this delicious sauce in no time.
This aioli is garlicky, zesty, and incredibly smooth, making it a wonderful addition to your culinary repertoire. Whether you’re preparing a simple weeknight dinner or hosting a gathering, this easy recipe is sure to impress your family and friends. So grab your apron, and let’s dive into making this delightful Easy Garlic Aioli!
What Sets This Recipe Apart
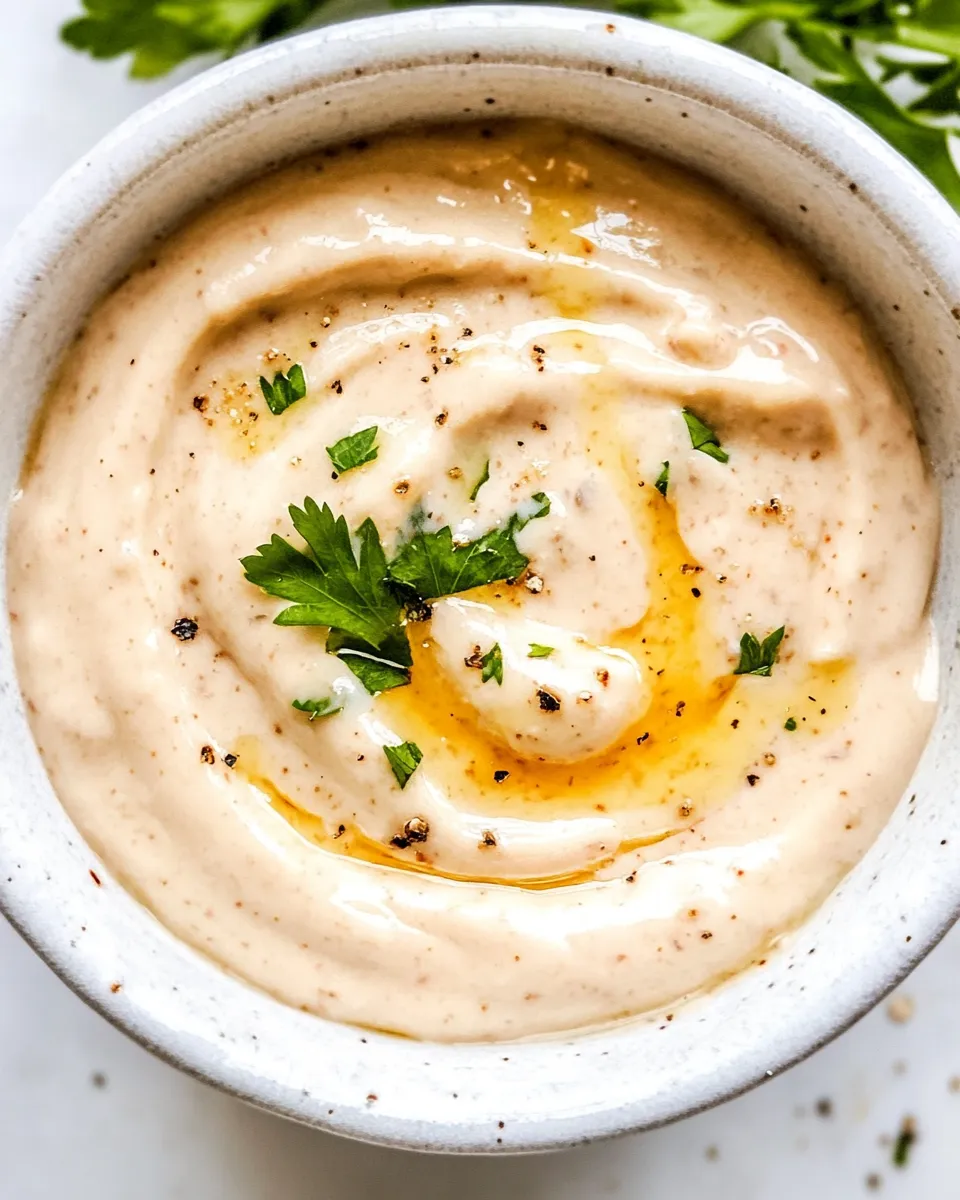
What makes this Easy Garlic Aioli stand out is its simplicity and adaptability. Unlike traditional recipes that might require raw eggs and an emulsion process, this version uses mayonnaise as a base, making it quick and foolproof. The addition of fresh garlic and lemon juice adds a vibrant flavor that elevates any dish. You can also customize it with various herbs and spices to suit your taste, making it a truly versatile condiment.
Ingredients at a Glance
To make Easy Garlic Aioli, you will need the following ingredients:
- 4 cloves garlic, minced
- 1 tablespoon freshly squeezed lemon juice
- 1 cup mayonnaise (see Notes for yogurt/sour cream alternatives)
- 1/2 teaspoon Dijon mustard
- 1 teaspoon EACH paprika, dried dill (or 2 teaspoons fresh dill)
- 1/4 teaspoon EACH salt, pepper
These simple ingredients come together to create a flavor-packed sauce that can enhance a variety of dishes.
Recommended Tools
To prepare Easy Garlic Aioli, you will need:
- Mixing bowl: A medium-sized bowl is ideal for combining the ingredients.
- Whisk or spoon: Use a whisk or a spoon to mix the ingredients thoroughly.
- Measuring spoons: Accurate measurements are key to achieving the best flavor.
- Garlic press (optional): If you prefer finely minced garlic, a garlic press can be handy.
These tools will help you create the perfect aioli with minimal fuss.
Easy Garlic Aioli, Made Easy

Making Easy Garlic Aioli is straightforward and requires just a few simple steps. Follow along to create your own delicious dip:
Step 1: Prepare the Garlic
Start by mincing the garlic cloves finely. If you have a garlic press, this can make the job easier and ensure you get a smooth texture.
Step 2: Mix the Base
In a medium mixing bowl, combine the mayonnaise, minced garlic, and Dijon mustard. Stir until well combined.
Step 3: Add Flavor
Next, add the freshly squeezed lemon juice, paprika, dried dill, salt, and pepper to the bowl. Stir everything together until the mixture is smooth and creamy.
Step 4: Taste and Adjust
Take a moment to taste your aioli. You can add more lemon juice for tanginess, more garlic for a stronger flavor, or adjust the spices according to your preference.
Step 5: Chill and Serve
For the best flavor, cover the aioli and refrigerate for at least 30 minutes before serving. This allows the flavors to meld beautifully. Serve with your favorite dishes, like Garlic Herb Butter Roasted Chicken Root Veggies or Lemon Garlic Butter Steak Tips With Herb Potatoes.
Fit It to Your Goals

This Easy Garlic Aioli can be easily tailored to meet your dietary preferences. Consider the following options:
- Healthier version: Substitute mayonnaise with Greek yogurt or sour cream for a lighter dip.
- Herb variations: Experiment with fresh herbs like basil, parsley, or cilantro for a unique flavor twist.
- Spicy kick: Add a pinch of cayenne pepper or a dash of hot sauce for some heat.
- Vegan option: Use a plant-based mayonnaise to make this aioli suitable for a vegan diet.
These adaptations allow you to enjoy this aioli while aligning it with your nutritional goals.
Notes on Ingredients
When preparing your Easy Garlic Aioli, consider these notes about the ingredients:
- Mayonnaise: Use a high-quality mayonnaise for the best results. You can also try avocado mayo for a healthier option.
- Lemon Juice: Always use freshly squeezed lemon juice for a brighter flavor; bottled juice can taste flat.
- Dill: If using fresh dill, chop it finely to distribute its flavor evenly throughout the aioli.
- Garlic: Adjust the amount of garlic to your personal taste. You can roast the garlic for a sweeter, milder flavor.
These tips will help you choose the best ingredients for a delicious result.
Best Ways to Store
To keep your Easy Garlic Aioli fresh and flavorful, follow these storage tips:
- Refrigeration: Store in an airtight container in the refrigerator for up to one week.
- Freezing: While not recommended for long-term storage, you can freeze the aioli in ice cube trays for future use. Thaw as needed.
- Before serving: Always give the aioli a good stir before serving, as some separation may occur during storage.
Proper storage ensures that you can enjoy your aioli for days to come.
Popular Questions
Can I use garlic powder instead of fresh garlic?
Yes, you can use garlic powder if you prefer, but fresh garlic provides a more vibrant flavor. Use about 1/8 teaspoon of garlic powder for each clove of garlic.
Is this aioli suitable for dipping?
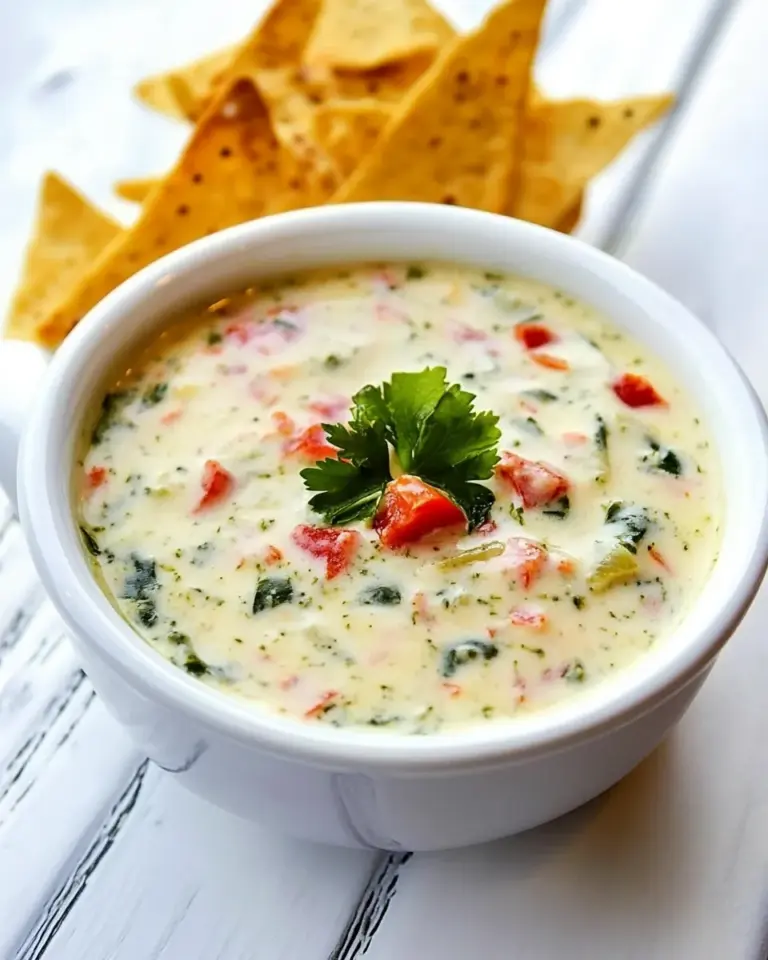
Absolutely! This Easy Garlic Aioli makes a fantastic dip for vegetables, fries, and even grilled meats. It adds a creamy, garlicky punch to any dish.
Can I make aioli ahead of time?
Yes! In fact, making it ahead of time allows the flavors to develop further. It can be stored in the refrigerator for up to a week, making it perfect for meal prep.
What dishes pair well with aioli?
This aioli complements a variety of dishes, such as Sticky Honey Sriracha Wings With Garlic Lime Dip, grilled vegetables, sandwiches, and seafood. Get creative with your pairings!
If you enjoyed making , you might also love these recipes:
These dishes will help you expand your culinary skills while enjoying delicious flavors.
Bring It to the Table
Now that you’ve mastered Easy Garlic Aioli, it’s time to enjoy the fruits of your labor. Serve it at your next gathering or make it a staple in your kitchen for quick meal enhancements. This creamy, garlicky sauce will surely become a favorite!
Your journey into the world of homemade condiments has just begun, and I can’t wait for you to explore the endless possibilities. Enjoy your cooking adventures and savor the flavors of your easy and delicious garlic aioli!
Easy Garlic Aioli
Ingredients
Equipment
Method
- Start by mincing the garlic cloves finely. If you have a garlic press, this can make the job easier and ensure you get a smooth texture.
- In a medium mixing bowl, combine the mayonnaise, minced garlic, and Dijon mustard. Stir until well combined.
- Next, add the freshly squeezed lemon juice, paprika, dried dill, salt, and pepper to the bowl. Stir everything together until the mixture is smooth and creamy.
- Take a moment to taste your aioli. You can add more lemon juice for tanginess, more garlic for a stronger flavor, or adjust the spices according to your preference.
- For the best flavor, cover the aioli and refrigerate for at least 30 minutes before serving. This allows the flavors to meld beautifully.
Notes
- Store in an airtight container in the refrigerator for up to one week.
- Substitute mayonnaise with Greek yogurt or sour cream for a lighter dip.
- Give the aioli a good stir before serving, as some separation may occur during storage.