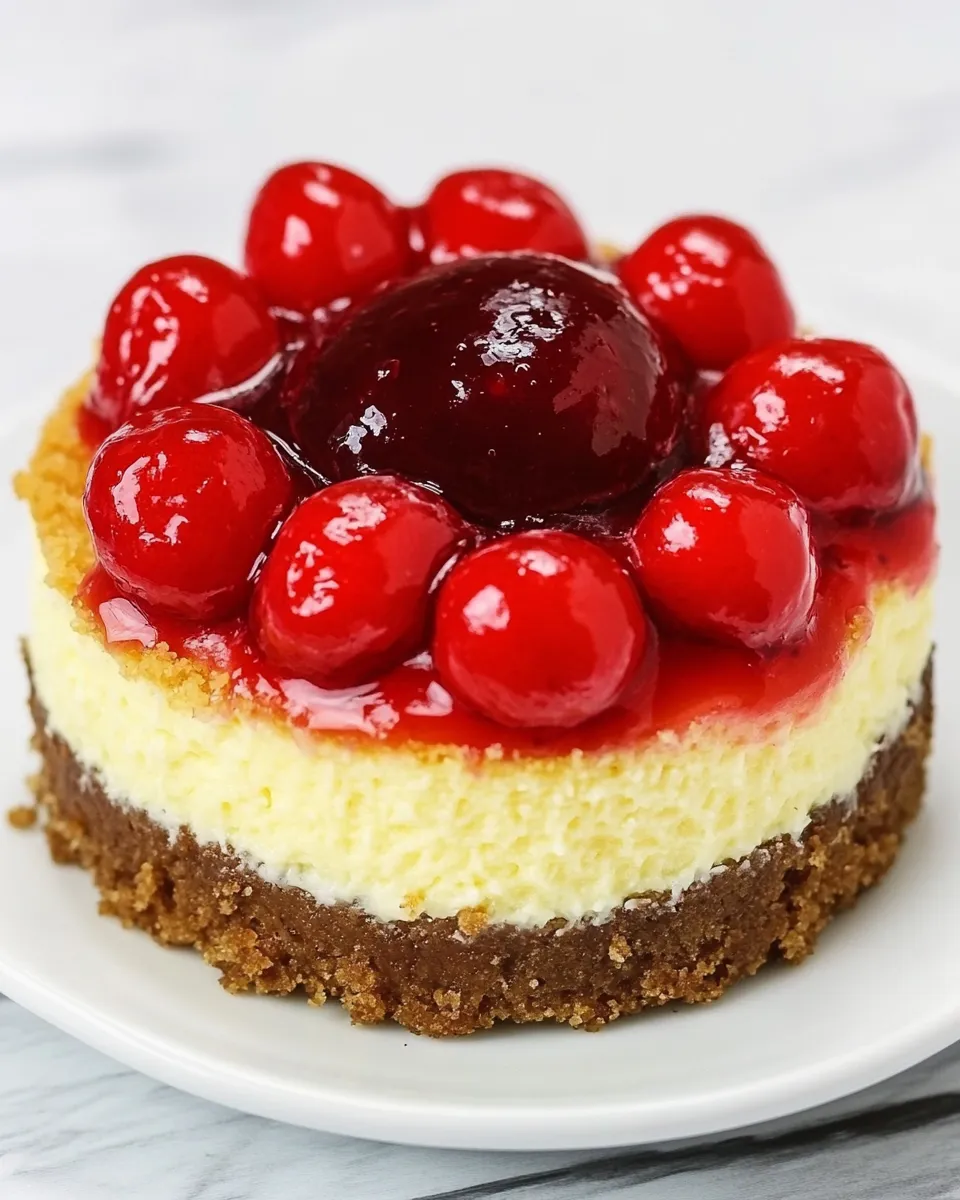
The delightful sweetness of cherries paired with the creamy richness of cheesecake makes for a dessert that is both elegant and utterly satisfying. If you’re looking for a treat that is simple yet impressive, these Mini Cherry Cheesecakes are the perfect solution. They are ideal for parties, family gatherings, or a cozy night in. Plus, the individual servings make them perfect for sharing—or not!
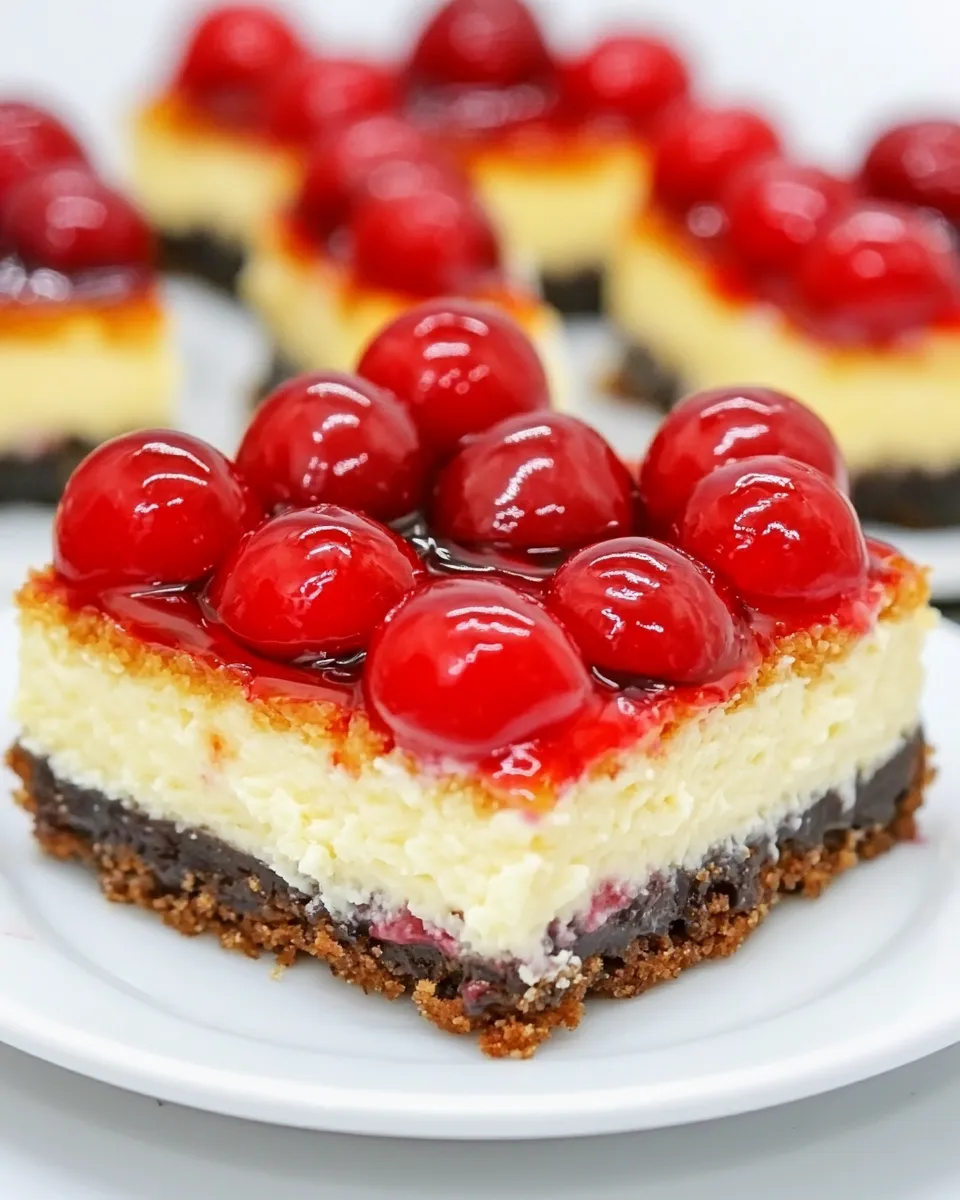
With a buttery graham cracker crust and a luscious cream cheese filling topped with vibrant cherry pie filling, this recipe is bound to become a favorite in your dessert repertoire. Let’s dive into the details of creating these delectable mini cheesecakes that will surely impress your friends and family.
Why This Recipe Is Reliable
This Mini Cherry Cheesecake recipe stands out for several reasons. First, it’s straightforward, making it accessible even for novice bakers. The ingredients are easy to find, and the steps are clear and concise. Each element works harmoniously together to create a dessert that is as pleasing to the eye as it is to the palate. Additionally, the use of cream cheese lends a rich texture, while the cherry topping adds a burst of flavor that balances the richness perfectly.
The Essentials
To make these Mini Cherry Cheesecakes, you’ll need the following ingredients:
- 1/2 cup unsalted butter, melted
- 1 cup graham cracker crumbs
- 16 ounces cream cheese, softened
- 1 cup white sugar
- 2 large eggs
- 1 cup sour cream
- 1 teaspoon vanilla extract
- 1 tablespoon all-purpose flour
- 1 can cherry pie filling
These ingredients combine to create a mouthwatering dessert that’s sure to be a hit.
Hardware & Gadgets
Before you start whipping up your Mini Cherry Cheesecakes, ensure you have the following tools:
- 12-cup muffin tin: Essential for baking your mini cheesecakes.
- Mixing bowls: For combining your ingredients seamlessly.
- Electric mixer: To achieve a smooth cream cheese batter.
- Measuring cups and spoons: Accuracy is key to a successful cheesecake.
- Spatula: Ideal for scraping down the sides of the bowl.
- Cooling rack: Helps to cool the cheesecakes properly.
With these tools at your disposal, you’ll be ready to create your mini masterpieces.
Mini Cherry Cheesecake Cooking Guide
Follow these steps to create your Mini Cherry Cheesecakes:
Step 1: Preheat the Oven
Begin by preheating your oven to 325°F (160°C). This ensures that your cheesecakes will bake evenly.
Step 2: Prepare the Crust
In a medium bowl, combine the graham cracker crumbs and melted butter. Mix until the crumbs are well-coated.
Step 3: Form the Crust
Line your muffin tin with cupcake liners for easy removal. Press the graham cracker mixture firmly into the bottom of each liner, creating a solid base for your cheesecakes.
Step 4: Make the Cheesecake Filling
In a large mixing bowl, beat the softened cream cheese with an electric mixer until smooth and creamy. Gradually add the sugar, mixing until well incorporated.
Step 5: Add the Eggs
Add the eggs, one at a time, mixing well after each addition. This helps to incorporate air, creating a light texture.
Step 6: Incorporate Sour Cream and Vanilla
Stir in the sour cream, vanilla extract, and flour until the mixture is smooth and free of lumps.
Step 7: Fill the Muffin Tin
Spoon the cream cheese filling over the prepared graham cracker crusts in the muffin tin, filling each liner about 3/4 full.
Step 8: Bake
Bake in the preheated oven for 20-25 minutes, or until the edges are set and the centers have a slight jiggle. They will firm up as they cool.
Step 9: Cool the Cheesecakes
Remove the cheesecakes from the oven and let them cool in the muffin tin for about 10 minutes. Then transfer them to a cooling rack to cool completely.
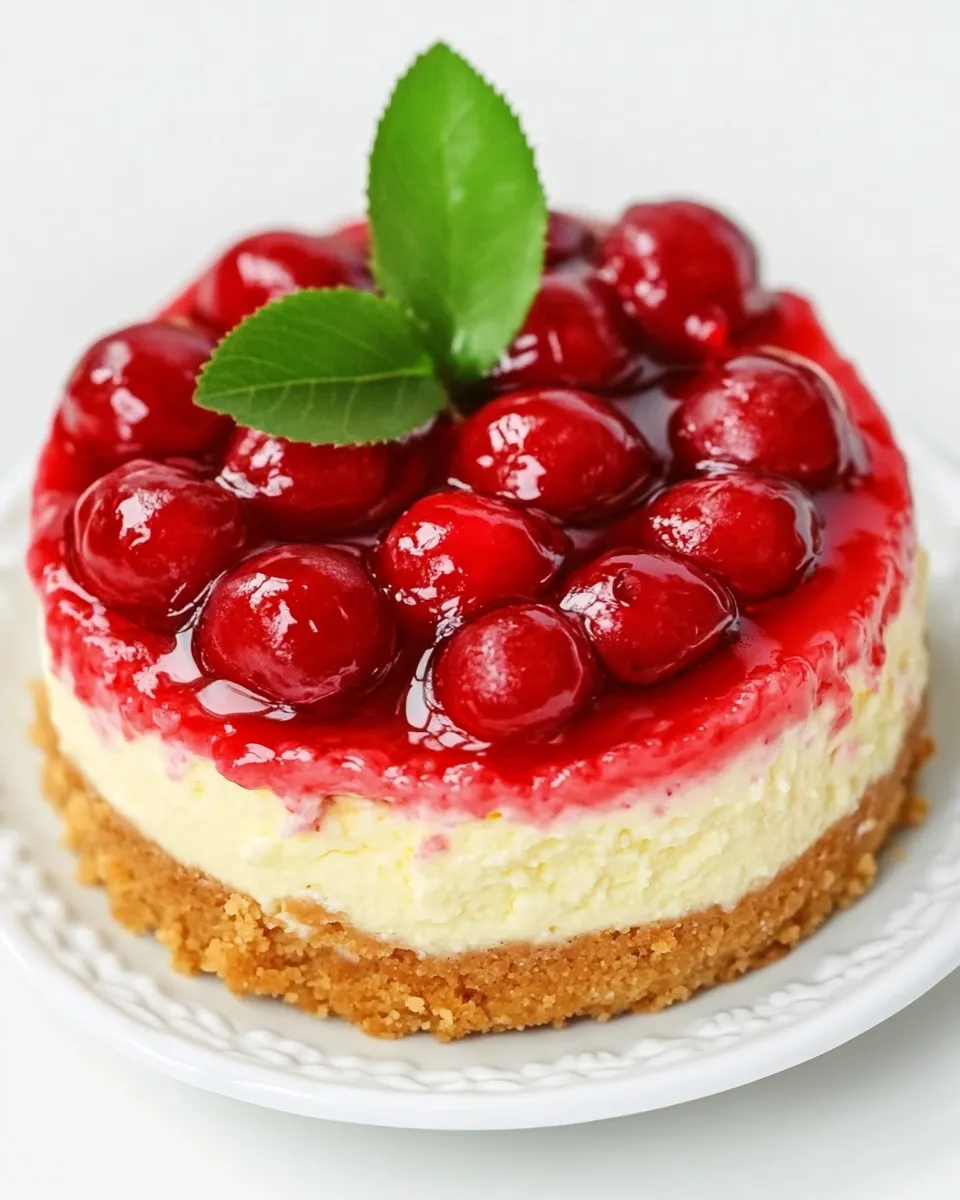
Step 10: Top with Cherry Filling
Once the cheesecakes are cool, top each one with a generous spoonful of cherry pie filling. The vibrant red cherries add a beautiful contrast to the creamy cheesecake.
Step 11: Chill
For the best flavor and texture, refrigerate your Mini Cherry Cheesecakes for at least 2 hours before serving. This allows the flavors to meld beautifully.
Adaptations for Special Diets
If you have dietary restrictions or preferences, here are some adaptations you can consider:
- Dairy-free option: Use dairy-free cream cheese and substitute the sour cream with a dairy-free alternative.
- Gluten-free option: Swap out the graham cracker crumbs for gluten-free cookie crumbs.
- Lower sugar option: Replace white sugar with a sugar substitute suitable for baking.
- Vegan option: Use a vegan cream cheese and substitute the eggs with a flaxseed mixture (1 tablespoon ground flaxseed + 2.5 tablespoons water = 1 egg).
These adaptations ensure that everyone can enjoy a slice of this delightful dessert.
Author’s Commentary
Creating these Mini Cherry Cheesecakes is not just about following a recipe; it’s about embracing the joy of baking and the satisfaction of sharing something delicious with loved ones. I love how versatile this recipe is—I often switch out the cherry topping for other fruits, like blueberries or strawberries, depending on what’s in season. You can even experiment with flavored cream cheese for an added twist. Remember, the key to a perfect cheesecake is patience—allowing it to cool and set properly is essential for the best texture. Enjoy the process, and don’t forget to lick the spoon!
Shelf Life & Storage
These Mini Cherry Cheesecakes are best enjoyed fresh, but they can be stored for up to 5 days in the refrigerator. Keep them covered with plastic wrap or in an airtight container to maintain their freshness. If you want to prepare them ahead of time, you can make the cheesecakes and store them without the cherry topping. Add the topping just before serving for the best presentation and taste.
Top Questions & Answers
Can I use a different fruit topping for these cheesecakes?
Absolutely! While cherry pie filling is a classic choice, you can use any fruit topping you like, such as strawberry, blueberry, or even a mixed berry compote.
Can I freeze Mini Cherry Cheesecakes?
Yes, you can freeze them! Just make sure to wrap them tightly in plastic wrap and place them in an airtight container. They can be frozen for up to 2 months. Thaw them in the refrigerator before serving.
Do I have to use cupcake liners?
While cupcake liners make for easy removal, you can also grease the muffin tin well with cooking spray or butter if you prefer to bake them without liners. Just be careful when removing them!
What can I do with leftover cream cheese?
If you have leftover cream cheese, you can use it in a variety of recipes! Try making Cream Cheese Pound Cake or Cream Cheese Banana Muffins for a delicious treat.
Final Thoughts
As you wrap up your baking adventure with these Mini Cherry Cheesecakes, remember that the joy of baking comes not just from the final product but from the love and care you put into each step. Whether you’re sharing them with friends or enjoying them solo, these mini delights are bound to bring a smile to your face. So gather your ingredients, preheat that oven, and let the magic of cheesecake unfold. Happy baking!
Mini Cherry Cheesecake
Ingredients
Equipment
Method
- Step 1: Preheat your oven to 325°F (160°C) for even baking.
- Step 2: In a medium bowl, combine graham cracker crumbs and melted butter until well-coated.
- Step 3: Line your muffin tin with cupcake liners and press the graham cracker mixture firmly into the bottom.
- Step 4: Beat softened cream cheese until smooth, then gradually add sugar.
- Step 5: Add eggs one at a time, mixing well after each addition.
- Step 6: Stir in sour cream, vanilla extract, and flour until smooth.
- Step 7: Spoon cream cheese filling over prepared crusts in muffin tin, filling each about 3/4 full.
- Step 8: Bake for 20-25 minutes until edges are set and centers jiggle slightly.
- Step 9: Cool in muffin tin for 10 minutes, then transfer to a cooling rack.
- Step 10: Top each cheesecake with cherry pie filling once cool.
- Step 11: Refrigerate for at least 2 hours before serving for best flavor.
Notes
- For a dairy-free option, use dairy-free cream cheese and sour cream alternatives.
- To make gluten-free, substitute the graham cracker crumbs with gluten-free cookie crumbs.
- Allow cheesecakes to cool completely for the best texture and flavor.