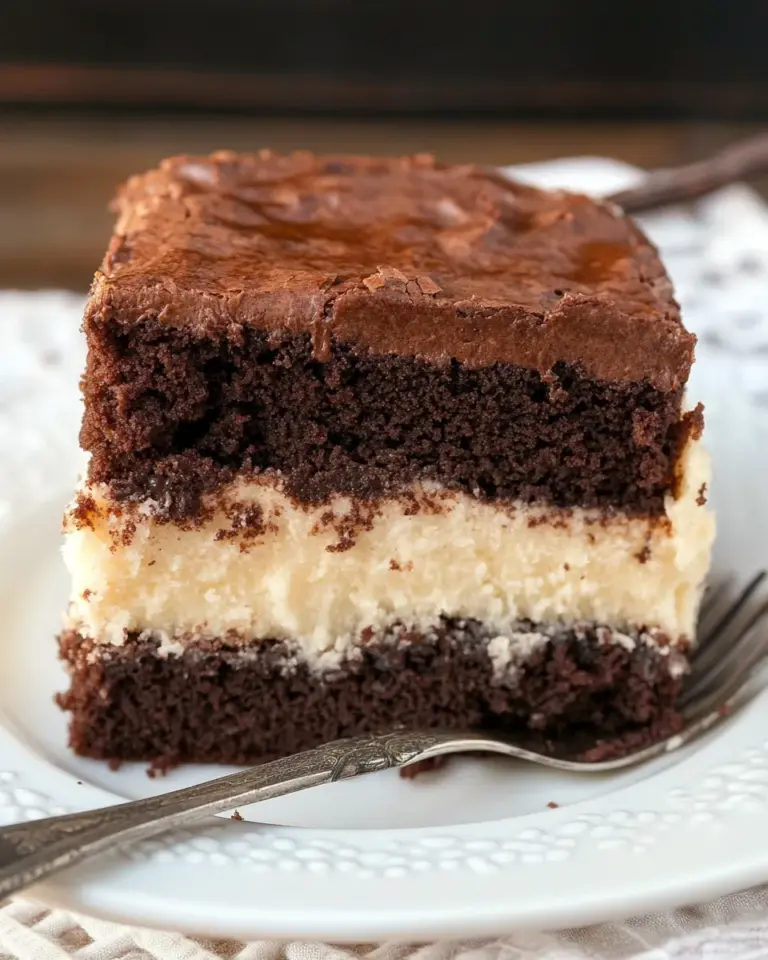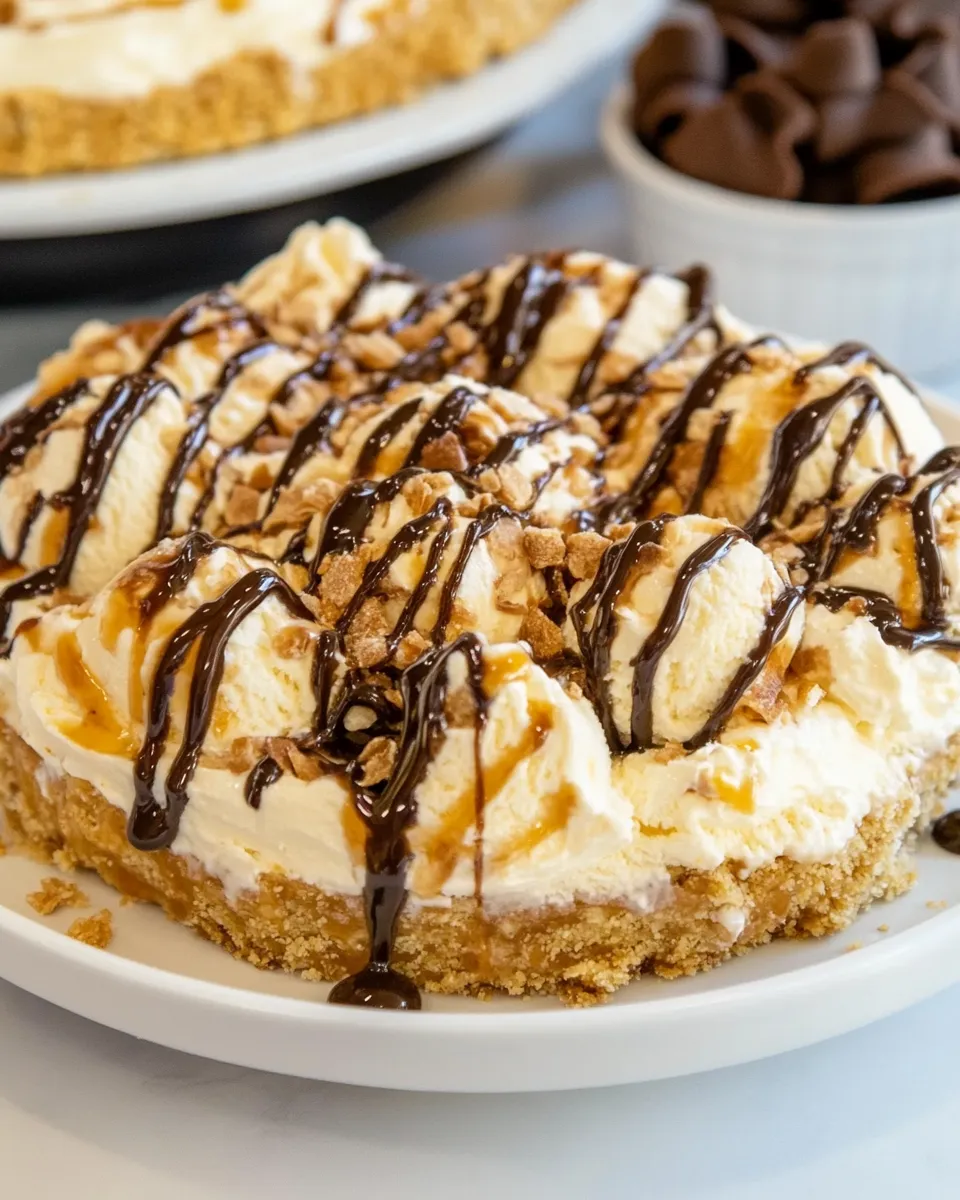
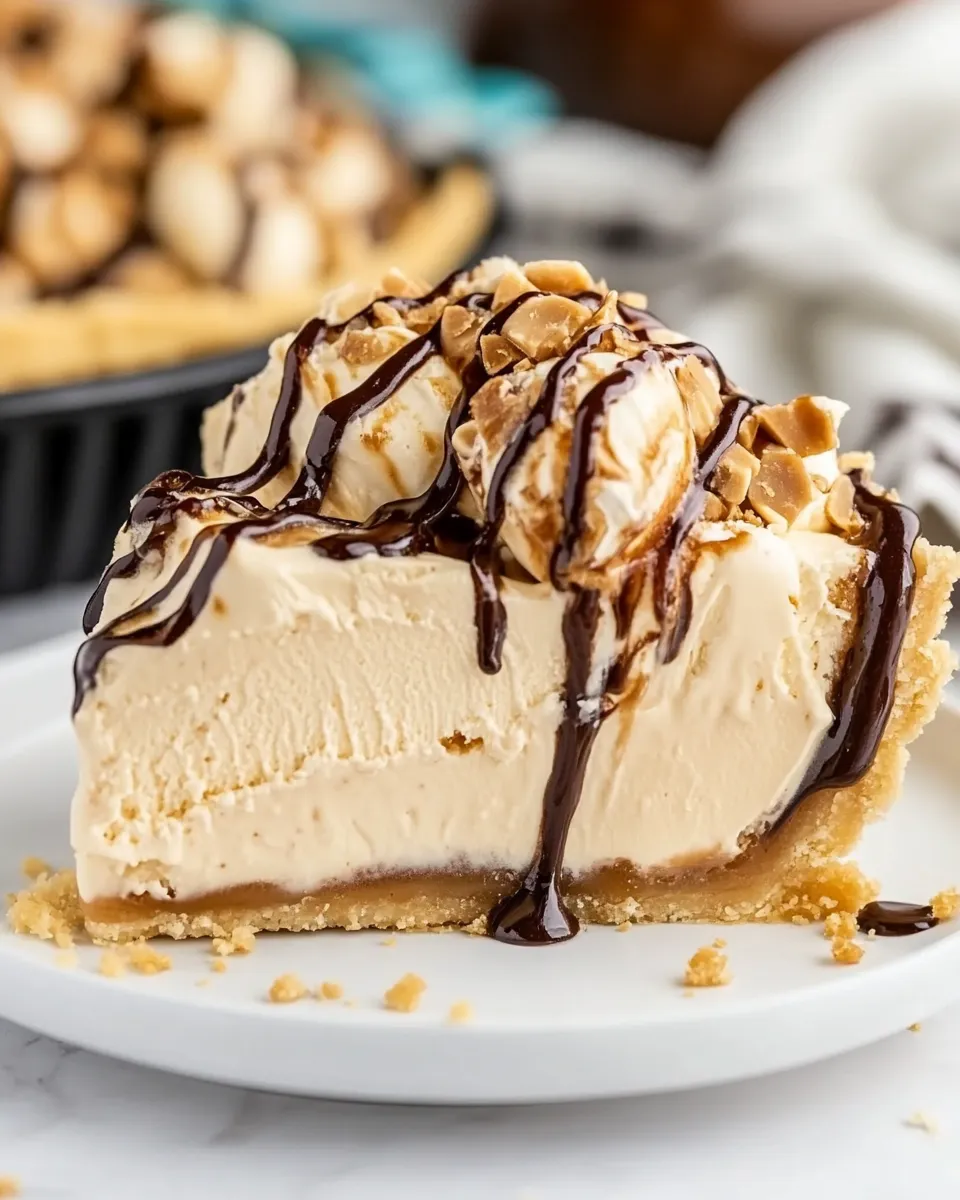
Indulging in a slice of Dulce de Leche Ice Cream Pie is like taking a mini-vacation for your taste buds. This decadent dessert combines the rich, caramel-like flavors of dulce de leche with the creamy texture of ice cream, all nestled in a crunchy cookie crust. Perfect for warm weather gatherings or simply a sweet treat at home, this pie is sure to impress family and friends. Let’s dive into the details of this delightful recipe and learn why it has become a favorite among dessert lovers.
Why Cooks Rave About It
The Dulce de Leche Ice Cream Pie has garnered rave reviews for several reasons. First, it’s a no-bake dessert, making it an ideal choice for hot summer days when you want to stay out of the kitchen. Second, the combination of flavors and textures—from the crisp vanilla wafer crust to the velvety ice cream filling—creates a harmonious balance that pleases the palate. Finally, its simplicity allows for customization, inviting creativity in toppings or additional flavors.
What We’re Using
To create this amazing pie, here’s what you’ll need:
- 1/2 cup finely chopped pecans
- 3 tablespoons sugar
- 1 cup vanilla wafer cookie crumbs
- 1/2 teaspoon ground cinnamon
- 4 tablespoons butter, melted
- 2 tablespoons boiling water
- 1 tablespoon instant espresso or instant coffee powder
- 1 cup sugar
- 2 tablespoons unsweetened cocoa powder
- 1 cup whipping cream
- 1/4 cup light corn syrup
- 2 ounces unsweetened chocolate, finely chopped
- 2 tablespoons butter
- 1 teaspoon vanilla extract
- 2 pints dulce de leche ice cream
- Whipped topping, optional
Must-Have Equipment
Before we get started, gather these essential tools:
- Mixing Bowls: For combining crust ingredients and filling.
- Pie Dish: A 9-inch pie dish is perfect for this recipe.
- Whisk: To blend the filling smoothly.
- Rubber Spatula: For scraping down the sides of the bowl.
- Measuring Cups and Spoons: Accurate measurements are key to success!
Step-by-Step: Dulce de Leche Ice Cream Pie
Step 1: Prepare the Crust
In a mixing bowl, combine the finely chopped pecans, sugar, vanilla wafer cookie crumbs, and ground cinnamon. Pour in the melted butter and mix until everything is well combined. The mixture should hold together when pressed.
Step 2: Form the Crust
Press the crumb mixture firmly into the bottom and up the sides of a 9-inch pie dish. Ensure it’s evenly distributed and compact for a sturdy base. Chill the crust in the refrigerator while you prepare the filling.
Step 3: Make the Chocolate Layer
In a small bowl, dissolve the instant espresso or coffee powder in the boiling water. In a saucepan over medium heat, combine the sugar, cocoa powder, whipping cream, and light corn syrup. Stir continuously until the mixture begins to simmer.
Step 4: Add Chocolate
Remove the saucepan from the heat and add the finely chopped unsweetened chocolate and butter. Stir until melted and smooth. Finally, mix in the vanilla extract and the dissolved coffee. Allow this mixture to cool slightly.
Step 5: Assemble the Pie
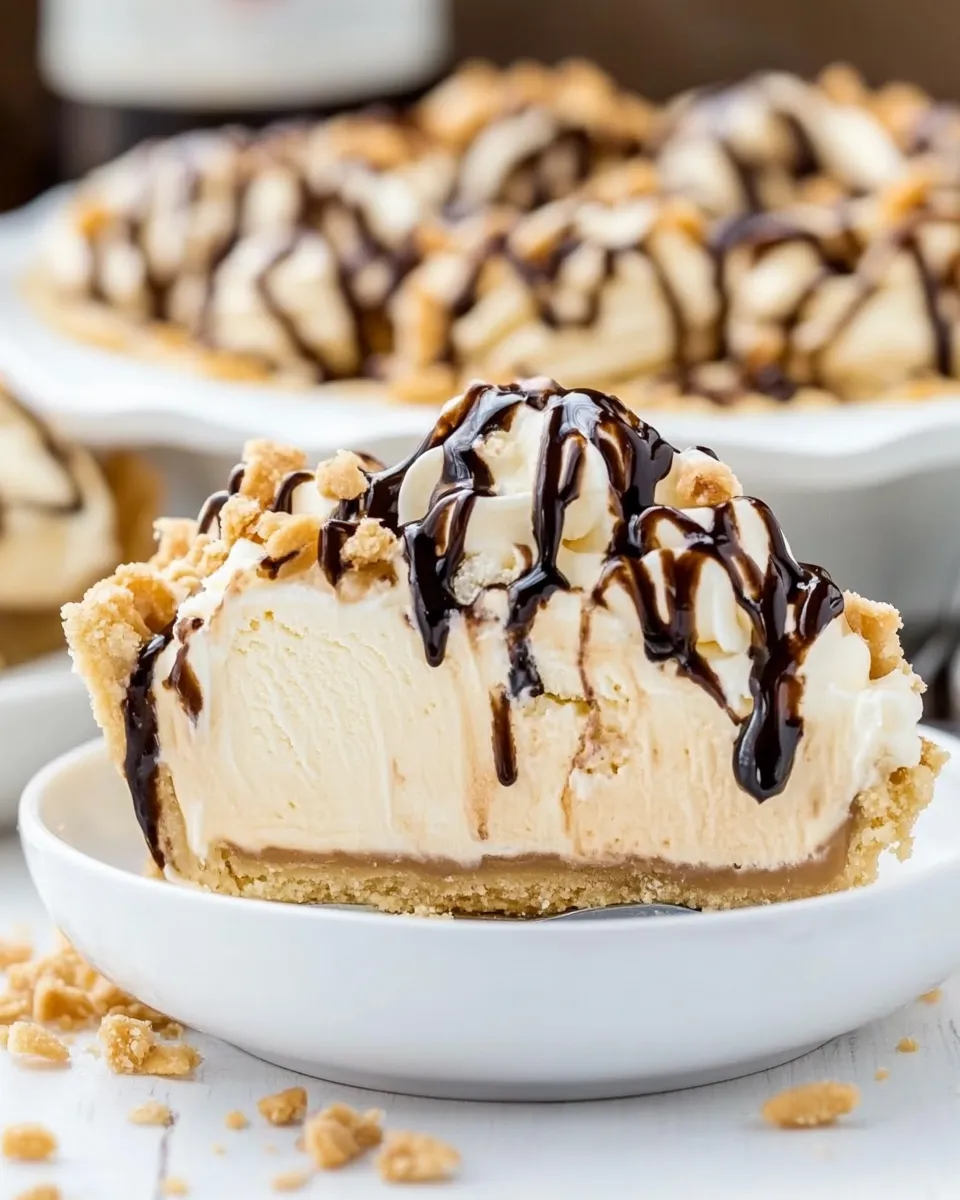
Take the chilled crust out of the refrigerator. Layer the bottom with the chocolate mixture, spreading it evenly. Next, scoop the dulce de leche ice cream on top, smoothing it out to create an even layer.
Step 6: Freeze
Cover the pie with plastic wrap and freeze for at least 4 hours, or until the ice cream is set and firm.
Step 7: Serve
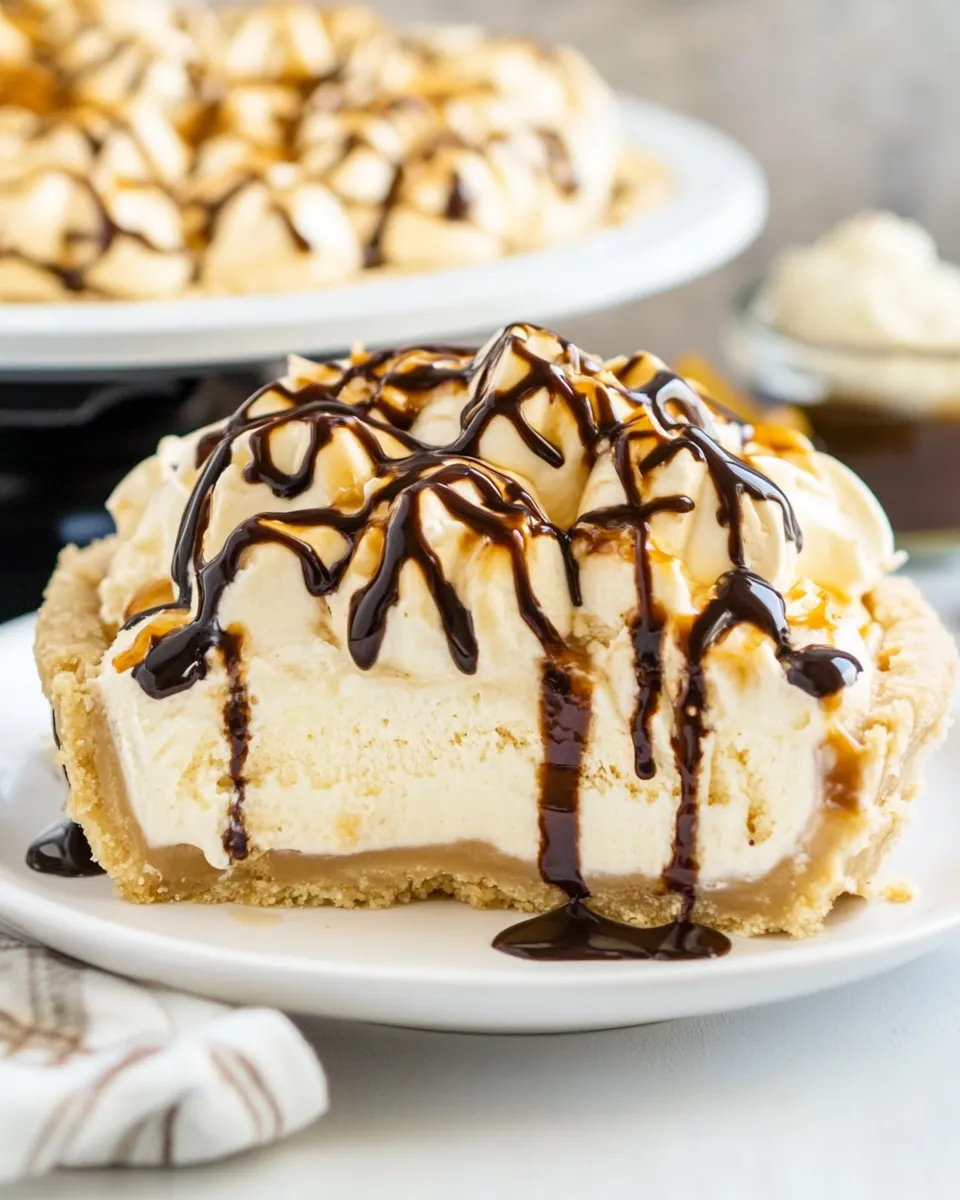
When you’re ready to serve, remove the pie from the freezer. If desired, top with whipped topping for an extra touch of creaminess. Slice and enjoy your delicious Dulce de Leche Ice Cream Pie!
Dairy-Free/Gluten-Free Swaps
If you’re looking to make this pie dairy-free or gluten-free, consider these swaps:
- Use gluten-free vanilla wafer cookies for the crust.
- Opt for dairy-free butter and ice cream alternatives.
- Choose a dairy-free chocolate for the filling, ensuring it’s also gluten-free.
Author’s Commentary
Creating the Dulce de Leche Ice Cream Pie has become a cherished tradition in my kitchen. Its layered flavors and textures are not only delightful but also allow for a wonderful presentation. Every time I serve it, I’m met with smiles and compliments. This dessert is versatile, and I love experimenting with different toppings, such as crushed nuts or drizzles of chocolate sauce. It’s a crowd-pleaser, and I can’t recommend it enough!
Keep It Fresh: Storage Guide
The Dulce de Leche Ice Cream Pie is best enjoyed fresh but can be stored in the freezer for up to a week. Make sure to cover it well with plastic wrap or aluminum foil to prevent freezer burn. Allow it to sit at room temperature for a few minutes before slicing to make it easier to cut through the frozen layers.
Quick Q&A
Can I make this pie a day ahead of time?
Absolutely! In fact, making the pie a day in advance allows the flavors to meld beautifully. Just ensure it’s properly covered and stored in the freezer.
What can I use instead of pecans?
If you’re not a fan of pecans, feel free to substitute with walnuts or almonds for a different flavor profile. You can also skip the nuts entirely if you prefer a nut-free option.
Can I use homemade dulce de leche?
Yes! Homemade dulce de leche can add a personal touch to your Dulce de Leche Ice Cream Pie. Just ensure it’s thick and creamy for the best results.
Is it possible to make a smaller version of this pie?
Definitely! You can halve the ingredients and use a smaller pie dish or individual serving cups to create personal-sized desserts.
If you loved this recipe, you might want to try these delightful desserts:
Wrap-Up
The Dulce de Leche Ice Cream Pie is a dessert that combines simplicity with indulgence. Its layers of flavor and texture create an unforgettable experience with every bite. Whether you’re serving it at a gathering or enjoying a quiet evening at home, this pie is sure to be a hit. So, gather your ingredients, follow the steps, and prepare to savor a slice of pure bliss. Enjoy this delightful treat, and let your culinary creativity shine!
Dulce de Leche Ice Cream Pie
Ingredients
Equipment
Method
- In a mixing bowl, combine the finely chopped pecans, sugar, vanilla wafer cookie crumbs, and ground cinnamon. Pour in the melted butter and mix until everything is well combined. The mixture should hold together when pressed.
- Press the crumb mixture firmly into the bottom and up the sides of a 9-inch pie dish. Ensure it’s evenly distributed and compact for a sturdy base. Chill the crust in the refrigerator while you prepare the filling.
- In a small bowl, dissolve the instant espresso or coffee powder in the boiling water. In a saucepan over medium heat, combine the sugar, cocoa powder, whipping cream, and light corn syrup. Stir continuously until the mixture begins to simmer.
- Remove the saucepan from the heat and add the finely chopped unsweetened chocolate and butter. Stir until melted and smooth. Finally, mix in the vanilla extract and the dissolved coffee. Allow this mixture to cool slightly.
- Take the chilled crust out of the refrigerator. Layer the bottom with the chocolate mixture, spreading it evenly. Next, scoop the dulce de leche ice cream on top, smoothing it out to create an even layer.
- Cover the pie with plastic wrap and freeze for at least 4 hours, or until the ice cream is set and firm.
- When you’re ready to serve, remove the pie from the freezer. If desired, top with whipped topping for an extra touch of creaminess. Slice and enjoy your delicious Dulce de Leche Ice Cream Pie!
Notes
- For a gluten-free version, use gluten-free vanilla wafer cookies.
- Experiment with toppings like crushed nuts or chocolate drizzle.
- Store leftovers in the freezer for up to a week, covered tightly.