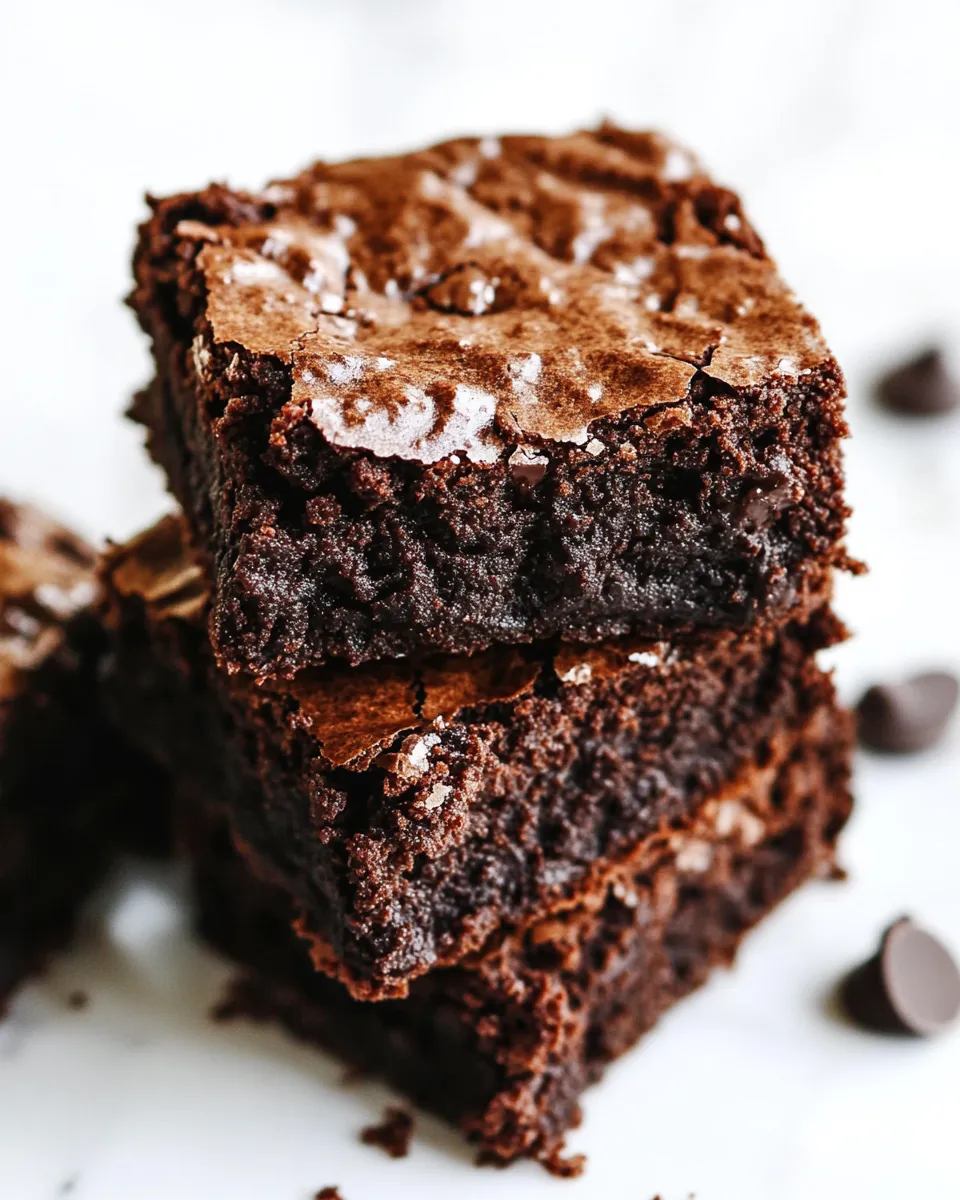
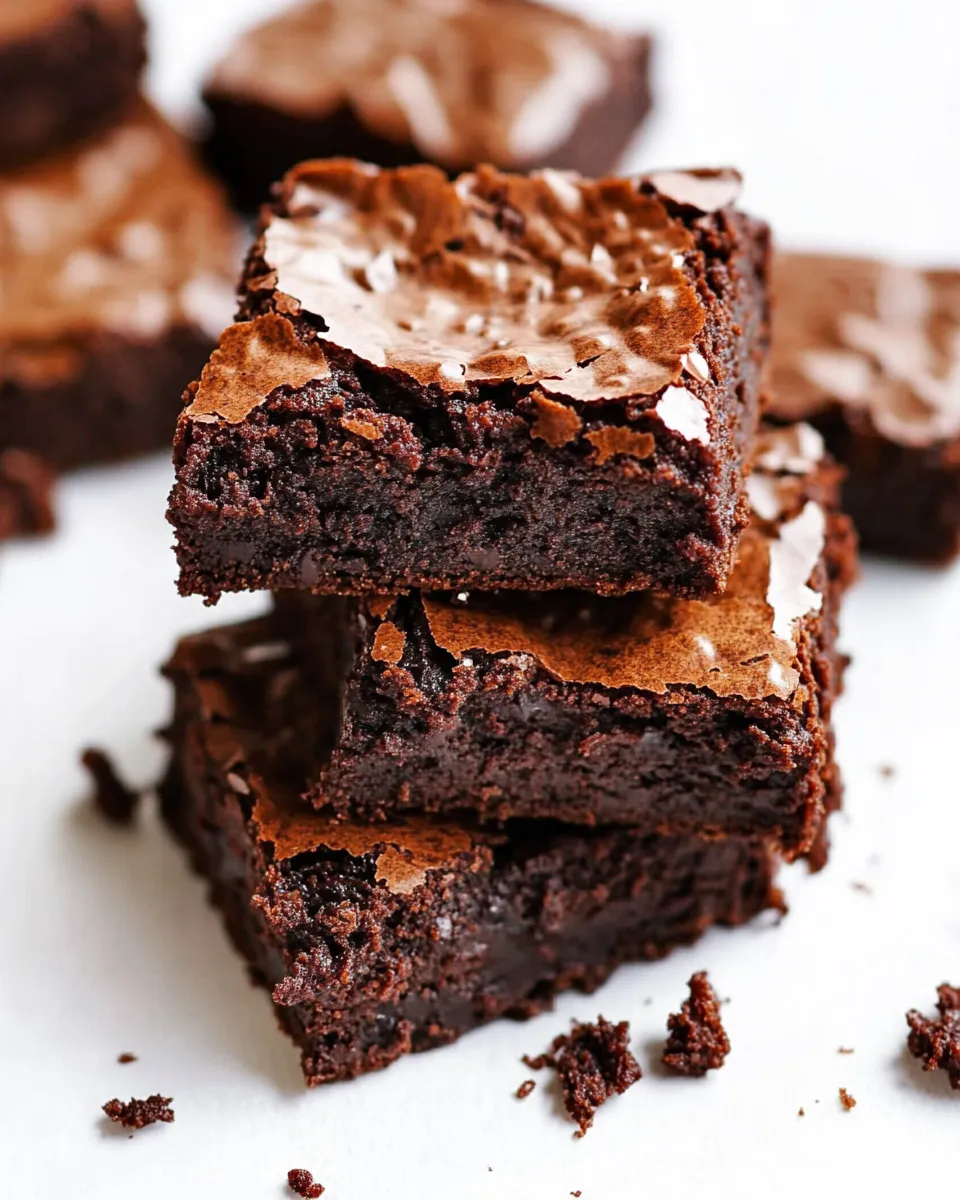
Indulging in a rich, fudgy brownie is one of life’s simple pleasures, and when it comes to making a delicious treat without the use of flour, these Flourless Chocolate Brownies are a game changer. They are not only gluten-free but also packed with deep chocolate flavor, perfect for satisfying any sweet tooth. The best part? They come together in one bowl and are guaranteed to impress friends and family alike.
Whether you’re baking for a special occasion or just looking to treat yourself, these brownies are the solution. Let’s dive into why this recipe has become my go-to for an easy, decadent dessert.
Why It’s My Go-To
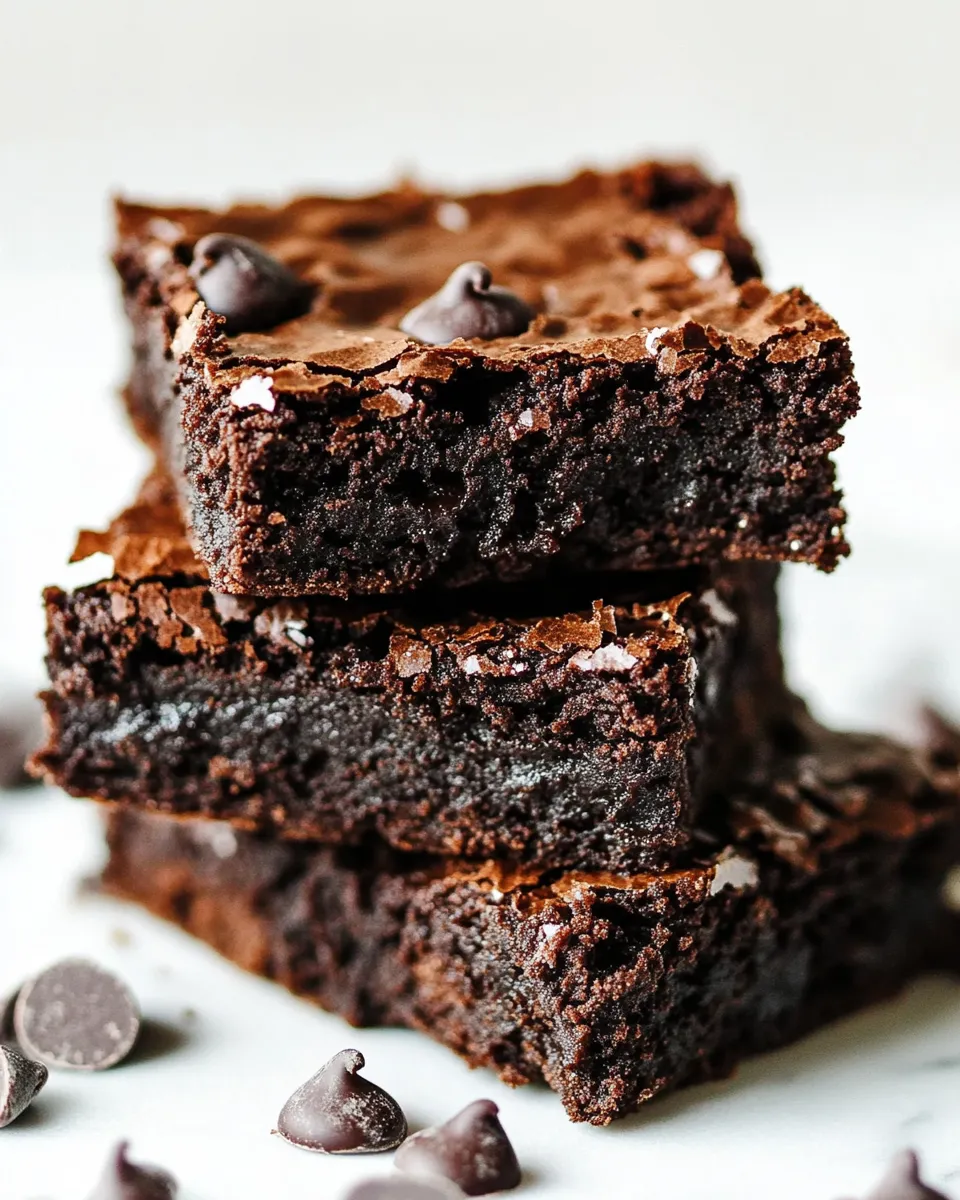
I adore these Flourless Chocolate Brownies for several reasons. Firstly, they are incredibly easy to make. With minimal ingredients that you likely already have in your pantry, they come together in no time. Secondly, the texture is an absolute dream; they’re chewy on the outside and wonderfully fudgy on the inside. Plus, they are perfect for those who need to avoid gluten but still want to indulge in a rich chocolate treat. Lastly, the recipe is highly versatile, allowing you to add your own twist, whether it’s a sprinkle of sea salt on top or a handful of nuts mixed in.
What’s in the Bowl
To whip up these irresistible Flourless Chocolate Brownies, you will need the following ingredients:
- 1/3 cup melted butter – this adds richness and a lovely flavor.
- 8 ounces semi-sweet Baker’s chocolate, chopped – the star of the show, providing that deep chocolate flavor.
- 1 cup granulated sugar – for sweetness that balances the richness of the chocolate.
- 1/4 teaspoon salt – enhances all the flavors in the brownies.
- 1 teaspoon vanilla extract – adds a warm, aromatic note.
- 2 large eggs, beaten – helps bind the ingredients and provide structure.
- 3 tablespoons dark cocoa powder – intensifies the chocolate flavor and adds depth.
- 2 tablespoons cornstarch – acts as a thickener and replaces the flour.
- 1/4 cup chocolate chips or chocolate chunks – for extra melty goodness.
Must-Have Equipment
Before we get started, gather the following equipment:
- Mixing bowl – for combining all your ingredients.
- Rubber spatula – perfect for folding in the chocolate and ensuring nothing is left behind.
- Baking pan – an 8×8-inch pan works wonderfully for these brownies.
- Microwave-safe bowl – for melting the chocolate and butter together.
- Whisk – to beat the eggs and mix everything smoothly.
Stepwise Method: Flourless Chocolate Brownies
Step 1: Preheat the Oven
Begin by preheating your oven to 350°F (175°C). This ensures your brownies bake evenly and achieve that perfect fudgy texture.
Step 2: Melt the Chocolate and Butter
In a microwave-safe bowl, combine the chopped semi-sweet chocolate and melted butter. Microwave in short intervals, stirring in between, until everything is melted and smooth.
Step 3: Mix in Sugar and Salt
Once your chocolate and butter mixture is cool enough to touch, add in the granulated sugar and salt. Stir until fully incorporated.
Step 4: Add Vanilla and Eggs
Mix in the vanilla extract followed by the beaten eggs. Whisk until the mixture is well combined and glossy.
Step 5: Sift in Cocoa Powder and Cornstarch
Sift the dark cocoa powder and cornstarch into the bowl. This step prevents lumps and ensures a smooth batter. Fold gently until just combined.
Step 6: Fold in Chocolate Chips
Add the chocolate chips or chunks into the batter, folding them in with a spatula for an extra chocolatey bite.
Step 7: Pour into Baking Pan
Grease your baking pan lightly and pour the brownie batter into it, spreading it evenly with your spatula.
Step 8: Bake
Bake in the preheated oven for 20-25 minutes. The brownies are done when the edges look firm, and a toothpick inserted in the center comes out with a few moist crumbs.
Step 9: Cool and Slice
Allow the brownies to cool in the pan for at least 10 minutes before transferring them to a wire rack. Once fully cooled, slice them into squares and enjoy!
Low-Carb/Keto Alternatives
If you’re looking to make these brownies lower in carbs, consider these alternatives:
- Substitute sugar with erythritol or monk fruit sweetener – for a low-calorie sweetener option that behaves similarly to sugar.
- Use unsweetened cocoa powder instead of dark cocoa powder to reduce sugar content.
- Replace butter with coconut oil – this will maintain the healthy fat content while keeping the flavor intact.
- Consider adding chopped nuts – such as walnuts or pecans, for added texture and flavor.
Insider Tips
To achieve the best Flourless Chocolate Brownies, keep these tips in mind:
- Don’t overmix – Once you combine the dry ingredients, mix just until incorporated to maintain that fudgy texture.
- Check for doneness – Every oven is different, so keep an eye on your brownies towards the end of baking.
- Let them cool completely – This ensures they firm up nicely and are easier to slice without crumbling.
- Serve with a scoop of ice cream – For an indulgent treat, serve your brownies warm with a scoop of vanilla ice cream or a drizzle of chocolate buttercream frosting.
Make Ahead Like a Pro
These Flourless Chocolate Brownies are perfect for making ahead of time. Here’s how:
- Store in an airtight container – They will stay fresh for up to 5 days at room temperature.
- Freeze for later – Cut the brownies into squares and freeze them in a single layer. Once frozen, transfer them to a zip-top bag for up to 3 months.
- Thaw before serving – Just allow them to come to room temperature or gently warm them in the microwave for a few seconds.
Reader Q&A
Can I use different types of chocolate?
Absolutely! While semi-sweet chocolate gives the best flavor, you can experiment with dark chocolate or even milk chocolate for a sweeter brownie.
What if I don’t have cornstarch?
If you don’t have cornstarch, you can substitute it with an equal amount of potato starch or simply omit it. The brownies may be slightly denser but still delicious!
Can I add nuts to the batter?
Yes! Chopped walnuts or pecans can be added for extra texture and flavor. Just fold them in with the chocolate chips.
How do I know when the brownies are done baking?
Check for doneness by inserting a toothpick into the center. It should come out with a few moist crumbs attached but not wet batter.
If you love these Flourless Chocolate Brownies, you might also enjoy:
Bring It Home
There’s truly nothing quite like sinking your teeth into a rich, fudgy Flourless Chocolate Brownie. They are the ultimate treat for chocolate lovers and a fantastic dessert option for gatherings and parties. With simple ingredients and straightforward instructions, you can whip up a batch in no time. Whether you enjoy them plain or with your favorite toppings, these brownies are sure to become a staple in your baking repertoire. Happy baking!
Flourless Chocolate Brownies
Ingredients
Equipment
Method
- Step 1: Preheat the Oven - Begin by preheating your oven to 350°F (175°C). This ensures your brownies bake evenly and achieve that perfect fudgy texture.
- Step 2: Melt the Chocolate and Butter - In a microwave-safe bowl, combine the chopped semi-sweet chocolate and melted butter. Microwave in short intervals, stirring in between, until everything is melted and smooth.
- Step 3: Mix in Sugar and Salt - Once your chocolate and butter mixture is cool enough to touch, add in the granulated sugar and salt. Stir until fully incorporated.
- Step 4: Add Vanilla and Eggs - Mix in the vanilla extract followed by the beaten eggs. Whisk until the mixture is well combined and glossy.
- Step 5: Sift in Cocoa Powder and Cornstarch - Sift the dark cocoa powder and cornstarch into the bowl. This step prevents lumps and ensures a smooth batter. Fold gently until just combined.
- Step 6: Fold in Chocolate Chips - Add the chocolate chips or chunks into the batter, folding them in with a spatula for an extra chocolatey bite.
- Step 7: Pour into Baking Pan - Grease your baking pan lightly and pour the brownie batter into it, spreading it evenly with your spatula.
- Step 8: Bake - Bake in the preheated oven for 20-25 minutes. The brownies are done when the edges look firm, and a toothpick inserted in the center comes out with a few moist crumbs.
- Step 9: Cool and Slice - Allow the brownies to cool in the pan for at least 10 minutes before transferring them to a wire rack. Once fully cooled, slice them into squares and enjoy!
Notes
- Don’t overmix - Once you combine the dry ingredients, mix just until incorporated to maintain that fudgy texture.
- Check for doneness - Every oven is different, so keep an eye on your brownies towards the end of baking.
- Let them cool completely - This ensures they firm up nicely and are easier to slice without crumbling.