There’s something undeniably comforting about a silky bowl of Chocolate Pudding made from Scratch. Whether you’re reminiscing about childhood desserts or simply indulging in a late-night treat, this homemade version brings a depth of flavor that store-bought options simply can’t match. With a rich, velvety texture and a burst of chocolatey goodness, making pudding from scratch is not only rewarding but also incredibly satisfying. Let’s dive into the art of crafting this delectable dessert!
The Upside of Chocolate Pudding made from Scratch
When you decide to make Chocolate Pudding made from Scratch, you are embracing a world of flavor that is rich, creamy, and utterly divine. Here are some benefits:
- Fresh Ingredients: You control what goes into your pudding, ensuring quality and freshness.
- Flavor Perfection: Homemade pudding allows you to adjust sweetness and chocolate intensity to your liking.
- Texture Control: You can achieve that perfectly smooth and creamy texture that is sometimes hard to find in store-bought options.
- Creative Freedom: The base recipe can be modified with flavors like vanilla, coffee, or even spices for a unique twist.
What You’ll Gather
To create your delightful Chocolate Pudding made from Scratch, you will need the following ingredients:
- 2 teaspoons vanilla extract
- 1/2 teaspoon espresso powder
- 1/2 cup granulated sugar
- 3 tablespoons Dutch-processed cocoa (I used Hershey’s Special Dark)
- 2 tablespoons cornstarch
- 1/4 teaspoon salt
- 3 large egg yolks
- 1/2 cup heavy cream
- 2 1/2 cups whole milk
- 5 tablespoons unsalted butter, cut into chunks
- 4 ounces bittersweet chocolate, chopped
- Whipped topping (optional)
Tools of the Trade
Before you start cooking, gather these essential tools:
- Medium Saucepan: For cooking the pudding base.
- Whisk: To combine ingredients smoothly.
- Heatproof Bowl: For melting chocolate and mixing.
- Measuring Cups and Spoons: Precision is key in baking.
- Fine Mesh Strainer: To ensure a silky texture by straining out lumps.
- Rubber Spatula: For scraping down the sides of the saucepan.
Step-by-Step: Chocolate Pudding made from Scratch
Now that we have our ingredients and tools ready, let’s get into the nitty-gritty of making Chocolate Pudding made from Scratch.
Step 1: Combine Dry Ingredients
In a medium saucepan, whisk together the granulated sugar, Dutch-processed cocoa, cornstarch, espresso powder, and salt. This will be the base for your pudding, and whisking these dry ingredients together helps to eliminate any lumps.
Step 2: Mix in Egg Yolks
Add the three large egg yolks to the saucepan. Whisk them into the dry ingredients until well combined. The mixture might look a bit thick, but that’s okay!
Step 3: Incorporate Milk and Cream
Gradually pour in the whole milk and heavy cream, whisking continuously until the mixture is smooth and free of lumps. This is where the magic starts to happen; you’re creating the luscious base for your pudding.
Step 4: Heat the Mixture
Place the saucepan over medium heat. Continue to whisk the mixture as it heats. This is crucial to prevent sticking and ensure even cooking. Keep an eye on it!
Step 5: Cook Until Thickened
As the mixture heats, you’ll notice it starting to thicken. This usually takes about 5-7 minutes. Once it coats the back of a spoon, it’s time for the next step.
Step 6: Melt in Chocolate and Butter
Remove the saucepan from the heat. Stir in the chopped bittersweet chocolate and unsalted butter. Stir until they are completely melted and the pudding is smooth and glossy.
Step 7: Add Vanilla
Finally, stir in the vanilla extract for that aromatic touch.
Step 8: Strain (Optional)
If you want your pudding to be ultra-smooth, pour it through a fine mesh strainer into a clean bowl to remove any lumps or bits of cooked egg.
Step 9: Chill
Cover the pudding with plastic wrap, pressing it directly onto the surface to prevent a skin from forming. Chill in the refrigerator for at least 2 hours before serving.
Fresh Takes Through the Year
This Chocolate Pudding made from Scratch can be adapted to suit different occasions and seasons. Here are some ideas:
- Add a splash of peppermint extract during the holidays for a festive twist.
- Top with seasonal fruits like raspberries or strawberries in the summer.
- Mix in a dollop of peanut butter for a nutty flavor—try it with Chocolate Cupcakes With Peanut Butter Frosting!
- For a fun presentation, layer the pudding with whipped cream and crushed cookies for a parfait.
Behind-the-Scenes Notes
Making Chocolate Pudding made from Scratch is not just about following a recipe; it’s about understanding the process. Here are some tips:
- Use high-quality chocolate; it makes a significant difference in flavor.
- Ensure you whisk continuously, especially as the mixture heats, to avoid scorching.
- Experiment with different types of cocoa for varying chocolate flavors.
- Feel free to adjust the sugar based on your preference for sweetness.
Save for Later: Storage Tips
Once your Chocolate Pudding made from Scratch is ready, store it properly to maintain its deliciousness:
- Keep it covered with plastic wrap or in an airtight container to prevent it from absorbing odors from the fridge.
- It will last for up to 5 days in the refrigerator.
- Stir gently before serving, as it may thicken further in the fridge.
- Consider freezing it if you want to save it for longer, but note the texture may change slightly.
Common Questions
Can I use non-dairy milk for this recipe?
Yes! You can substitute whole milk with almond milk, coconut milk, or oat milk. Just ensure they are unsweetened for the best results.
What can I do if my pudding is lumpy?
If your pudding turns out lumpy, simply strain it through a fine mesh strainer to remove the lumps and achieve that smooth consistency.
How can I make this pudding vegan?
To make a vegan version, substitute the egg yolks with cornstarch or silken tofu, use non-dairy milk and cream, and replace butter with coconut oil or a vegan butter alternative.
What should I serve with chocolate pudding?
Consider serving it with whipped topping, fresh fruits, or alongside dessert options like Chocolate Buttercream Frosting for a delightful pairing.
Once you’ve mastered , why not explore these delicious recipes?
Serve & Enjoy
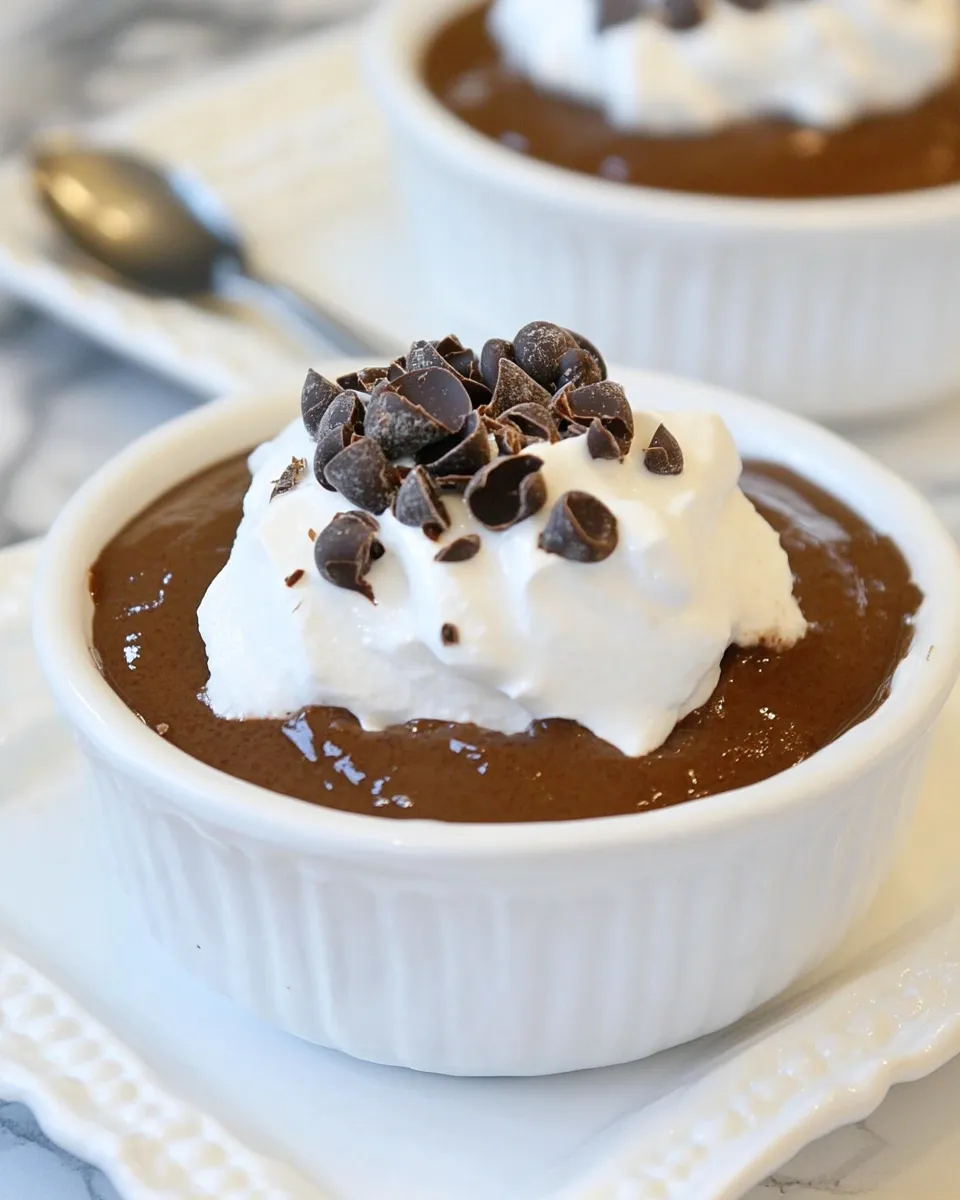
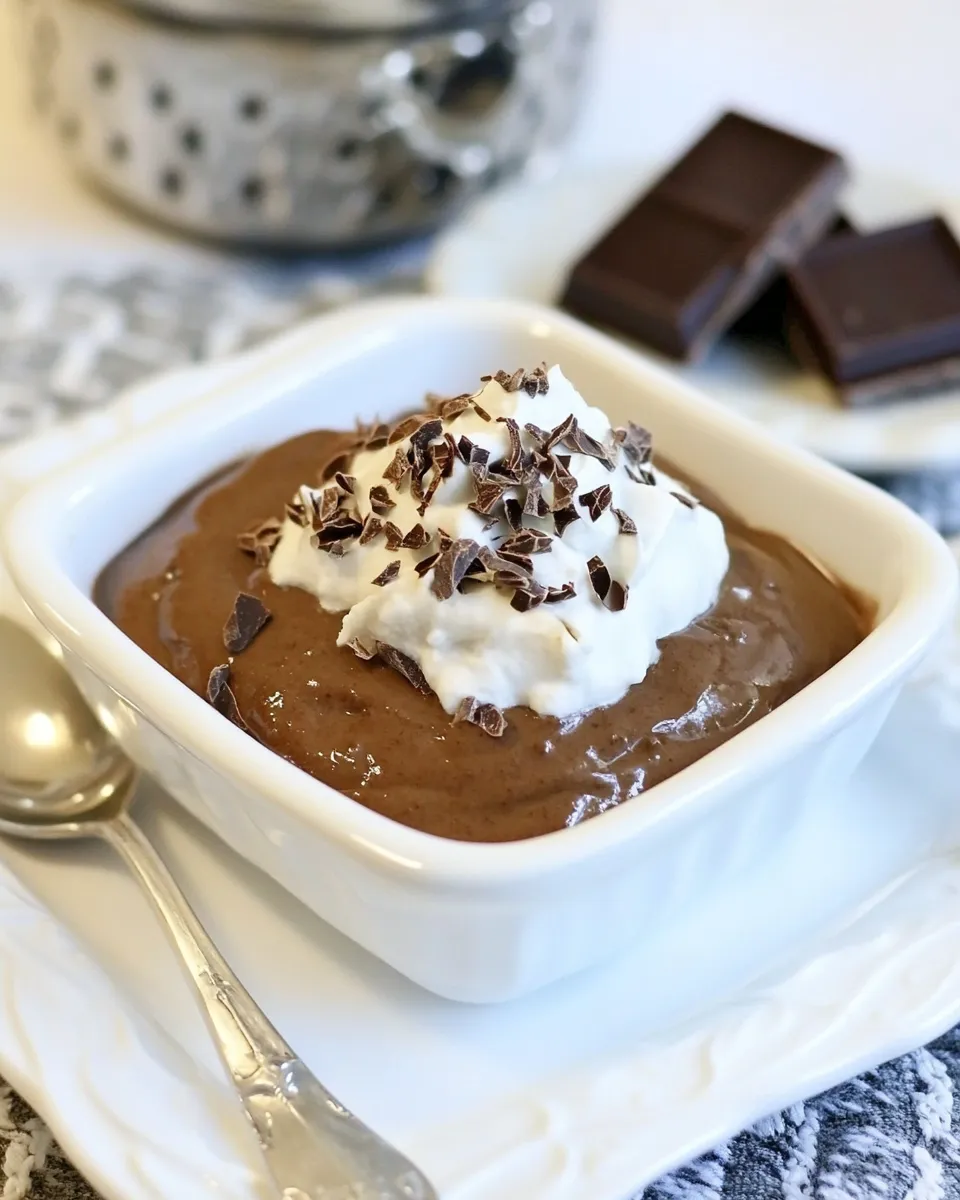
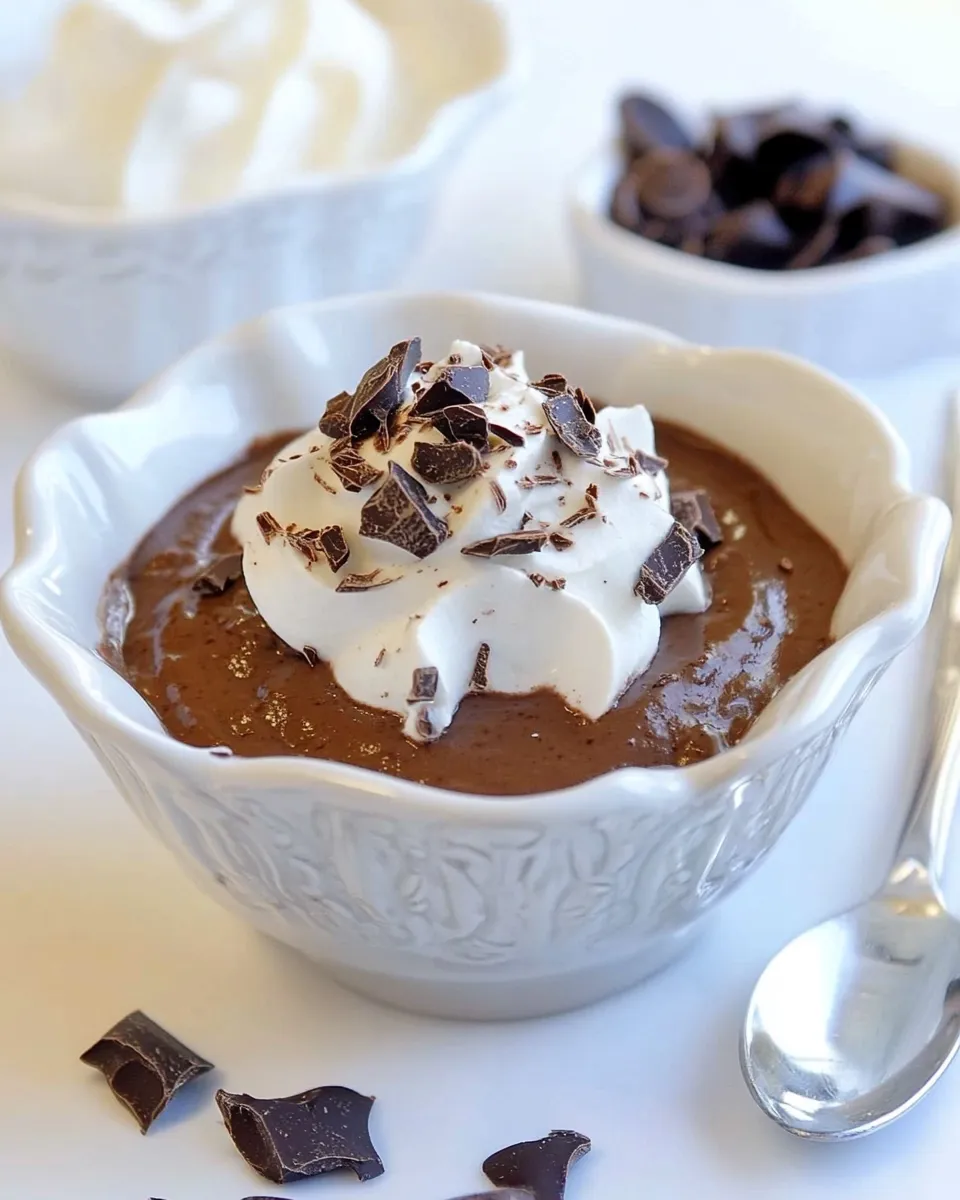
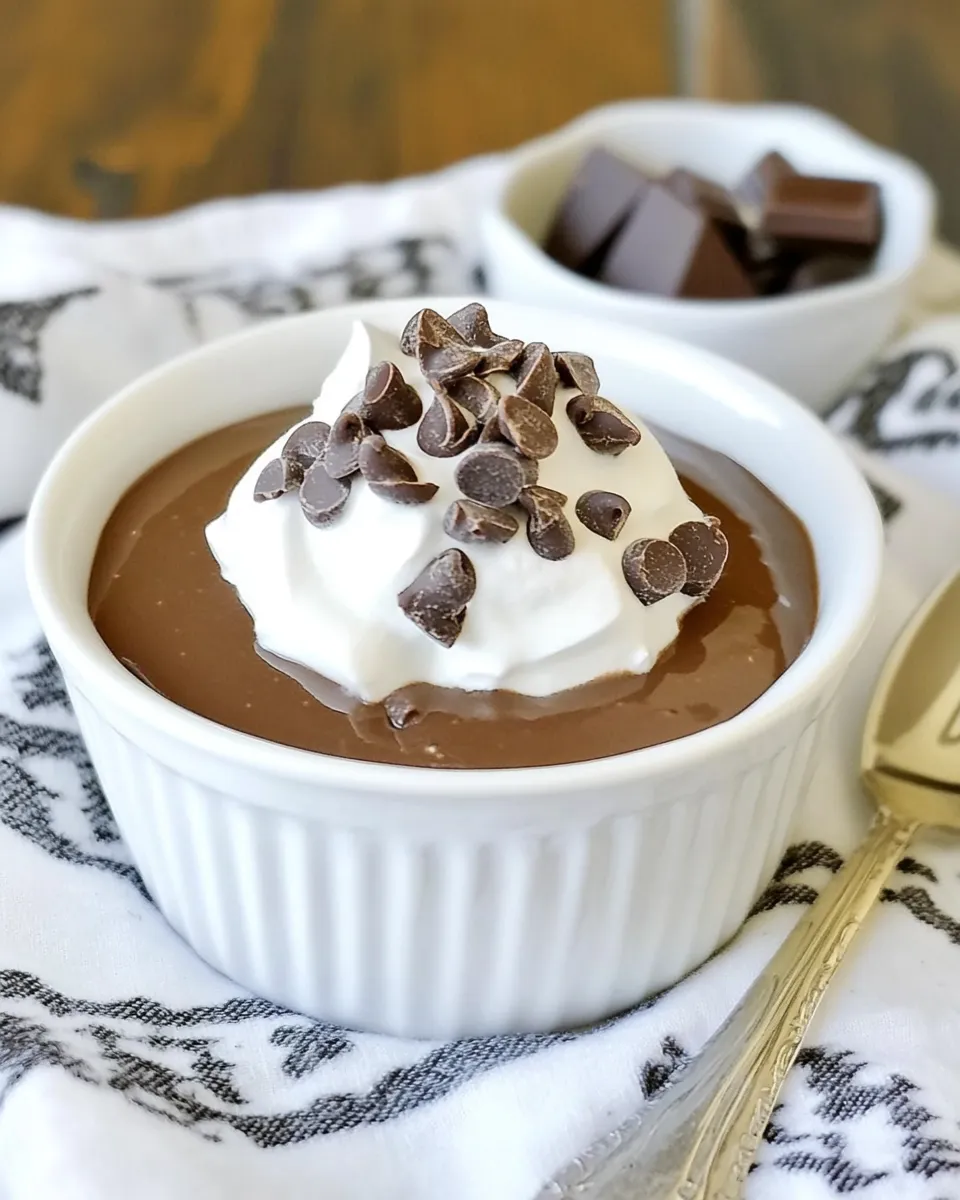
Now that your Chocolate Pudding made from Scratch is chilled and ready to go, it’s time to indulge. Serve it in individual cups or a large bowl, topped with whipped cream and a sprinkle of cocoa or chocolate shavings if desired. Each spoonful is a reminder of why homemade desserts are worth the effort. Enjoy the rich, creamy texture and the deep chocolate flavor that only comes from crafting it yourself.
With this recipe, you’ll never look at chocolate pudding the same way again. So gather your ingredients, follow the steps, and treat yourself to a timeless classic that never goes out of style!
Chocolate Pudding made from Scratch
Ingredients
Equipment
Method
- In a medium saucepan, whisk together the granulated sugar, Dutch-processed cocoa, cornstarch, espresso powder, and salt.
- Add the three large egg yolks to the saucepan and whisk them into the dry ingredients until well combined.
- Gradually pour in the whole milk and heavy cream, whisking continuously until smooth.
- Place the saucepan over medium heat and continue to whisk the mixture as it heats.
- Cook until the mixture thickens, about 5-7 minutes, until it coats the back of a spoon.
- Remove from heat and stir in the chopped bittersweet chocolate and unsalted butter until melted.
- Stir in the vanilla extract.
- Optionally, pour through a fine mesh strainer into a clean bowl to remove lumps.
- Cover with plastic wrap, pressing directly onto the surface, and chill for at least 2 hours before serving.
Notes
- Use high-quality chocolate for better flavor.
- Whisk continuously while heating to avoid scorching.
- Experiment with different cocoa types for varying flavors.