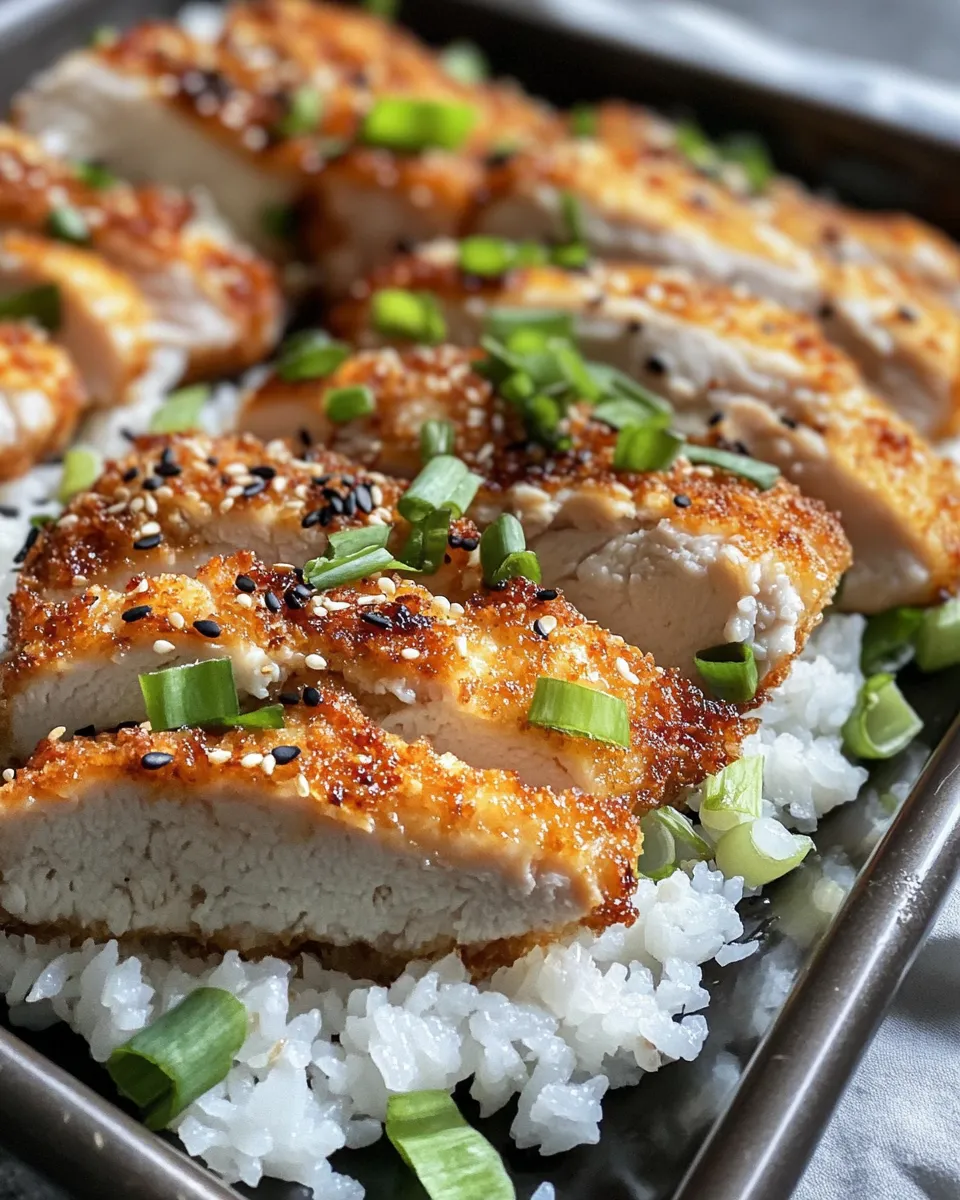
Golden Chicken Katsu with Sticky Rice (Oven-Baked) is a delightful twist on a beloved Japanese comfort food classic. This recipe delivers crispy, golden chicken breasts coated in a flavorful, crunchy panko crust, perfectly paired with tender, slightly sweet sticky rice. The best part? It’s all oven-baked, making it lighter, less messy, and just as satisfying. Whether you’re craving a cozy weeknight dinner or a dish to impress guests, this recipe combines simple ingredients and straightforward steps to bring incredible flavor and texture to your plate. Let’s dive into everything you need to know to master this irresistible meal.
Top Reasons to Make Golden Chicken Katsu with Sticky Rice (Oven-Baked)
- Healthier Preparation: Oven-baking reduces the amount of oil used while still delivering a crispy, golden crust that rivals deep-fried katsu.
- Simple Ingredients: With pantry staples like panko breadcrumbs, eggs, and spices, plus easy-to-find chicken breasts, this recipe is approachable for cooks of all skill levels.
- Flavorful and Balanced: The savory chicken pairs beautifully with the subtly sweet sticky rice, enhanced by a drizzle of honey-soy glaze and fresh green onions.
- Minimal Fuss: No complicated techniques or special equipment needed—just your oven, a few bowls, and a baking sheet.
- Perfectly Portionable: Using four chicken breasts makes this dish ideal for family dinners or meal prep.
What You’ll Gather
- 4 boneless, skinless chicken breasts
- 1 cup panko breadcrumbs
- 1/2 cup all-purpose flour
- 2 large eggs
- 1 teaspoon salt
- 1/2 teaspoon black pepper
- 1 teaspoon garlic powder
- 1 teaspoon onion powder
- 1 cup cooked sticky rice
- 1 tablespoon vegetable oil
- 1 tablespoon soy sauce
- 1 tablespoon honey
- 1 green onion, sliced for garnish
Recommended Tools
- Baking Sheet: A rimmed sheet to hold your chicken while it bakes evenly.
- Mixing Bowls: Several bowls for dredging the chicken in flour, egg wash, and panko.
- Meat Mallet or Rolling Pin: To gently pound chicken breasts to an even thickness for uniform cooking.
- Wire Rack: Optional but recommended for placing chicken on the baking sheet to allow airflow and crispiness on all sides.
- Small Saucepan: For mixing and warming the honey-soy glaze.
Mastering Golden Chicken Katsu with Sticky Rice (Oven-Baked): How-To
Step 1: Prepare Your Chicken
Begin by trimming any excess fat from the chicken breasts. Place each breast between two sheets of parchment paper or plastic wrap and gently pound them with a meat mallet or rolling pin until they are about 1/2-inch thick. This step ensures even cooking and tender results.
Step 2: Set Up Your Breading Station
In one shallow bowl, combine the all-purpose flour with salt, black pepper, garlic powder, and onion powder. In a second bowl, beat the eggs until smooth. In a third bowl, place the panko breadcrumbs. These three stations will help you achieve the perfect crispy coating.
Step 3: Bread the Chicken
Lightly dredge each chicken breast in the seasoned flour, shaking off any excess. Next, dip the chicken into the beaten eggs, allowing any extra to drip off. Finally, coat the chicken evenly with the panko breadcrumbs, pressing gently to adhere the crumbs well.
Step 4: Prepare the Baking Sheet and Oven
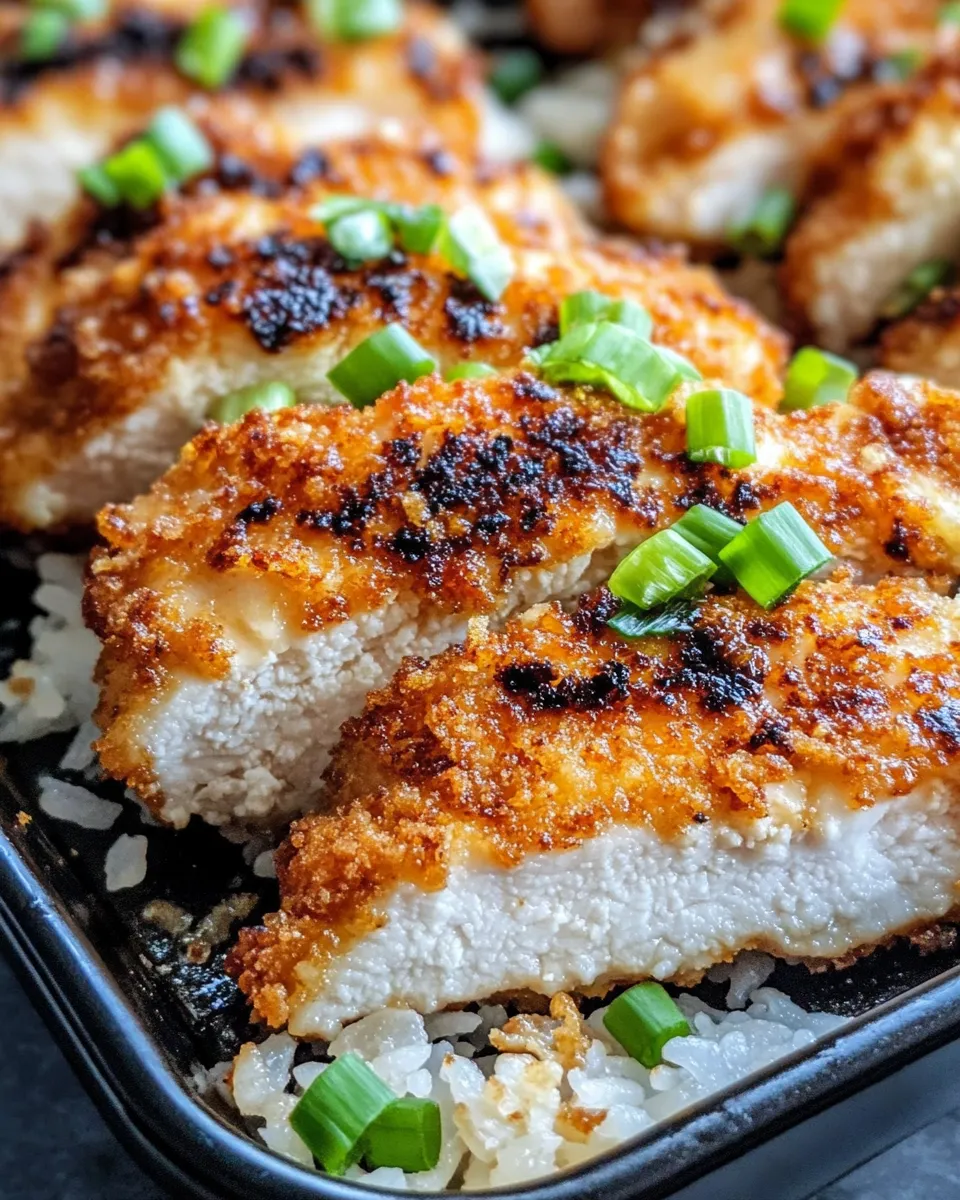
Preheat your oven to 425°F (220°C). Line a baking sheet with parchment paper or foil, then place a wire rack on top if you have one. Lightly brush or spray the rack with vegetable oil to prevent sticking. Arrange the breaded chicken breasts on the rack in a single layer.
Step 5: Bake the Chicken
Drizzle or brush the tops of the chicken with the vegetable oil to promote browning. Bake for 18-22 minutes, flipping the chicken halfway through, until the crust turns golden brown and the internal temperature reaches 165°F (74°C).
Step 6: Cook the Sticky Rice
While the chicken bakes, prepare the sticky rice according to package instructions or your preferred method. Sticky rice is essential for that chewy, tender texture that pairs perfectly with the crispy chicken.
Step 7: Make the Honey-Soy Glaze
In a small saucepan over low heat, combine the soy sauce and honey. Stir gently until the honey dissolves into the soy sauce, forming a glossy glaze. Remove from heat and set aside.
Step 8: Assemble and Serve
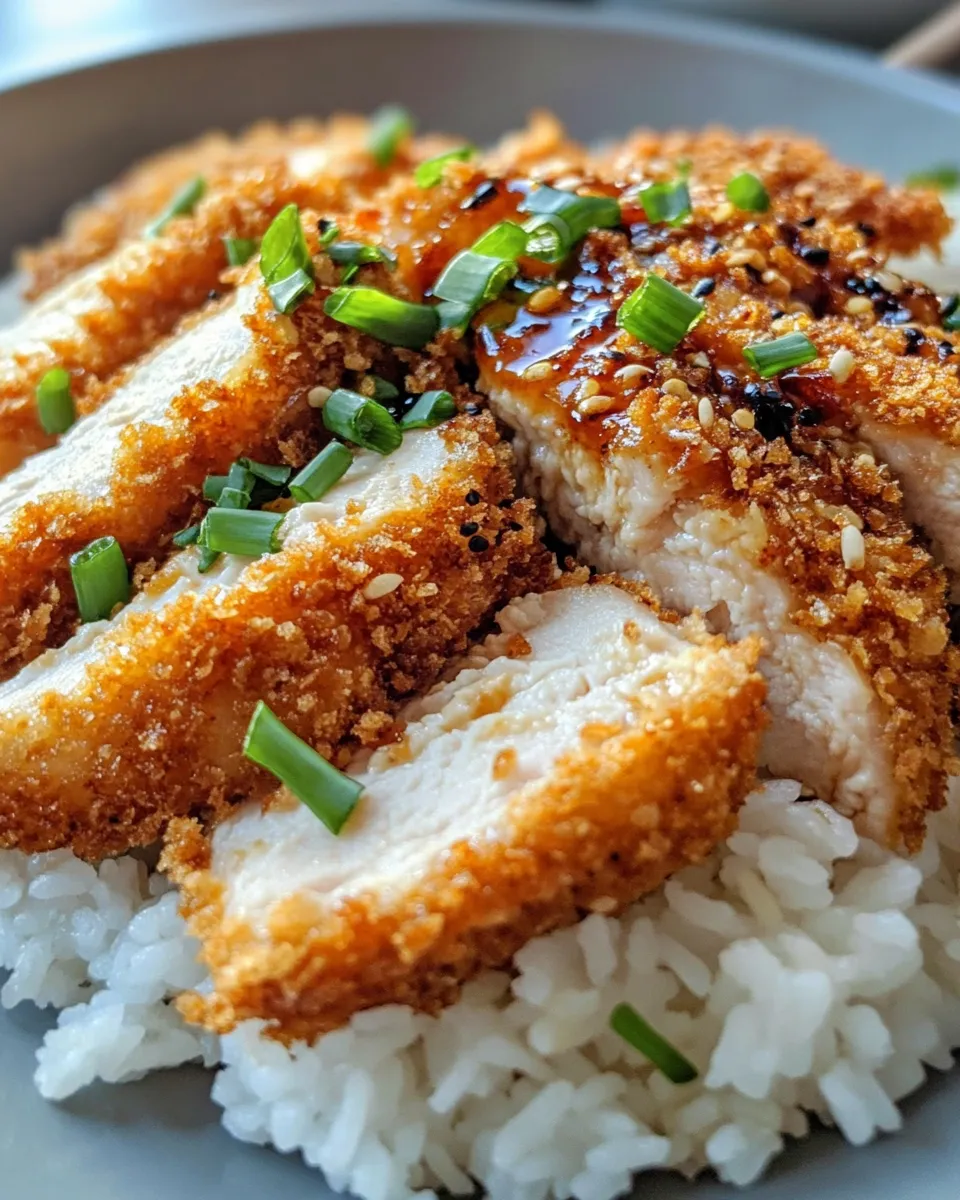
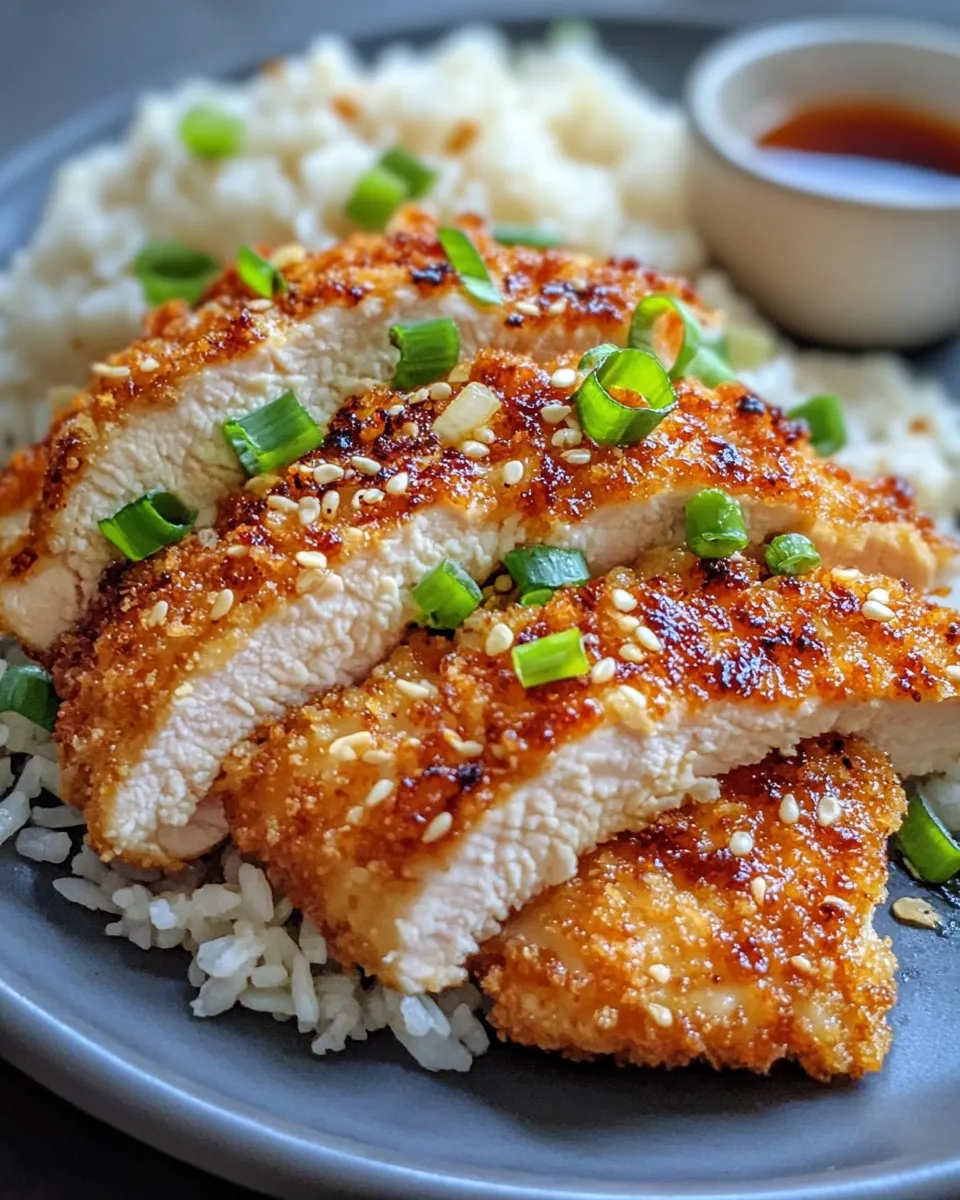
Plate a scoop of sticky rice alongside each golden chicken breast. Drizzle the honey-soy glaze over the chicken and garnish with sliced green onions. Serve immediately for the best texture and flavor.
Texture-Safe Substitutions
- Panko Breadcrumbs: Use crushed cornflakes or gluten-free breadcrumbs if you prefer.
- Sticky Rice: Substitute with jasmine rice or basmati rice for a less sticky but still fragrant alternative.
- Vegetable Oil: Try avocado oil or light olive oil for a different flavor profile.
- Soy Sauce: Use tamari for a gluten-free option or coconut aminos for a slightly sweeter taste.
Flavor Logic
The magic of Golden Chicken Katsu with Sticky Rice (Oven-Baked) lies in the balance of crispy, savory, and sweet elements. The panko crust delivers a satisfying crunch that contrasts beautifully with the tender chicken inside. The seasoning mix of salt, pepper, garlic powder, and onion powder adds depth without overwhelming the palate.
The sticky rice acts as a neutral, chewy base that absorbs the honey-soy glaze, which brings a sweet and salty glaze that enhances every bite. Finally, the fresh crunch and mild onion flavor of the green onion garnish add a bright finish, cutting through the richness of the chicken and glaze.
Store, Freeze & Reheat
Leftover Golden Chicken Katsu with Sticky Rice (Oven-Baked) can be stored in an airtight container in the refrigerator for up to 3 days. To maintain crispiness, reheat the chicken in a preheated oven at 375°F (190°C) for 8-10 minutes rather than using a microwave, which can make the crust soggy.
For freezing, place the baked chicken breasts on a baking sheet and freeze until solid. Transfer to a freezer-safe container or bag and store for up to 2 months. Reheat directly from frozen in the oven at 375°F (190°C) for about 15-20 minutes, or until warmed through and crispy.
Sticky rice can be refrigerated or frozen separately and reheated gently with a sprinkle of water in the microwave or steamed to restore moisture.
Questions People Ask
Can I use chicken thighs instead of breasts for this recipe?
Absolutely! Boneless, skinless chicken thighs work well and tend to be juicier. Just adjust the baking time slightly as thighs may take a bit longer to cook through.
Is it possible to make this recipe gluten-free?
Yes! Swap the all-purpose flour for a gluten-free flour blend and use gluten-free panko or crushed rice crackers. Also, make sure to use gluten-free soy sauce or tamari.
How do I keep the chicken crispy after baking?
Using a wire rack on your baking sheet helps air circulate around the chicken, keeping the crust crispy. Avoid stacking or covering the chicken after baking, as steam can soften the crust.
Can I prepare the chicken in advance?
You can bread the chicken ahead of time and refrigerate it for a few hours before baking. This helps the coating adhere better and can save time on busy days.
Hungry for More?
If you loved this Golden Chicken Katsu with Sticky Rice (Oven-Baked), you’ll be excited to explore more oven-baked crispy dishes that are easy and flavor-packed. Try oven-baked shrimp tempura for a seafood twist or crispy tofu katsu for a plant-based option. Don’t forget to check out variations of sticky rice dishes, like mango sticky rice for dessert or coconut sticky rice with savory toppings. The possibilities are endless when you master this foundational recipe!
Golden Chicken Katsu with Sticky Rice (Oven-Baked) is a perfect marriage of crispy, juicy chicken and tender rice that’s both satisfying and easy to make. With simple ingredients, straightforward steps, and a delicious honey-soy glaze, this recipe brings restaurant-quality flavor right to your kitchen. Whether for a family dinner or an impressive meal for guests, this dish is sure to become a favorite in your recipe collection. Grab your chicken breasts, preheat that oven, and get ready to enjoy a golden, crunchy delight!
Share on Pinterest
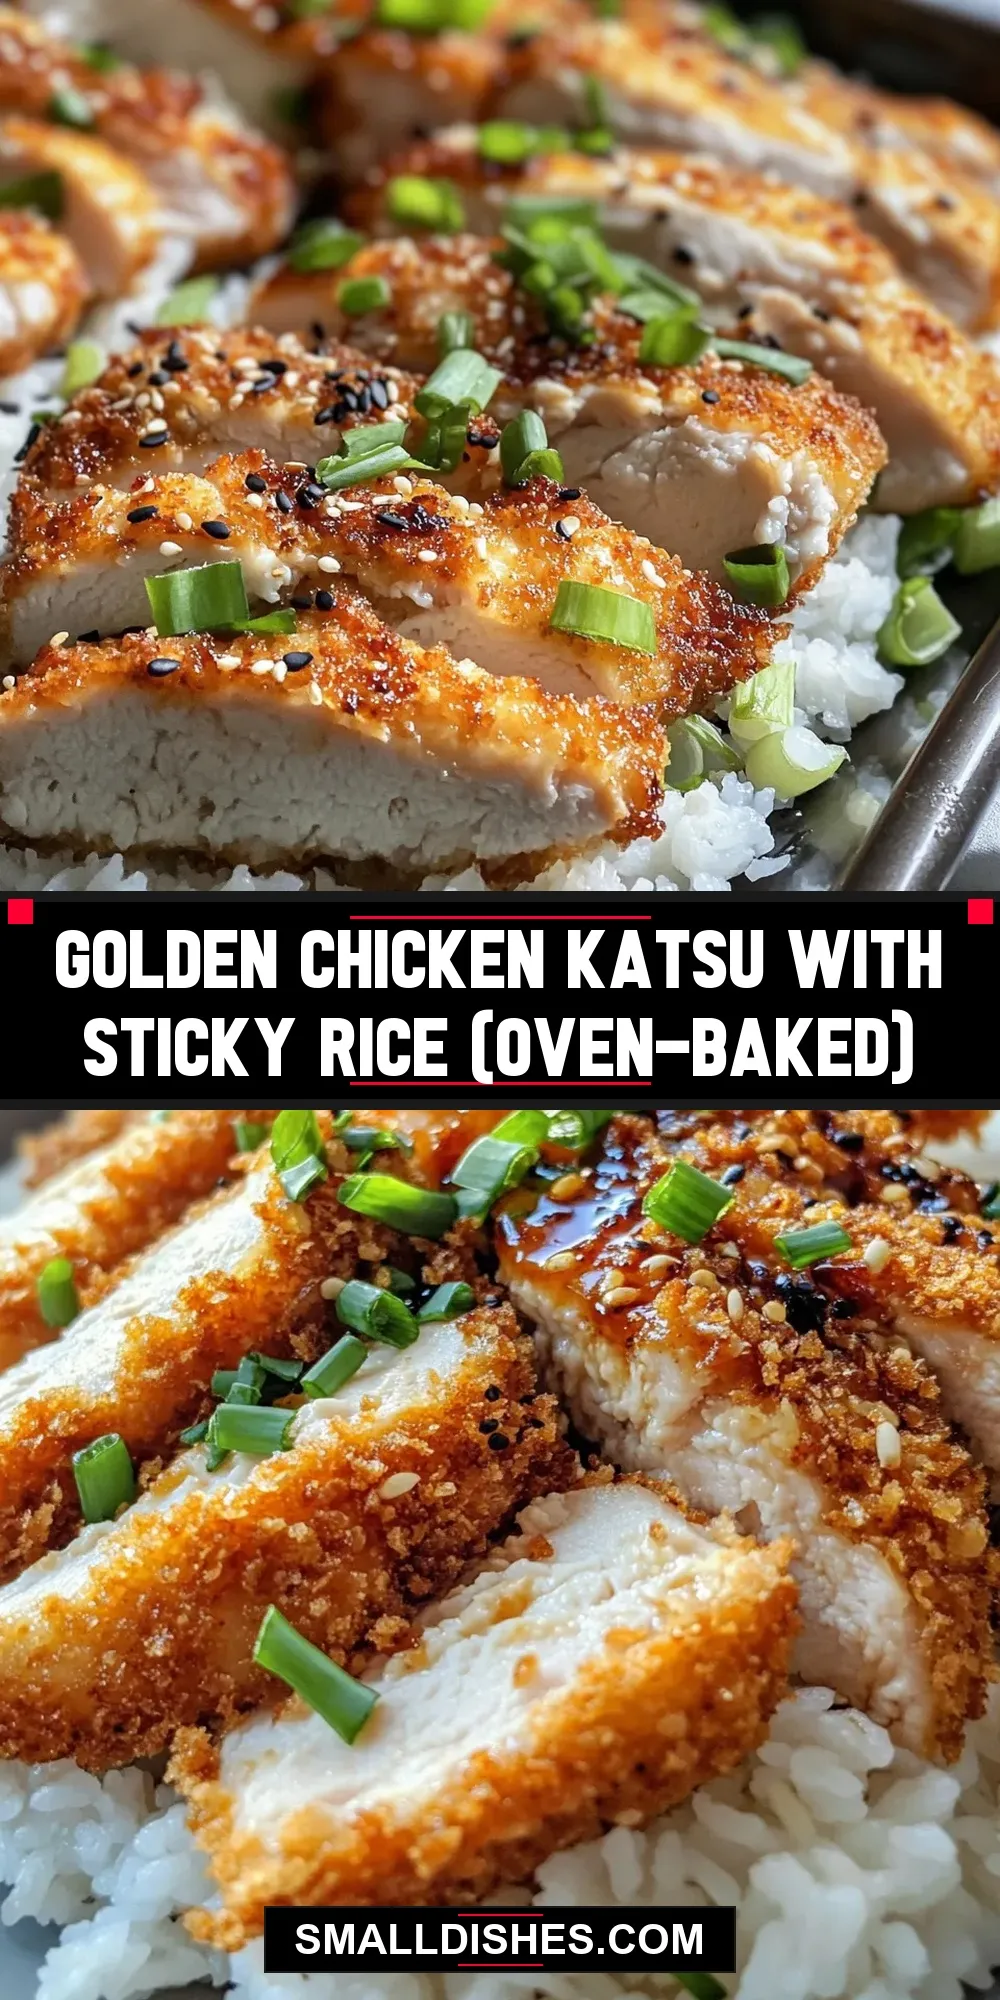
Golden Chicken Katsu with Sticky Rice (Oven-Baked)
Ingredients
Equipment
Method
- Begin by trimming any excess fat from the chicken breasts. Place each breast between two sheets of parchment paper or plastic wrap and gently pound them with a meat mallet or rolling pin until they are about 1/2-inch thick.
- In one shallow bowl, combine the all-purpose flour with salt, black pepper, garlic powder, and onion powder. In a second bowl, beat the eggs until smooth. In a third bowl, place the panko breadcrumbs.
- Lightly dredge each chicken breast in the seasoned flour, shaking off any excess. Next, dip the chicken into the beaten eggs, allowing any extra to drip off. Finally, coat the chicken evenly with the panko breadcrumbs, pressing gently to adhere the crumbs well.
- Preheat your oven to 425°F (220°C). Line a baking sheet with parchment paper or foil, then place a wire rack on top if you have one. Lightly brush or spray the rack with vegetable oil to prevent sticking. Arrange the breaded chicken breasts on the rack in a single layer.
- Drizzle or brush the tops of the chicken with the vegetable oil to promote browning. Bake for 18-22 minutes, flipping the chicken halfway through, until the crust turns golden brown and the internal temperature reaches 165°F (74°C).
- While the chicken bakes, prepare the sticky rice according to package instructions or your preferred method.
- In a small saucepan over low heat, combine the soy sauce and honey. Stir gently until the honey dissolves into the soy sauce, forming a glossy glaze. Remove from heat and set aside.
- Plate a scoop of sticky rice alongside each golden chicken breast. Drizzle the honey-soy glaze over the chicken and garnish with sliced green onions. Serve immediately for the best texture and flavor.
Notes
- Use a wire rack while baking to ensure the chicken stays crispy on all sides.
- For gluten-free, substitute all-purpose flour and panko with gluten-free alternatives and use tamari instead of soy sauce.
- Leftovers keep well in the fridge for 3 days; reheat in the oven to maintain crispiness.