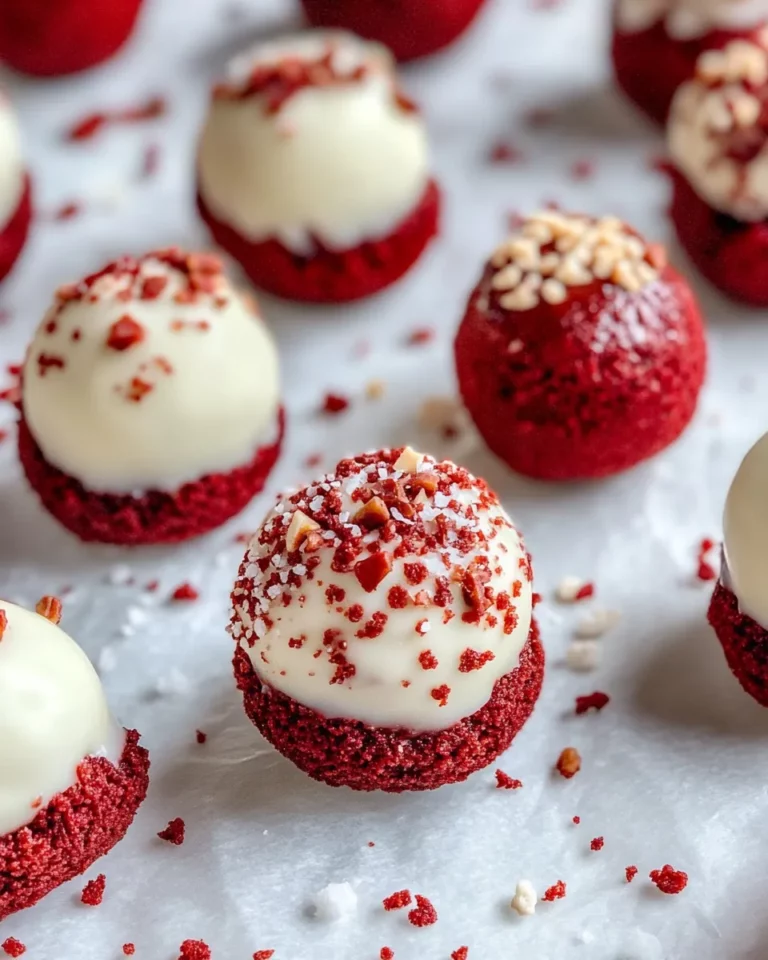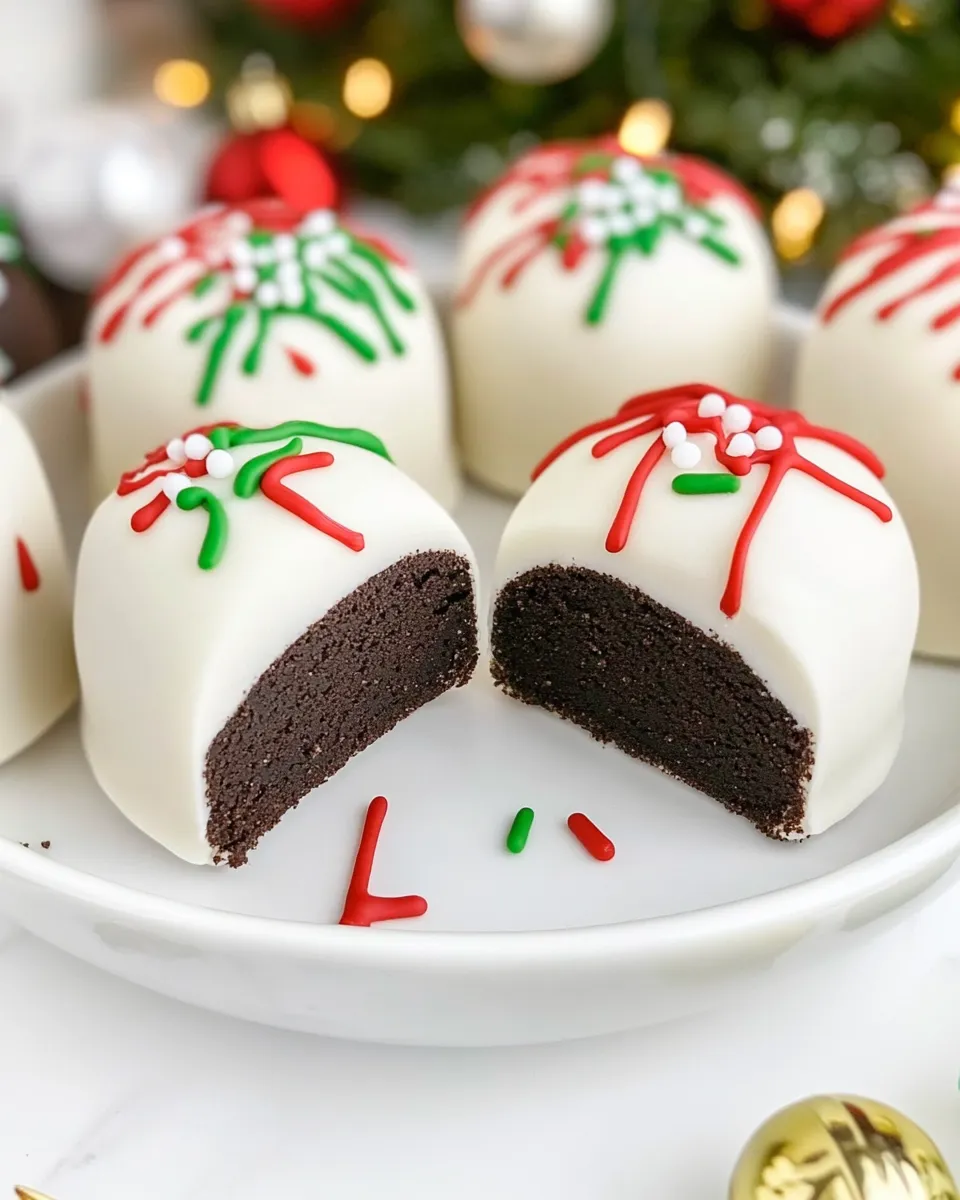
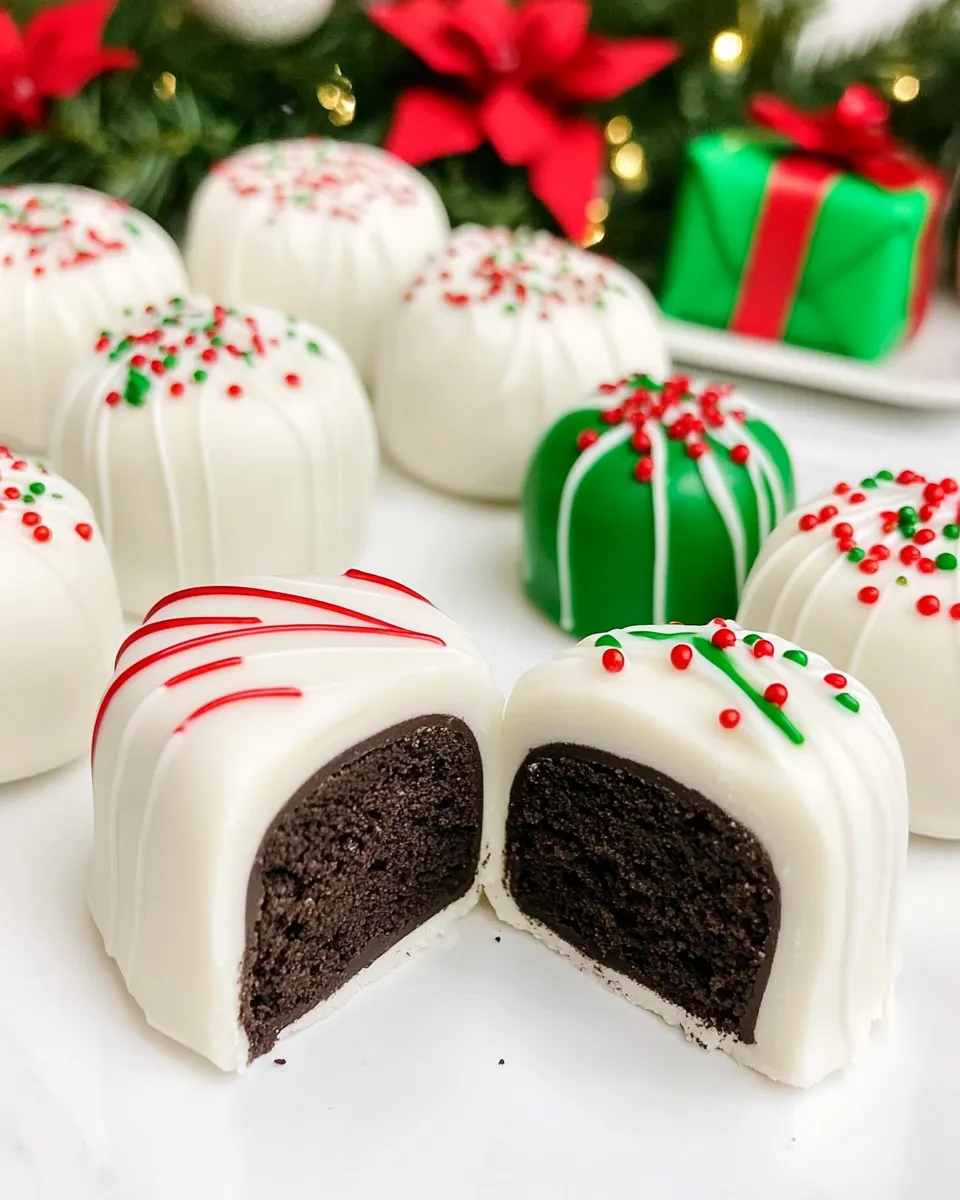
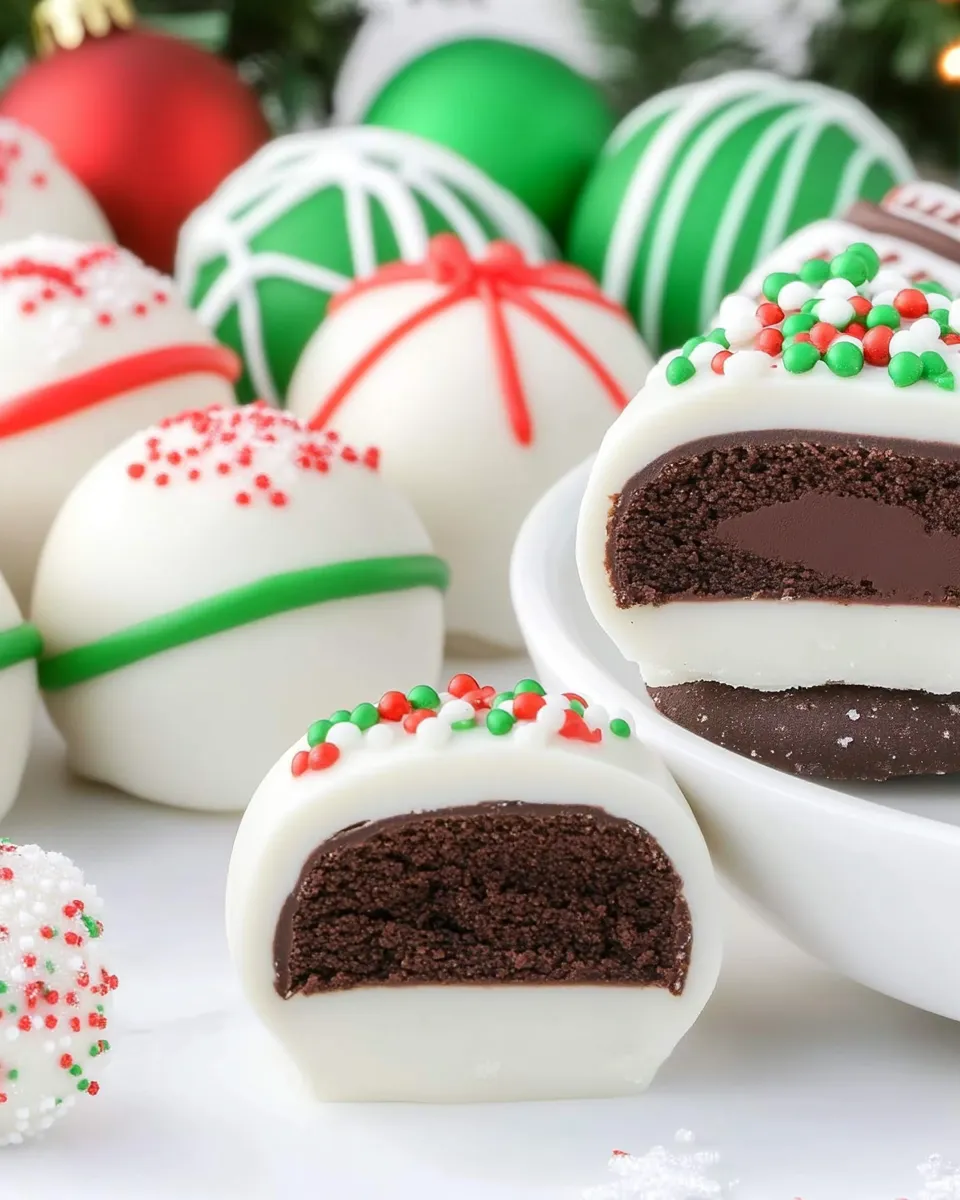
The holiday season brings with it a flurry of festive activities, from tree decorating to cookie exchanges. Among the treats that bring joy and delight, Christmas Present Oreo Truffles stand out as a delightful blend of flavors and festive cheer. These truffles are not only incredibly easy to make but also a visual treat that mimics beautifully wrapped presents. Made with creamy cream cheese, Oreo cookies, and colorful candy melts, they are sure to bring a smile to anyone’s face. Let’s dive into this delicious recipe that will surely bring a dash of sweetness to your holiday celebrations!
Why This Recipe Belongs in Your Rotation

Christmas Present Oreo Truffles are the perfect holiday treat for several reasons. First and foremost, they are a crowd-pleaser! The combination of crispy Oreo cookies and creamy filling makes for an indulgent bite that is hard to resist. Additionally, these truffles are versatile; you can easily swap out the flavors by using different Oreo varieties. The festive colors from the candy melts add an eye-catching element that makes them perfect for holiday gatherings or as gifts. Not to mention, they can be made ahead of time, allowing you to enjoy more of the holiday hustle and bustle without the stress of last-minute baking!
Ingredient Rundown
To create these delightful Christmas Present Oreo Truffles, gather the following ingredients:
- 22 Oreo cookies: Regular Oreo cookies provide a rich, chocolatey flavor that pairs perfectly with the cream cheese.
- 22 red velvet Oreo cookies: These add a unique twist with their subtle red velvet flavor and gorgeous color.
- 8 ounces cream cheese: Make sure it’s softened to room temperature for easy mixing.
- 10 ounces red candy melts: Used for coating and decorating some of the truffles.
- 10 ounces green candy melts: Adds a festive touch; perfect for creating that holiday gift look.
- 10 ounces white candy melts: Ideal for the base of the truffles and additional decoration.
- White sparkly sanding sugar (optional): For a touch of sparkle and holiday flair.
Cook’s Kit
To make your truffle-making experience seamless, gather these essential tools:
- Mixing bowls: For mixing the truffle filling and melting the candy melts.
- Forks or dipping tools: To help dip and coat the truffles in chocolate.
- Baking sheet: Line it with parchment paper for easy cleanup and to prevent sticking.
- Microwave-safe containers: For melting the candy melts efficiently.
- Spatula: For mixing and scraping down the sides of the bowls.
Christmas Present Oreo Truffles — Do This Next
Creating these festive truffles is as fun as it is easy! Follow these simple steps for delicious results:
Step 1: Crush the Cookies
Begin by crushing the 22 Oreo cookies and 22 red velvet Oreo cookies into fine crumbs. You can do this in a food processor or by placing the cookies in a zip-top bag and crushing them with a rolling pin.
Step 2: Mix with Cream Cheese
In a mixing bowl, combine the cookie crumbs with 8 ounces of softened cream cheese. Mix until well combined and a dough-like consistency forms.
Step 3: Form the Truffles
Using your hands, scoop out small portions of the mixture and roll them into balls, about 1 inch in diameter. Place them on a baking sheet lined with parchment paper.
Step 4: Chill the Truffles
Refrigerate the truffles for about 30 minutes to firm up.
Step 5: Melt the Candy Coatings
While the truffles chill, melt the red, green, and white candy melts in separate microwave-safe containers according to package instructions. Stir until smooth.
Step 6: Coat the Truffles
Once the truffles are firm, dip each one into the melted candy melts using a fork or dipping tool. Allow excess candy to drip off before placing them back on the parchment-lined baking sheet.
Step 7: Add Decorations
While the coating is still wet, sprinkle with white sparkly sanding sugar if desired. You can also drizzle contrasting colors over the top for added decoration.
Step 8: Set the Coating
Let the truffles sit at room temperature or refrigerate them briefly to set the candy coating.
Better-for-You Options
If you’re looking for ways to make these truffles a bit lighter or to accommodate dietary preferences, consider the following options:
- Use reduced-fat cream cheese to cut down on calories.
- Opt for dark chocolate melts instead of candy melts for a richer flavor.
- Try using gluten-free Oreo cookies if you need a gluten-free alternative.
- Reduce the amount of sugar by using sugar-free candy melts.
Method to the Madness
Making these Christmas Present Oreo Truffles is a straightforward process that yields delightful results. The combination of Oreo cookies and cream cheese creates a rich and creamy filling, while the colorful candy melts provide a festive and fun coating. The optional sanding sugar adds a touch of sparkle, making them perfect for holiday parties or as gifts for loved ones. Everyone will appreciate the time and effort you put into making these beautiful treats.
Save for Later: Storage Tips
To keep your Christmas Present Oreo Truffles fresh, follow these storage tips:
- Store the truffles in an airtight container in the refrigerator for up to two weeks.
- If you want to freeze them, place the truffles in a single layer on a baking sheet and freeze until solid. Then transfer them to a freezer-safe container for up to three months. Thaw in the refrigerator before serving.
- Keep them away from strong-smelling foods in the fridge to prevent them from absorbing any odors.
Your Top Questions
How long do the truffles last?
When stored in an airtight container in the refrigerator, the Christmas Present Oreo Truffles can last for up to two weeks. If you freeze them, they can last for about three months.
Can I use different flavors of Oreos?
Absolutely! Feel free to experiment with different flavors of Oreo cookies to create unique truffles. The possibilities are endless!
What can I use instead of candy melts?
If you can’t find candy melts, you can use chocolate chips or tempered chocolate. Just be aware that the coating may not be as vibrant in color.
Can I make these truffles ahead of time?
Yes! These truffles can be made a few days in advance, making them a perfect option for holiday parties or gifting. Just store them properly in the fridge or freezer.
Don’t Miss These
If you’re looking for more holiday treats or festive recipes, don’t miss out on these delicious options:
- Christmas Sugar Cookies – A classic treat for the holiday season.
- Almond Joy Pudding Cookies – A delightful twist on traditional cookies with a chocolate and coconut flavor.
- Chocolate Butter Cake – Indulge in this rich and moist cake for any celebration.
Next Steps
Now that you’ve got the scoop on making these festive Christmas Present Oreo Truffles, it’s time to gather your ingredients and get started! Whether you’re treating yourself or spreading some holiday cheer with friends and family, these truffles are sure to be a hit. So roll up your sleeves, get creative, and enjoy this delicious holiday treat! Happy baking!
Share on Pinterest
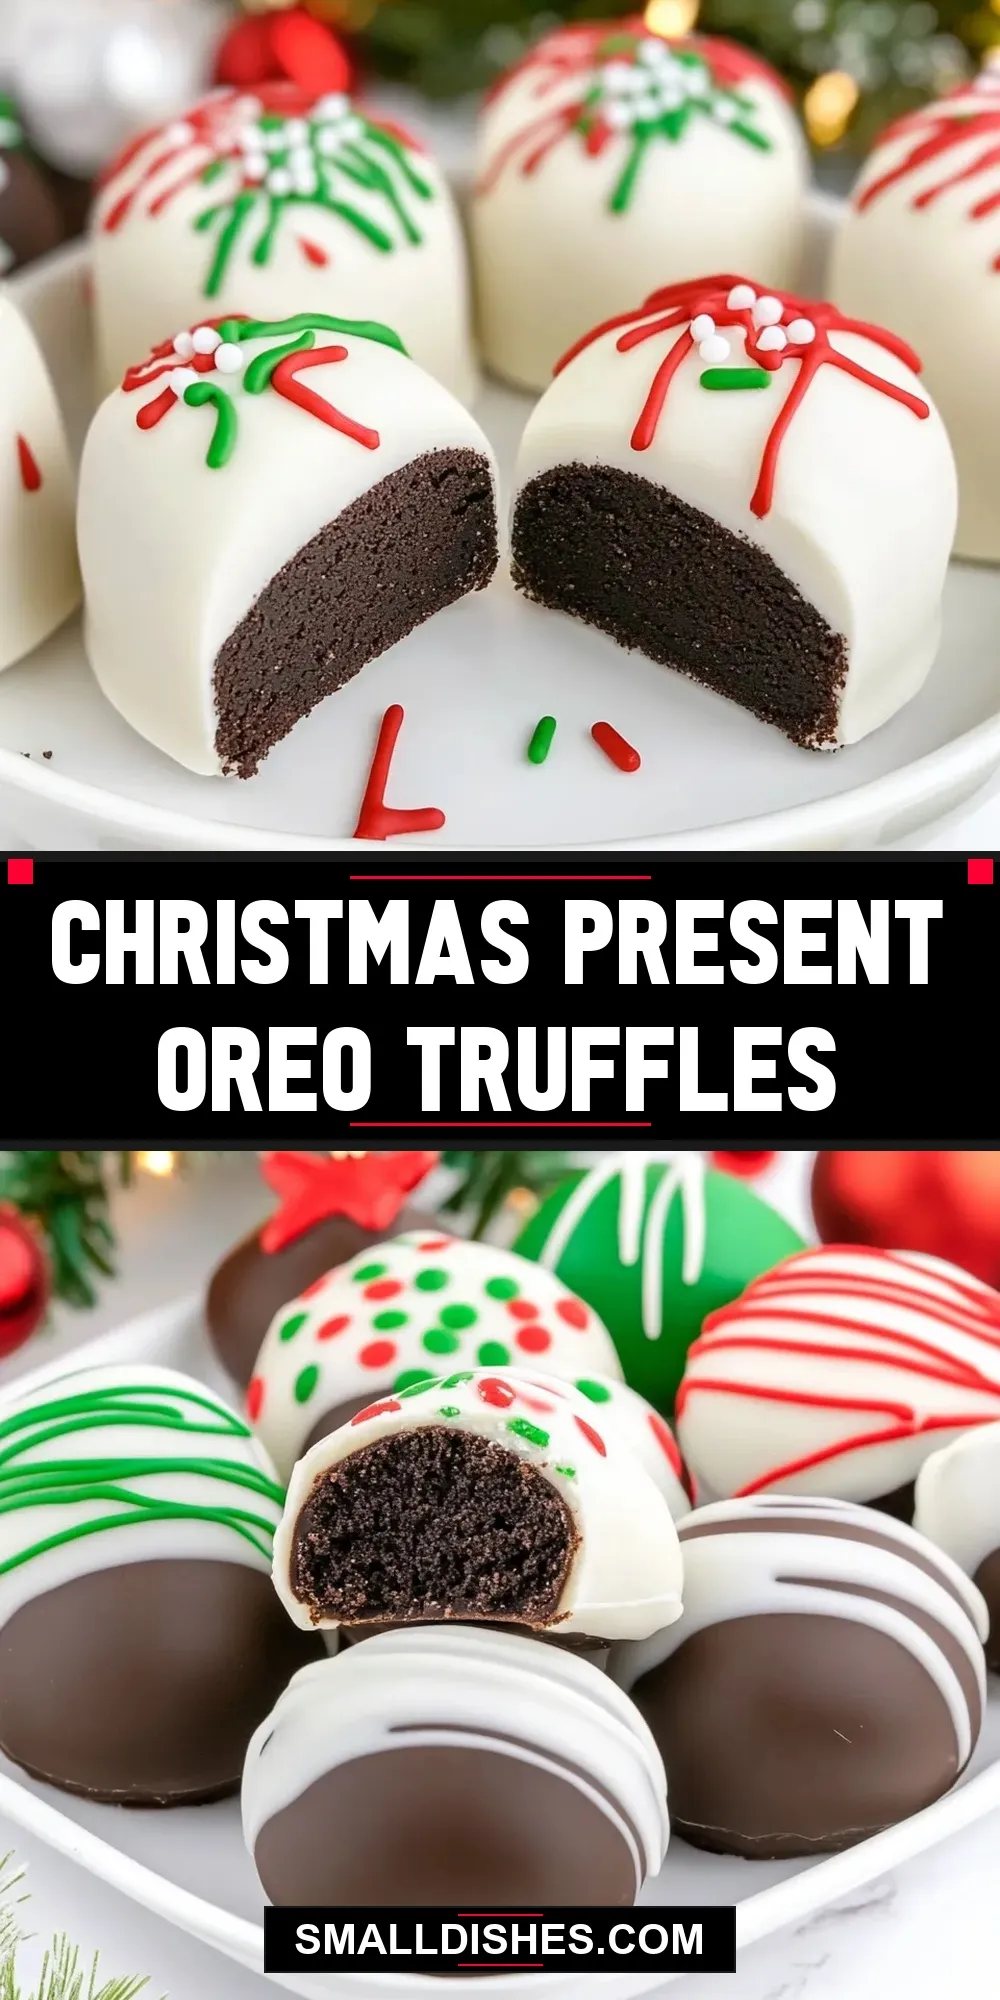
Christmas Present Oreo Truffles
Ingredients
Equipment
Method
- Step 1: Crush the Cookies - Begin by crushing the 22 Oreo cookies and 22 red velvet Oreo cookies into fine crumbs. You can do this in a food processor or by placing the cookies in a zip-top bag and crushing them with a rolling pin.
- Step 2: Mix with Cream Cheese - In a mixing bowl, combine the cookie crumbs with 8 ounces of softened cream cheese. Mix until well combined and a dough-like consistency forms.
- Step 3: Form the Truffles - Using your hands, scoop out small portions of the mixture and roll them into balls, about 1 inch in diameter. Place them on a baking sheet lined with parchment paper.
- Step 4: Chill the Truffles - Refrigerate the truffles for about 30 minutes to firm up.
- Step 5: Melt the Candy Coatings - While the truffles chill, melt the red, green, and white candy melts in separate microwave-safe containers according to package instructions. Stir until smooth.
- Step 6: Coat the Truffles - Once the truffles are firm, dip each one into the melted candy melts using a fork or dipping tool. Allow excess candy to drip off before placing them back on the parchment-lined baking sheet.
- Step 7: Add Decorations - While the coating is still wet, sprinkle with white sparkly sanding sugar if desired. You can also drizzle contrasting colors over the top for added decoration.
- Step 8: Set the Coating - Let the truffles sit at room temperature or refrigerate them briefly to set the candy coating.
Notes
- Store truffles in an airtight container in the refrigerator for up to two weeks.
- For longer storage, freeze in a single layer and then transfer to a freezer-safe container for up to three months.
- Experiment with different Oreo flavors for unique variations!