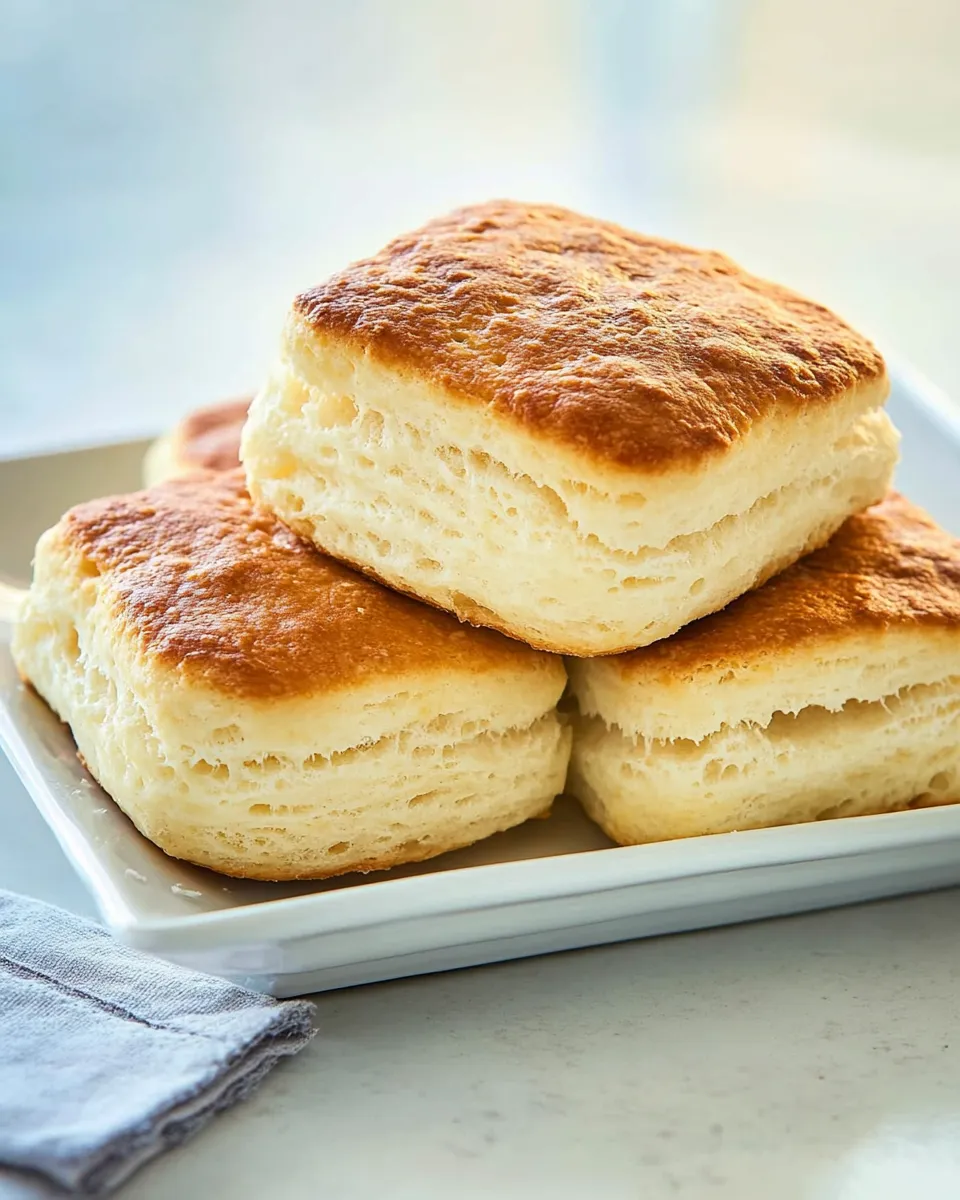
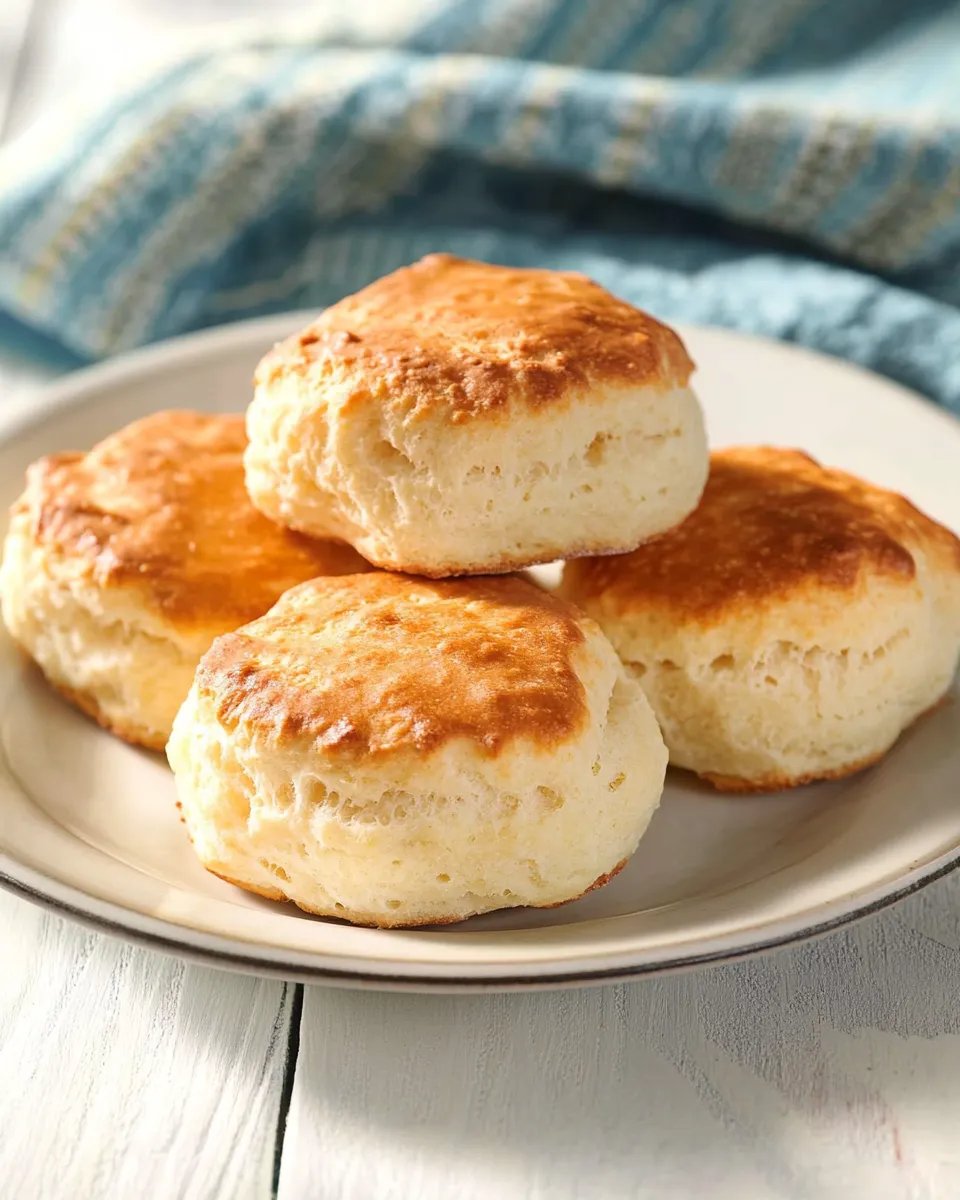
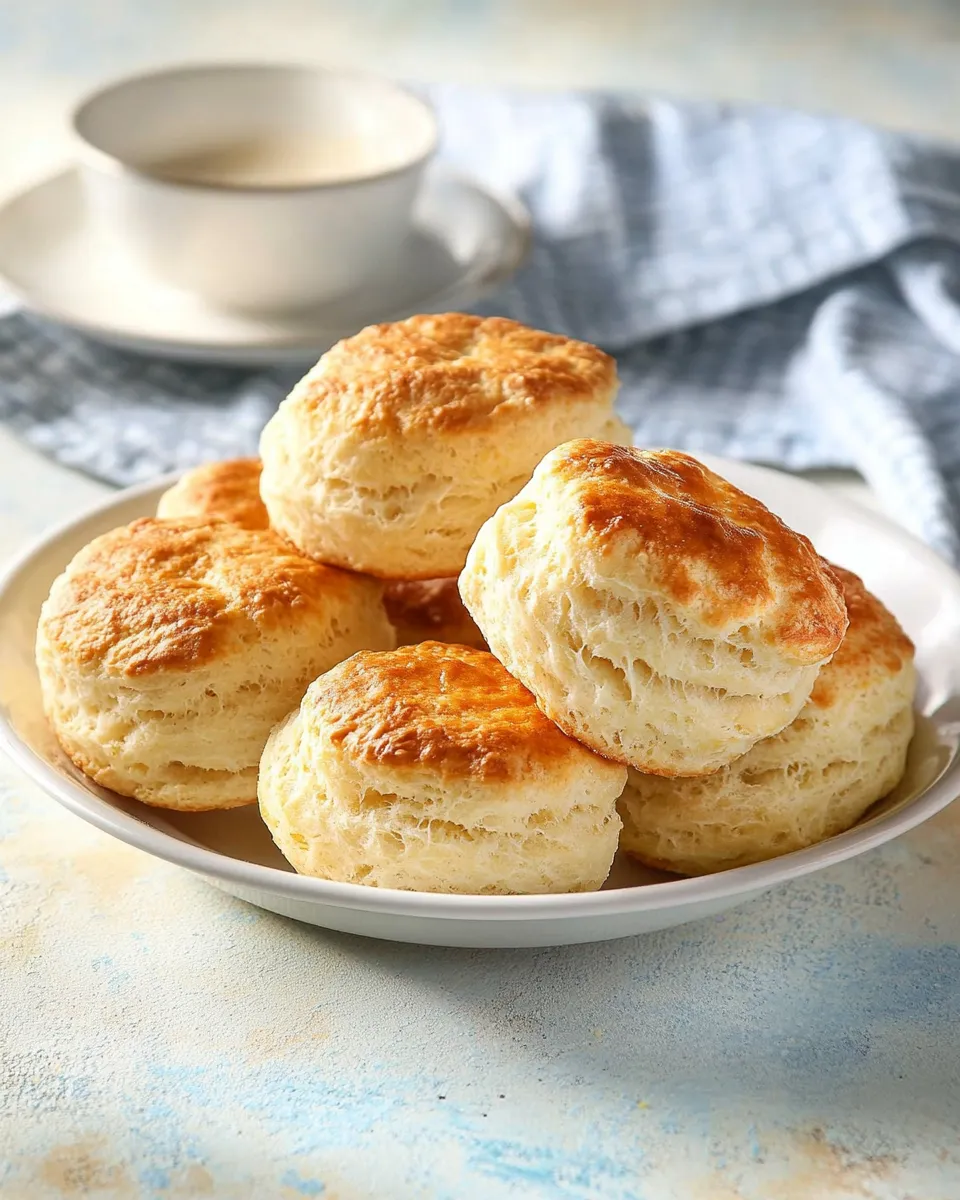
There’s something undeniably comforting about the aroma of freshly baked biscuits wafting through the kitchen. If you’ve ever enjoyed a warm, flaky biscuit at Cracker Barrel, you know that they are nothing short of perfection. But what if I told you that you could recreate that magic right in your own home? Get ready to discover the secret to perfect Cracker Barrel biscuits that will have everyone asking for seconds.
Why The Secret to Perfect Cracker Barrel Biscuits at Home is Worth Your Time
Imagine waking up to a breakfast spread that features warm, buttery biscuits fresh out of the oven. Not only do these biscuits pair wonderfully with jam, honey, or gravy, but they also serve as the perfect base for a hearty breakfast sandwich. The joy of homemade biscuits extends beyond just flavor; it’s about the nostalgia and warmth they bring to your kitchen. Plus, the satisfaction of mastering this classic recipe will elevate your cooking game and impress family and friends alike.
What You’ll Gather
To make these delightful biscuits, you will need the following ingredients:
- 2 1/4 cups Bisquick mix
- 2/3 cup buttermilk
- 1 teaspoon sugar
- 1 tablespoon melted butter
These simple ingredients come together to create the light, fluffy texture that makes Cracker Barrel biscuits so special.
Equipment Breakdown
Before diving into the process, let’s gather our tools. Here’s what you’ll need:
- Mixing Bowl: For combining your dry and wet ingredients.
- Fork or Whisk: To mix the batter without overworking it.
- Baking Sheet: A flat surface for baking the biscuits.
- Parchment Paper: Optional, but helps with easy cleanup.
With the right equipment at your disposal, you’re all set to bake up a storm!
Cooking The Secret to Perfect Cracker Barrel Biscuits at Home: The Process
Now that you have your ingredients and equipment ready, let’s walk through the steps to create these delightful biscuits.
Step 1: Preheat Your Oven
Begin by preheating your oven to 450°F (232°C). This high temperature is essential for achieving that golden-brown, flaky crust we all love.
Step 2: Mix the Dry Ingredients
In a mixing bowl, combine the Bisquick mix and sugar. Stir them together using a fork or whisk until well blended.
Step 3: Add the Buttermilk
Gradually pour in the buttermilk while stirring. The goal is to create a dough that is slightly sticky but not overly wet. Be cautious not to overmix; this will keep your biscuits tender.
Step 4: Shape the Dough
Flour a clean surface lightly, then turn the dough out onto it. Gently knead the dough just a couple of times until it comes together. Use your hands to pat it down to about 1 inch thick.
Step 5: Cut the Biscuits
Using a biscuit cutter or a floured glass, cut out your biscuits. Place them on the baking sheet, leaving some space in between for rising.
Step 6: Brush with Butter
Before baking, brush the tops of the biscuits with melted butter. This adds flavor and helps achieve that beautiful, golden color.
Step 7: Bake
Place the baking sheet in the oven and bake for 8-10 minutes, or until the biscuits are golden brown. The aroma will be irresistible!
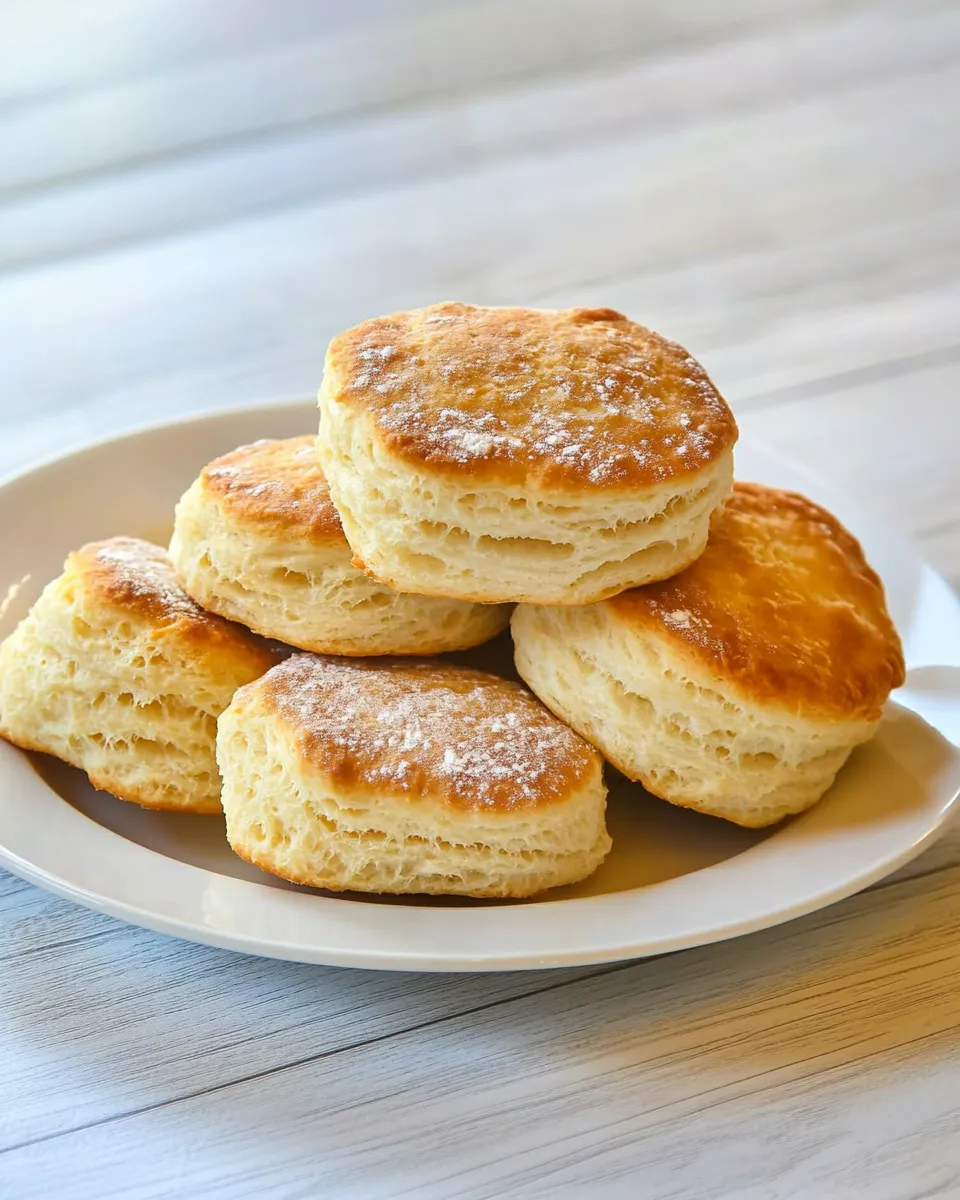
Step 8: Serve Warm
Once baked, remove the biscuits from the oven and let them cool slightly. Serve them warm with your favorite toppings or alongside a delicious meal.
Seasonal Spins
These biscuits are wonderfully versatile! Consider trying some seasonal spins to keep things exciting:
- Cheddar and Chive: Fold in some shredded cheddar cheese and chopped chives into the dough for a savory twist.
- Cranberry Orange: Add dried cranberries and orange zest for a festive flavor around the holidays.
- Sun-Dried Tomato and Basil: Incorporate chopped sun-dried tomatoes and fresh basil for a Mediterranean flair.
Feel free to get creative and tailor these biscuits to your taste!
Mistakes Even Pros Make
Even the most seasoned bakers can stumble when it comes to biscuits. Here are some common pitfalls to avoid:
- Overmixing the Dough: This can lead to tough biscuits. Mix just until combined.
- Using Cold Ingredients: Ensure your buttermilk is at room temperature for better blending.
- Not Preheating the Oven: Baking at the correct temperature is crucial for that perfect rise.
- Cutting the Biscuits Too Thin: Aim for about 1 inch in thickness for the best texture.
By avoiding these mistakes, you’ll be well on your way to biscuit perfection.
Make-Ahead & Storage
If you want to enjoy freshly baked biscuits without all the fuss in the morning, consider these tips:
- Make-Ahead: You can prepare the dough in advance and refrigerate it for up to 2 days. Just roll and cut the biscuits when you’re ready to bake.
- Freezing: Unbaked biscuits can be frozen on a baking sheet. Once frozen, transfer them to a freezer bag. Bake directly from the freezer, adding a couple of extra minutes to the baking time.
- Storage: Store baked biscuits in an airtight container at room temperature for up to 2 days or in the refrigerator for up to a week.
This makes it easy to whip up a batch whenever the craving strikes!
Reader Questions
Can I substitute the buttermilk with milk?
While you can use regular milk, the acidity in buttermilk helps create a tender biscuit. If you don’t have buttermilk, you can make a quick substitute by adding 1 tablespoon of vinegar or lemon juice to 2/3 cup of milk and letting it sit for a few minutes.
How do I know when the biscuits are done?
Look for a golden-brown color on top and a slight rise in the biscuits. You can also gently tap the top; if it sounds hollow, they’re likely done!
Can I add herbs or spices to the biscuit dough?
Absolutely! Feel free to experiment with your favorite herbs or spices. A teaspoon of garlic powder or Italian seasoning can add a delightful flavor.
What can I serve with these biscuits?
These biscuits are incredibly versatile! Serve them with honey butter chicken biscuit bake, enjoy them with breakfast sausage, or simply with butter and jam. They also pair beautifully with creamy mushroom marsala chicken over buttered noodles for a heartier meal.
Because You Liked This
If you enjoyed these biscuits, you might want to try:
These recipes will complement your biscuit-making skills perfectly.
The Last Word
Now that you have uncovered the secret to perfect Cracker Barrel biscuits at home, it’s time to roll up your sleeves and start baking! With just a few simple ingredients and some easy steps, you can create biscuits that rival those served at your favorite restaurant. Whether you enjoy them for breakfast, as a side dish, or as the base of a delicious meal, these biscuits will surely become a staple in your home. So gather your ingredients, preheat that oven, and get ready to enjoy the warm, flaky goodness of homemade biscuits. Happy baking!
Share on Pinterest

The Secret to Perfect Cracker Barrel Biscuits at Home
Ingredients
Equipment
Method
- Preheat your oven to 450°F (232°C).
- In a mixing bowl, combine the Bisquick mix and sugar. Stir until well blended.
- Gradually pour in the buttermilk while stirring to create a slightly sticky dough.
- Flour a clean surface lightly, turn the dough out, and knead it a couple of times. Pat it down to about 1 inch thick.
- Using a biscuit cutter or floured glass, cut out your biscuits and place them on the baking sheet.
- Brush the tops of the biscuits with melted butter.
- Bake for 8-10 minutes, or until golden brown.
- Let cool slightly, then serve warm with your favorite toppings.
Notes
- For a savory twist, try adding shredded cheese and herbs.
- Store baked biscuits in an airtight container at room temperature for up to 2 days.
- Freeze unbaked biscuits on a baking sheet, then transfer to a freezer bag for easy baking later.