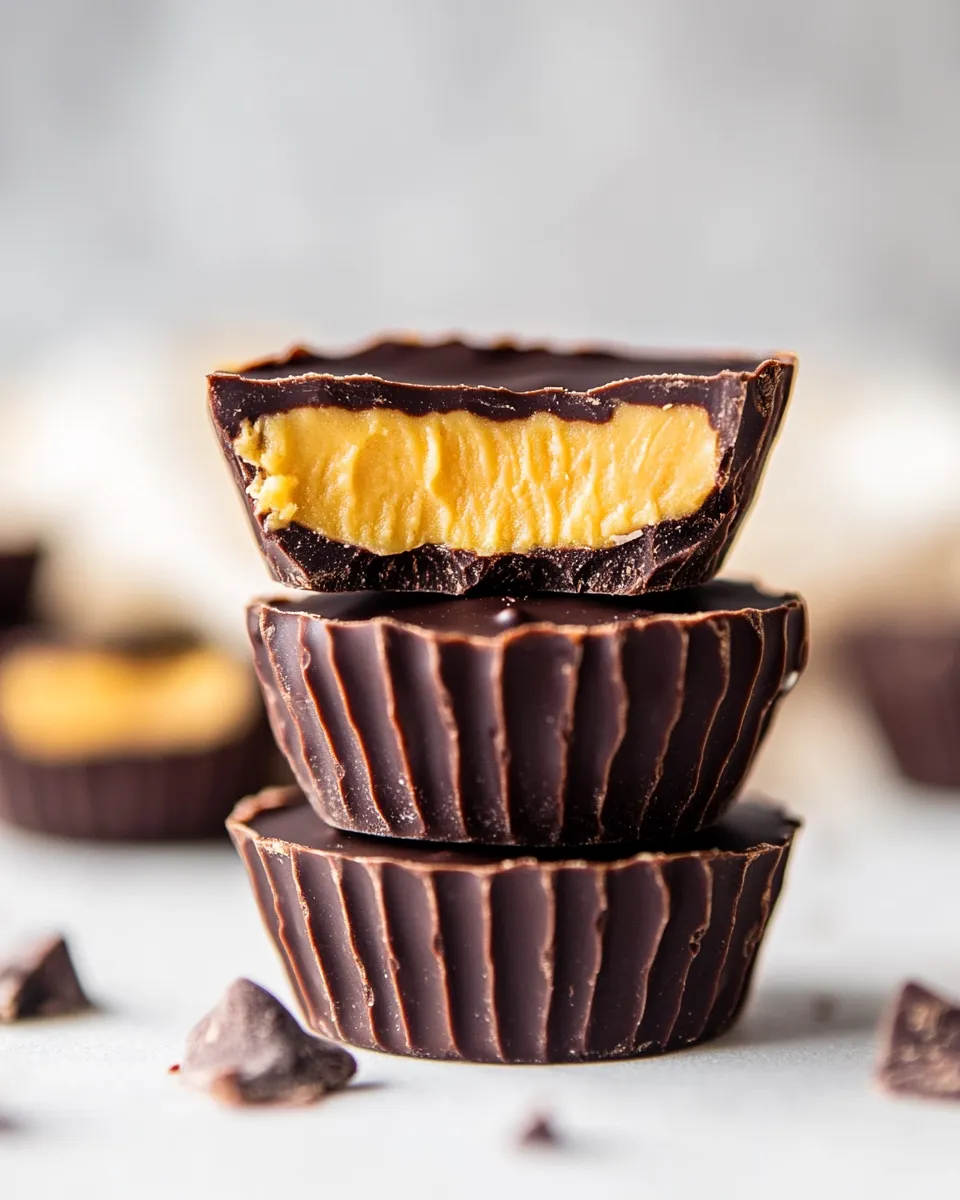
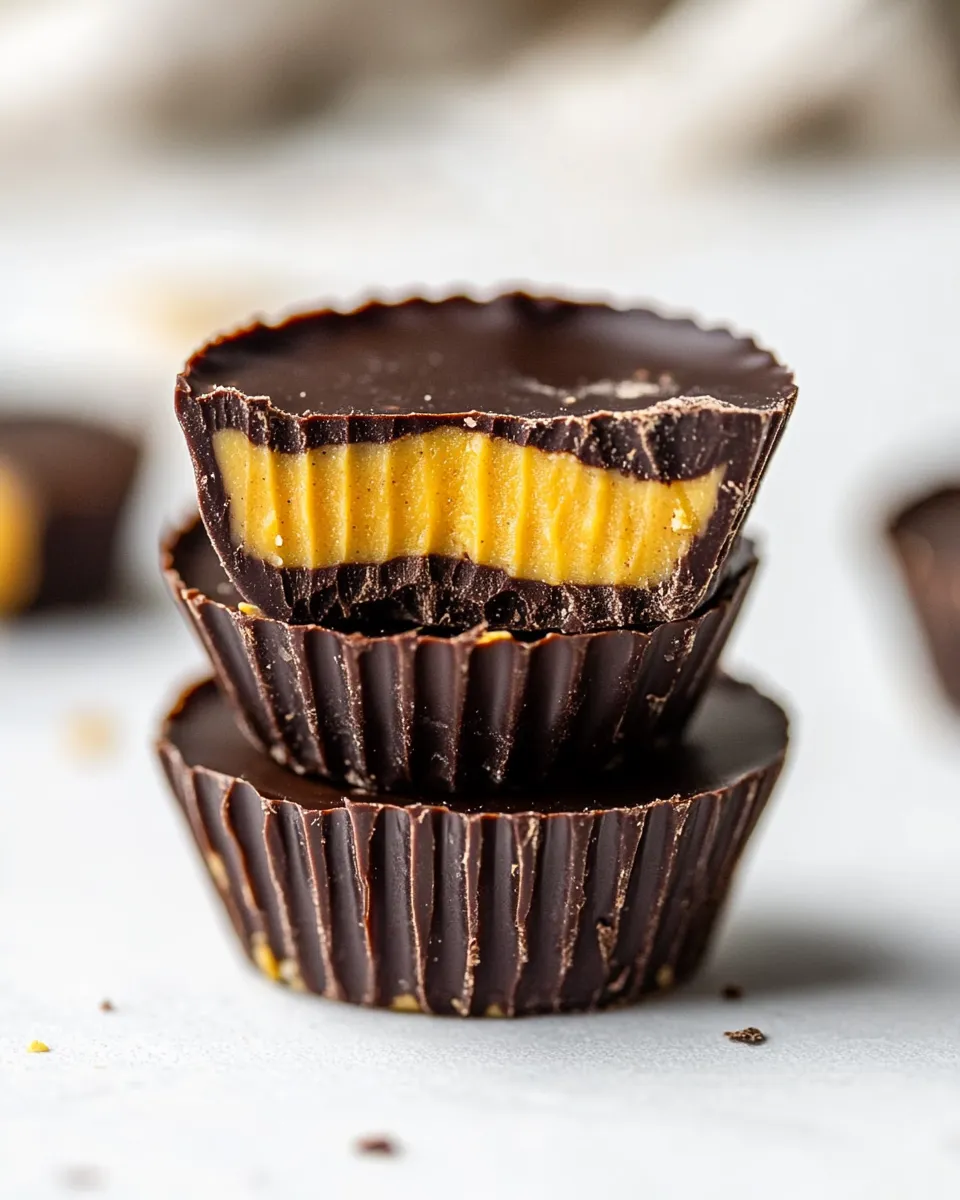
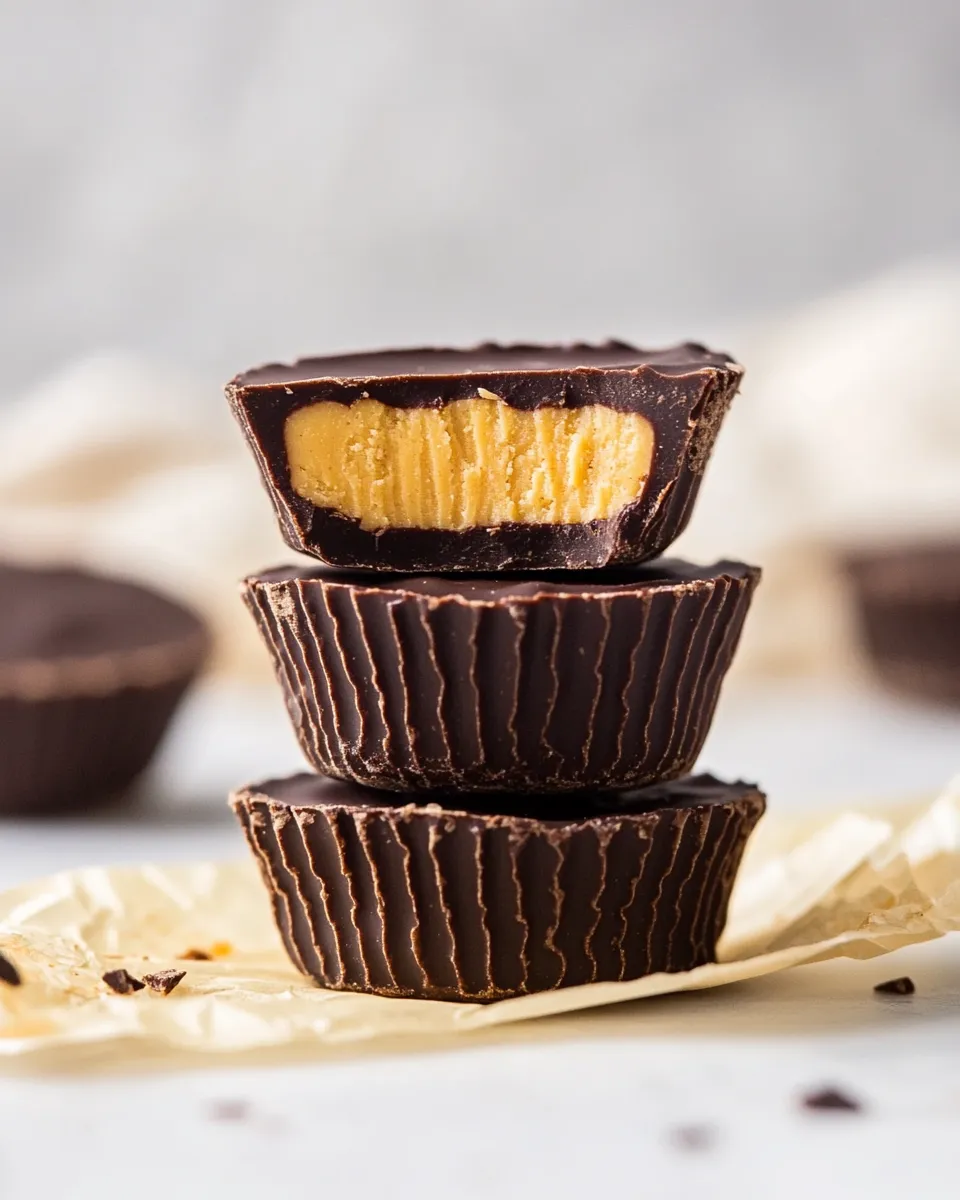
If you’ve ever craved the rich, creamy goodness of chocolate and peanut butter, you’re not alone. These two sumptuous ingredients, when combined, can create a dessert that feels indulgent yet remains wholesome. That’s where our recipe for Healthy Chocolate Peanut Butter Cups comes into play. This delightful treat is not only simple to make but also packed with natural flavors and nutrients. Using just a handful of ingredients, you can whip up your own batch of these delicious cups that are perfect for satisfying that sweet tooth without the guilt.
Why This Recipe Is Reliable
One of the best things about this Healthy Chocolate Peanut Butter Cups recipe is its simplicity. With only five ingredients, anyone can master this dessert, whether you’re an experienced baker or a complete novice. The use of dark chocolate chips provides a rich flavor while being lower in sugar compared to milk chocolate. The natural peanut butter adds protein and healthy fats, making this treat not only a dessert but also a little pick-me-up snack. The combination of honey or maple syrup gives it just the right amount of sweetness, while the coconut oil helps to create that perfect texture.
What to Buy
When preparing to make your Healthy Chocolate Peanut Butter Cups, here’s what you need to gather:
- 1 cup dark chocolate chips: Look for high-quality chocolate with at least 70% cocoa for the best flavor and health benefits.
- 1 tbsp melted coconut oil: This will help your chocolate melt smoothly and gives a nice glossy finish.
- 1 cup natural peanut butter: Make sure it’s just peanuts (and maybe a bit of salt) for a clean ingredient list.
- 1/4 cup honey or maple syrup: Choose based on your preference for sweetness; both options work beautifully.
- 1 tsp vanilla extract: This adds depth to the flavor profile, enhancing the overall taste.
Must-Have Equipment
To create your Healthy Chocolate Peanut Butter Cups, you’ll need some basic kitchen tools:
- Microwave-safe bowl: For melting the chocolate and coconut oil together.
- Muffin tin: A standard muffin tin will work perfectly for shaping your cups.
- Parchment paper liners: These make it easy to remove the cups once they’ve set.
- Spatula: To help mix the ingredients and pour them into the muffin tin.
- Refrigerator: For setting your chocolate cups until firm.
Healthy Chocolate Peanut Butter Cups — Do This Next
Now, let’s dive into the step-by-step process of creating your Healthy Chocolate Peanut Butter Cups.
Step 1: Melt the Chocolate
In a microwave-safe bowl, combine the dark chocolate chips and melted coconut oil. Heat in the microwave in 30-second intervals, stirring in between, until the chocolate is completely melted and smooth.
Step 2: Prepare the Muffin Tin
Line a muffin tin with parchment paper liners. This will help you remove the cups easily once they’re set.
Step 3: Create the Chocolate Base
Pour a spoonful of the melted chocolate mixture into each muffin liner, just enough to cover the bottom. Use the back of the spoon to spread it evenly. Place the muffin tin in the refrigerator for 10-15 minutes to let the chocolate set.
Step 4: Make the Peanut Butter Filling
In a separate bowl, mix together the natural peanut butter, honey (or maple syrup), and vanilla extract until well combined. The mixture should be smooth and creamy.
Step 5: Add the Peanut Butter Layer
Once the chocolate base has set, take the muffin tin out of the fridge. Spoon a generous amount of the peanut butter mixture on top of the chocolate layer in each cup, smoothing it out with the back of the spoon.
Step 6: Top with More Chocolate
Pour the remaining melted chocolate over the peanut butter layer in each cup, ensuring it’s fully covered. You can use a spatula to spread it evenly.
Step 7: Chill and Set
Return the muffin tin to the refrigerator for at least 30 minutes, or until the chocolate is completely firm.
Customize for Your Needs
The beauty of this Healthy Chocolate Peanut Butter Cups recipe is its versatility. Here are a few ways you can customize it:
- Add a sprinkle of sea salt: A pinch on top of each cup before refrigerating enhances the flavor beautifully.
- Try different nut butters: Almond butter or cashew butter can be great alternatives if you want to switch things up.
- Mix in some crunch: Add crushed nuts or seeds to the peanut butter layer for added texture.
- Experiment with flavors: Incorporate a dash of cinnamon or a splash of almond extract for a unique twist.
Avoid These Traps
While making your Healthy Chocolate Peanut Butter Cups, keep these common pitfalls in mind:
- Using low-quality chocolate can lead to a less satisfying taste. Choose good-quality dark chocolate for the best experience.
- Overheating the chocolate can cause it to seize. Be patient and melt in short intervals.
- Skipping the chilling time can result in messy, unshaped cups. Be sure to let them set completely.
- Not using parchment liners can make it difficult to remove the cups later. Don’t skip this step!
Cooling, Storing & Rewarming
Once your Healthy Chocolate Peanut Butter Cups are ready, here’s how to store them:
Keep them in an airtight container in the refrigerator for up to two weeks. If you want to keep them for longer, consider freezing them. Just make sure to separate layers with parchment paper to prevent sticking. When you’re ready to enjoy, simply take them out and let them sit at room temperature for a few minutes before eating, or enjoy them directly from the fridge for a refreshing treat!
Helpful Q&A
Can I use milk chocolate instead of dark chocolate?
While you can use milk chocolate, it will increase the sugar content and alter the overall healthiness of the recipe. Dark chocolate is recommended for a richer flavor and lower sugar content.
What can I substitute for peanut butter?
If you have nut allergies or prefer not to use peanut butter, you can use sunflower seed butter or soy nut butter as excellent alternatives.
How do I make these vegan?
You can easily make these cups vegan by using maple syrup instead of honey and ensuring your chocolate is dairy-free.
Can I add protein powder to the filling?
Absolutely! Mixing a scoop of your favorite protein powder into the peanut butter filling is a great way to enhance the protein content.
If you enjoyed making Healthy Chocolate Peanut Butter Cups, you might also love these recipes:
Bring It Home
There’s something incredibly satisfying about creating your own Healthy Chocolate Peanut Butter Cups. Not only do they make for a delightful treat, but they also allow you to indulge in a way that aligns with your health goals. Plus, they’re perfect for sharing with friends and family, or keeping all to yourself for those moments when you need a little pick-me-up. So gather your ingredients, roll up your sleeves, and get ready to enjoy these delicious, wholesome cups that are sure to become a staple in your dessert rotation. Enjoy every bite!
Healthy Chocolate Peanut Butter Cups
Ingredients
Equipment
Method
- In a microwave-safe bowl, combine the dark chocolate chips and melted coconut oil. Heat in the microwave in 30-second intervals, stirring in between, until the chocolate is completely melted and smooth.
- Line a muffin tin with parchment paper liners. This will help you remove the cups easily once they’re set.
- Pour a spoonful of the melted chocolate mixture into each muffin liner, just enough to cover the bottom. Use the back of the spoon to spread it evenly. Place the muffin tin in the refrigerator for 10-15 minutes to let the chocolate set.
- In a separate bowl, mix together the natural peanut butter, honey (or maple syrup), and vanilla extract until well combined. The mixture should be smooth and creamy.
- Once the chocolate base has set, take the muffin tin out of the fridge. Spoon a generous amount of the peanut butter mixture on top of the chocolate layer in each cup, smoothing it out with the back of the spoon.
- Pour the remaining melted chocolate over the peanut butter layer in each cup, ensuring it’s fully covered. You can use a spatula to spread it evenly.
- Return the muffin tin to the refrigerator for at least 30 minutes, or until the chocolate is completely firm.
Notes
- Use high-quality dark chocolate for the best flavor.
- Let the chocolate melt slowly to avoid seizing.
- Chill the cups completely for a clean shape.