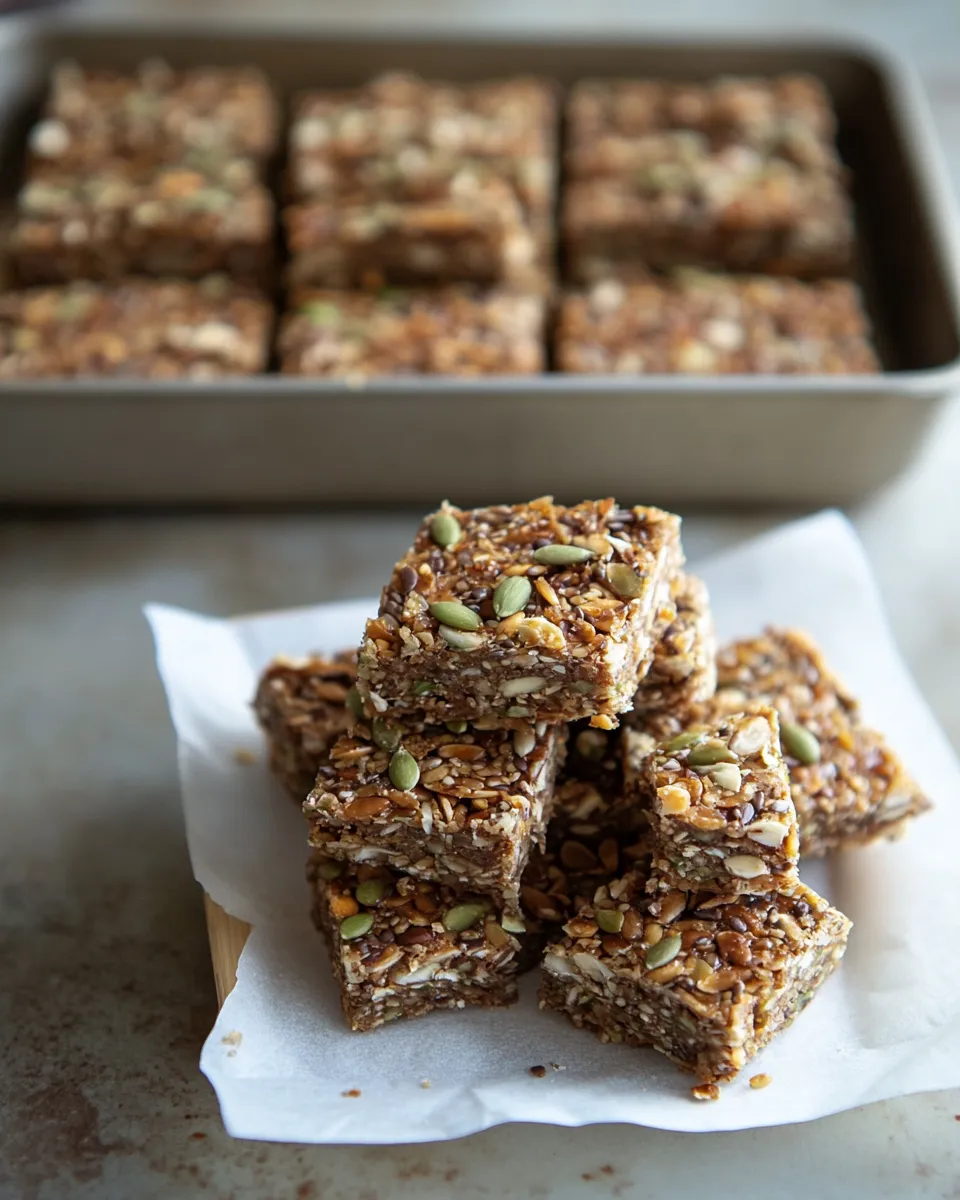
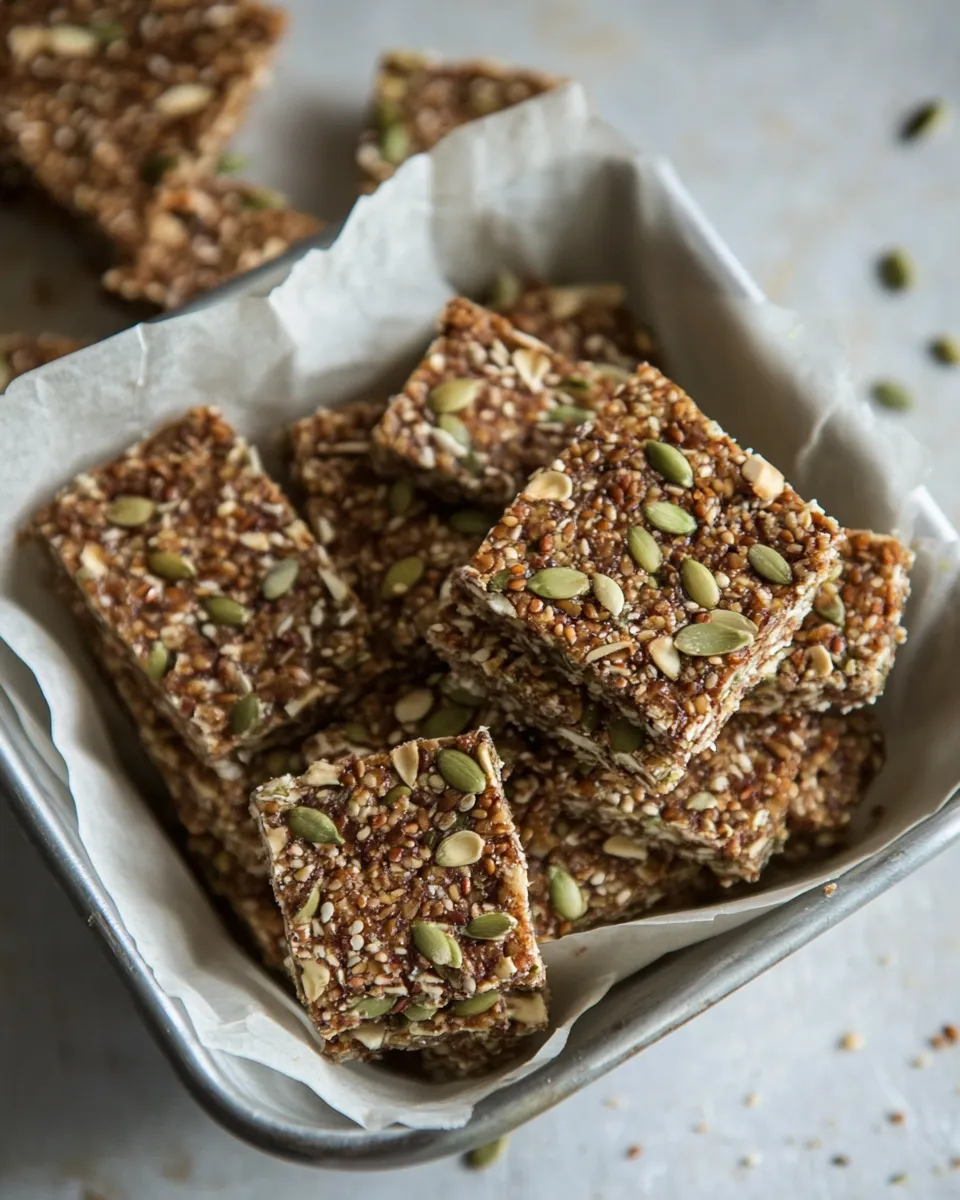
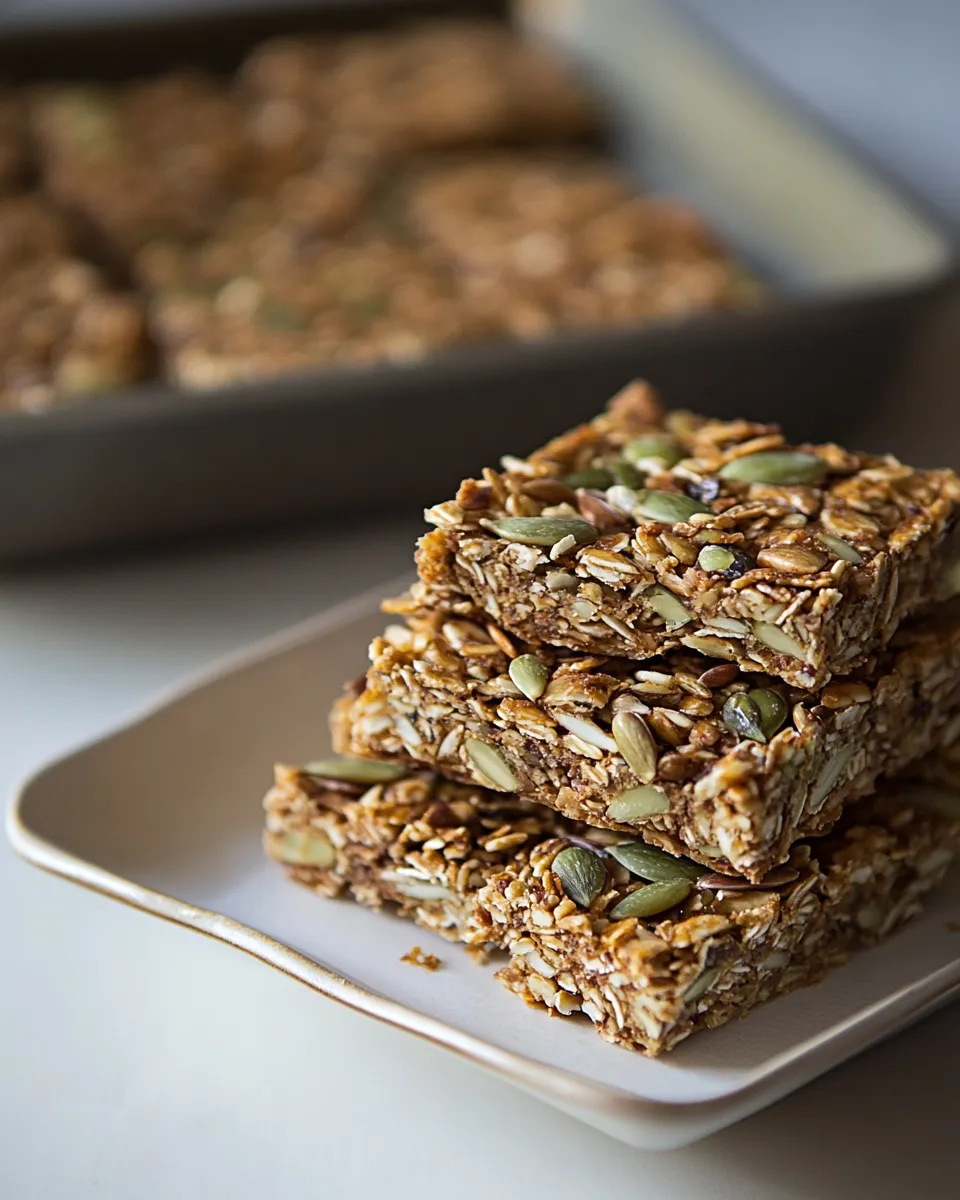
Are you ready to indulge in a delightful treat that’s both delicious and packed with wholesome goodness? Meet the Best Healthier Seeded Crunchies (Easy & Delicious). These crunchy bites are not only easy to whip up but also loaded with seeds and oats, making them a nutritious choice for snacking. Perfect for lunchboxes, afternoon pick-me-ups, or even as a post-workout snack, these crunchies are sure to become a household favorite. Let’s dive into this recipe and discover how to make these wholesome delights!
Why It Works Every Time
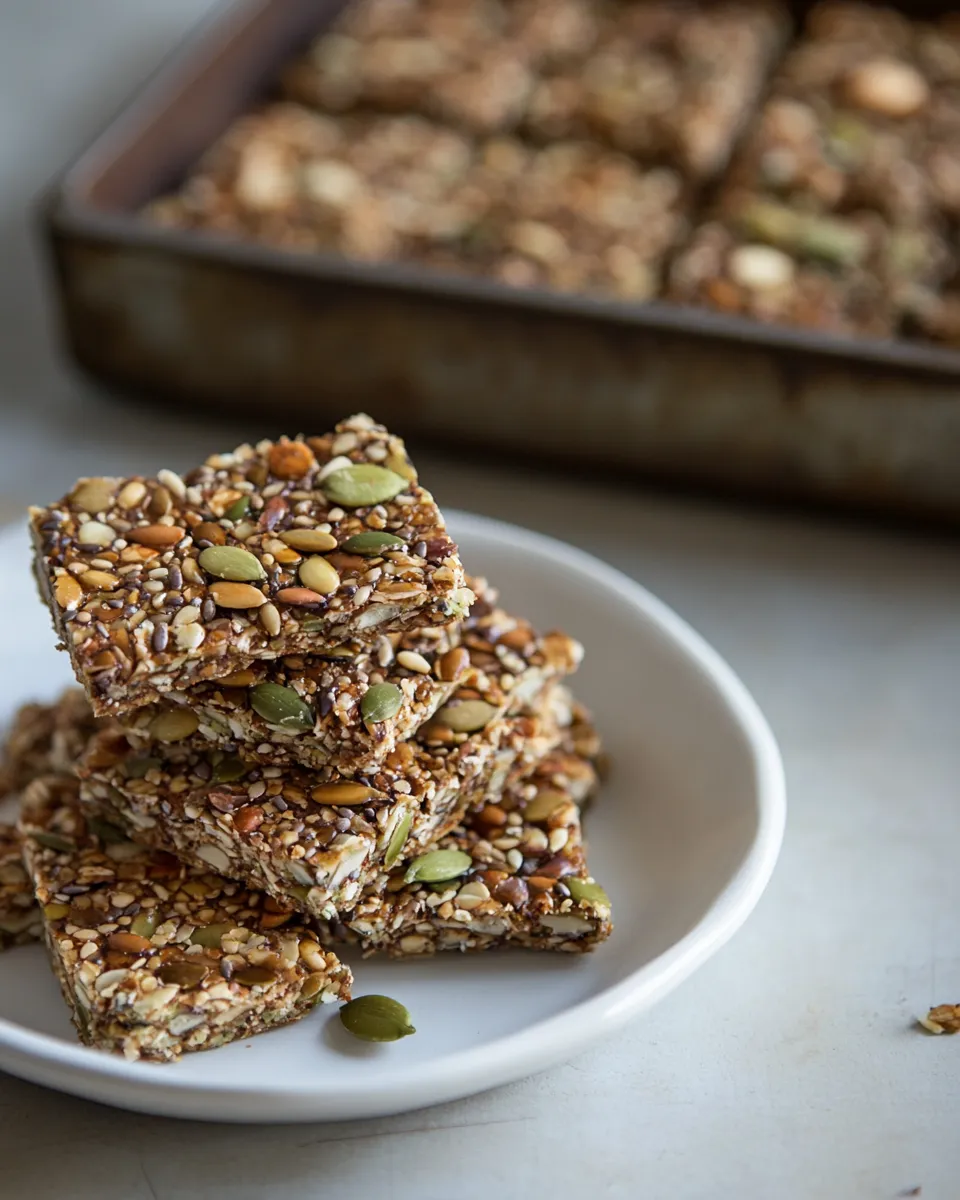
The magic of the Best Healthier Seeded Crunchies (Easy & Delicious) lies in their balance of flavors and textures. The combination of whole flaked oats, various seeds, and a touch of coconut creates a satisfying crunch that’s hard to resist. The butter and sugar provide just the right sweetness while keeping everything bound together. Plus, the addition of chia and flaxseeds boosts the nutritional profile, providing omega-3 fatty acids and fiber, which are essential for a balanced diet.
What to Buy
To make these delightful crunchies, you’ll need to gather the following ingredients:
- 120 grams all-purpose or cake flour: This forms the base of your crunchies, giving them structure.
- 150 grams whole flaked oats: A great source of fiber that adds chewiness and crunch.
- 60 grams desiccated coconut: For added flavor and texture.
- 35 grams chia seeds: Packed with nutrients and helps bind the mixture.
- 30 grams flaxseeds: Another nutritious seed, rich in omega-3 fatty acids.
- 35 grams sunflower seeds (raw): Adds a nutty taste and a delightful crunch.
- 35 grams pumpkin seeds (raw): Provides additional nutrients and a lovely flavor.
- 1/2 tsp salt: Enhances the flavors.
- 200 grams salted butter: The key fat component that holds everything together.
- 190 grams white or light brown sugar: For sweetness.
- 1 Tbsp golden syrup or corn syrup: Adds moisture and sweetness.
- 1 tsp bicarbonate of soda: Helps the crunchies rise slightly.
- 1 tsp vanilla extract (optional): For a hint of flavor.
Gear Up: What to Grab
Before you begin, make sure you have the following tools handy:
- Mixing bowls: For combining all your ingredients.
- Measuring cups and spoons: To ensure accuracy in your measurements.
- Baking sheet: Where you’ll spread your mixture for baking.
- Parchment paper: To line your baking sheet for easy removal and cleanup.
- Spatula: For mixing and spreading the batter evenly.
- Oven: Preheated to the right temperature for baking.
Cooking Best Healthier Seeded Crunchies (Easy & Delicious): The Process
Now that you have everything ready, let’s get started with the step-by-step process to create these tasty crunchies!
Step 1: Preheat the Oven
Start by preheating your oven to 180°C (350°F). This ensures that your crunchies bake evenly.
Step 2: Prepare Your Baking Sheet
Line a baking sheet with parchment paper. This will prevent the crunchies from sticking and make cleanup a breeze.
Step 3: Mix Dry Ingredients
In a large mixing bowl, combine the all-purpose flour, whole flaked oats, desiccated coconut, chia seeds, flaxseeds, sunflower seeds, pumpkin seeds, salt, and bicarbonate of soda. Stir until evenly mixed.
Step 4: Cream Butter and Sugar
In another bowl, beat the salted butter and sugar together until creamy and light. This should take about 2-3 minutes.
Step 5: Add Syrup and Vanilla
Mix in the golden syrup (or corn syrup) and the optional vanilla extract, and continue to beat until well combined.
Step 6: Combine Wet and Dry Mixtures
Gradually add the dry mixture to the wet mixture, stirring until everything is well incorporated. The dough should be thick and sticky.
Step 7: Spread the Mixture
Transfer the mixture to the prepared baking sheet. Use a spatula to spread it out evenly, pressing it down gently so it holds together during baking.
Step 8: Bake
Place the baking sheet in the preheated oven and bake for 20-25 minutes, or until the edges are golden brown. Keep an eye on them to avoid overbaking.
Step 9: Cool and Cut
Once baked, remove the sheet from the oven and let it cool in the pan for about 10 minutes. Then, lift the parchment paper out and let it cool completely on a wire rack. Once cooled, cut into squares or bars.
Year-Round Variations
These crunchies are versatile, and you can mix things up throughout the year with these variations:
- Add dried fruits like cranberries, apricots, or raisins for a chewy texture.
- Incorporate nut butters like almond or peanut butter for extra flavor.
- Experiment with different seeds such as sesame or hemp seeds.
- Try using different sweeteners such as honey or agave syrup.
- For a chocolatey twist, mix in some dark chocolate chips.
Steer Clear of These
While these crunchies are healthy, here are a few things to avoid:
- Skipping the salt: It enhances the overall flavor of the crunchies.
- Overbaking: This can lead to a dry texture instead of a chewy crunch.
- Using expired ingredients: Always check your seeds and oats for freshness.
- Ignoring the cooling time: Cutting them too early can lead to crumbling.
Save It for Later
If you have leftovers (which is rare!), here’s how to store them:
- Keep the crunchies in an airtight container at room temperature for up to a week.
- For longer storage, freeze them in a zip-lock bag for up to three months.
- To enjoy them later, simply thaw at room temperature or warm them up in the oven for a few minutes.
Best Healthier Seeded Crunchies (Easy & Delicious) Q&A
Can I substitute the butter with a different fat?
Yes! You can use coconut oil or a dairy-free butter substitute if you prefer. Just keep in mind that it may slightly change the flavor and texture.
What can I use instead of seeds?
If you’re allergic to seeds, you can substitute with nuts like chopped almonds, walnuts, or pecans.
Can I make these crunchies vegan?
Absolutely! Substitute the butter with a vegan butter alternative and replace the golden syrup with maple syrup for sweetness.
How do I ensure my crunchies are extra crunchy?
Make sure to bake them until they are golden brown and allow them to cool completely before storing. This helps maintain their crunchiness.
Weekend Projects
If you’re looking for more delicious recipes to try this weekend, check out these links:
- Creamy Spinach Feta Stuffed Shells With Marinara
- Creamy Broccoli Cheddar Stuffed Baked Potatoes
- Creamy Spinach Alfredo Chicken Roll Ups
Ready to Cook?
With all these tips and insights, you’re now equipped to make the Best Healthier Seeded Crunchies (Easy & Delicious). Enjoy the process and the delightful crunch that awaits you in every bite! Get ready to savor a wholesome snack that’s not only easy to make but also oh-so-delicious!
Share on Pinterest
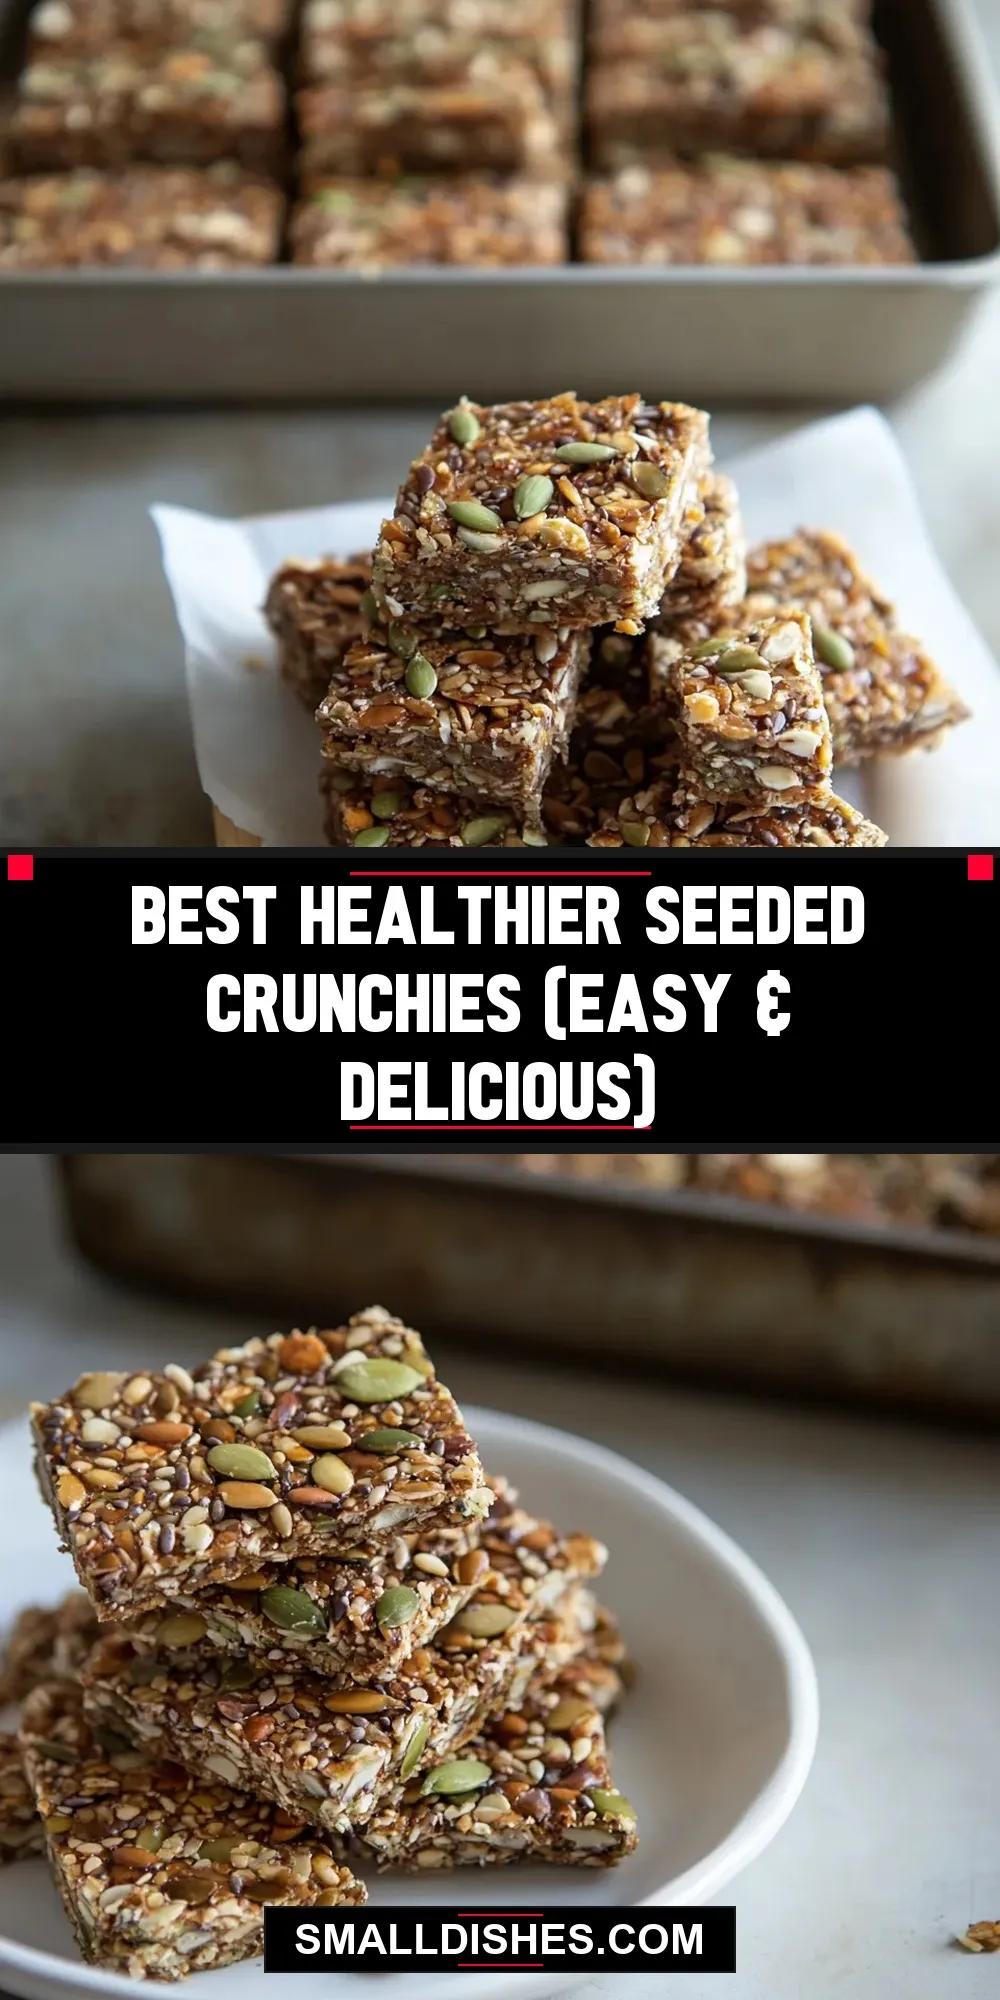
Best Healthier Seeded Crunchies (Easy & Delicious)
Ingredients
Equipment
Method
- Step 1: Preheat the Oven - Start by preheating your oven to 180°C (350°F). This ensures that your crunchies bake evenly.
- Step 2: Prepare Your Baking Sheet - Line a baking sheet with parchment paper. This will prevent the crunchies from sticking and make cleanup a breeze.
- Step 3: Mix Dry Ingredients - In a large mixing bowl, combine the all-purpose flour, whole flaked oats, desiccated coconut, chia seeds, flaxseeds, sunflower seeds, pumpkin seeds, salt, and bicarbonate of soda. Stir until evenly mixed.
- Step 4: Cream Butter and Sugar - In another bowl, beat the salted butter and sugar together until creamy and light. This should take about 2-3 minutes.
- Step 5: Add Syrup and Vanilla - Mix in the golden syrup (or corn syrup) and the optional vanilla extract, and continue to beat until well combined.
- Step 6: Combine Wet and Dry Mixtures - Gradually add the dry mixture to the wet mixture, stirring until everything is well incorporated. The dough should be thick and sticky.
- Step 7: Spread the Mixture - Transfer the mixture to the prepared baking sheet. Use a spatula to spread it out evenly, pressing it down gently so it holds together during baking.
- Step 8: Bake - Place the baking sheet in the preheated oven and bake for 20-25 minutes, or until the edges are golden brown. Keep an eye on them to avoid overbaking.
- Step 9: Cool and Cut - Once baked, remove the sheet from the oven and let it cool in the pan for about 10 minutes. Then, lift the parchment paper out and let it cool completely on a wire rack. Once cooled, cut into squares or bars.
Notes
- Store crunchies in an airtight container at room temperature for up to a week.
- For longer storage, freeze them in a zip-lock bag for up to three months.
- Thaw at room temperature or warm them up in the oven for a few minutes before enjoying.