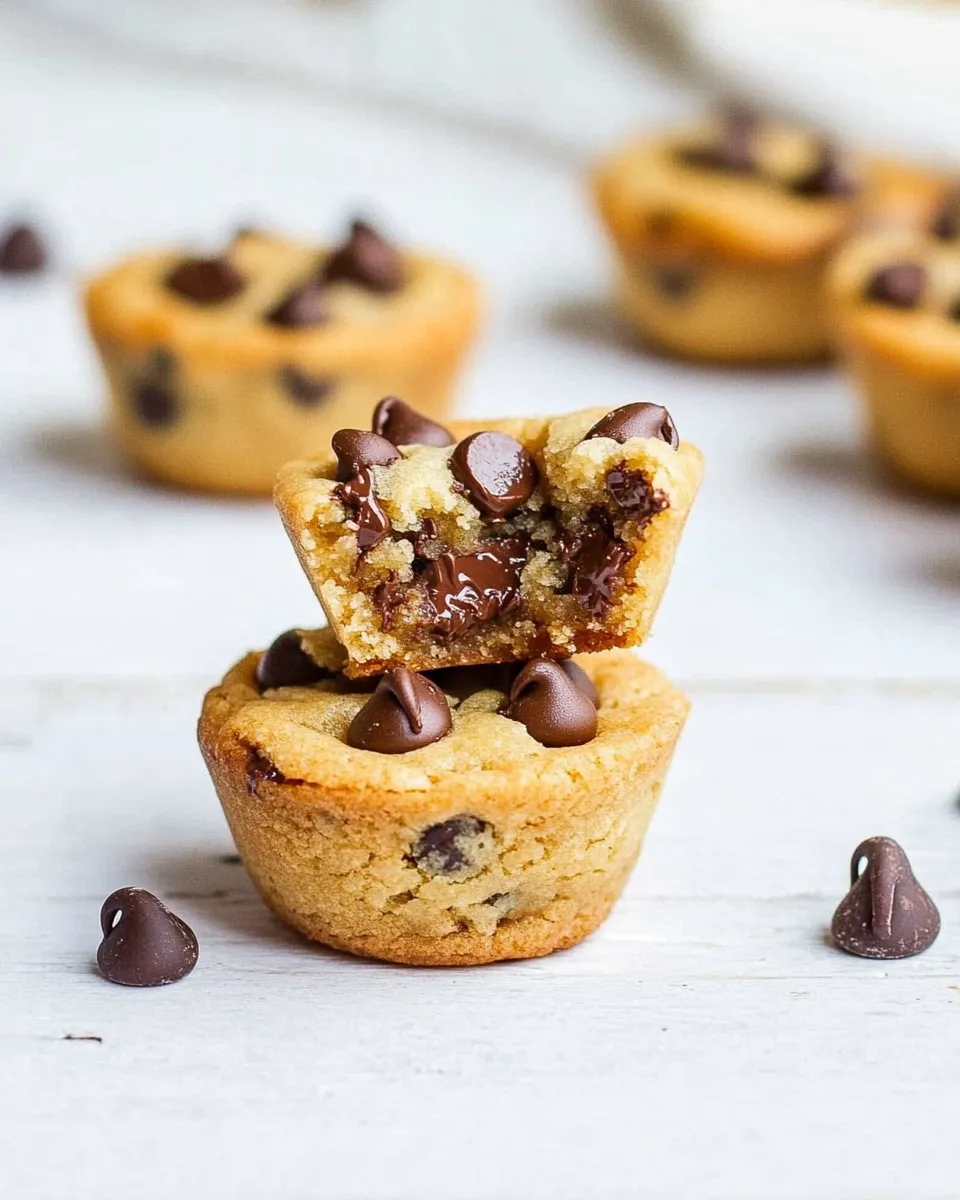
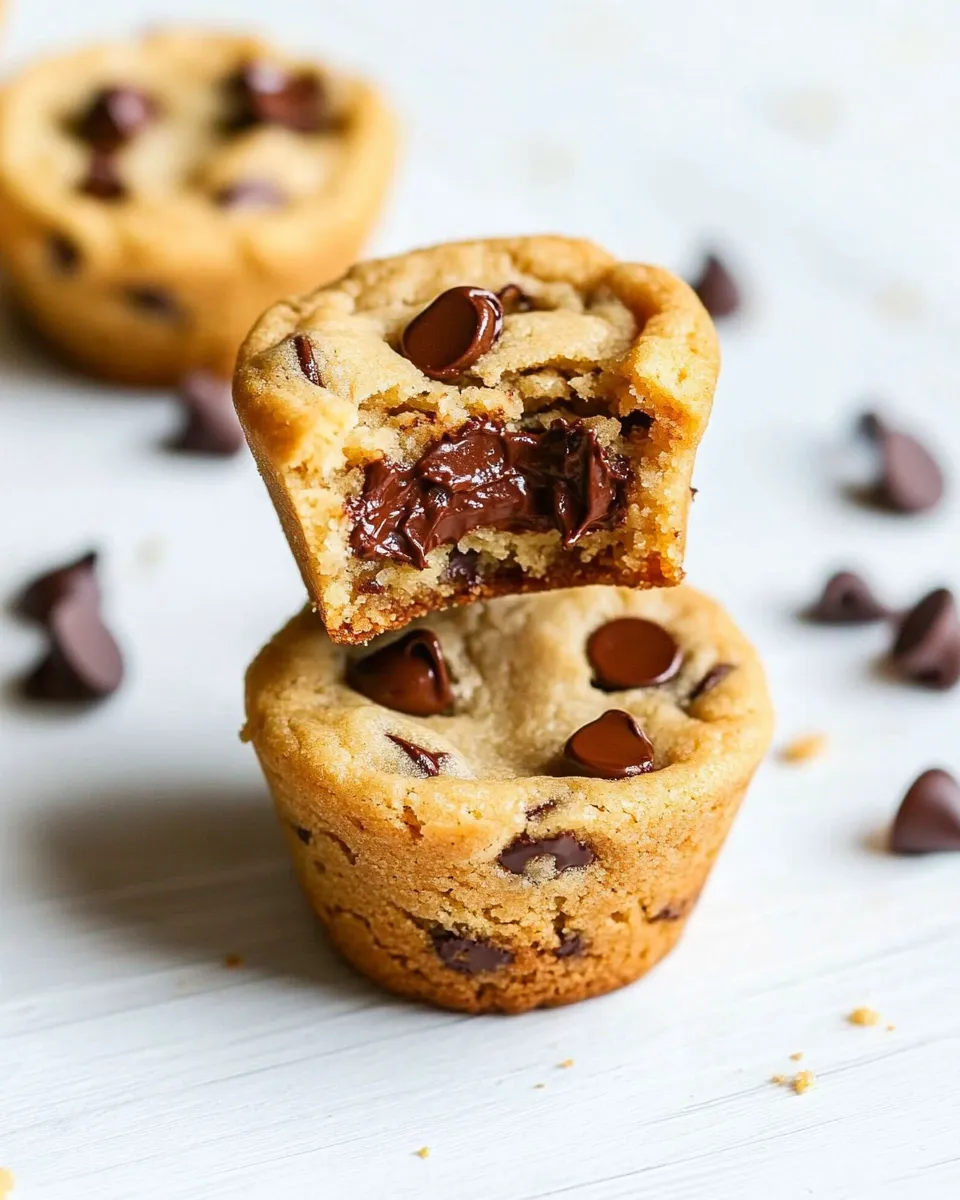
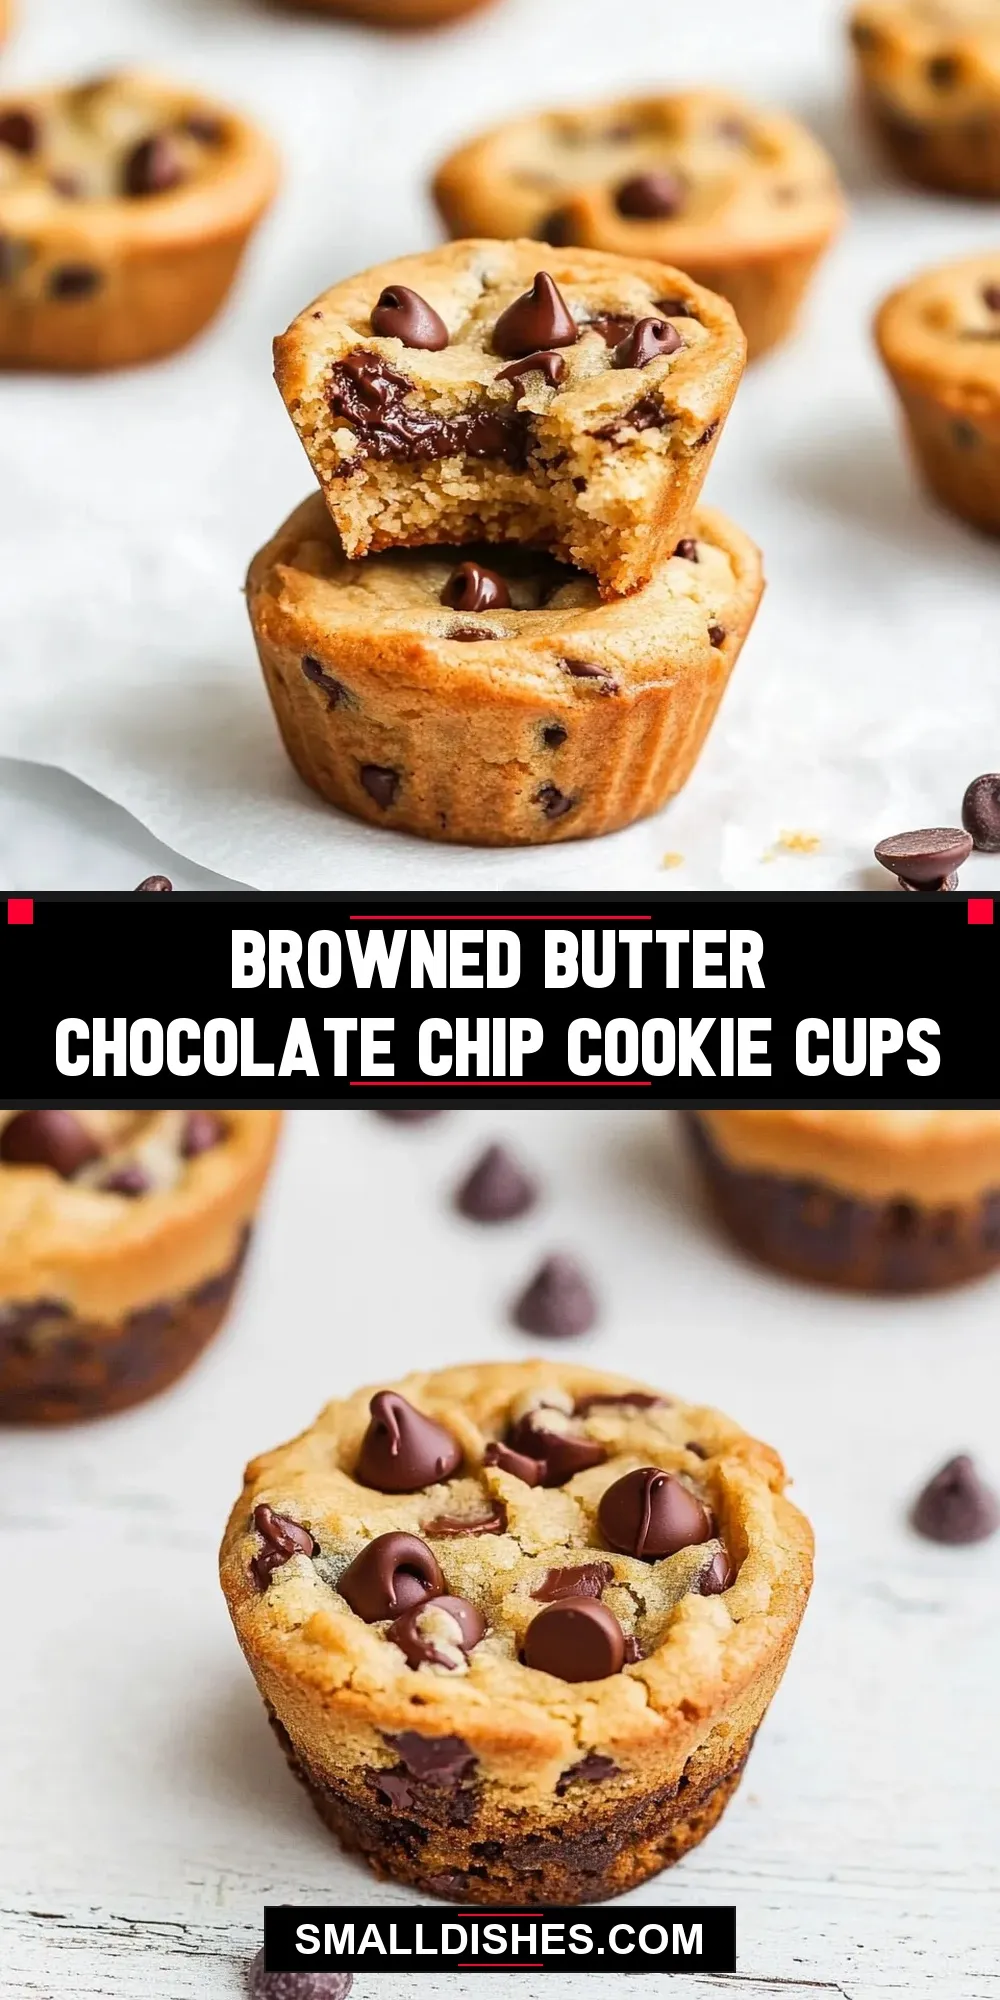
If you’re looking for a new twist on the classic chocolate chip cookie, you’ve landed in the right place. Browned Butter Chocolate Chip Cookie Cups are the perfect blend of warm, nutty flavors and gooey chocolate goodness, all baked into a delightful cup shape! These cookie cups are ideal for sharing (or keeping all to yourself) and are a fantastic way to elevate your dessert game. Let’s dive into why this recipe should become a favorite in your baking repertoire.
Why This Recipe Belongs in Your Rotation
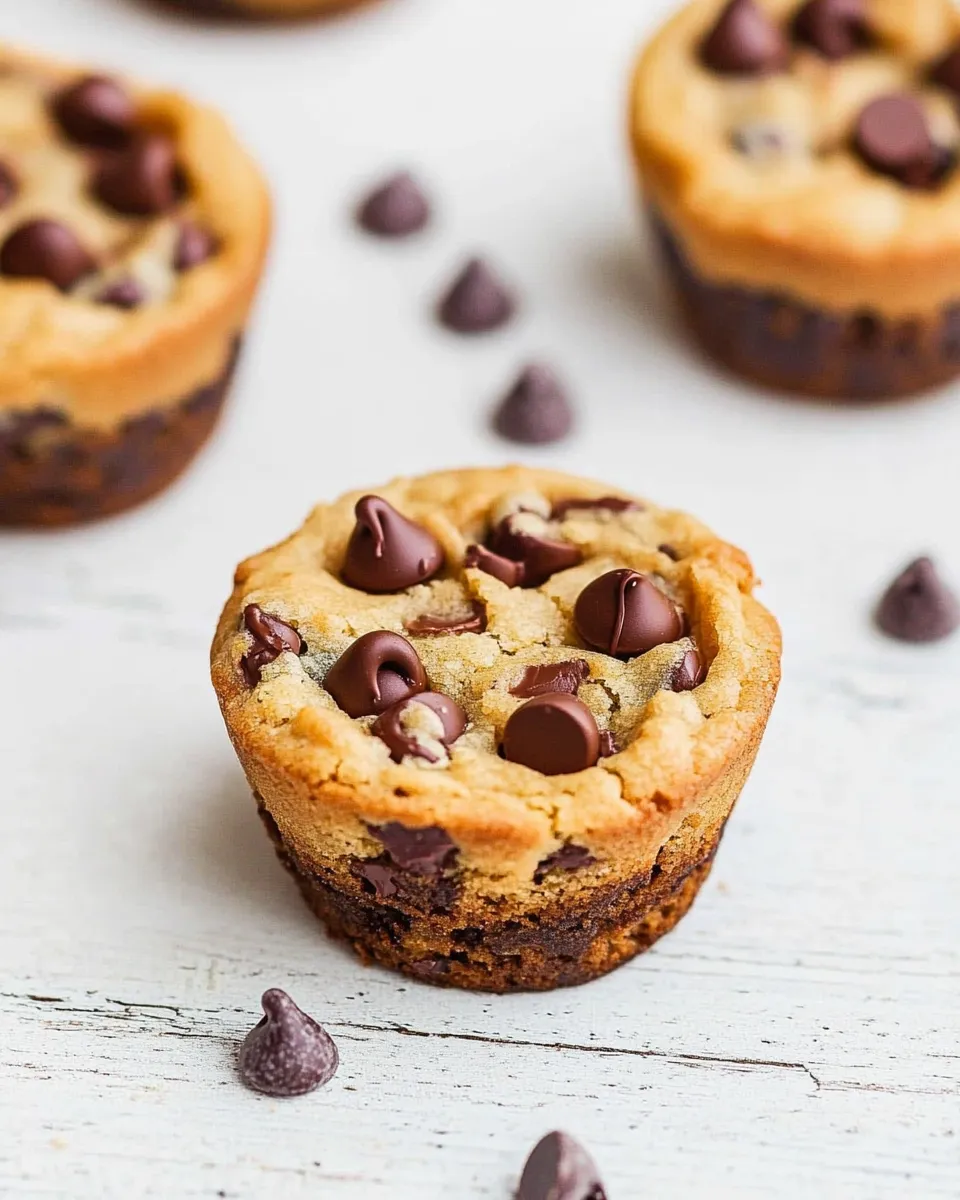
First and foremost, the rich flavor of browned butter takes these cookie cups to a whole new level. Browning the butter adds a depth of flavor that is simply irresistible. Not only are these cookie cups delicious, but they are also incredibly easy to make. With a straightforward method and simple ingredients, you can whip up a batch in no time. Plus, the cup shape means they’re perfect for filling with ice cream or your favorite toppings, making them versatile for any occasion. Whether it’s a family gathering, a casual get-together, or simply satisfying your sweet tooth, these cookie cups are a must-try!
Shopping List
To make your Browned Butter Chocolate Chip Cookie Cups, here’s what you will need:
- 1 cup unsalted butter – for that rich flavor, browned to perfection.
- 1 large egg – for binding the ingredients together.
- 1 cup light brown sugar, packed – adds moisture and sweetness.
- 1 cup granulated sugar – for that classic sweetness.
- 2 teaspoons vanilla extract – enhances the flavor profile.
- 1 ½ cups bread flour – provides the ideal texture.
- 1 teaspoon baking soda – for leavening.
- ½ teaspoon salt – to balance the sweetness, optional and to taste.
- 1 ½ cups semi-sweet chocolate chips – because chocolate makes everything better!
Must-Have Equipment
Before you start baking, gather these essential tools:
- Mixing Bowls – for combining your ingredients.
- Whisk – to mix the wet ingredients smoothly.
- Measuring Cups and Spoons – for accuracy in your ingredients.
- Cookie Scoop – for perfectly portioned cookie cups.
- 12-Cup Muffin Tin – to create the cookie cup shape.
- Spatula – for transferring the batter and smoothing it out.
Make Browned Butter Chocolate Chip Cookie Cups: A Simple Method
Follow these easy steps to create your tempting cookie cups:
Step 1: Brown the Butter
In a saucepan over medium heat, melt the unsalted butter. Continue to cook, swirling occasionally, until the butter turns a golden brown color and emits a nutty aroma. Be careful not to burn it! Once browned, remove it from heat and let it cool slightly.
Step 2: Mix Wet Ingredients
In a large mixing bowl, combine the browned butter, light brown sugar, granulated sugar, and vanilla extract. Whisk until smooth. Add in the large egg and mix until fully incorporated.
Step 3: Combine Dry Ingredients
In another bowl, whisk together the bread flour, baking soda, and salt. Gradually add the dry ingredients to the wet mixture, mixing until just combined. Be careful not to overmix!
Step 4: Fold in the Chocolate Chips
Using a spatula, fold in the semi-sweet chocolate chips until evenly distributed throughout the dough.
Step 5: Prepare the Muffin Tin
Preheat your oven to 350°F (175°C). Grease your muffin tin or use muffin liners for easy removal.
Step 6: Scoop the Dough
Using a cookie scoop, portion out the dough into each muffin cup, filling them about ¾ of the way full.
Step 7: Bake
Bake in the preheated oven for 12-15 minutes or until the edges are lightly golden. The centers may look slightly underbaked, but they will continue to cook as they cool.
Step 8: Cool and Enjoy
Allow the cookie cups to cool in the muffin tin for about 5 minutes before transferring them to a wire rack to cool completely. Enjoy them warm, or fill them with your favorite ice cream for a delightful dessert!
Make It Fit Your Plan
If you want to tailor this recipe to fit your dietary preferences or needs, consider the following options:
- For a gluten-free version, substitute the bread flour with a gluten-free all-purpose flour blend.
- If you prefer a less sweet cookie, reduce the granulated sugar by ¼ cup.
- For a richer flavor, try adding in toasted nuts such as pecans or walnuts.
- Experiment with different types of chocolate chips—dark chocolate or white chocolate chips can provide a fun twist!
Troubles You Can Avoid
Baking can sometimes go awry, but here are a few common pitfalls and how to avoid them:
- Overbaking – Keep an eye on your cookie cups; they should be slightly underbaked in the center for the perfect chewy texture.
- Butter separation – Ensure your butter doesn’t burn when browning; it should be golden, not black.
- Too crumbly – If your dough seems dry, consider adding a splash of milk to moisten it.
- Sticking – Grease your muffin tin well or use liners to prevent sticking.
Save It for Later
If you find that you have leftover cookie cups (though it’s unlikely!), here are some tips on how to store them:
Keep the cookie cups in an airtight container at room temperature for up to 3 days. For longer storage, consider freezing them. Just place them in a freezer-safe container with parchment paper between layers and they can last for up to 3 months. When you’re ready to enjoy, simply thaw and warm them in the oven for a few minutes.
Handy Q&A
Can I use margarine instead of butter?
While margarine can be used, it won’t provide the same rich flavor that browned butter offers. For the best results, stick with unsalted butter.
What can I do if I don’t have bread flour?
You can use all-purpose flour as a substitute, but be aware that the texture might be slightly different. Bread flour gives a chewier texture that many people love.
How do I know when my cookie cups are done?
They should be lightly golden around the edges and still look slightly soft in the center. They will continue to firm up as they cool.
Can I add other mix-ins?
Absolutely! Feel free to add in your favorite mix-ins like chopped nuts, dried fruits, or even different types of chocolate chunks for a unique flavor.
Similar Recipes
If you love these Browned Butter Chocolate Chip Cookie Cups, you might also enjoy these delightful treats:
- Brown Butter Toffee Pecan Blondies – A rich, buttery dessert with a hint of toffee.
- Pumpkin Oatmeal Chocolate Chip Cookies – A seasonal favorite that combines pumpkin and chocolate.
Let’s Eat
Now that you’ve made your Browned Butter Chocolate Chip Cookie Cups, gather your friends and family, or simply indulge yourself. These delightful little cups of joy are sure to impress and satisfy any sweet craving. The warm, gooey chocolate combined with the nutty flavor of the browned butter makes for a treat that’s hard to resist. Enjoy every bite!
Share on Pinterest
Browned Butter Chocolate Chip Cookie Cups
Ingredients
Equipment
Method
- In a saucepan over medium heat, melt the unsalted butter. Continue to cook, swirling occasionally, until the butter turns a golden brown color and emits a nutty aroma. Be careful not to burn it! Once browned, remove it from heat and let it cool slightly.
- In a large mixing bowl, combine the browned butter, light brown sugar, granulated sugar, and vanilla extract. Whisk until smooth. Add in the large egg and mix until fully incorporated.
- In another bowl, whisk together the bread flour, baking soda, and salt. Gradually add the dry ingredients to the wet mixture, mixing until just combined. Be careful not to overmix!
- Using a spatula, fold in the semi-sweet chocolate chips until evenly distributed throughout the dough.
- Preheat your oven to 350°F (175°C). Grease your muffin tin or use muffin liners for easy removal.
- Using a cookie scoop, portion out the dough into each muffin cup, filling them about ¾ of the way full.
- Bake in the preheated oven for 12-15 minutes or until the edges are lightly golden. The centers may look slightly underbaked, but they will continue to cook as they cool.
- Allow the cookie cups to cool in the muffin tin for about 5 minutes before transferring them to a wire rack to cool completely. Enjoy them warm, or fill them with your favorite ice cream for a delightful dessert!
Notes
- Store cookie cups in an airtight container at room temperature for up to 3 days.
- For longer storage, freeze them in a freezer-safe container with parchment paper between layers for up to 3 months.
- Thaw and warm in the oven for a few minutes before serving.