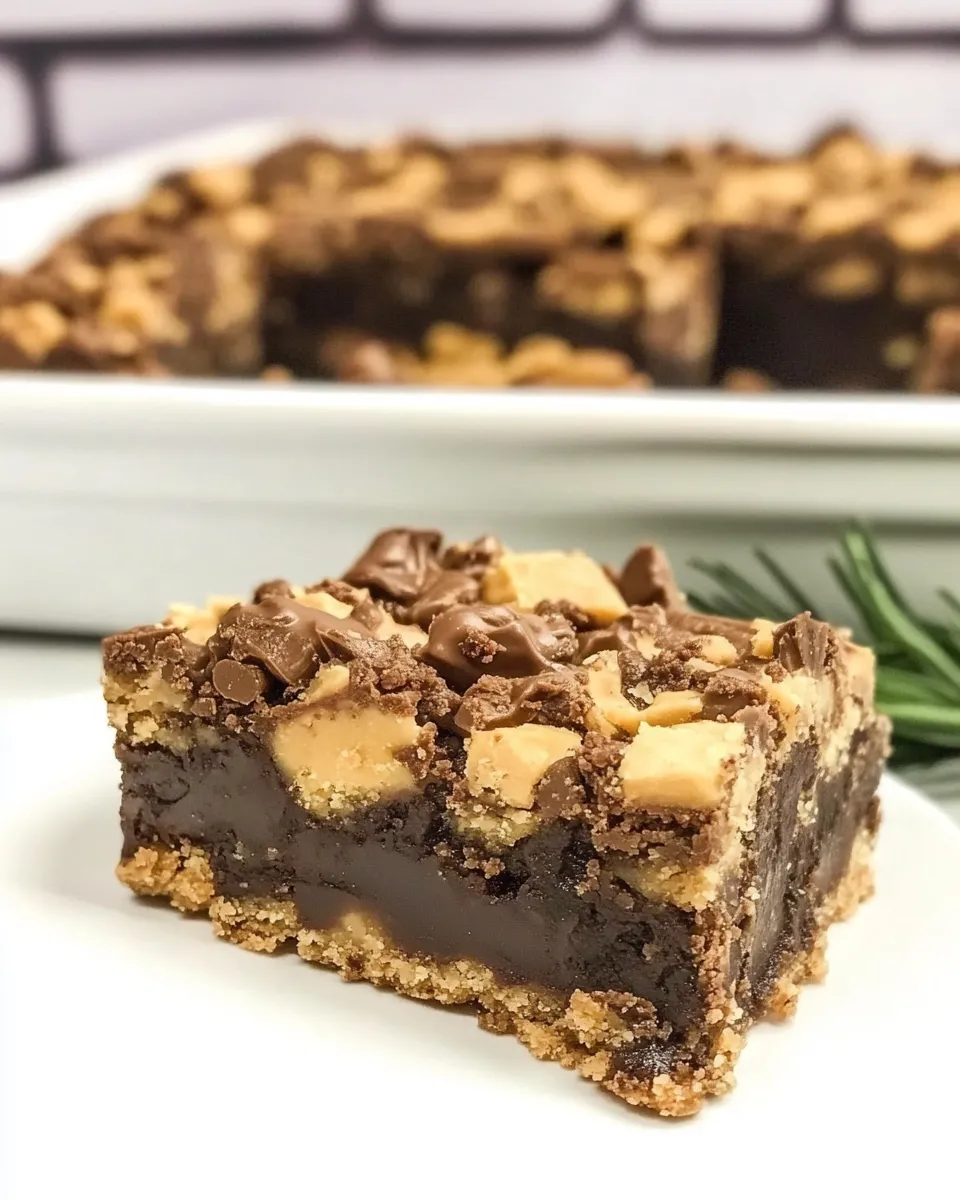
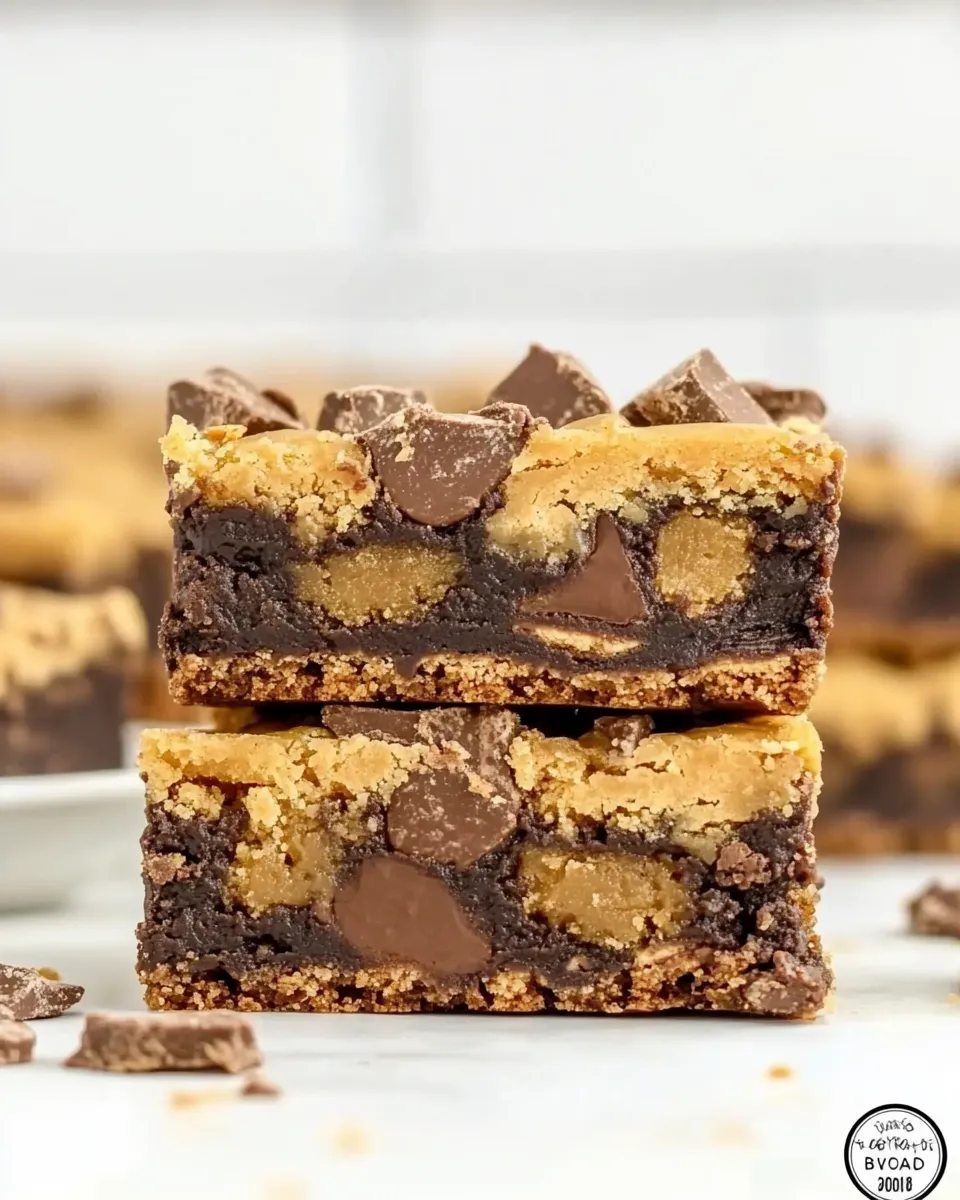
Indulging in a dessert that combines the rich flavors of peanut butter, chocolate, and the delightful crunch of Butterfinger is a heavenly experience. These Butterfinger Fudge Cookie Bars are a sweet treat that will take you back to childhood while satisfying your adult cravings. With a gooey center, a cookie crust, and a generous sprinkling of Butterfinger bits, they are perfect for any occasion—be it a family gathering, a potluck, or simply a cozy night in. Let’s dive into the deliciousness of these bars and discover why they deserve a spot on your dessert table.
Why It Deserves a Spot
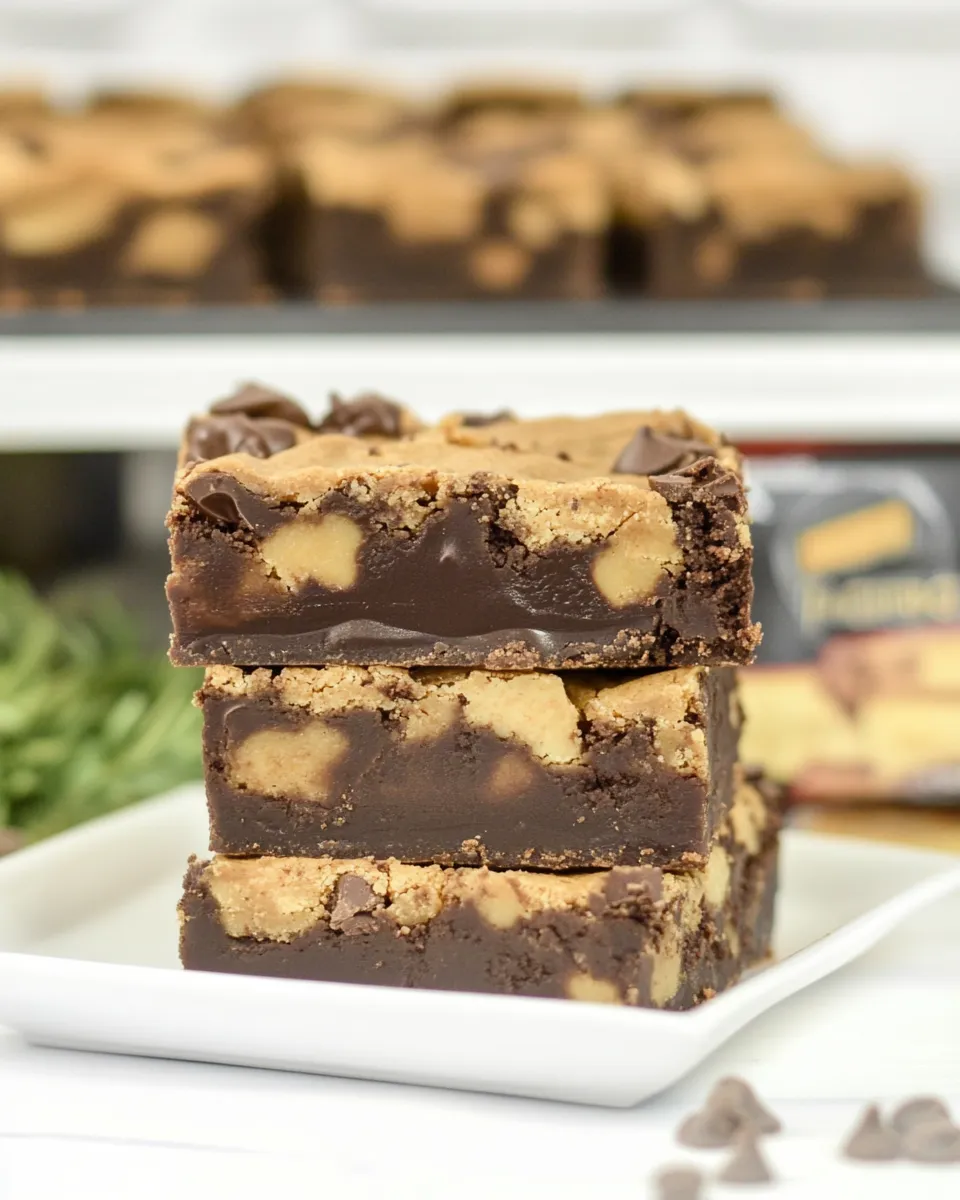
These Butterfinger Fudge Cookie Bars are not just another dessert; they are a delightful combination of textures and flavors. The soft and chewy peanut butter cookie base pairs beautifully with the creamy fudge filling, while the crunchy Butterfinger bits add a playful twist. If you love dessert bars that are easy to make and even easier to devour, these bars are a must-try. Their sweet and salty profile makes them a favorite for both kids and adults alike. Plus, they are incredibly versatile and can be enjoyed year-round!
Ingredient Notes
- 2 (16-oz) packages refrigerated peanut butter cookie dough: This is the star of our base. Using refrigerated dough saves time and guarantees a perfect texture.
- 1 cup plus 1 Tbsp butter, melted and divided: The butter adds richness to the cookie base and helps bind the graham cracker crumbs for the fudge layer.
- 2 cups graham cracker crumbs: These provide a crunchy texture and a hint of sweetness that complements the peanut butter.
- 1 (8-oz) package Butterfinger baking bits, divided: These will be sprinkled throughout the bars for that iconic Butterfinger flavor.
- 1 (14-oz) can sweetened condensed milk: This makes the fudge layer creamy and helps it set perfectly.
- 1 cup semi-sweet chocolate chips: For a rich chocolate flavor that balances the sweetness of the other ingredients.
- 1 cup peanut butter baking chips: These amplify the peanut butter flavor and add another layer of creaminess.
- 1 tsp vanilla extract: A splash of vanilla enhances all the flavors and rounds out the sweetness.
Tools & Equipment Needed
- Mixing bowls: For combining the ingredients.
- 9×13-inch baking dish: To bake the bars in.
- Spatula: For spreading the cookie dough and fudge mixture evenly.
- Measuring cups and spoons: To ensure accurate ingredient measurements.
- Oven: To bake to perfection!
Butterfinger Fudge Cookie Bars: How It’s Done

Step 1: Preheat the Oven
Preheat your oven to 350°F (175°C) and grease your 9×13-inch baking dish or line it with parchment paper for easy removal later.
Step 2: Prepare the Cookie Base
In a large mixing bowl, combine the refrigerated peanut butter cookie dough with 1 cup of the melted butter. Mix until well combined. Press the dough evenly into the bottom of the prepared baking dish to form the cookie base.
Step 3: Create the Fudge Layer
In another bowl, mix together the graham cracker crumbs, sweetened condensed milk, the remaining melted butter, semi-sweet chocolate chips, peanut butter baking chips, vanilla extract, and half of the Butterfinger baking bits. Stir until everything is well combined.
Step 4: Assemble the Bars
Pour the fudge mixture over the cookie base, spreading it evenly with a spatula. Sprinkle the remaining Butterfinger bits on top for an added crunch.
Step 5: Bake
Place the baking dish in the preheated oven and bake for 25-30 minutes, or until the fudge layer is set and the edges are lightly golden. Keep an eye on it to prevent overbaking.
Step 6: Cool and Cut
Once baked, remove the dish from the oven and allow the bars to cool in the pan for at least 30 minutes. After cooling, cut into squares and serve. Enjoy your heavenly Butterfinger Fudge Cookie Bars!
Seasonal Adaptations
- For a festive touch during the holidays, add a dash of peppermint extract for a minty flavor.
- In the fall, try substituting some of the graham cracker crumbs with crushed ginger snaps for a spiced twist.
- During summer, incorporate mini marshmallows for a s’mores-inspired version of these bars.
- For a fun twist, use different types of candy baking bits, like M&M’s or Reese’s, depending on the season.
Cook’s Commentary
These Butterfinger Fudge Cookie Bars are incredibly versatile and forgiving! Feel free to experiment with the ratios of peanut butter and chocolate chips according to your taste. The combination of the cookie base with the fudge filling is simply divine, and it’s hard to eat just one. I love to make a batch for gatherings, as they disappear quickly!
Storage Pro Tips
To keep your Butterfinger Fudge Cookie Bars fresh, store them in an airtight container at room temperature for up to 3 days. If you want to keep them longer, you can refrigerate them for up to a week. For longer storage, consider freezing them. Just wrap individual pieces tightly in plastic wrap and place them in a freezer-safe bag. They can last up to 3 months in the freezer, making them a perfect treat to have on hand!
FAQ
Can I use homemade peanut butter cookie dough instead of refrigerated dough?
Absolutely! Homemade peanut butter cookie dough will work just as well, but make sure it is chilled before pressing it into the baking dish for the best results.
Can I substitute the Butterfinger bits with another candy?
Yes! Feel free to substitute with your favorite candy bits, like crushed Oreos or even chocolate-covered pretzels for a unique twist on these bars.
How do I ensure the fudge layer is set properly?
Make sure to bake the bars until the edges are lightly golden and the center is just set. If it jiggles too much in the center, give it a few more minutes in the oven.
What’s the best way to cut the bars for serving?
For clean cuts, use a sharp knife that has been dipped in hot water. Wipe the knife clean between cuts for neat squares!
Bring It to the Table
Get ready to impress family and friends with these Butterfinger Fudge Cookie Bars. They are easy to make, visually appealing, and absolutely delicious. Whether you’re serving them at a gathering or simply enjoying a quiet night at home, these bars are sure to become a favorite. So gather your ingredients, roll up your sleeves, and get ready to create a dessert that will leave everyone craving more!
Butterfinger Fudge Cookie Bars
Ingredients
Equipment
Method
- Preheat your oven to 350°F (175°C) and grease your 9x13-inch baking dish or line it with parchment paper for easy removal later.
- In a large mixing bowl, combine the refrigerated peanut butter cookie dough with 1 cup of the melted butter. Mix until well combined. Press the dough evenly into the bottom of the prepared baking dish to form the cookie base.
- In another bowl, mix together the graham cracker crumbs, sweetened condensed milk, the remaining melted butter, semi-sweet chocolate chips, peanut butter baking chips, vanilla extract, and half of the Butterfinger baking bits. Stir until everything is well combined.
- Pour the fudge mixture over the cookie base, spreading it evenly with a spatula. Sprinkle the remaining Butterfinger bits on top for an added crunch.
- Place the baking dish in the preheated oven and bake for 25-30 minutes, or until the fudge layer is set and the edges are lightly golden. Keep an eye on it to prevent overbaking.
- Once baked, remove the dish from the oven and allow the bars to cool in the pan for at least 30 minutes. After cooling, cut into squares and serve. Enjoy your heavenly Butterfinger Fudge Cookie Bars!
Notes
- Store bars in an airtight container at room temperature for up to 3 days.
- For longer storage, refrigerate for up to a week or freeze for up to 3 months.
- Feel free to experiment with different candy baking bits for a unique twist!