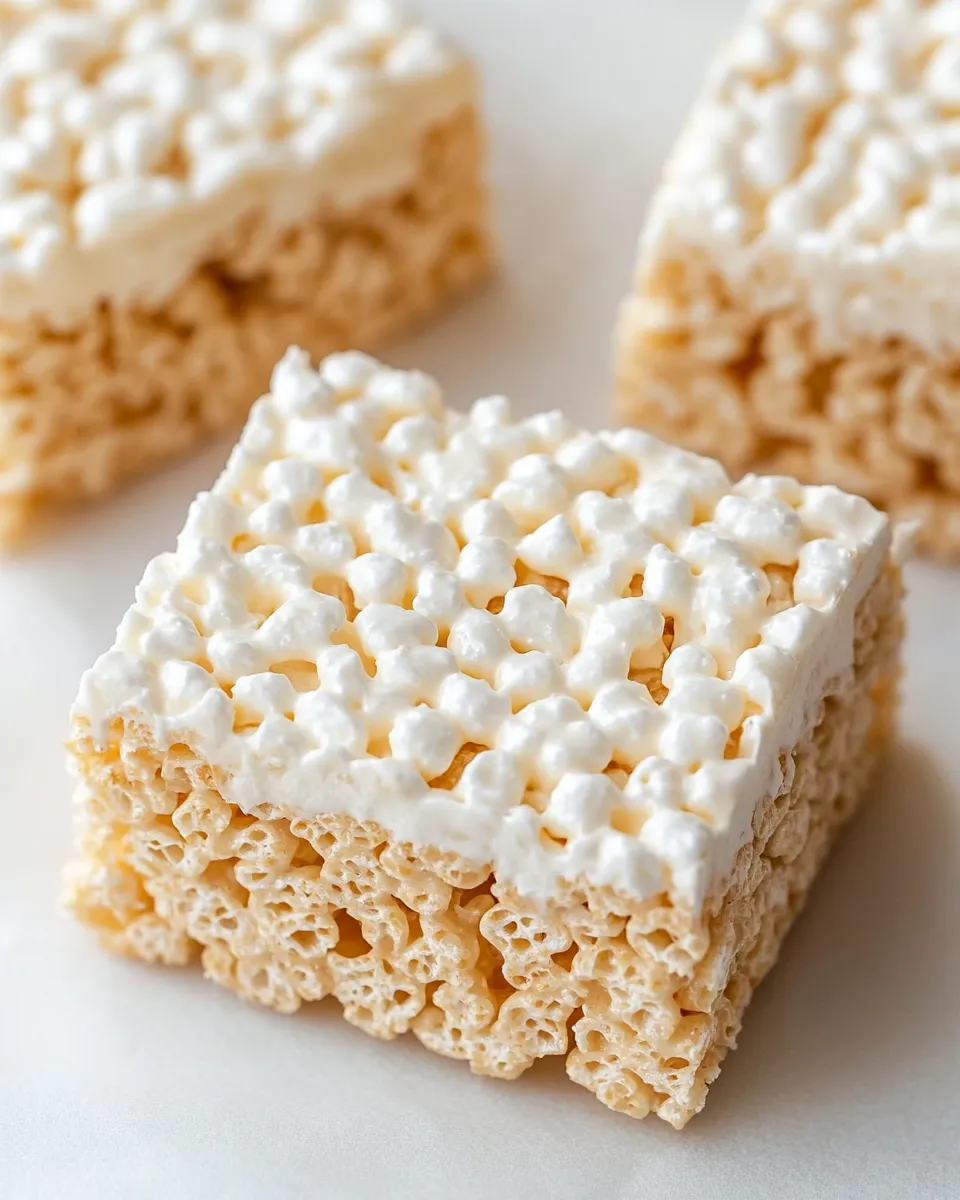
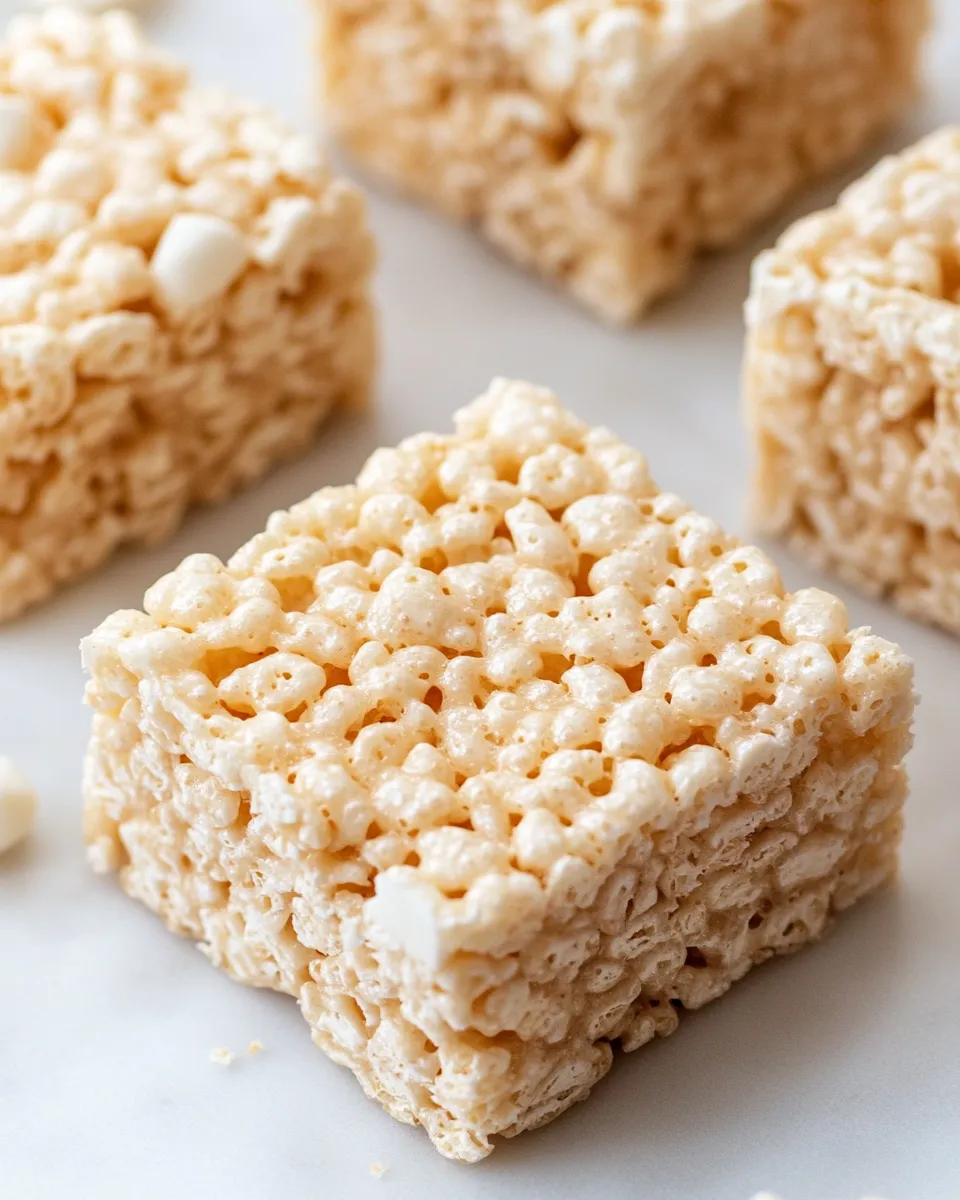
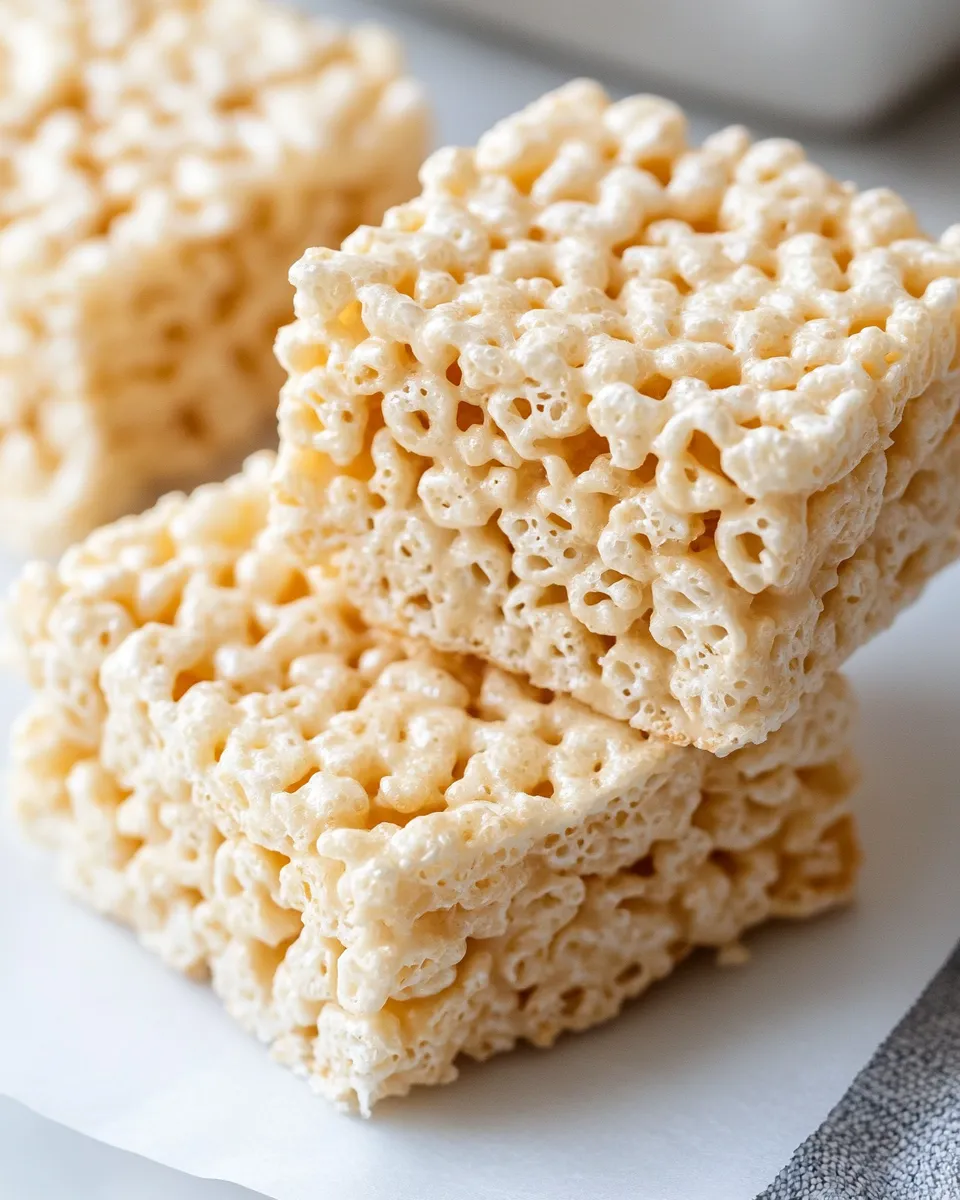
There’s something undeniably nostalgic about Classic Rice Krispie Treats. The gooey marshmallows, the crispy cereal, and the buttery goodness come together in a delightful combination that takes you back to childhood. Whether you’re making them for a school event, a family gathering, or just because you want a sweet treat, this recipe is sure to create smiles all around. They are incredibly easy to make, requiring only a handful of ingredients, and they never fail to impress.
Why This Classic Rice Krispie Treats Stands Out
This recipe for Classic Rice Krispie Treats stands out because of its simplicity and the perfect balance of flavors and textures. The secret lies in using quality ingredients, especially the mini marshmallows, which melt to create an ultra-creamy base. The addition of a pinch of sea salt enhances the sweetness, and the pure vanilla extract adds depth to the flavor profile. Plus, these treats can be customized in so many ways, making them a versatile dessert that you can enjoy year-round.
What You’ll Need
To whip up these Classic Rice Krispie Treats, gather the following ingredients:
- 1 cup unsalted butter
- 2 packages mini-marshmallows (10 ounces each, divided use)
- Pinch sea salt
- 1 teaspoon pure vanilla extract
- 8 cups Rice Krispies cereal
Before You Start: Equipment
Before diving into the cooking process, make sure you have the right equipment on hand:
- Large saucepan: For melting the butter and marshmallows.
- Wooden spoon or spatula: To stir the mixture together.
- 9×13-inch baking dish: For setting the treats.
- Measuring cups and spoons: For accurate ingredient measurements.
- Parchment paper: Optional, for easy removal of treats from the dish.
The Method for Classic Rice Krispie Treats
Creating the perfect Classic Rice Krispie Treats is a simple process that yields delicious results. Follow these steps:
Step 1: Melt the Butter
In a large saucepan over low heat, melt the 1 cup of unsalted butter. Stir occasionally until completely melted.
Step 2: Add the Marshmallows
Once the butter is melted, add 1 package (10 ounces) of mini-marshmallows to the saucepan. Stir continuously until the marshmallows are fully melted and the mixture is smooth.
Step 3: Incorporate Flavor
Remove the saucepan from the heat. Stir in a pinch of sea salt and 1 teaspoon of pure vanilla extract into the melted mixture for enhanced flavor.
Step 4: Combine with Cereal
Gently fold in the 8 cups of Rice Krispies cereal into the marshmallow mixture until well coated. It’s best to do this gradually to avoid crushing the cereal.
Step 5: Set in Baking Dish
Transfer the mixture into a greased or parchment-lined 9×13-inch baking dish. Press the mixture down evenly using a spatula or your hands (wetting them slightly can help prevent sticking).
Step 6: Cool and Cut
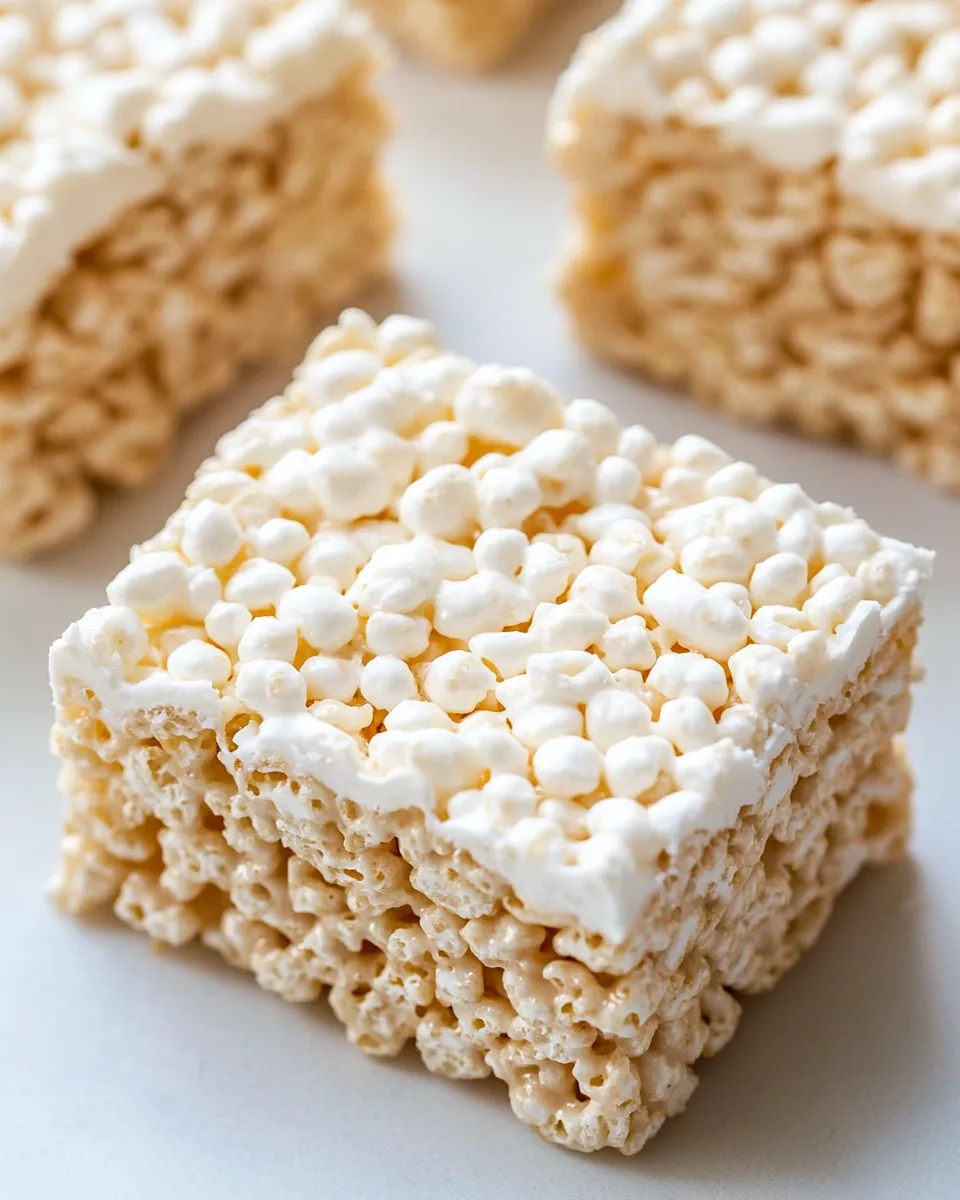
Allow the treats to cool at room temperature for about 30 minutes. Once set, cut into squares and enjoy your Classic Rice Krispie Treats!
Seasonal Ingredient Swaps
Get creative with your Classic Rice Krispie Treats by swapping in seasonal ingredients:
- Spring: Add pastel-colored sprinkles for a festive touch.
- Summer: Mix in some chopped dried fruits like apricots or cranberries.
- Fall: Incorporate pumpkin spice or butterscotch chips.
- Winter: Use peppermint extract and crushed candy canes for a holiday twist.
Flavor Logic
The flavor of Classic Rice Krispie Treats is all about balance. Here’s why they work so well together:
The buttery richness from the unsalted butter complements the sweetness of the marshmallows. The sea salt adds a slight contrast, making the sweetness pop without being overwhelming. The vanilla extract introduces warmth and depth, rounding out the overall flavor profile. Each bite offers a satisfying crunch from the Rice Krispies, making these treats a delightful indulgence.
Keep-It-Fresh Plan
To keep your Classic Rice Krispie Treats fresh and delicious, follow these tips:
- Store them in an airtight container at room temperature for up to a week.
- If they start to harden, you can soften them slightly in the microwave for a few seconds.
- For longer storage, consider freezing them. Wrap individual squares in plastic wrap, then place them in a freezer-safe container.
Troubleshooting Q&A
Why are my Rice Krispie Treats too sticky?
If your treats are too sticky, it’s likely because the marshmallows were not melted enough or too much marshmallow was used. Make sure to follow the recipe carefully and ensure thorough melting.
How can I make my Rice Krispie Treats more flavorful?
To enhance the flavor, consider adding more vanilla extract or incorporating mix-ins like chocolate chips or peanut butter for an extra layer of taste.
What should I do if my treats are hard as a rock?
If your treats have hardened too much, it could be due to overcooking the marshmallows. Try to reheat them gently in the microwave to soften slightly before serving.
Can I use a different cereal?
Yes! You can experiment with different cereals for a unique twist. Just keep in mind that the texture and flavor will vary from the classic version. For example, Protein Rice Krispies can be a fun alternative.
If you loved making Classic Rice Krispie Treats, you might also enjoy trying:
Serve & Enjoy
Now that you have mastered the art of making Classic Rice Krispie Treats, it’s time to share the joy! Serve these delightful squares at your next gathering or enjoy them as a sweet snack at home. Their charm lies in their simplicity, and they are sure to bring smiles to everyone who tries them.
With this recipe, you can create a classic treat that brings back fond memories while also making new ones. Happy baking!
Classic Rice Krispie Treats
Ingredients
Equipment
Method
- In a large saucepan over low heat, melt the 1 cup of unsalted butter. Stir occasionally until completely melted.
- Once the butter is melted, add 1 package (10 ounces) of mini-marshmallows to the saucepan. Stir continuously until the marshmallows are fully melted and the mixture is smooth.
- Remove the saucepan from the heat. Stir in a pinch of sea salt and 1 teaspoon of pure vanilla extract into the melted mixture for enhanced flavor.
- Gently fold in the 8 cups of Rice Krispies cereal into the marshmallow mixture until well coated. It’s best to do this gradually to avoid crushing the cereal.
- Transfer the mixture into a greased or parchment-lined 9x13-inch baking dish. Press the mixture down evenly using a spatula or your hands (wetting them slightly can help prevent sticking).
- Allow the treats to cool at room temperature for about 30 minutes. Once set, cut into squares and enjoy your Classic Rice Krispie Treats!
Notes
- Store in an airtight container at room temperature for up to a week.
- If they harden, soften them slightly in the microwave.
- For longer storage, wrap squares in plastic wrap and freeze.