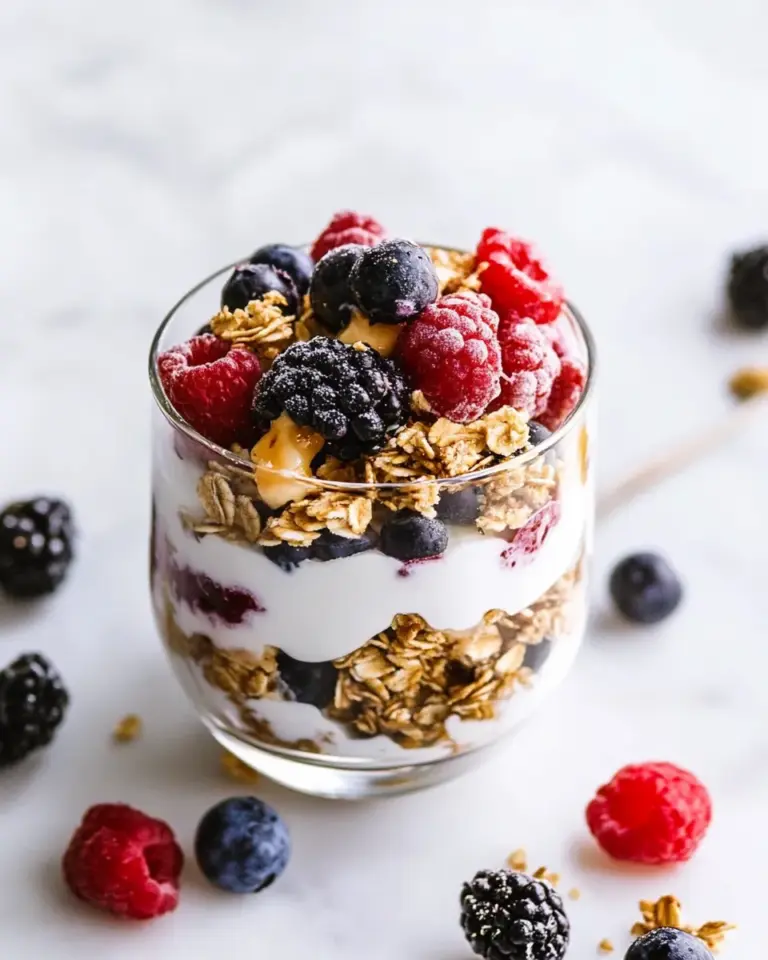
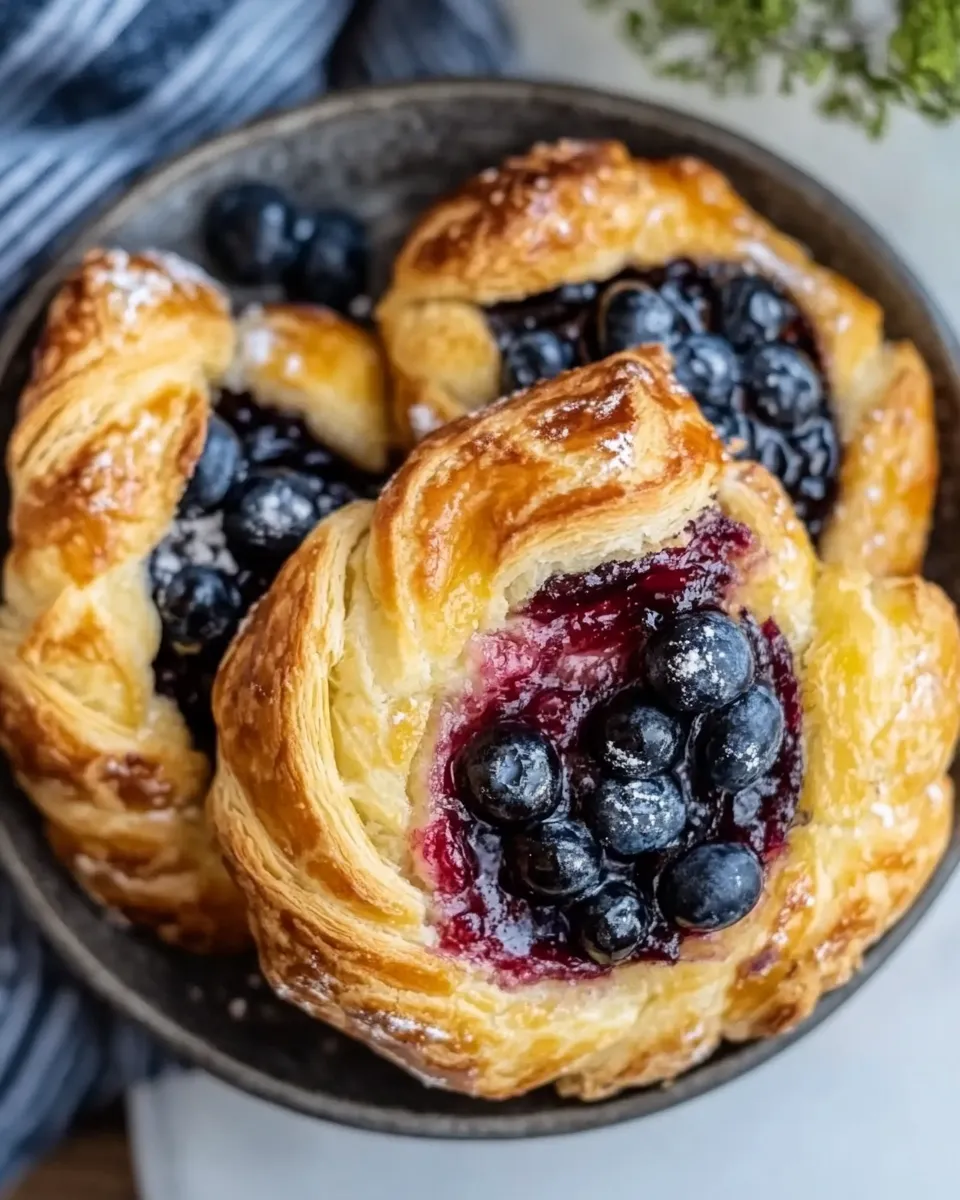
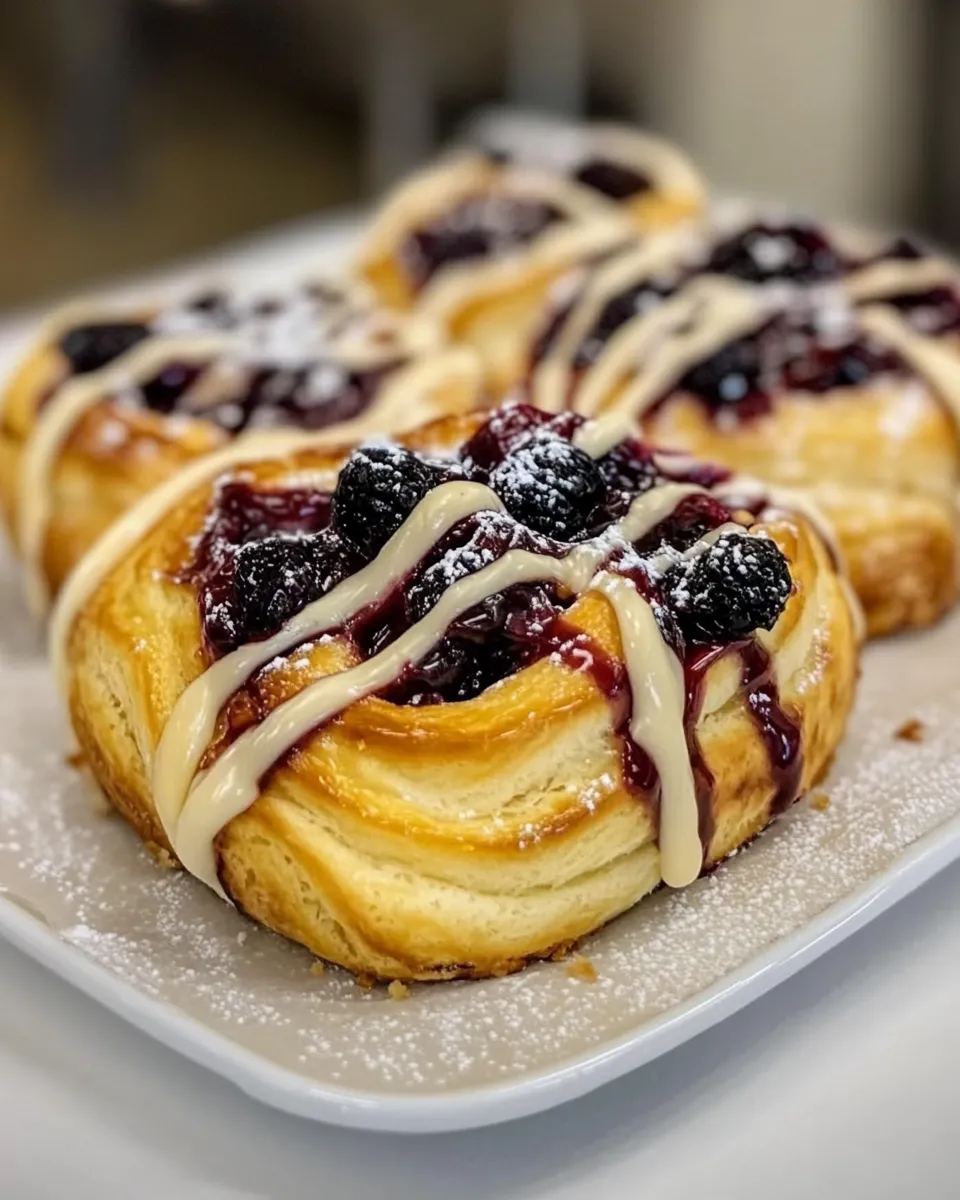
Danish pastries are a delightful treat that can elevate any breakfast or brunch table. Characterized by their flaky layers and sweet fillings, these pastries are as beautiful as they are delicious. The combination of rich butter, creamy cheese, and fruit preserves creates a symphony of flavors that are hard to resist. If you’ve ever wanted to impress your friends and family with a homemade pastry that rivals the bakery, you’re in for a treat. Let’s dive into the world of Danish pastries and discover how you can make these delightful treats at home.
The Upside of Danish Pastries
Making Danish pastries at home is not only rewarding but also allows for customization in flavors and fillings. They are perfect for special occasions, cozy brunches, or simply to satisfy your sweet tooth. Plus, the process of making these pastries can be quite therapeutic. The layers of dough and butter create a light and airy texture that melts in your mouth. With a little patience and practice, you can create a batch that will have everyone raving.
Gather These Ingredients
To make delicious Danish pastries, you will need the following ingredients:
- 2 cups (454g) unsalted butter, divided – This will be used for the dough and for folding to create layers.
- 5 cups (663g) all-purpose flour – The main structure of your pastries.
- 1 cup (99g) granulated sugar – For sweetness in the dough and filling.
- 4 teaspoons instant yeast – This helps the dough rise and become fluffy.
- 2 teaspoons salt – Balances the sweetness and enhances flavor.
- 2 teaspoons vanilla extract – Adds a lovely aroma and flavor.
- 1 cup (360ml) milk – Nourishes the dough and helps activate the yeast.
- 2 eggs – Provides richness and helps bind the dough.
- 8 ounces cream cheese, at room temperature – A creamy and tangy filling.
- 3 tablespoons granulated sugar – Sweetens the cream cheese filling.
- 1 egg – For brushing on the pastries before baking.
- 1 teaspoon salt – For flavor in the cream cheese filling.
- 1 cup fruit jam, preserves, or canned pie filling – For a fruity burst in the center.
- 1 egg white – Mixed with water for the egg wash.
- 1 cup (170g) powdered sugar – For a sweet glaze.
- 2 tablespoons milk – To thin the glaze.
Gear Up: What to Grab
Before you start baking, make sure you have the following gear ready:
- Mixing Bowls – For combining ingredients.
- Rolling Pin – Essential for rolling out your dough.
- Baking Sheets – To place your pastries for baking.
- Parchment Paper – To prevent sticking.
- Whisk and Spatula – For mixing and smoothing out the dough.
- Pastry Brush – For applying the egg wash.
- Cooling Rack – To cool your pastries after baking.
Danish Pastries in Steps
Step 1: Prepare the Dough
In a large mixing bowl, combine the flour, sugar, instant yeast, and salt. Stir well to combine. In a separate bowl, whisk together the milk, eggs, and vanilla extract. Gradually add the wet ingredients to the dry mixture, stirring until a dough forms.
Step 2: Incorporate the Butter
Take 1 cup (227g) of the unsalted butter and soften it. Roll out the butter between two sheets of parchment paper into a rectangle about 1/2 inch thick. Chill it in the refrigerator while you roll out the dough.
Step 3: Roll Out the Dough
Turn the dough onto a lightly floured surface and roll it out into a large rectangle about 1/2 inch thick. Place the chilled butter in the center of the dough and fold the edges over the butter, sealing it in.
Step 4: Fold the Dough
Roll the dough out again into a long rectangle, then fold it into thirds like a letter. Chill for 30 minutes. Repeat this rolling and folding process two more times to create layers.
Step 5: Make the Filling
In a medium bowl, combine the cream cheese, 3 tablespoons of sugar, and 1 teaspoon of salt. Mix until smooth and creamy. Set aside.
Step 6: Shape the Pastries
Roll out the dough one final time into a rectangle. Cut it into squares. Place a spoonful of cream cheese filling in the center of each square, followed by a dollop of fruit jam or preserves.
Step 7: Seal the Pastries
Fold the corners of the square over the filling to create a pocket. Place on a baking sheet lined with parchment paper. Brush the tops with the egg wash made from the egg white and water.
Step 8: Bake
Preheat your oven to 375°F (190°C). Bake the pastries for 20-25 minutes, or until they are golden brown and flaky. Remove from the oven and let cool on a rack.
Step 9: Glaze and Serve
In a small bowl, mix the powdered sugar with 2 tablespoons of milk to create a glaze. Drizzle over the cooled pastries and enjoy your homemade Danish pastries!
Variations by Season
You can easily change up your Danish pastries based on the season:
- Spring: Use fresh berries like strawberries or raspberries for a light and fruity filling.
- Summer: Incorporate peach preserves or a mix of summer fruits.
- Fall: Try pumpkin pie filling or spiced apple compote.
- Winter: Experiment with cranberry-orange combinations for a festive touch.
Testing Timeline
To ensure your Danish pastries turn out perfectly, follow this timeline:
- Preparation: 30 minutes for mixing and rolling the dough.
- Chilling: 90 minutes total for butter and dough.
- Baking: 25 minutes.
- Cooling: 15 minutes before glazing.
Keep-It-Fresh Plan
To keep your Danish pastries fresh:
- Store them in an airtight container at room temperature for up to 3 days.
- For longer storage, freeze the unbaked pastries before the final rise. Bake directly from the freezer, adding a few extra minutes to the baking time.
- Reheat baked pastries in the oven at 350°F (175°C) for a few minutes to regain their crispiness.
Quick Questions
Can I use margarine instead of butter?
While you can use margarine, it may affect the flakiness and flavor of the Danish pastries. Unsalted butter is recommended for the best results.
What can I use if I don’t have fruit preserves?
You can substitute with fresh fruit, a fruit filling, or even chocolate spread for a different flavor profile in your Danish pastries.
How do I know when the pastries are done baking?
Your pastries are done when they are golden brown and flaky on top. A toothpick inserted into the center should come out clean.
Can I make the dough in advance?
Yes! You can prepare the dough a day in advance and keep it in the refrigerator. Just allow it to come to room temperature before rolling it out.
If you love baking and want to expand your repertoire, check out these delicious recipes:
Make It Tonight
Now that you have the recipe and tips for making the best Danish pastries, there’s no reason to wait. Gather your ingredients, roll up your sleeves, and embark on a baking adventure that will fill your home with irresistible aromas. These pastries are sure to impress, so prepare to share the love with friends and family—or keep them all to yourself. Happy baking!
Danish Pastries
Ingredients
Equipment
Method
- In a large mixing bowl, combine the flour, sugar, instant yeast, and salt. Stir well to combine. In a separate bowl, whisk together the milk, eggs, and vanilla extract. Gradually add the wet ingredients to the dry mixture, stirring until a dough forms.
- Take 1 cup of the unsalted butter and soften it. Roll out the butter between two sheets of parchment paper into a rectangle about 1/2 inch thick. Chill it in the refrigerator while you roll out the dough.
- Turn the dough onto a lightly floured surface and roll it out into a large rectangle about 1/2 inch thick. Place the chilled butter in the center of the dough and fold the edges over the butter, sealing it in.
- Roll the dough out again into a long rectangle, then fold it into thirds like a letter. Chill for 30 minutes. Repeat this rolling and folding process two more times to create layers.
- In a medium bowl, combine the cream cheese, 3 tablespoons of sugar, and 1 teaspoon of salt. Mix until smooth and creamy. Set aside.
- Roll out the dough one final time into a rectangle. Cut it into squares. Place a spoonful of cream cheese filling in the center of each square, followed by a dollop of fruit jam or preserves.
- Fold the corners of the square over the filling to create a pocket. Place on a baking sheet lined with parchment paper. Brush the tops with the egg wash made from the egg white and water.
- Preheat your oven to 375°F (190°C). Bake the pastries for 20-25 minutes, or until they are golden brown and flaky. Remove from the oven and let cool on a rack.
- In a small bowl, mix the powdered sugar with 2 tablespoons of milk to create a glaze. Drizzle over the cooled pastries and enjoy your homemade Danish pastries!
Notes
- Experiment with different fruit fillings based on the season.
- Store pastries in an airtight container for up to 3 days.
- Freeze unbaked pastries for longer storage.