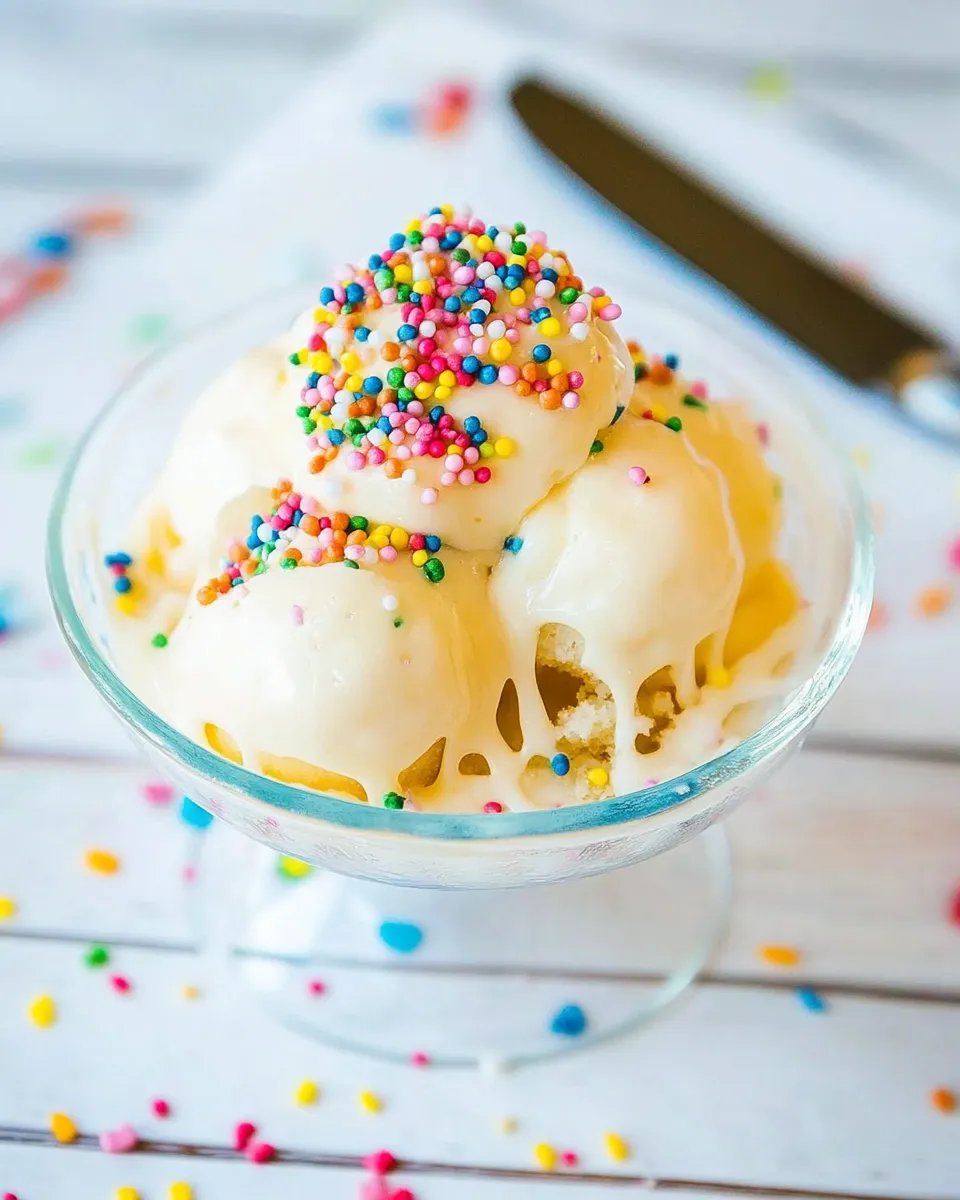
Imagine this: a luscious scoop of your favorite ice cream, crowned with a delightful drizzle of a magic shell that hardens on contact. Now, what if I told you that you can take this beloved ice cream topping to the next level with a DIY Birthday Cake Magic Shell? This whimsical concoction not only tastes like cake but also looks fantastic with vibrant sprinkles. It’s the perfect way to elevate any dessert, especially for those special birthday celebrations.
In this guide, you’ll learn how to whip up this delightful magic shell using simple ingredients you probably already have in your kitchen. Get ready to impress your friends and family with this easy recipe that captures the essence of celebration in every bite!
Why It Works Every Time
The secret to a perfect magic shell lies in the combination of chocolate and oil. When melted together, these ingredients create a pourable mixture that solidifies into a crunchy shell when it comes into contact with cold ice cream. Using white chocolate gives this magic shell a sweet, creamy flavor reminiscent of birthday cake, while the coconut oil provides the right consistency for that satisfying crunch. The addition of cake batter extract transforms this simple treat into a festive delight, making it a hit for any birthday celebration.
Ingredient Rundown
To create your DIY Birthday Cake Magic Shell, you will need the following ingredients:
- 1 cup (170g) white chocolate chips: The base of our magic shell, providing sweetness and creaminess.
- ½ cup coconut oil or vegetable oil: This fat is essential for creating that hard shell texture. Coconut oil adds a subtle flavor, while vegetable oil is a neutral alternative.
- 1 teaspoon cake batter extract: This magical ingredient infuses the shell with a delightful birthday cake flavor.
- 2 tablespoons rainbow sprinkles: For that festive touch! Make sure to use sprinkles that don’t dissolve in liquid; avoid nonpareils.
Recommended Tools
Before you start, gather these essential tools for a smooth DIY experience:
- Microwave-safe bowl: For melting the chocolate and oil.
- Whisk or spoon: To mix everything together until smooth and glossy.
- Measuring cups and spoons: For accurate ingredient measurements.
- Storage container: To keep your magic shell fresh for later use.
Build DIY Birthday Cake Magic Shell Step by Step
Step 1: Melt the Chocolate and Oil
In a microwave-safe bowl, combine the white chocolate chips and coconut oil. Heat in the microwave in 20-second intervals, stirring in between, until fully melted and smooth. Take care not to overheat, as chocolate can scorch easily.
Step 2: Add Flavor
Once the chocolate and oil mixture is smooth, stir in the cake batter extract. This step is crucial for infusing that iconic birthday cake flavor into your magic shell.
Step 3: Mix in the Sprinkles
Gently fold in the rainbow sprinkles. This adds texture and color to your magic shell, making it visually appealing and fun!
Step 4: Cool It Down
Let the mixture cool for a few minutes before using it. If it becomes too thick, you can reheat it gently in the microwave for a few seconds.
Step 5: Drizzle and Serve
Drizzle the magic shell over your favorite ice cream. Watch it harden instantly into a crunchy shell. Enjoy immediately or store any leftovers!
Better Choices & Swaps
If you’re looking to customize your DIY Birthday Cake Magic Shell, consider these options:
- Dark chocolate chips: For a richer flavor, swap white chocolate for dark chocolate chips.
- Vegetable oil: Use vegetable oil instead of coconut oil for a more neutral taste.
- Flavored extracts: Experiment with different extracts, like vanilla or almond, to change up the flavor profile.
Behind-the-Scenes Notes
Creating your own magic shell is not just about taste; it’s also about the joy of making something special at home. Feel free to get creative with your toppings! Consider drizzling it over chocolate cupcakes with peanut butter frosting or using it to top off a slice of Heavenly Raspberry Chocolate Mousse Cake With A Silky Finish. The possibilities are endless!
Save It for Later
If you have any leftover magic shell, don’t fret! Store it in an airtight container at room temperature for up to two weeks. When you’re ready to use it again, simply reheat it in the microwave until it’s pourable. It’s a great treat to have on hand for spontaneous sundae nights or last-minute dessert cravings!
Ask the Chef
Can I use regular chocolate instead of white chocolate?
Absolutely! You can substitute white chocolate with dark or milk chocolate, but keep in mind that it will alter the flavor profile of your DIY Birthday Cake Magic Shell.
How do I know when the magic shell is ready to use?
The mixture should be smooth and pourable. If it’s too thick, just reheat it slightly. If it’s too thin, allow it to cool for a few minutes to thicken up.
Can I add more sprinkles for a thicker texture?
Yes! Feel free to add more sprinkles if you want a more textured magic shell. Just ensure they are mixed evenly to avoid clumping.
What if I don’t have cake batter extract?
If you’re out of cake batter extract, you can use vanilla extract as a substitute, but the flavor will be different. Alternatively, you could make your own cake batter flavor by mixing a small amount of flour into the mixture, although this may change the texture slightly.
Time to Try It
Now that you have all the details to create your very own DIY Birthday Cake Magic Shell, it’s time to get in the kitchen and start experimenting! Whether you’re celebrating a birthday or just want to indulge in a little sweetness, this magic shell is sure to bring a smile to your face and joy to your taste buds. So grab your ingredients, channel your inner pastry chef, and let the magic begin!
DIY Birthday Cake Magic Shell
Ingredients
Equipment
Method
- In a microwave-safe bowl, combine the white chocolate chips and coconut oil. Heat in the microwave in 20-second intervals, stirring in between, until fully melted and smooth. Take care not to overheat, as chocolate can scorch easily.
- Once the chocolate and oil mixture is smooth, stir in the cake batter extract. This step is crucial for infusing that iconic birthday cake flavor into your magic shell.
- Gently fold in the rainbow sprinkles. This adds texture and color to your magic shell, making it visually appealing and fun!
- Let the mixture cool for a few minutes before using it. If it becomes too thick, you can reheat it gently in the microwave for a few seconds.
- Drizzle the magic shell over your favorite ice cream. Watch it harden instantly into a crunchy shell. Enjoy immediately or store any leftovers!
Notes
- Store leftovers in an airtight container at room temperature for up to two weeks.
- Reheat in the microwave to return to pourable consistency.
- Experiment with dark chocolate for a richer flavor.