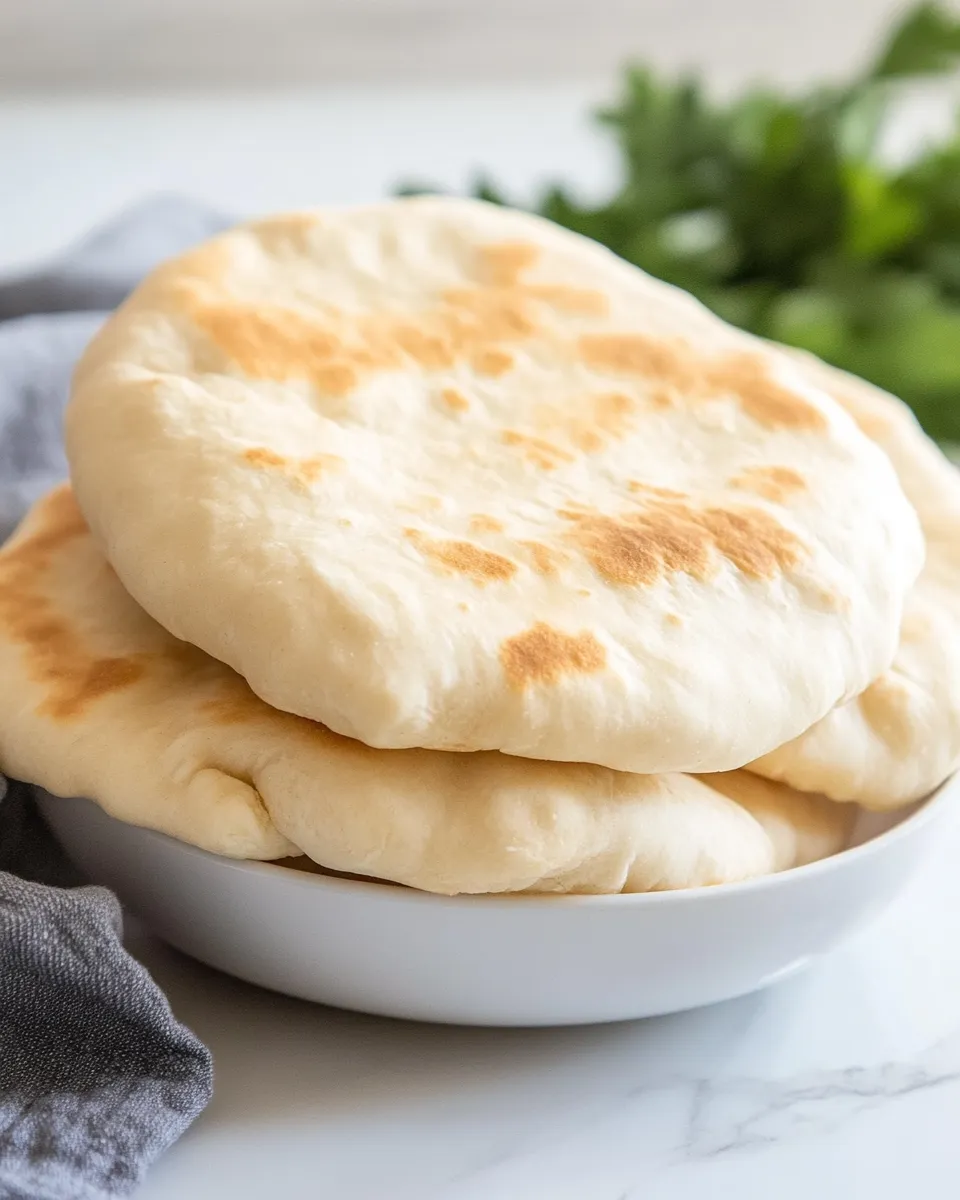
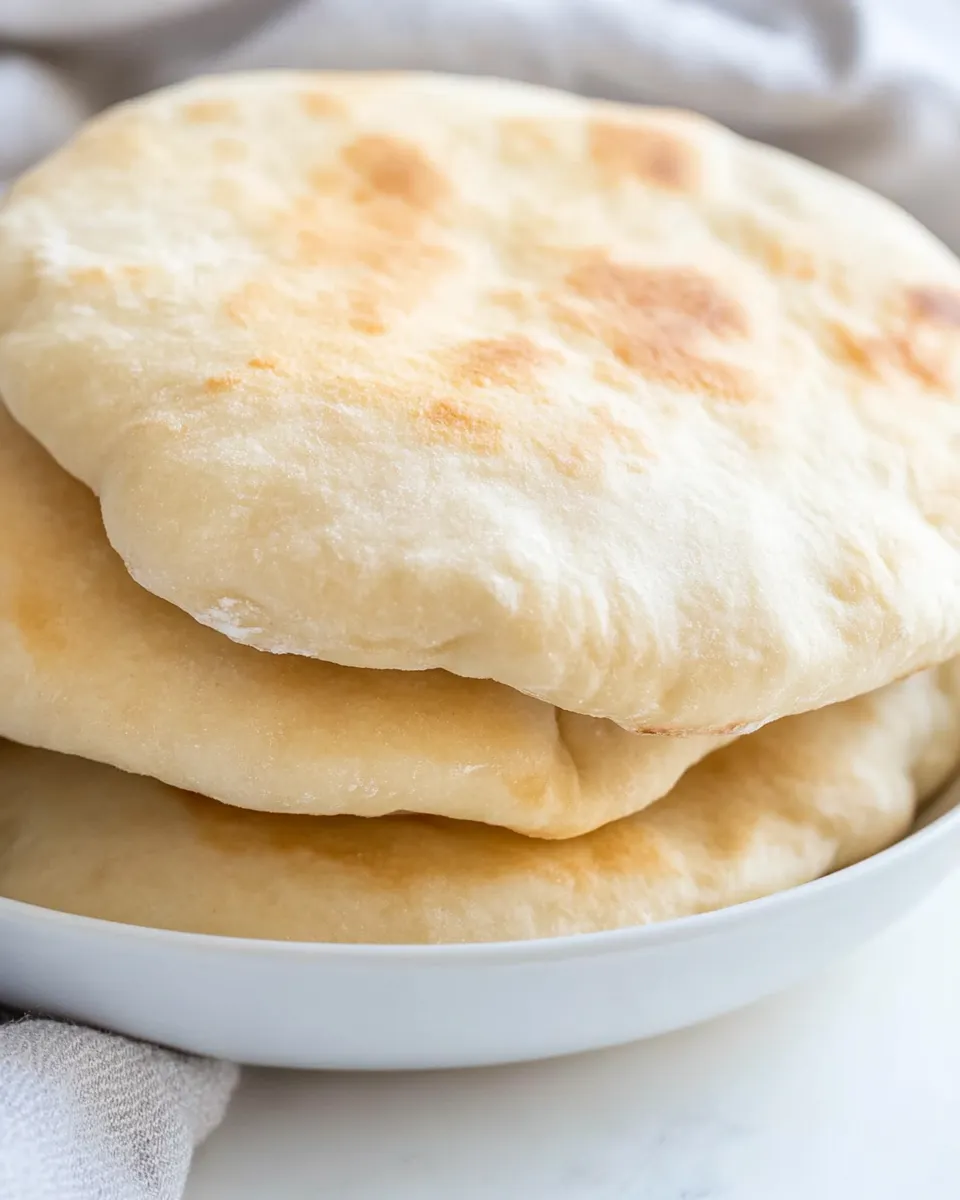
Making your own pita bread at home can be a game-changer for your meals. This Easy Pita Bread recipe requires just a handful of ingredients and a bit of time, but the results are absolutely worth it. Picture warm, fluffy pitas that puff up perfectly in the oven, ready to be filled with your favorite dips, salads, or grilled meats. Whether you’re planning a cozy dinner or a festive gathering, homemade pita will elevate your culinary experience.
Why I Love This Recipe

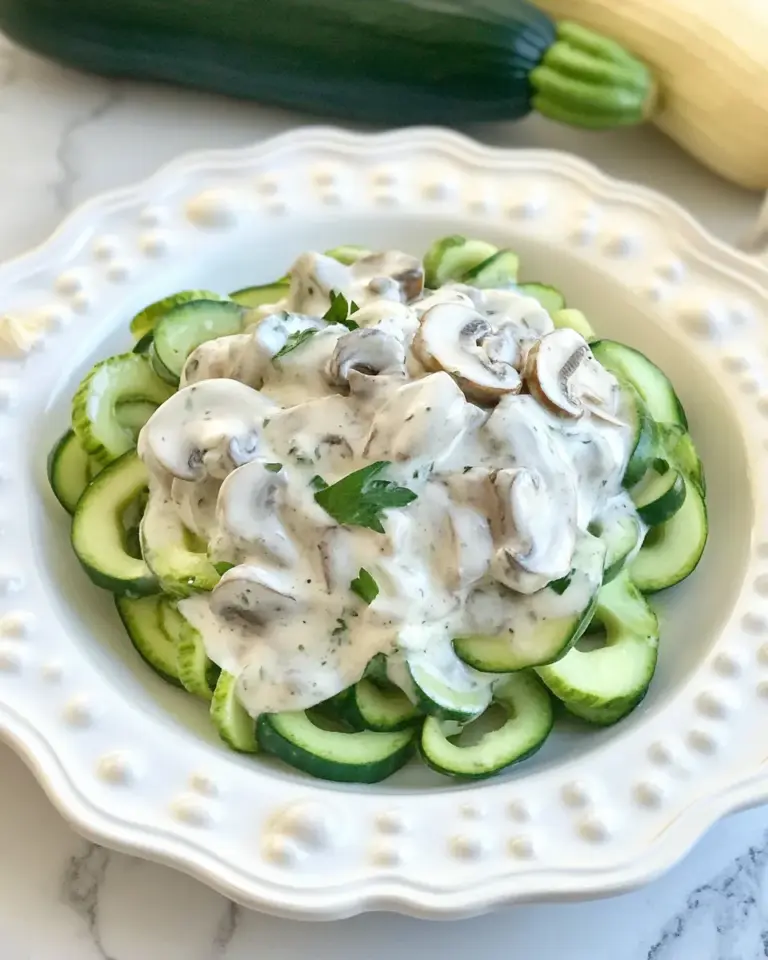
There’s something incredibly satisfying about making bread from scratch, and this Easy Pita Bread recipe is no exception. The simplicity of the ingredients means you likely already have everything you need in your pantry. Plus, the smell of freshly baked bread wafting through your kitchen is unbeatable. Pitas are so versatile; you can fill them with Spicy Pumpkin Hummus, fresh salads, or even use them as a side for hearty stews. This recipe is perfect for both beginner bakers and seasoned pros seeking a quick bread option.
What to Buy
Before you get started, here’s a list of the ingredients you’ll need:
- Active Dry Yeast: 2 teaspoons to help the dough rise.
- Warm Water: 1 1/2 cups, around 110°F, which activates the yeast.
- Bread Flour: 4 cups for a chewy texture.
- Salt: 2 teaspoons to enhance the flavor.
- Olive Oil: 1 tablespoon to add richness and manage the dough’s stickiness.
Must-Have Equipment
To make your pita bread, you’ll need a few essential tools:
- Mixing Bowl: For combining your ingredients.
- Whisk or Spoon: To mix the yeast and water.
- Rolling Pin: For rolling out the dough.
- Baking Sheet: To bake the pita bread in the oven.
- Kitchen Towel: To cover the dough while it rises.
Mastering Easy Pita Bread: How-To
Now, let’s dive into the step-by-step process of making your very own pita bread.
Step 1: Activate the Yeast
In a small bowl, combine 1 1/2 cups of warm water with 2 teaspoons of active dry yeast. Allow it to sit for about 5-10 minutes, or until it becomes frothy. This indicates that the yeast is alive and ready to work its magic.
Step 2: Mix the Dry Ingredients
In a large mixing bowl, whisk together 4 cups of bread flour and 2 teaspoons of salt. Make a well in the center where you will pour the yeast mixture.
Step 3: Combine Ingredients
Pour the activated yeast mixture into the well of the flour mixture, along with 1 tablespoon of olive oil. Using a wooden spoon or your hands, mix until a shaggy dough forms.
Step 4: Knead the Dough
Transfer the dough onto a lightly floured surface. Knead it for about 8-10 minutes until it is smooth and elastic. If the dough is too sticky, sprinkle a little more flour as needed.
Step 5: Let It Rise
Place the kneaded dough in a lightly oiled bowl, cover it with a kitchen towel, and let it rise in a warm place for about 1 hour, or until it has doubled in size.
Step 6: Preheat the Oven
While the dough is rising, preheat your oven to 475°F (245°C) and place a baking sheet or a pizza stone inside to heat up.
Step 7: Shape the Pitas
Once the dough has risen, punch it down to release the air. Divide it into 8 equal pieces and shape each piece into a ball. Roll each ball into a flat circle about 1/4 inch thick.
Step 8: Bake the Pitas
Carefully remove the hot baking sheet from the oven. Place the rolled-out pitas on the sheet and bake for 5-7 minutes or until they puff up and turn lightly golden.
Step 9: Cool and Serve
Remove the pitas from the oven and cover them with a kitchen towel to keep them warm and soft. Enjoy them fresh, or let them cool before storing.
Variations by Season
Pita bread can easily be modified to reflect seasonal flavors. Here are some ideas:
- Spring: Add fresh herbs like dill or mint to the dough.
- Summer: Incorporate sun-dried tomatoes for a burst of flavor.
- Fall: Mix in a touch of cinnamon and nutmeg for a warmer spice.
- Winter: Use roasted garlic in the dough for a cozy twist.
If You’re Curious
Pita bread is not only delicious but also has a fascinating history. It’s believed to have originated in the Middle East over 4,000 years ago. The bread is often referred to as “pocket bread” because of the way it puffs up in the oven, creating that signature pocket for stuffing. Pita is commonly served with dips like hummus or used to wrap shawarma, making it a staple in many cuisines.
Store, Freeze & Reheat
To keep your pita bread fresh:
- Store: Keep the pitas in an airtight container or sealed plastic bag at room temperature for up to 2 days.
- Freeze: For longer storage, place the pitas in a freezer bag. They can be frozen for up to 3 months.
- Reheat: Warm frozen pitas in the oven at 350°F (175°C) for about 5-10 minutes, or microwave them for 20-30 seconds.
Common Questions
Can I use all-purpose flour instead of bread flour?
Yes, you can use all-purpose flour, but the texture might be slightly different. Bread flour gives a chewier texture due to its higher protein content, which helps with gluten development.
What if my dough doesn’t rise?
If your dough doesn’t rise, it could be due to expired yeast or water that was too hot or too cold. Always check the yeast’s expiration date and ensure the water is warm but not boiling.
Can I flavor my pita bread?
Absolutely! You can add herbs, spices, or even grated cheese to the dough for extra flavor. Just remember to adjust the salt accordingly.
How do I know when the pita is done baking?
The pita is done when it has puffed up and is lightly golden. It should be soft to the touch and have a slight crisp on the outside.
If you enjoyed this recipe, here are some more delicious dishes to try:
Final Thoughts
Homemade pita bread is not just a side; it can be the star of your meal. With its soft, chewy texture and endless possibilities for fillings, it’s a recipe you’ll want to make again and again. Enjoy the process of making this Easy Pita Bread, and share it with friends and family for a truly delightful experience.
Easy Pita Bread
Ingredients
Equipment
Method
- In a small bowl, combine 1 1/2 cups of warm water with 2 teaspoons of active dry yeast. Allow it to sit for about 5-10 minutes, or until it becomes frothy.
- In a large mixing bowl, whisk together 4 cups of bread flour and 2 teaspoons of salt. Make a well in the center.
- Pour the activated yeast mixture into the well, along with 1 tablespoon of olive oil. Mix until a shaggy dough forms.
- Transfer the dough onto a lightly floured surface. Knead for about 8-10 minutes until smooth and elastic.
- Place the kneaded dough in a lightly oiled bowl, cover with a kitchen towel, and let it rise in a warm place for about 1 hour.
- Preheat your oven to 475°F (245°C) and place a baking sheet or pizza stone inside to heat up.
- Once the dough has risen, punch it down and divide it into 8 equal pieces. Shape each into a ball and roll each ball into a flat circle.
- Carefully remove the hot baking sheet from the oven. Place the rolled-out pitas on the sheet and bake for 5-7 minutes.
- Remove the pitas from the oven and cover with a kitchen towel to keep warm. Enjoy fresh or let cool before storing.
Notes
- Store pitas in an airtight container at room temperature for up to 2 days.
- Freeze pitas in a freezer bag for up to 3 months.
- Reheat frozen pitas in the oven at 350°F for about 5-10 minutes.