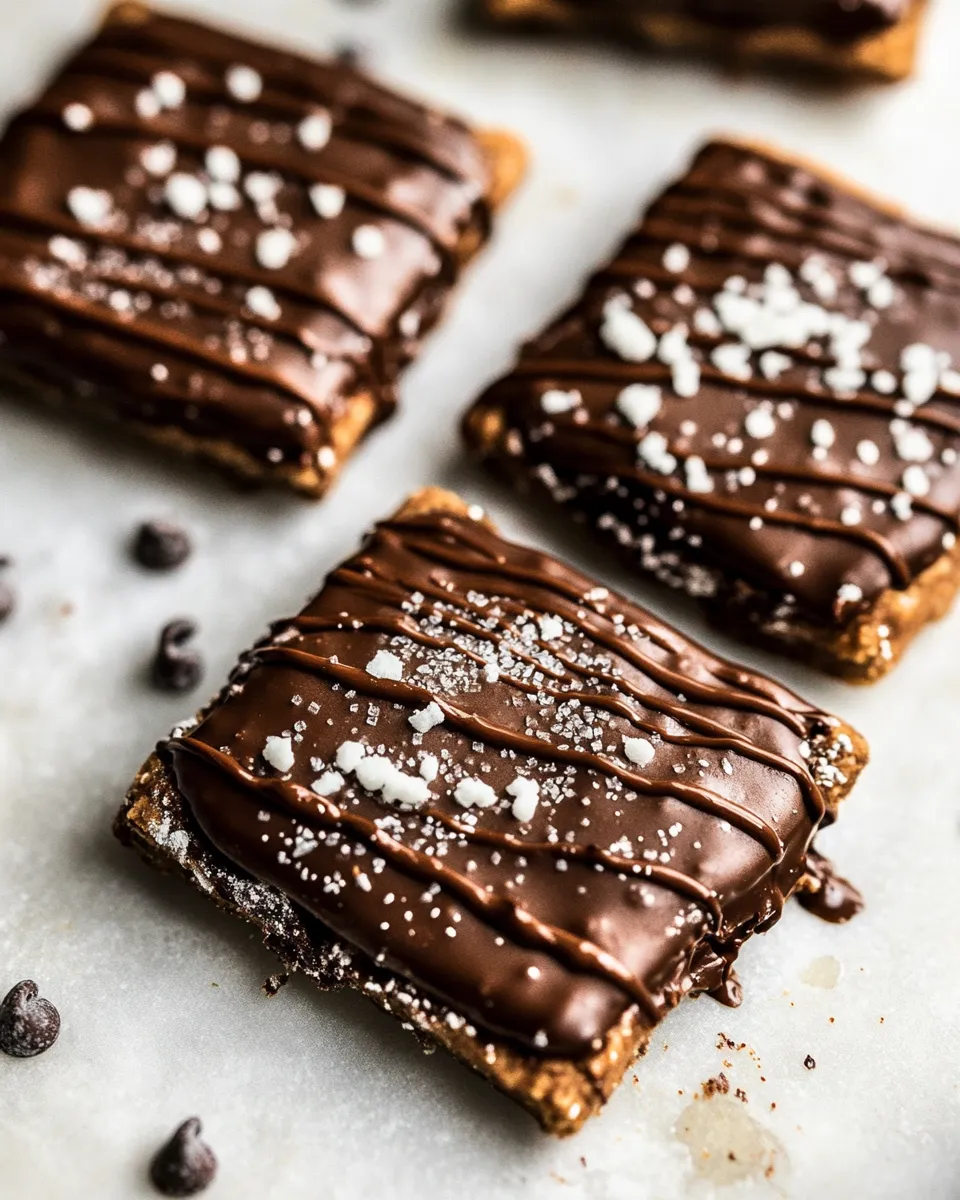
When it comes to comfort food, few treats can bring back memories quite like a Pop Tart. The delightful combination of a flaky crust and a rich, gooey filling is hard to beat. But what if I told you that making your own Chocolate Fudge Pop Tarts at home is not only possible, but also incredibly satisfying? These homemade delights are perfect for breakfast, dessert, or a sweet snack during the day. So, roll up your sleeves and join me in creating a batch of these delicious Homemade Chocolate Fudge Pop Tarts.
Why This Homemade Chocolate Fudge Pop Tarts. Stands Out
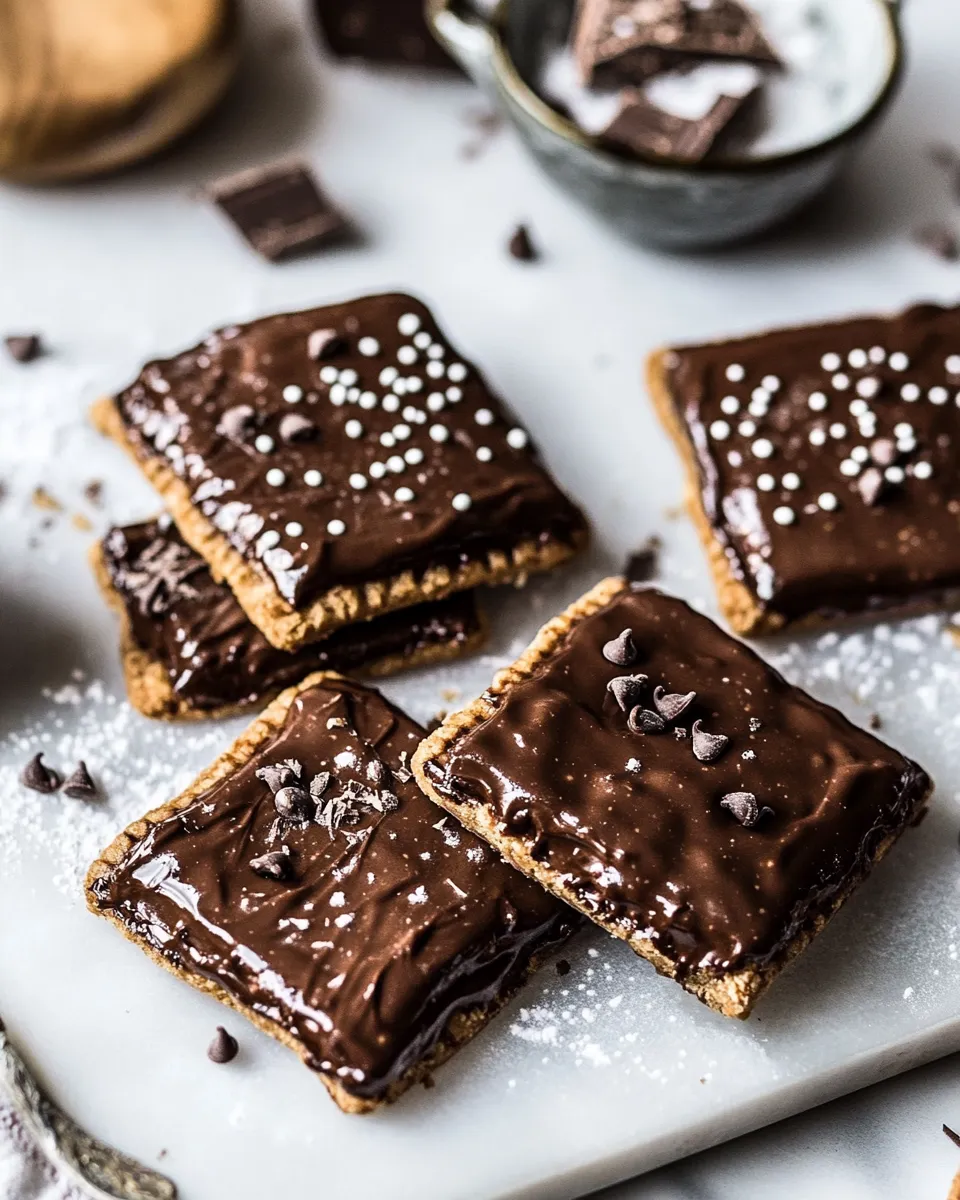
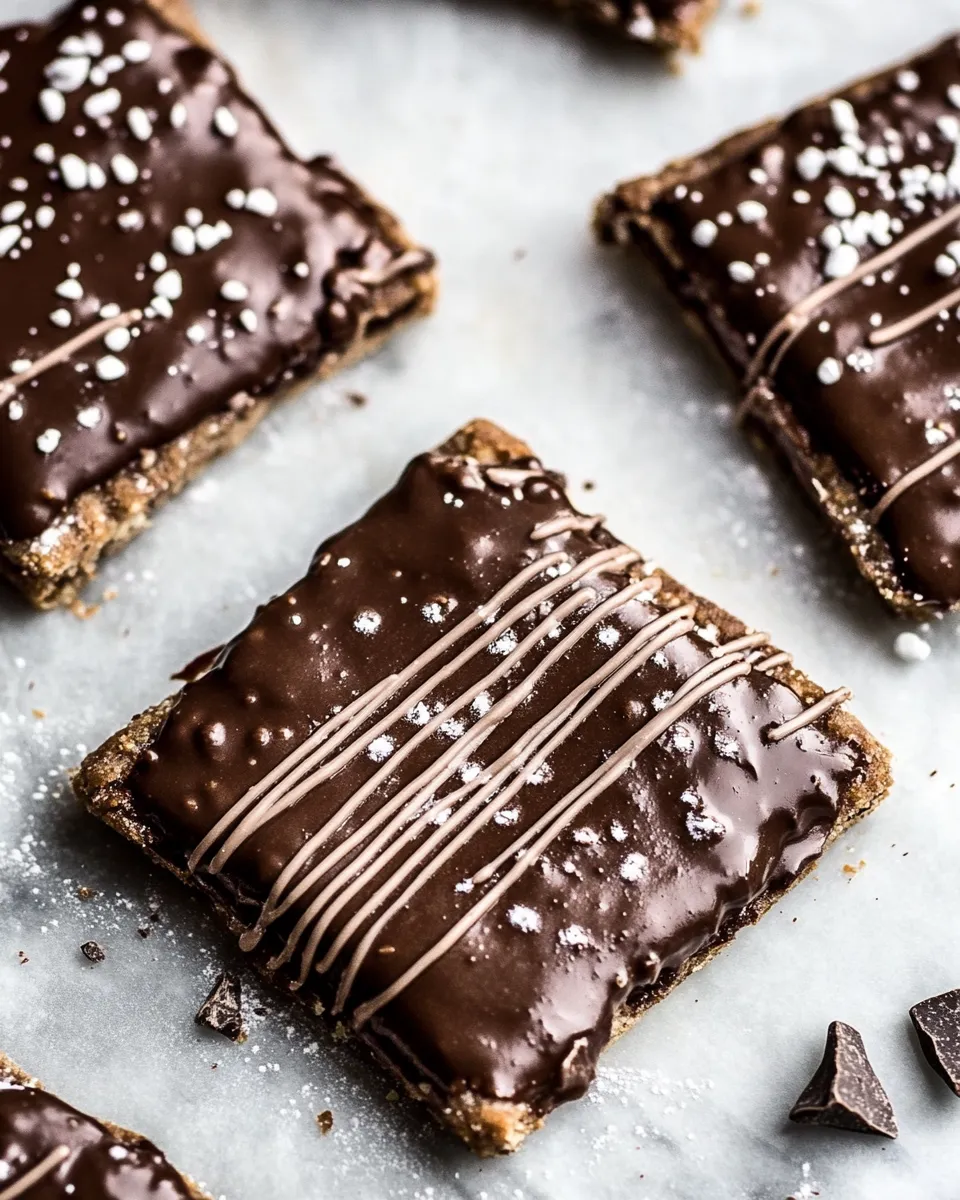
This recipe elevates the classic Pop Tart to new heights! With a rich chocolate filling and a buttery, flaky crust, these Homemade Chocolate Fudge Pop Tarts are perfect for chocolate lovers. Unlike store-bought versions, you control every aspect of the ingredients, ensuring they are fresh and made to your liking. Plus, you can customize the filling or the icing to suit your taste. Whether you enjoy them warm from the oven or at room temperature, these Pop Tarts are a treat you’ll want to make again and again.
Ingredient Breakdown
To create these delectable pastries, you’ll need the following ingredients:
- 1/4 cup unsweetened cocoa powder – This adds a rich chocolate flavor to the filling.
- 2/3 cup whole milk or heavy cream – For a creamy texture in the filling.
- 1 1/2 cups semi-sweet chocolate chips – The star of the show for a decadent filling.
- 2 tablespoons salted butter, cubed – Adds a creamy richness to the filling.
- 2 teaspoons vanilla extract – Enhances the overall flavor of the filling.
- 2 1/4 cups all-purpose flour – The base for our flaky crust.
- 1/4 cup unsweetened cocoa powder – For a chocolatey crust.
- 1 tablespoon granulated sugar – Sweetens the crust.
- 2 sticks (1 cup) cold salted butter, cut into 1/2 inch pieces – Essential for a flaky texture.
- 1 egg, beaten, for brushing – Gives the crust a beautiful golden color.
- 2 cups powdered sugar – For the icing.
- 2 tablespoons unsweetened cocoa powder – Adds chocolate flavor to the icing.
- 1 tablespoon vanilla extract – For flavoring the icing.
- 2 ounces dark or milk chocolate, melted – For drizzling over the finished Pop Tarts.
- Coarse salt or sugar, for sprinkling – Optional, for added texture and flavor.
Gear Up: What to Grab
Before you start baking, make sure you have the following kitchen tools:
- Mixing bowls – For combining ingredients.
- Rolling pin – To roll out the dough.
- Baking sheet – To bake your Pop Tarts on.
- Parchment paper – For easy cleanup and to prevent sticking.
- Pastry brush – For brushing the egg wash on the crust.
- Measuring cups and spoons – To accurately measure your ingredients.
Stepwise Method: Homemade Chocolate Fudge Pop Tarts.
Step 1: Prepare the Dough
In a large mixing bowl, combine the all-purpose flour, cocoa powder, granulated sugar, and cold salted butter. Use a pastry cutter or your fingers to mix the butter into the dry ingredients until the mixture resembles coarse crumbs.
Step 2: Form the Dough
Add cold water, one tablespoon at a time, until the dough comes together. Divide the dough into two equal disks, wrap them in plastic wrap, and refrigerate for at least 30 minutes.
Step 3: Make the Filling
In a medium saucepan over low heat, combine the semi-sweet chocolate chips, cocoa powder, cubed butter, whole milk or cream, and vanilla extract. Stir until melted and smooth. Remove from heat and let it cool slightly.
Step 4: Roll Out the Dough
Preheat your oven to 350°F (175°C). On a floured surface, roll out one disk of dough to about 1/8 inch thick. Cut the dough into rectangles, approximately 3×4 inches.
Step 5: Assemble the Pop Tarts
Place half of the rectangles on a lined baking sheet. Spoon a tablespoon of the chocolate filling onto each rectangle, leaving a border around the edges. Top with the remaining dough rectangles, pressing down the edges to seal.
Step 6: Brush and Bake
Brush the tops of the Pop Tarts with the beaten egg. Use a fork to poke holes in the top of each Pop Tart for steam to escape. Sprinkle with coarse salt or sugar if desired. Bake in the preheated oven for 20-25 minutes, or until golden brown.
Step 7: Make the Icing
While the Pop Tarts are baking, prepare the icing. In a medium bowl, combine the powdered sugar, cocoa powder, vanilla extract, and enough milk to achieve a smooth consistency. Set aside.
Step 8: Decorate and Serve
Once the Pop Tarts are out of the oven and cooled slightly, drizzle the melted chocolate over the top and finish with the icing. Allow the icing to set before serving.
How to Make It Lighter
If you want to lighten the recipe, consider these options:
- Use low-fat milk instead of heavy cream for the filling.
- Substitute half the butter in the dough with unsweetened applesauce.
- Reduce the amount of sugar in the icing or use a sugar alternative.
- Opt for whole wheat flour instead of all-purpose flour for added nutrition.
Problems & Prevention
Making Homemade Chocolate Fudge Pop Tarts can be a bit tricky, but here are some common issues and how to prevent them:
- Dough Cracking: Ensure your butter is cold, and don’t overwork the dough.
- Filling Overflow: Avoid overfilling the Pop Tarts; a tablespoon is just right.
- Underbaked Pastries: Keep an eye on the baking time and look for a golden color.
- Sticky Dough: If the dough is too sticky, add a little more flour to your work surface.
Keep It Fresh: Storage Guide
To keep your Homemade Chocolate Fudge Pop Tarts fresh:
- Store them in an airtight container at room temperature for up to 3 days.
- For longer storage, freeze the baked Pop Tarts. Wrap each one in plastic wrap and place them in a freezer bag. They can last for up to 3 months.
- When ready to eat, thaw at room temperature or warm them in the oven for a few minutes.
Ask & Learn
Can I make the dough ahead of time?
Absolutely! You can prepare the dough a day in advance and keep it in the refrigerator until you’re ready to roll it out and bake.
What can I substitute for chocolate chips?
You can use chopped chocolate bars or even a mix of white and dark chocolate for a unique flavor twist.
Can these be made vegan?
Yes, by substituting the butter with a plant-based alternative, using almond or oat milk, and using a flax egg instead of a regular egg, you can make vegan versions of these Homemade Chocolate Fudge Pop Tarts.
What flavors can I experiment with?
Feel free to get creative! You can add spices like cinnamon or experiment with different fillings, such as fruit preserves or nut butters, similar to Nutella Smores Pie Almost No Bake or Chocolate Peanut Butter Oatmeal Bowls.
If you enjoyed making Homemade Chocolate Fudge Pop Tarts, you might also love these recipes:
Ready to Cook?
Get ready to impress your family and friends with these delightful Homemade Chocolate Fudge Pop Tarts. With a bit of patience and love, you can create a batch that rivals any store-bought version. Enjoy the process, and don’t forget to share your delicious creations!
Homemade Chocolate Fudge Pop Tarts.
Ingredients
Equipment
Method
- In a large mixing bowl, combine the all-purpose flour, cocoa powder, granulated sugar, and cold salted butter. Use a pastry cutter or your fingers to mix the butter into the dry ingredients until the mixture resembles coarse crumbs.
- Add cold water, one tablespoon at a time, until the dough comes together. Divide the dough into two equal disks, wrap them in plastic wrap, and refrigerate for at least 30 minutes.
- In a medium saucepan over low heat, combine the semi-sweet chocolate chips, cocoa powder, cubed butter, whole milk or cream, and vanilla extract. Stir until melted and smooth. Remove from heat and let it cool slightly.
- Preheat your oven to 350°F (175°C). On a floured surface, roll out one disk of dough to about 1/8 inch thick. Cut the dough into rectangles, approximately 3x4 inches.
- Place half of the rectangles on a lined baking sheet. Spoon a tablespoon of the chocolate filling onto each rectangle, leaving a border around the edges. Top with the remaining dough rectangles, pressing down the edges to seal.
- Brush the tops of the Pop Tarts with the beaten egg. Use a fork to poke holes in the top of each Pop Tart for steam to escape. Sprinkle with coarse salt or sugar if desired. Bake in the preheated oven for 20-25 minutes, or until golden brown.
- While the Pop Tarts are baking, prepare the icing. In a medium bowl, combine the powdered sugar, cocoa powder, vanilla extract, and enough milk to achieve a smooth consistency. Set aside.
- Once the Pop Tarts are out of the oven and cooled slightly, drizzle the melted chocolate over the top and finish with the icing. Allow the icing to set before serving.
Notes
- Store the baked Pop Tarts in an airtight container for up to 3 days.
- Freeze unbaked Pop Tarts for up to 3 months for a quick treat later.
- Experiment with different fillings like fruit preserves or nut butters for variety.