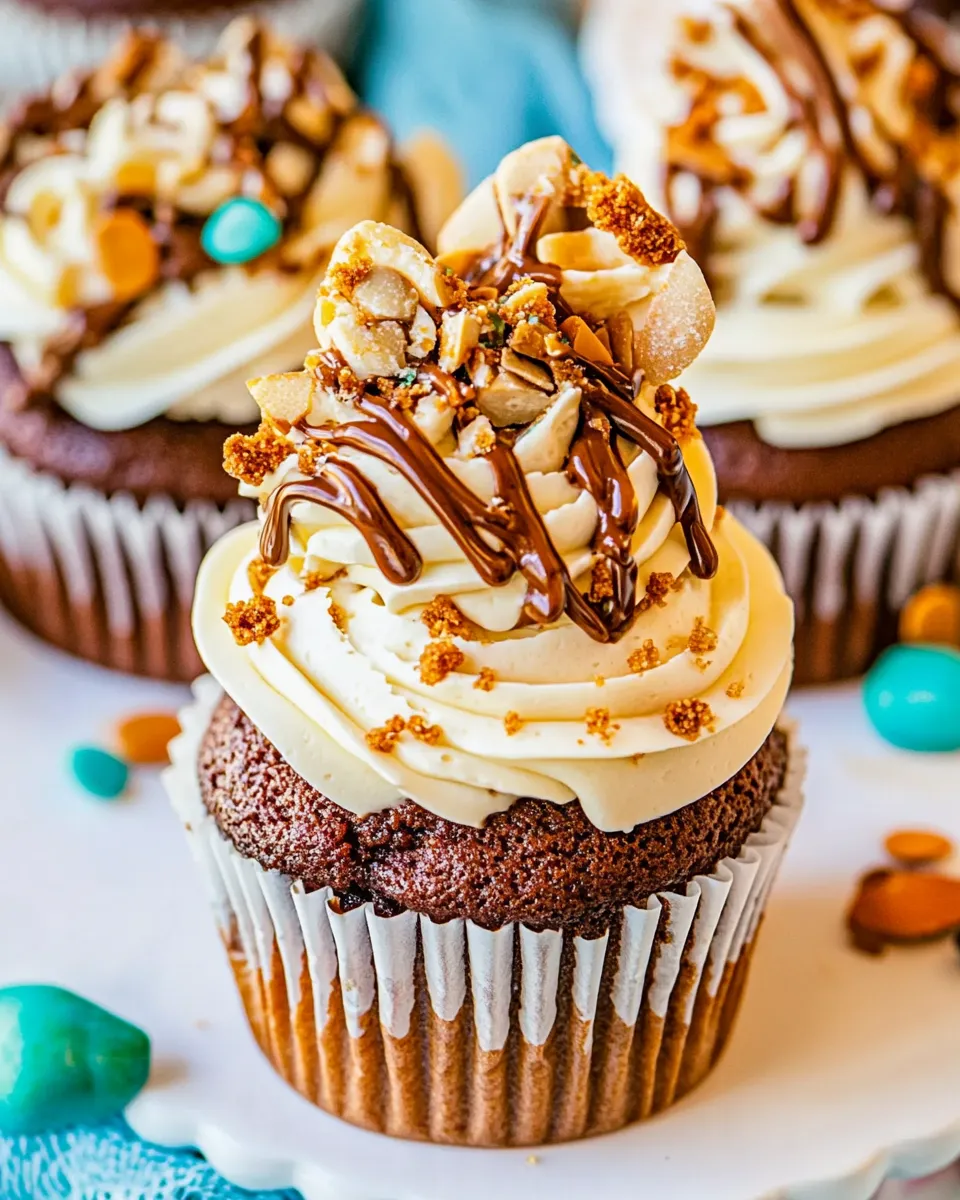
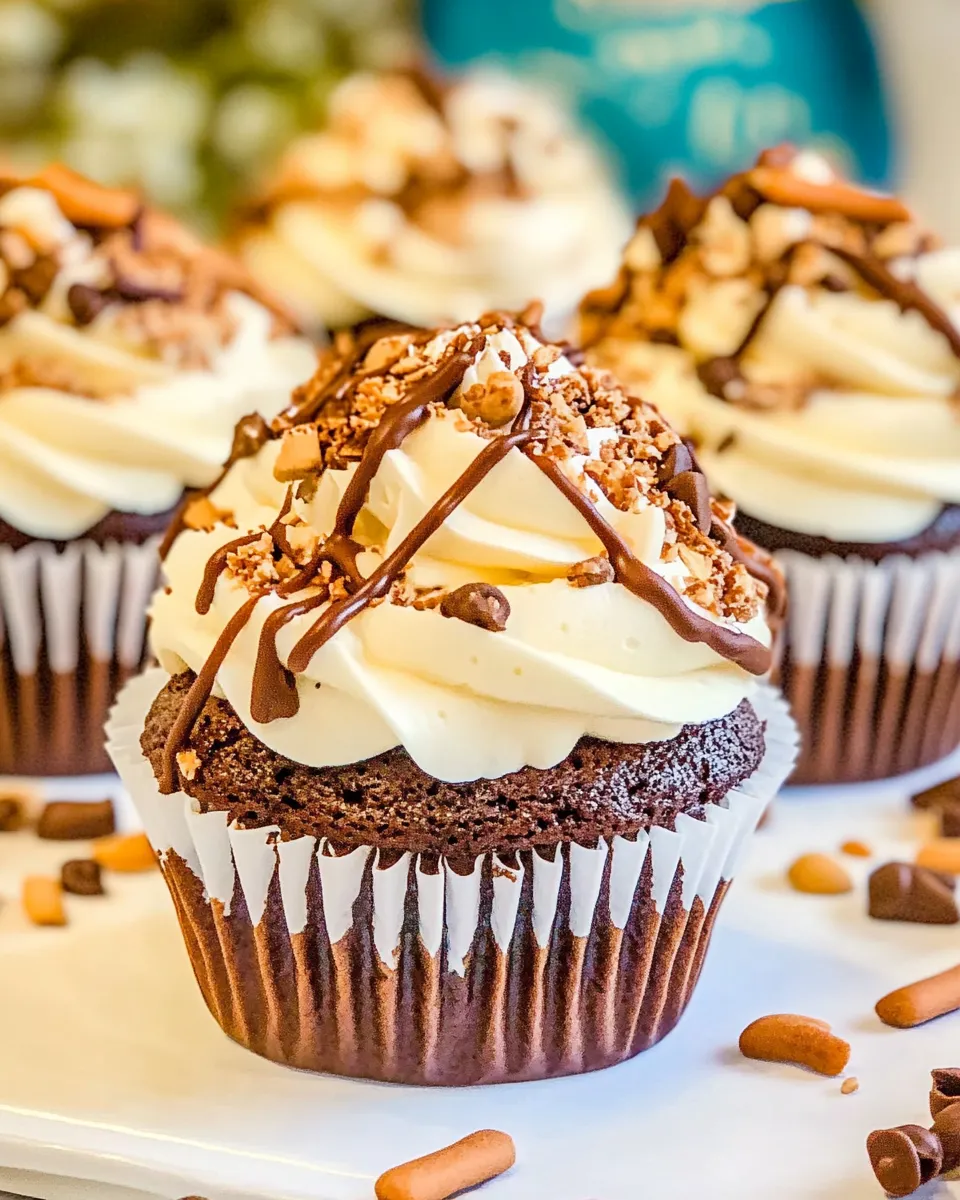
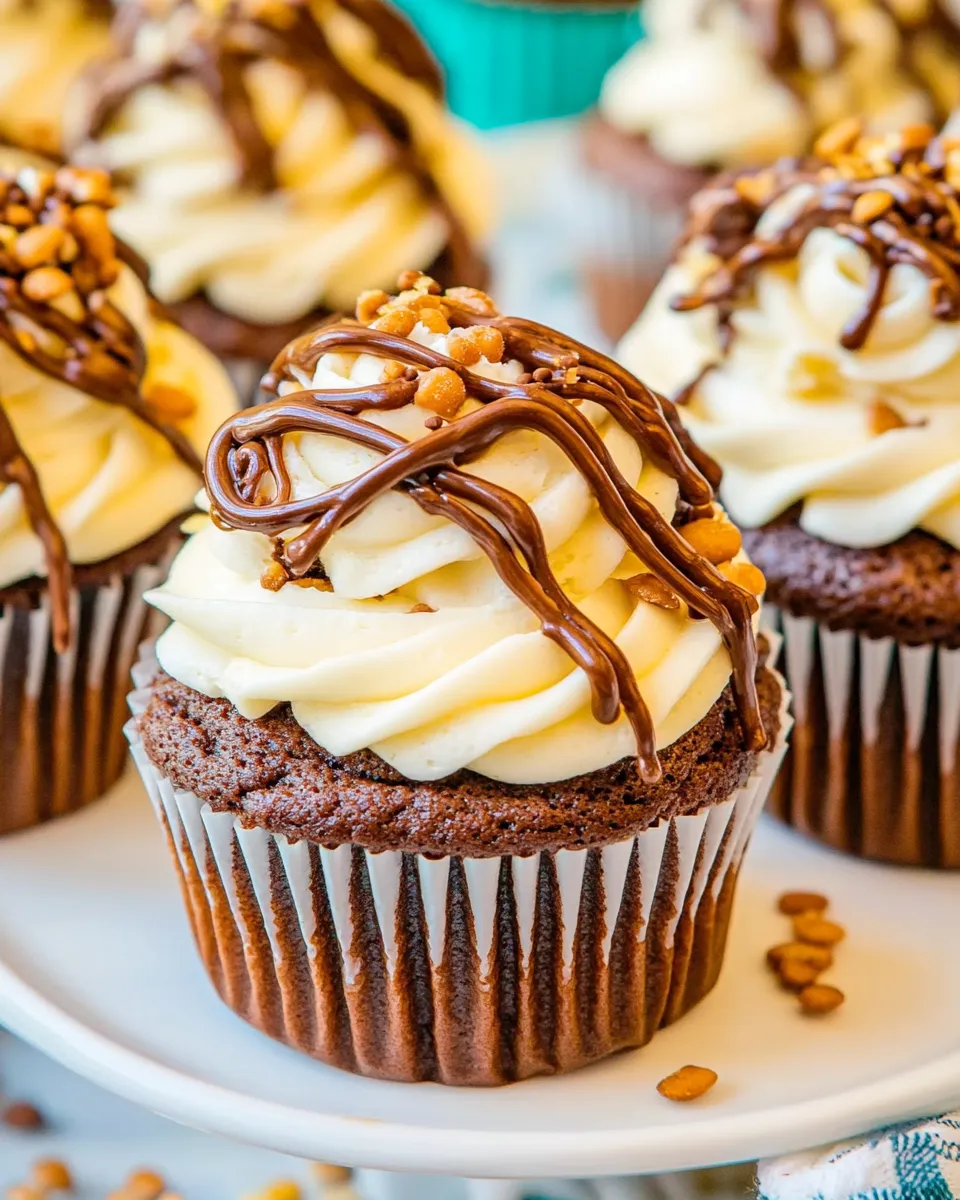
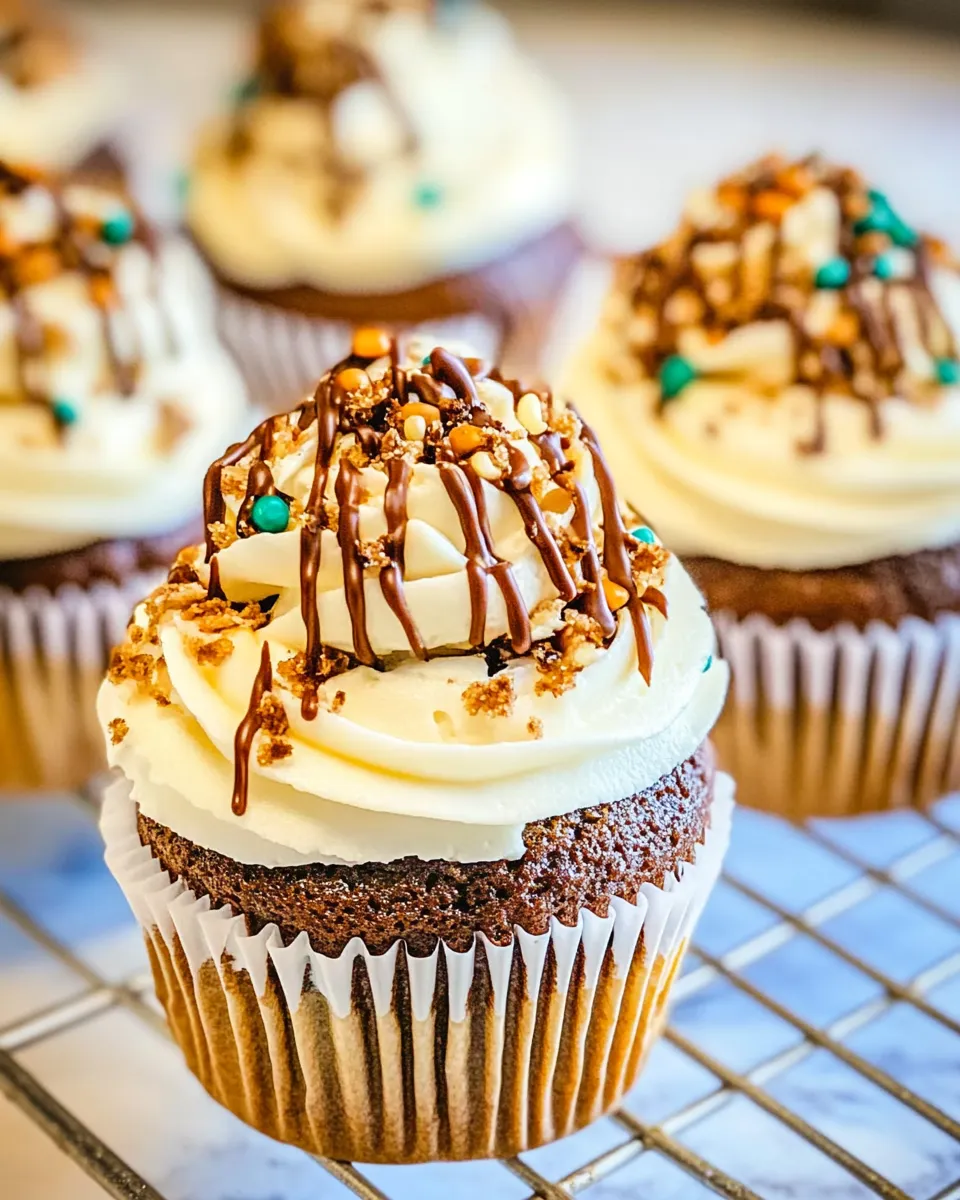
Imagine a cupcake that embodies everything you love about dessert, packed with flavors, textures, and a delightful surprise in every bite. That’s exactly what Kitchen Sink Cupcakes deliver! These cupcakes are the ultimate indulgence, combining rich chocolate cake with a creamy, dreamy frosting and a variety of toppings to make each bite uniquely delicious. Perfect for any occasion, these cupcakes are a crowd-pleaser that will leave your friends and family begging for the recipe. So, put on your apron, and let’s dive into the world of Kitchen Sink Cupcakes!
Why Kitchen Sink Cupcakes is Worth Your Time
Kitchen Sink Cupcakes are not just any ordinary dessert; they are an explosion of flavors and textures. The use of a chocolate cake mix simplifies the process without compromising on taste, while the addition of instant pudding ensures a moist and decadent treat. Plus, the beauty of these cupcakes lies in their versatility. You can customize them with your favorite toppings, from crushed pretzels to chocolate drizzle, creating a unique treat every time. Whether you’re planning a birthday party, a casual get-together, or simply want to indulge yourself, these cupcakes are the perfect choice.
What Goes In
To create these decadent Kitchen Sink Cupcakes, you’ll need the following ingredients:
- 1 15-ounce box chocolate cake mix (like Devil’s Food Cake mix)
- 1 3.4-ounce box instant chocolate pudding mix, dry (instant and NOT Cook ‘N Serve)
- 1 cup Greek yogurt or sour cream (do not use lite or low fat)
- 1 cup vegetable or canola oil
- 1 cup whole milk
- 3 large eggs
- 1 teaspoon vanilla
- 2 teaspoons salt
- 2 teaspoons espresso powder
- 1 cup mini chocolate chips
- 2 cups heavy cream, very cold
- 1 cup confectioners’ sugar
- 1 cup instant vanilla pudding mix, dry (instant and NOT Cook ‘N Serve)
- Mini pretzels, crushed, for topping; as desired
- Potato chips, crushed, for topping; as desired
- Toffee bits, crushed, for topping; as desired
- Mini chocolate chips, for topping; as desired
- Salted caramel sauce or chocolate sauce, optional for drizzling
Toolbox for This Recipe
To make your Kitchen Sink Cupcakes, gather the following tools:
- Mixing bowls: For combining your dry and wet ingredients.
- Electric mixer: To whip the frosting to a light and fluffy consistency.
- Cupcake pan: The perfect shape for your delicious creations.
- Cupcake liners: To make serving and cleaning up a breeze.
- Measuring cups and spoons: For accuracy in your measurements.
- Spatula: To scrape down the sides and ensure every bit of batter is mixed well.
Kitchen Sink Cupcakes Made Stepwise
Step 1: Preheat Your Oven
Start by preheating your oven to 350°F (175°C). This ensures your cupcakes bake evenly and rise perfectly.
Step 2: Prepare the Cupcake Batter
In a large mixing bowl, combine the chocolate cake mix, instant chocolate pudding mix, Greek yogurt (or sour cream), vegetable oil, whole milk, eggs, vanilla, salt, and espresso powder. Using an electric mixer, beat on medium speed for about 2 minutes until the batter is smooth and well combined. Gently fold in the mini chocolate chips for an extra chocolatey surprise.
Step 3: Fill the Cupcake Liners
Line your cupcake pan with liners, and fill each liner about two-thirds full with the batter. This allows room for the cupcakes to rise without overflowing.
Step 4: Bake the Cupcakes
Place the cupcake pan in the preheated oven and bake for 18-20 minutes, or until a toothpick inserted into the center comes out clean. Once baked, remove the cupcakes from the oven and let them cool in the pan for about 5 minutes before transferring them to a wire rack to cool completely.
Step 5: Make the Frosting
While the cupcakes are cooling, prepare the frosting. In a mixing bowl, combine the heavy cream, confectioners’ sugar, and instant vanilla pudding mix. Using an electric mixer, beat on high speed until soft peaks form. This should take about 3-5 minutes. The result will be a light and fluffy frosting that pairs perfectly with your cupcakes.
Step 6: Frost the Cupcakes
Once the cupcakes are completely cool, use a piping bag or a spatula to generously frost each cupcake with the whipped cream frosting.
Step 7: Add the Toppings
Now comes the fun part! Top each frosted cupcake with your choice of crushed mini pretzels, potato chips, toffee bits, and mini chocolate chips. Feel free to get creative and mix and match to your heart’s content. For an extra touch, drizzle with salted caramel or chocolate sauce.
Substitutions by Diet
If you have dietary restrictions or preferences, here are some substitutions you can make:
- Greek yogurt can be replaced with a dairy-free yogurt for a vegan option.
- Sour cream can be substituted with a vegan sour cream alternative.
- Use almond milk or oat milk instead of whole milk for a dairy-free version.
- Eggs can be replaced with flax eggs (1 tablespoon ground flaxseed mixed with 2.5 tablespoons water for each egg).
- For a gluten-free option, use a gluten-free chocolate cake mix.
Pro Perspective
When it comes to Kitchen Sink Cupcakes, the secret to achieving that perfect texture lies in the balance of ingredients. The combination of Greek yogurt and pudding mix works wonders in keeping the cupcakes moist. Additionally, don’t shy away from experimenting with toppings! It’s a great way to personalize your cupcakes. If you love the combination of sweet and salty, try adding crushed potato chips for an unexpected crunch. For chocolate lovers, drizzle extra chocolate sauce on top for an indulgent treat that rivals any bakery’s offering.
Cooling, Storing & Rewarming
To ensure your Kitchen Sink Cupcakes remain fresh and delicious, follow these tips:
- Allow the cupcakes to cool completely before storing them; this prevents any condensation from forming in the container.
- Store the cupcakes in an airtight container at room temperature for up to 3 days. If you have any leftovers, they can be refrigerated for up to a week.
- To rewarm, pop the cupcakes in the microwave for about 10 seconds. This will bring back their softness and enhance the flavors.
Reader Questions
Can I make these cupcakes ahead of time?
Absolutely! You can bake the cupcakes a day in advance and frost them just before serving. This keeps the frosting fresh and fluffy.
What can I use instead of chocolate cake mix?
If you’re not a fan of chocolate, you can substitute with a vanilla or yellow cake mix. The toppings will add plenty of flavor regardless of the base.
Can I freeze these cupcakes?
Yes, you can freeze the unfrosted cupcakes. Place them in an airtight container or freezer bag and freeze for up to 3 months. Thaw and frost when ready to serve.
What other toppings do you recommend?
The options are endless! You could try crushed nuts, sprinkles, or even fresh fruit like strawberries or raspberries. Get creative and have fun!
If you’re looking for more sweet treats, check out these favorites:
Hungry for More?
If you’re craving more delicious recipes and baking inspiration, stay tuned! There’s always something new and exciting to try in the kitchen. Whether you’re a seasoned baker or just starting out, Kitchen Sink Cupcakes are a delightful way to experiment with flavors and textures while satisfying your sweet tooth. Happy baking!
Kitchen Sink Cupcakes
Ingredients
Equipment
Method
- Step 1: Preheat Your OvenStart by preheating your oven to 350°F (175°C). This ensures your cupcakes bake evenly and rise perfectly.
- Step 2: Prepare the Cupcake BatterIn a large mixing bowl, combine the chocolate cake mix, instant chocolate pudding mix, Greek yogurt (or sour cream), vegetable oil, whole milk, eggs, vanilla, salt, and espresso powder. Using an electric mixer, beat on medium speed for about 2 minutes until the batter is smooth and well combined. Gently fold in the mini chocolate chips for an extra chocolatey surprise.
- Step 3: Fill the Cupcake LinersLine your cupcake pan with liners, and fill each liner about two-thirds full with the batter. This allows room for the cupcakes to rise without overflowing.
- Step 4: Bake the CupcakesPlace the cupcake pan in the preheated oven and bake for 18-20 minutes, or until a toothpick inserted into the center comes out clean. Once baked, remove the cupcakes from the oven and let them cool in the pan for about 5 minutes before transferring them to a wire rack to cool completely.
- Step 5: Make the FrostingWhile the cupcakes are cooling, prepare the frosting. In a mixing bowl, combine the heavy cream, confectioners' sugar, and instant vanilla pudding mix. Using an electric mixer, beat on high speed until soft peaks form. This should take about 3-5 minutes. The result will be a light and fluffy frosting that pairs perfectly with your cupcakes.
- Step 6: Frost the CupcakesOnce the cupcakes are completely cool, use a piping bag or a spatula to generously frost each cupcake with the whipped cream frosting.
- Step 7: Add the ToppingsNow comes the fun part! Top each frosted cupcake with your choice of crushed mini pretzels, potato chips, toffee bits, and mini chocolate chips. Feel free to get creative and mix and match to your heart’s content. For an extra touch, drizzle with salted caramel or chocolate sauce.
Notes
- Allow cupcakes to cool completely before storing to prevent condensation.
- Store in an airtight container at room temperature for up to 3 days; refrigerate leftovers for up to a week.
- To rewarm, microwave for about 10 seconds to restore softness.