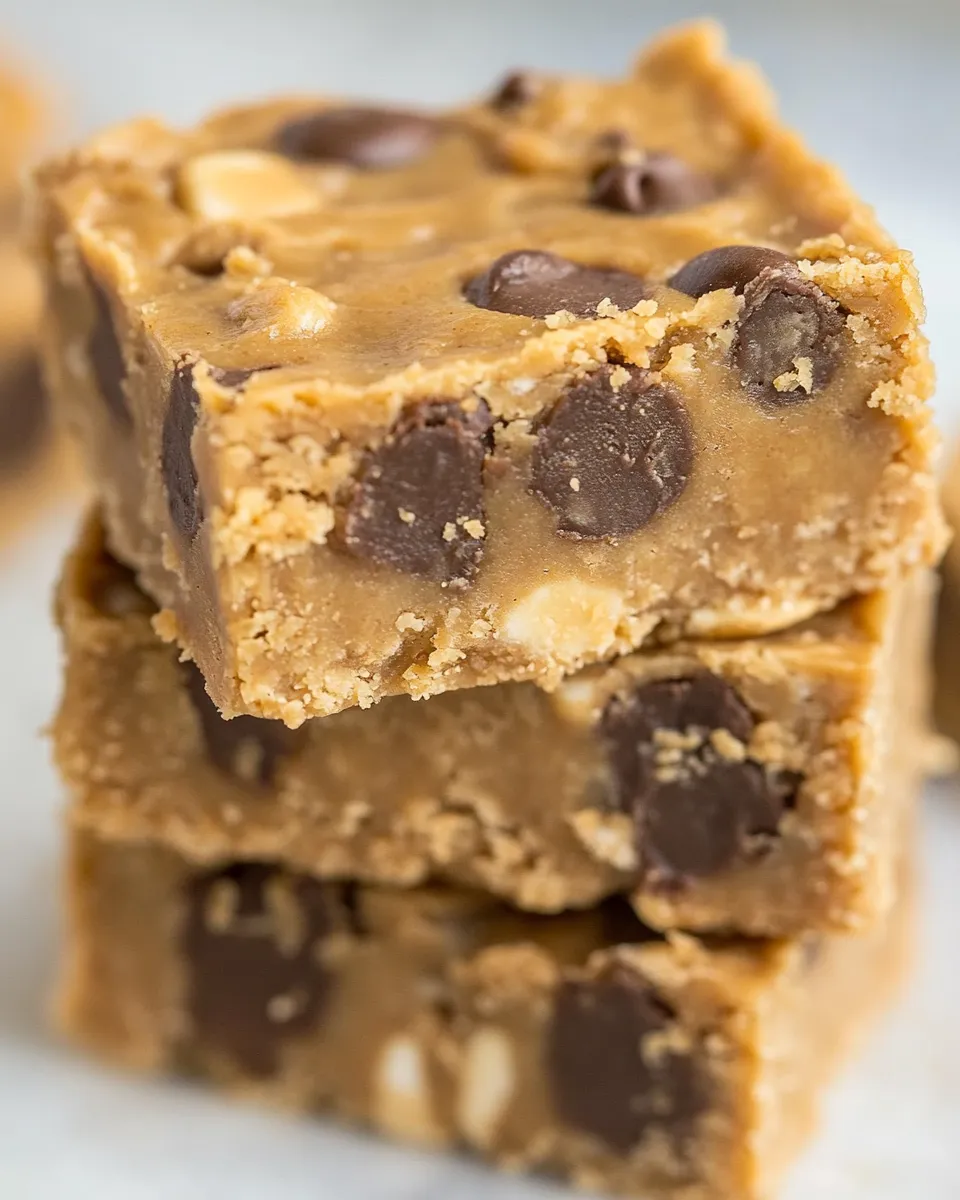
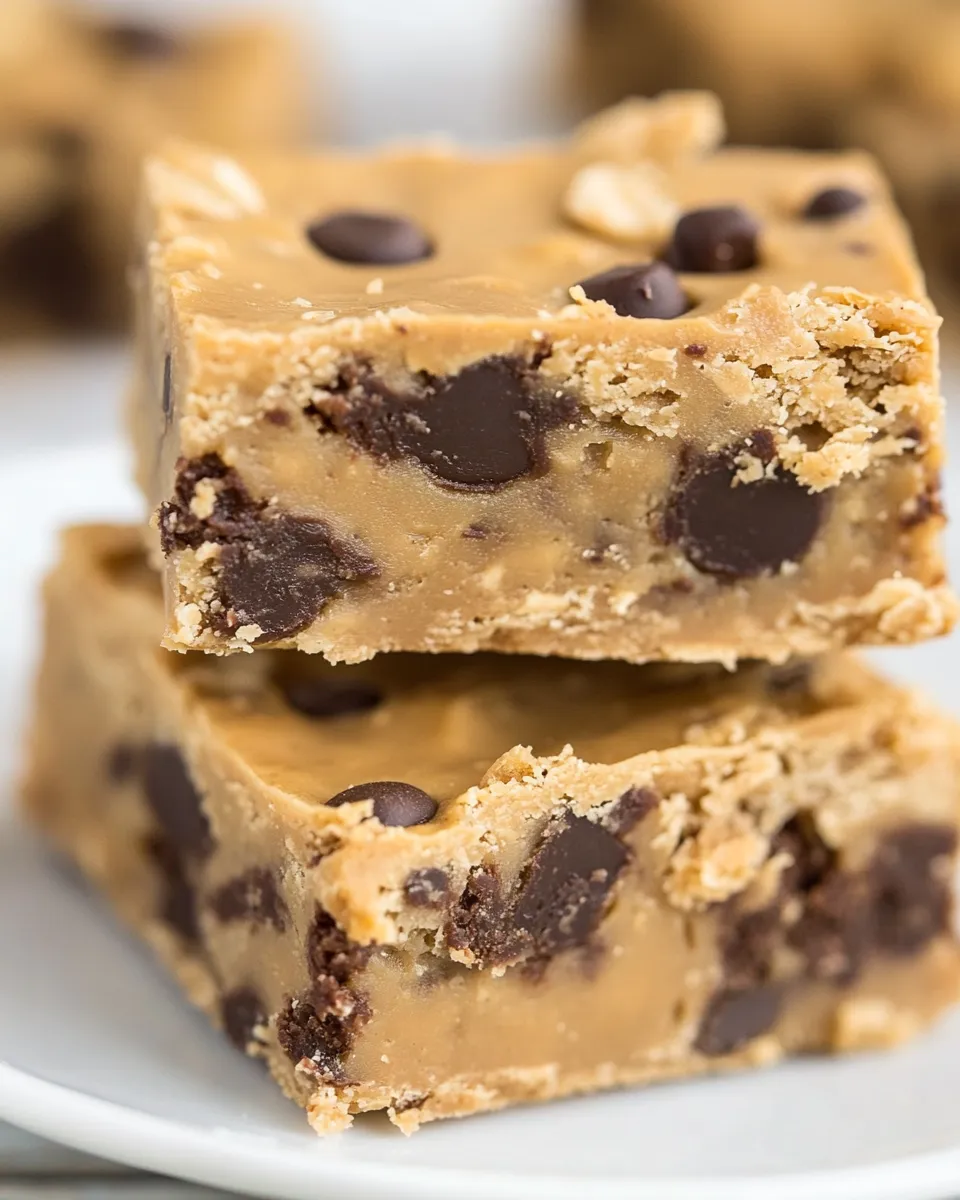
If you’re looking for a delicious treat that satisfies your sweet tooth without the guilt, then these Lighter Peanut Butter Bars are just what you need! Packed with creamy peanut butter and a touch of sweetness from honey, these bars are perfect for a snack or dessert. Plus, they’re incredibly easy to make, making them a go-to recipe for busy days. Let’s dive into the details of this delightful recipe!
Why This Recipe Is Reliable
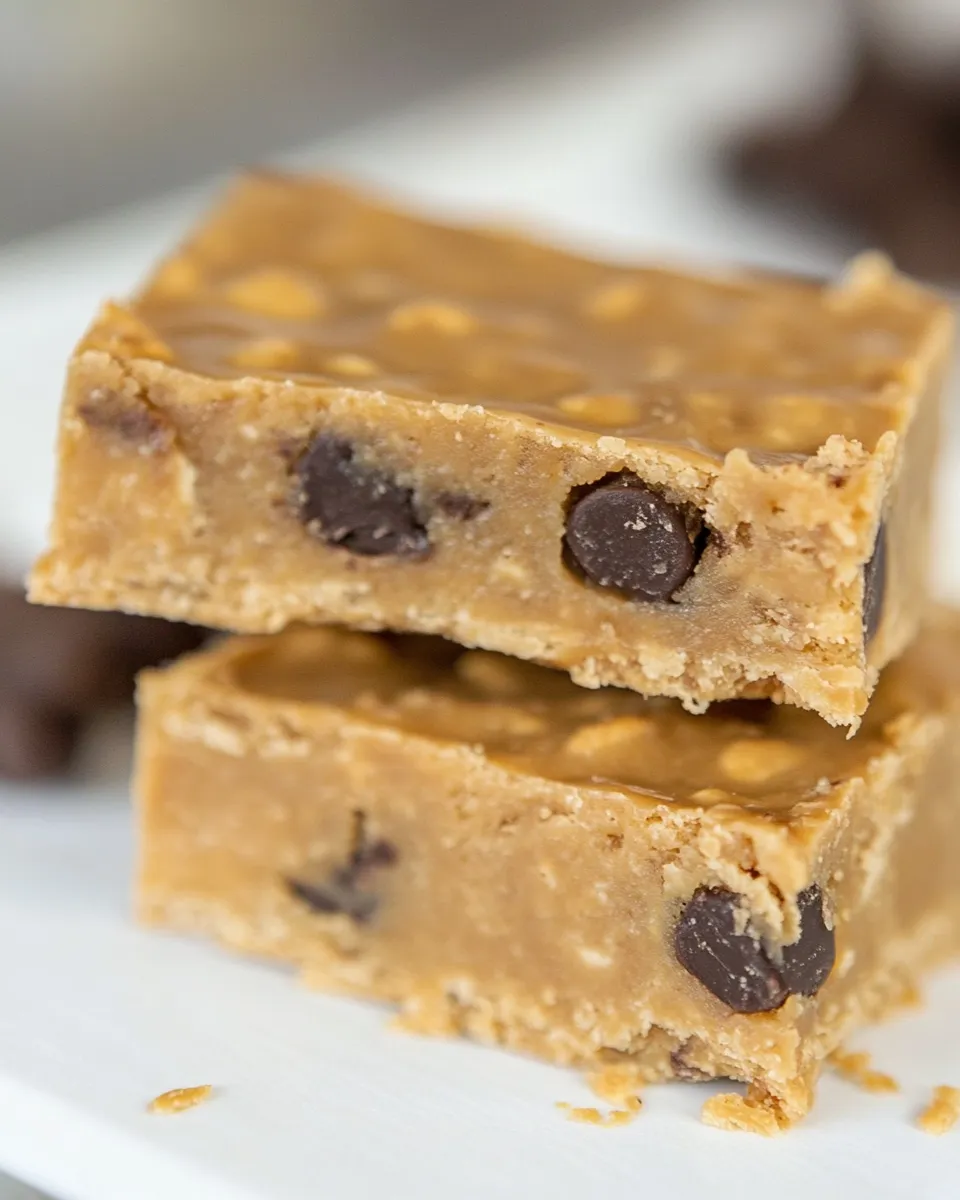
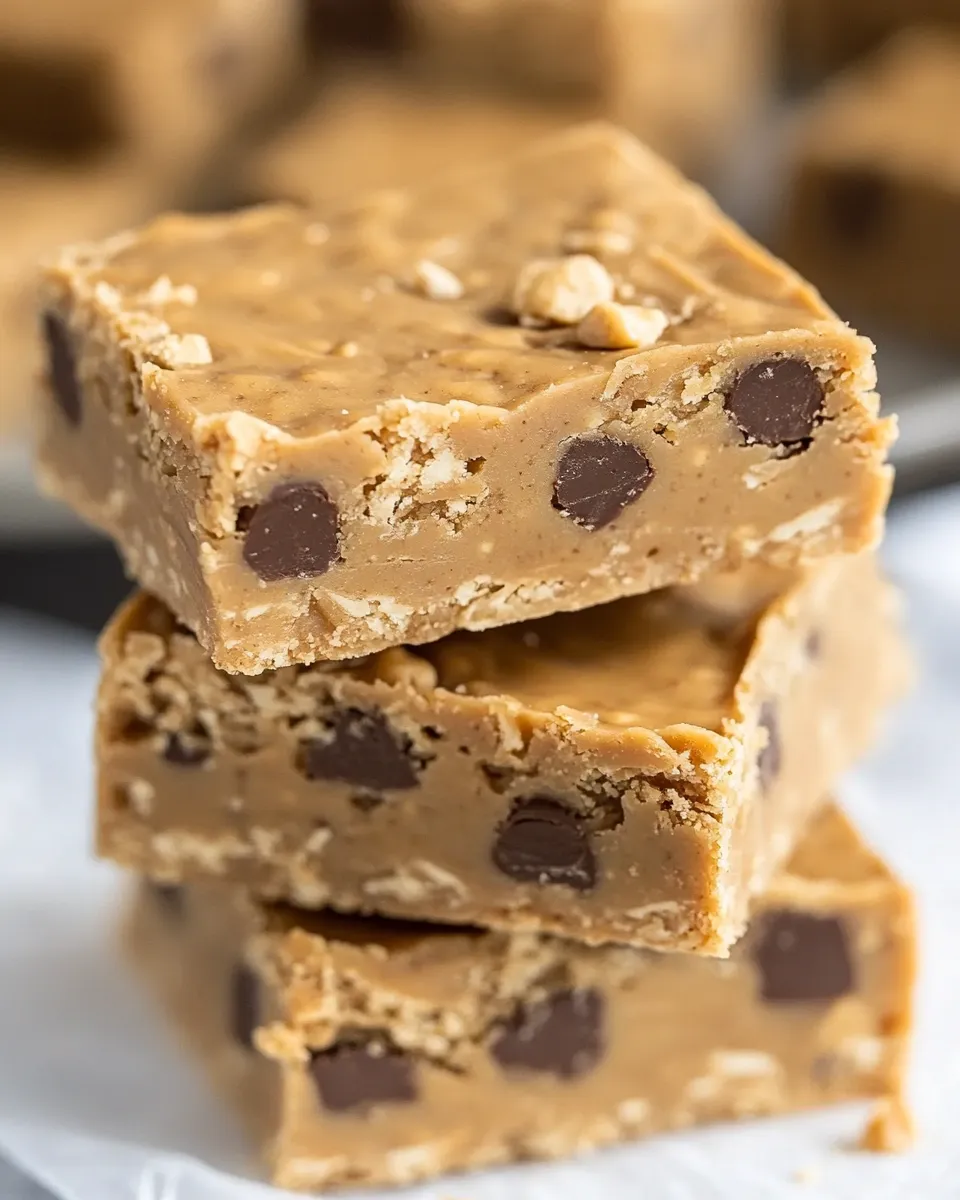
These Lighter Peanut Butter Bars are not only simple to whip up, but they also offer a perfect balance of flavors and textures. With creamy peanut butter, crunchy Ritz crackers, and a sprinkle of chocolate, you’ll enjoy the rich taste without feeling heavy afterward. They’re great for sharing with friends or keeping on hand for a quick snack, and they cater to a variety of dietary preferences. Unlike traditional peanut butter bars that can be loaded with sugar and fat, this lighter version uses wholesome ingredients that won’t derail your healthy eating goals.
What We’re Using
To create these scrumptious Lighter Peanut Butter Bars, you’ll need the following ingredients:
- 1 cup (268g) creamy peanut butter (no-stir peanut butter only)
- ½ cup (43g) white chocolate chips
- ½ cup honey
- 1 teaspoon vanilla
- 1 ½ cups crushed low-fat Ritz crackers (about 1 sleeve or 31 crackers)
- ½ cup mini chocolate chips
Each of these ingredients plays a vital role in creating a balanced flavor profile while keeping the bars light and enjoyable.
Setup & Equipment
Before you start, make sure you have the following equipment ready:
- Mixing bowl – For combining the ingredients.
- Spatula or wooden spoon – For mixing and spreading the mixture.
- 8×8 inch baking pan – To hold the bars as they set.
- Parchment paper – For easy removal of the bars.
- Measuring cups and spoons – To measure your ingredients accurately.
Having these tools at your fingertips will ensure a smooth baking process.
Lighter Peanut Butter Bars: How It’s Done
Making these Lighter Peanut Butter Bars is a breeze! Follow these simple steps for a perfect batch:
Step 1: Prepare Your Pan
Line an 8×8 inch baking pan with parchment paper, allowing some overhang for easy removal later. This will help keep your bars intact when cutting.
Step 2: Mix the Wet Ingredients
In a large mixing bowl, combine the creamy peanut butter, honey, and vanilla extract. Use a spatula or wooden spoon to mix thoroughly until smooth and well combined.
Step 3: Incorporate the Dry Ingredients
Add the crushed Ritz crackers to the wet mixture. Stir until the crackers are evenly coated. Then, gently fold in the white chocolate chips and mini chocolate chips, ensuring they are evenly distributed throughout the mixture.
Step 4: Spread and Set
Pour the mixture into the prepared baking pan. Use the spatula to spread it evenly across the pan, pressing it down firmly to create a solid base.
Step 5: Chill
Refrigerate the pan for at least 2 hours or until the bars are firm. This step is crucial for ensuring your Lighter Peanut Butter Bars hold their shape when sliced.
Step 6: Slice and Serve
Once set, lift the bars out of the pan using the parchment paper overhang. Place them on a cutting board and slice them into squares. Enjoy immediately or store for later!
Year-Round Variations
These Lighter Peanut Butter Bars are versatile, and you can customize them to suit your taste or the season. Here are a few variations to try:
- Nutty Add-ins: Include chopped nuts like almonds or walnuts for an extra crunch.
- Fruit Flavors: Add dried fruits such as cranberries or raisins for a sweet tang.
- Dark Chocolate: Swap white chocolate chips for dark chocolate chips for a richer flavor.
- Protein Boost: Mix in a scoop of your favorite protein powder for an added nutritional punch.
Feel free to get creative and make these bars your own!
Pro Perspective
Making Lighter Peanut Butter Bars can be a fun experiment in the kitchen. Here are some tips from the pros:
- Use creamy peanut butter that doesn’t require stirring. This ensures a smooth texture without any oil separation.
- Don’t skip the chilling step; it’s essential for the bars to hold their shape when cut.
- For even more flavor, consider adding a pinch of sea salt to the mixture before chilling.
- If you prefer a sweeter bar, feel free to adjust the amount of honey according to your taste.
With these insights, you’ll be on your way to mastering this delectable treat!
Storing Tips & Timelines
To keep your Lighter Peanut Butter Bars fresh and tasty, follow these storage tips:
- Store the bars in an airtight container in the refrigerator for up to one week.
- You can also freeze them! Wrap each bar individually in plastic wrap and store them in a freezer-safe bag for up to three months.
- When ready to enjoy frozen bars, simply thaw them in the refrigerator for a few hours or at room temperature for about 30 minutes.
Proper storage will ensure you have a delicious treat ready whenever you need it!
Reader Q&A
Can I use crunchy peanut butter instead of creamy?
Yes, you can use crunchy peanut butter if you prefer a bit of texture in your bars. Just keep in mind that it will change the consistency slightly.
Is there a substitute for honey?
If you’re looking for a substitute, maple syrup works well in this recipe and provides a similar sweetness.
Can I use a different type of cracker?
Absolutely! While low-fat Ritz crackers are recommended for their flavor and texture, any similar type of cracker can be used. Just make sure it’s a light variety for the best results.
Are these bars gluten-free?
To make these Lighter Peanut Butter Bars gluten-free, use gluten-free crackers. Always check the labels to ensure all ingredients meet your dietary needs.
Once you’re done with these , why not try your hand at some other delicious recipes? Here are a few tasty ideas to explore:
These recipes will surely keep your kitchen adventures exciting!
Serve & Enjoy
Now that your Lighter Peanut Butter Bars are ready, it’s time to enjoy them! Serve these bars at gatherings, pack them in lunchboxes, or keep them on hand for a quick snack. Their delightful combination of peanut butter and chocolate will have everyone coming back for seconds!
If you’re feeling extra indulgent, drizzle some melted chocolate over the top or serve them with a scoop of your favorite ice cream. The possibilities are endless, and with such a simple recipe, you’ll find yourself making these bars time and again.
With their delicious flavor and satisfying texture, these Lighter Peanut Butter Bars are destined to become a staple in your recipe collection. Don’t hesitate to share your creations and variations with friends and family – they’ll be impressed by your culinary skills!
Lighter Peanut Butter Bars
Ingredients
Equipment
Method
- Line an 8x8 inch baking pan with parchment paper, allowing some overhang for easy removal later.
- In a large mixing bowl, combine the creamy peanut butter, honey, and vanilla extract. Mix thoroughly until smooth and well combined.
- Add the crushed Ritz crackers to the wet mixture. Stir until the crackers are evenly coated, then gently fold in the white and mini chocolate chips.
- Pour the mixture into the prepared baking pan and spread it evenly, pressing down firmly to create a solid base.
- Refrigerate the pan for at least 2 hours or until the bars are firm.
- Once set, lift the bars out of the pan using the parchment paper overhang and slice them into squares.
Notes
- Store bars in an airtight container in the refrigerator for up to one week.
- Wrap each bar individually and freeze for up to three months.
- Thaw frozen bars in the refrigerator or at room temperature before serving.