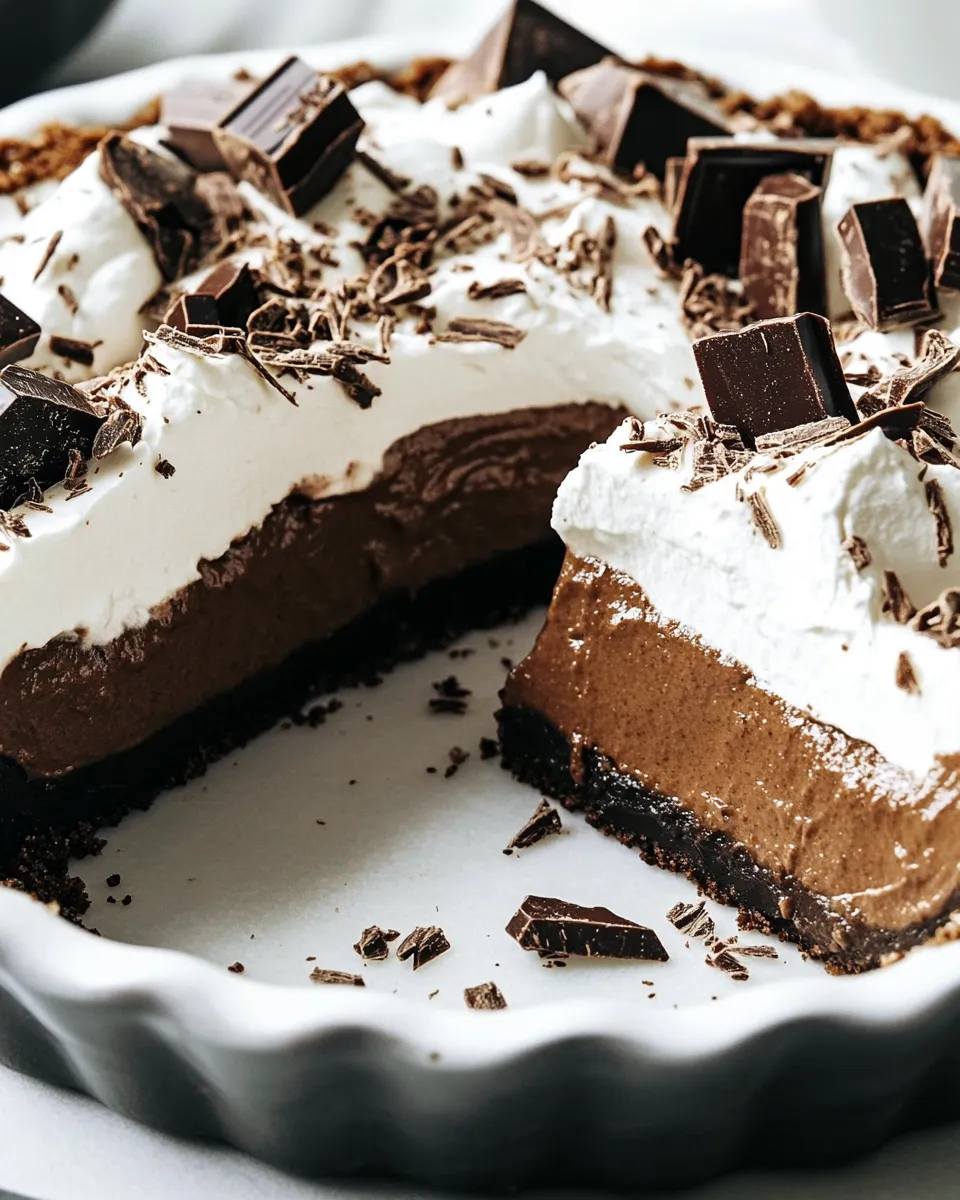
When it comes to dessert, few things can rival the indulgence of a decadent chocolate pie. This No-Bake Chocolate Pie recipe is not only incredibly easy to make, but it also delivers a rich and creamy chocolate flavor that will impress your family and friends. With a crunchy Oreo crust and a luscious chocolate filling, this pie is the perfect way to satisfy your sweet tooth without turning on the oven. Perfect for summer barbecues or any occasion that calls for a delightful treat, this pie is sure to become a favorite!
What Sets This Recipe Apart
This No-Bake Chocolate Pie is unique for several reasons. Firstly, it utilizes a simple Oreo cookie crust, which provides a perfect balance of sweetness and crunch. Secondly, the filling is made with semi-sweet chocolate and heavy whipping cream, giving it a luxurious texture that melts in your mouth. The addition of espresso powder intensifies the chocolate flavor, making each bite a chocolate lover’s dream. Plus, it’s an effortless dessert that requires no baking, making it ideal for busy days or last-minute gatherings.
Ingredient Notes
This recipe is straightforward, with each ingredient playing a crucial role in the final product. Here’s a closer look at what you’ll need:
- Oreo Cookie Crumbs (2 cups, about 24 cookies): These form the base of the pie, providing a sweet and crunchy crust.
- Semi-Sweet Chocolate (8 ounces, chopped): The star of the filling, this chocolate brings richness and depth to the pie.
- Heavy Whipping Cream (1 1/2 cups + 1 cup): Used for both the filling and the whipped topping, this adds creaminess and lightness.
- Vanilla Extract (2 teaspoons + 1 teaspoon): Enhances the overall flavor of the pie.
- Instant Espresso Powder (1 teaspoon): A little goes a long way in boosting the chocolate flavor.
- Granulated Sugar (2 tablespoons + 1 tablespoon): Sweetens the whipped cream to add a touch of sweetness to the topping.
- Chocolate Shavings (optional): For garnish, these add an elegant touch.
Equipment at a Glance
Before you dive into this No-Bake Chocolate Pie, gather a few essential tools:
- Mixing Bowls: For combining your ingredients.
- Electric Mixer: To whip the cream to stiff peaks.
- 9-inch Pie Dish: To hold your delicious pie.
- Rubber Spatula: For folding in the whipped cream without deflating it.
Mastering No-Bake Chocolate Pie: How-To
Creating this No-Bake Chocolate Pie is simpler than you might think! Follow these steps for delicious results:
Step 1: Make the Oreo Crust
In a medium bowl, combine the 2 cups of Oreo cookie crumbs with ½ cup of melted butter. Stir until the mixture resembles wet sand. Press the mixture firmly into the bottom and up the sides of a 9-inch pie dish. Make sure it’s evenly distributed. Place the crust in the refrigerator to set while you prepare the filling.
Step 2: Melt the Chocolate
In a microwave-safe bowl, combine the chopped semi-sweet chocolate and 1 cup of heavy whipping cream. Heat in the microwave in 30-second intervals, stirring in between, until the chocolate is fully melted and smooth. Once melted, stir in 2 teaspoons of vanilla extract and 1 teaspoon of instant espresso powder. Allow the mixture to cool slightly.
Step 3: Whip the Cream
In a large mixing bowl, use an electric mixer to whip 1 ½ cups of heavy whipping cream until soft peaks form. Gradually add in 2 tablespoons of granulated sugar while continuing to whip until stiff peaks form.
Step 4: Combine Chocolate and Whipped Cream
Gently fold the cooled chocolate mixture into the whipped cream using a rubber spatula. Be careful not to deflate the whipped cream; you want to maintain that light and fluffy texture.
Step 5: Assemble the Pie
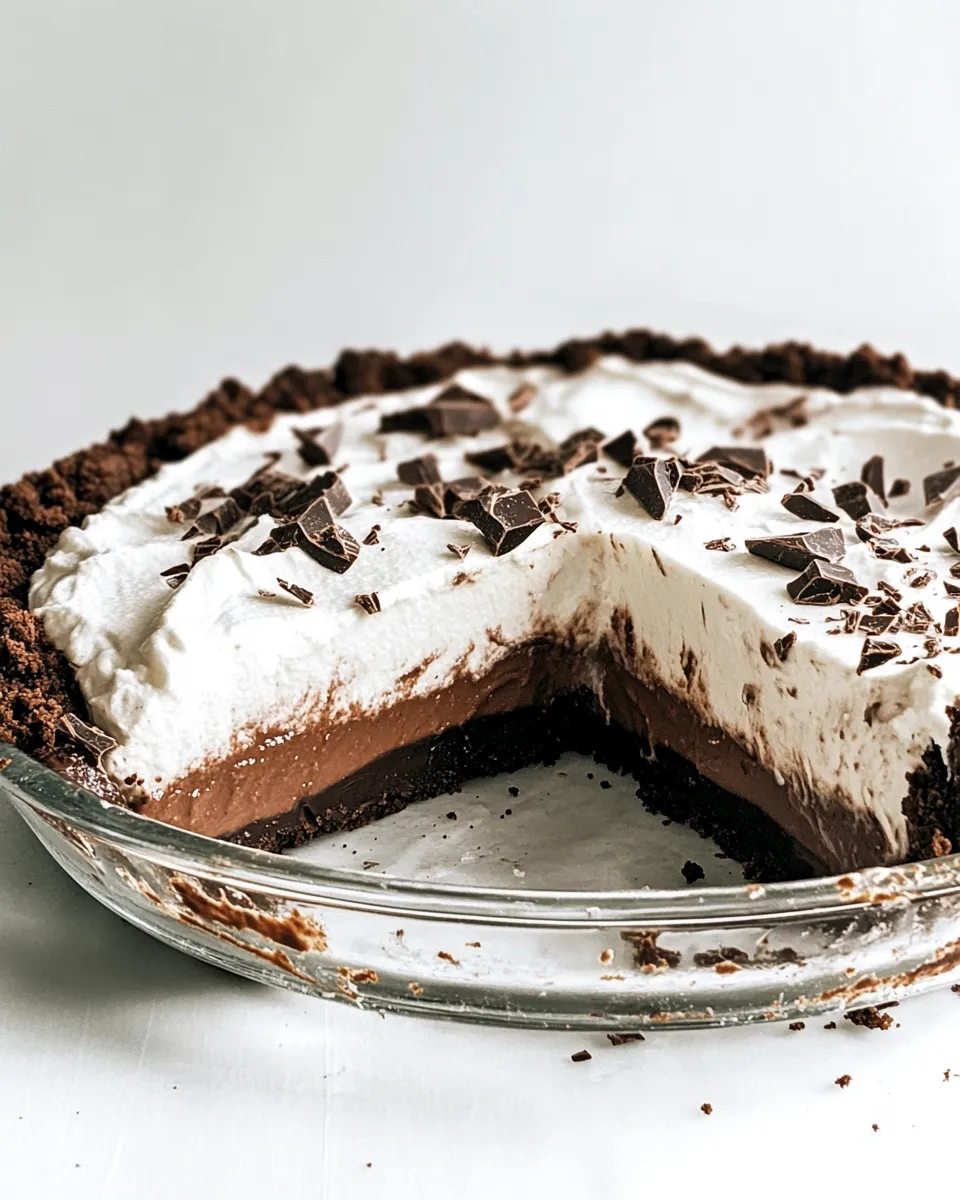
Pour the chocolate filling into the chilled Oreo crust, spreading it evenly with the spatula. Smooth the top if desired. Place the pie back in the refrigerator for at least 4 hours to set, or overnight for best results.
Step 6: Make the Topping
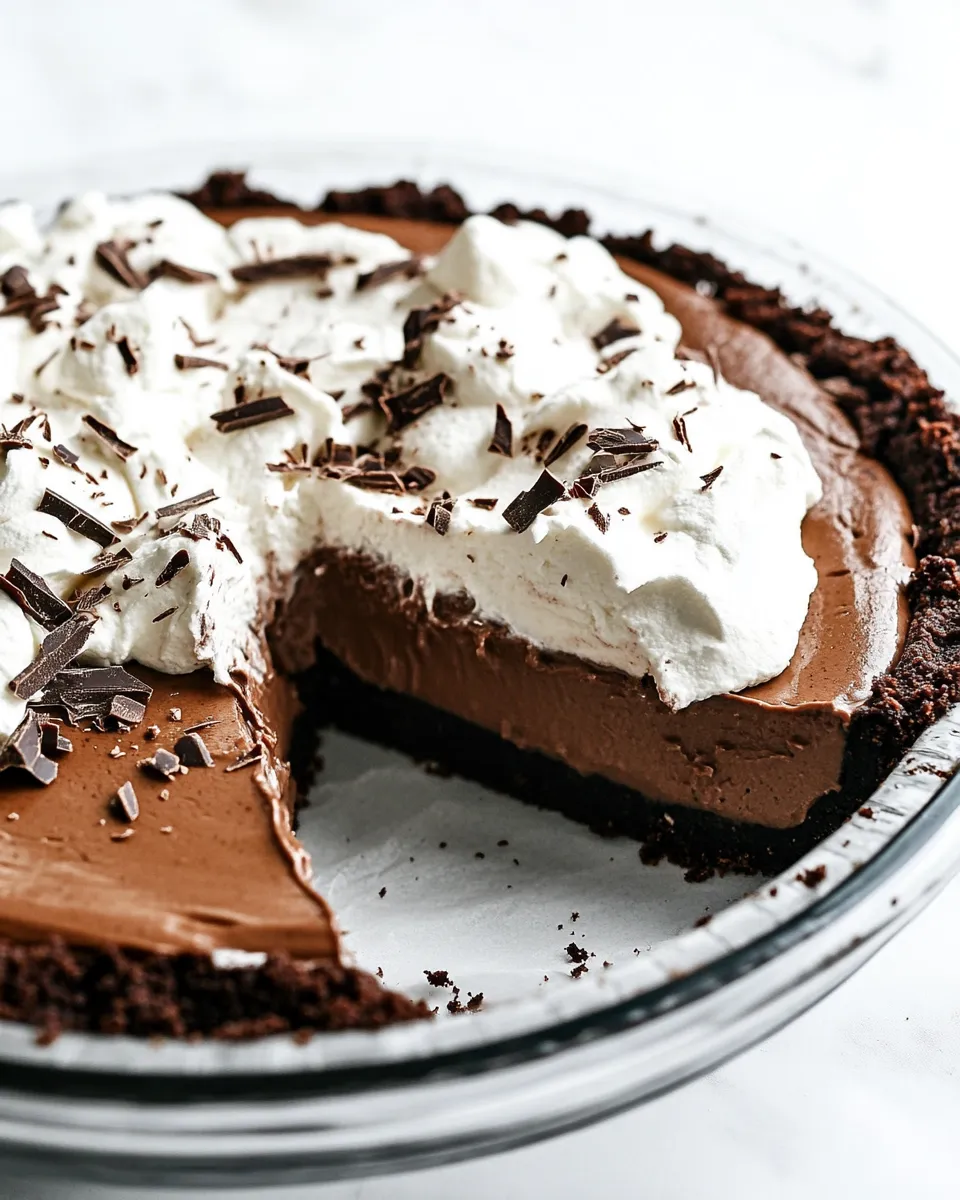
Just before serving, whip the remaining 1 cup of heavy whipping cream with 1 tablespoon of granulated sugar and 1 teaspoon of vanilla until soft peaks form. Spread this whipped cream over the set chocolate filling.
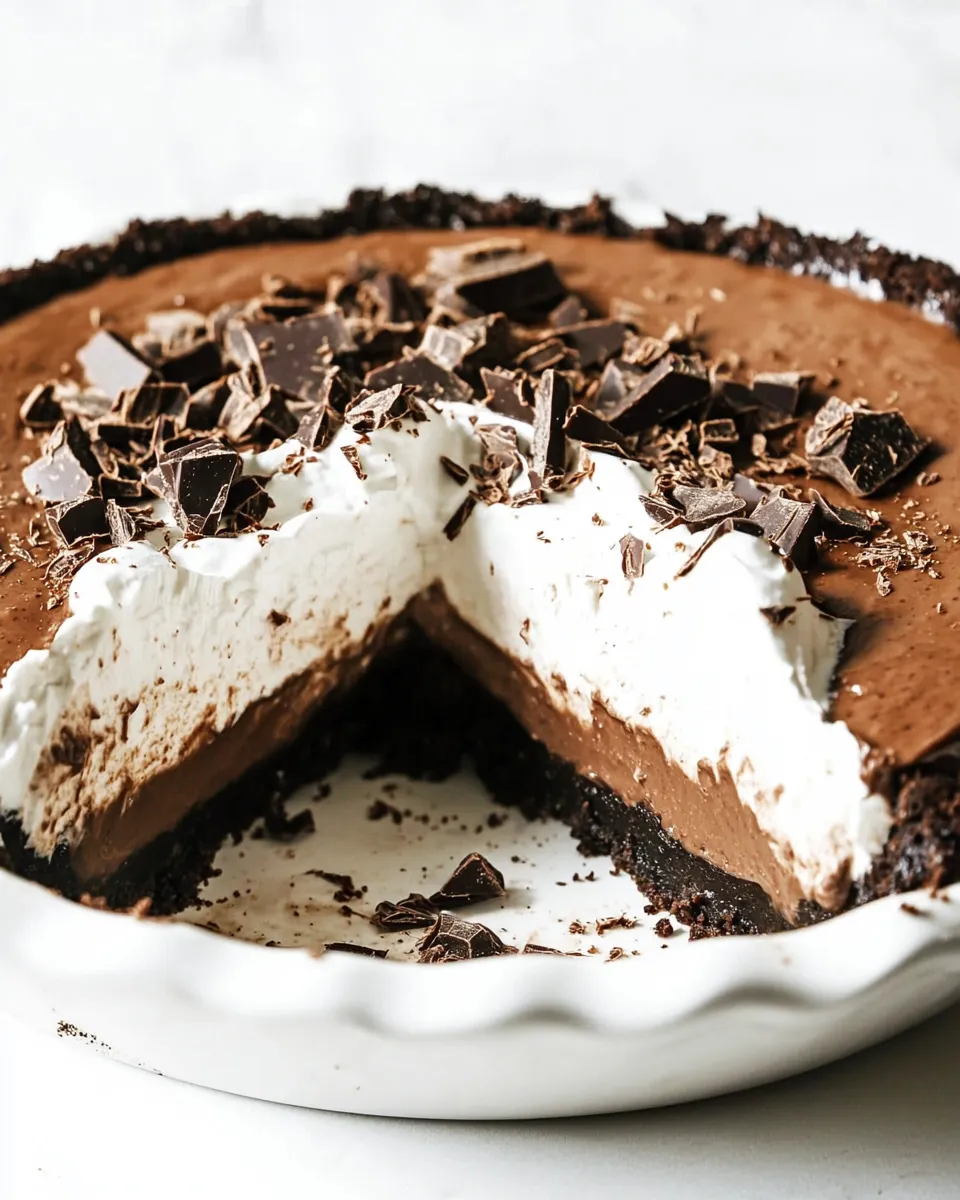
Step 7: Garnish and Serve
If desired, garnish with chocolate shavings for an extra touch of elegance. Slice the pie and serve chilled. Enjoy the luscious layers of flavor!
Healthier Substitutions
If you’re looking to lighten up your No-Bake Chocolate Pie, consider these substitutions:
- Graham Cracker Crust: Swap out the Oreo crust for a homemade graham cracker crust using whole grain crackers.
- Dark Chocolate: Use dark chocolate for a richer flavor and less sugar.
- Light Whipping Cream: Opt for light whipping cream or a dairy-free alternative to reduce fat content.
- Natural Sweeteners: Substitute granulated sugar with honey or maple syrup for a more natural sweetener.
Cook’s Notes
For best results, ensure your cream is very cold before whipping. This helps achieve maximum volume and stability. If you want to make this pie ahead of time, it can be stored in the refrigerator for up to 3 days, making it a perfect make-ahead dessert.
- Feel free to experiment with different flavored extracts, like almond or mint, to give your pie a unique twist.
- If you’re a fan of crunchy textures, consider adding chopped nuts to the crust or as a topping.
Keep-It-Fresh Plan
To keep your No-Bake Chocolate Pie fresh, store it covered in the refrigerator. It’s best enjoyed within 3 to 4 days, but it rarely lasts that long! If you have leftovers, try to cover the pie with plastic wrap or foil to prevent it from absorbing any odors from the fridge.
Reader Q&A
Can I use different cookies for the crust?
Absolutely! While Oreos are a classic choice, you can use any chocolate cookie or even graham crackers for a different flavor profile.
Is there a way to make this pie dairy-free?
Yes! You can use dairy-free chocolate and coconut cream in place of heavy whipping cream for a delicious dairy-free version.
How do I know when the pie is set?
The pie is set when it is firm to the touch and holds its shape when sliced. Refrigerating it overnight typically yields the best results.
Can I freeze this pie?
Yes, you can freeze the pie! Just make sure to cover it tightly with plastic wrap. Thaw it in the refrigerator before serving for the best texture.
Hungry for More?
If you enjoyed this No-Bake Chocolate Pie, there’s plenty more to explore! Whether you’re looking for cakes, cookies, or other delightful desserts, there’s always something new to try. Keep your cravings satisfied and your dessert table bursting with flavor.
With easy-to-follow recipes and an array of flavors, you’ll never run out of delicious ideas to try in your kitchen. So, roll up your sleeves, gather your ingredients, and let’s create something scrumptious today!
No-Bake Chocolate Pie
Ingredients
Equipment
Method
- In a medium bowl, combine the 2 cups of Oreo cookie crumbs with ½ cup of melted butter. Stir until the mixture resembles wet sand. Press the mixture firmly into the bottom and up the sides of a 9-inch pie dish. Place the crust in the refrigerator to set while you prepare the filling.
- In a microwave-safe bowl, combine the chopped semi-sweet chocolate and 1 cup of heavy whipping cream. Heat in the microwave in 30-second intervals, stirring in between, until the chocolate is fully melted and smooth. Stir in 2 teaspoons of vanilla extract and 1 teaspoon of instant espresso powder. Allow the mixture to cool slightly.
- In a large mixing bowl, use an electric mixer to whip 1 ½ cups of heavy whipping cream until soft peaks form. Gradually add in 2 tablespoons of granulated sugar while continuing to whip until stiff peaks form.
- Gently fold the cooled chocolate mixture into the whipped cream using a rubber spatula. Be careful not to deflate the whipped cream; you want to maintain that light and fluffy texture.
- Pour the chocolate filling into the chilled Oreo crust, spreading it evenly with the spatula. Place the pie back in the refrigerator for at least 4 hours to set, or overnight for best results.
- Just before serving, whip the remaining 1 cup of heavy whipping cream with 1 tablespoon of granulated sugar and 1 teaspoon of vanilla until soft peaks form. Spread this whipped cream over the set chocolate filling.
- If desired, garnish with chocolate shavings. Slice the pie and serve chilled. Enjoy!
Notes
- Ensure your cream is very cold before whipping for maximum volume.
- This pie can be made ahead of time; store it in the refrigerator for up to 3 days.
- Consider adding chopped nuts to the crust or as a topping for extra crunch.