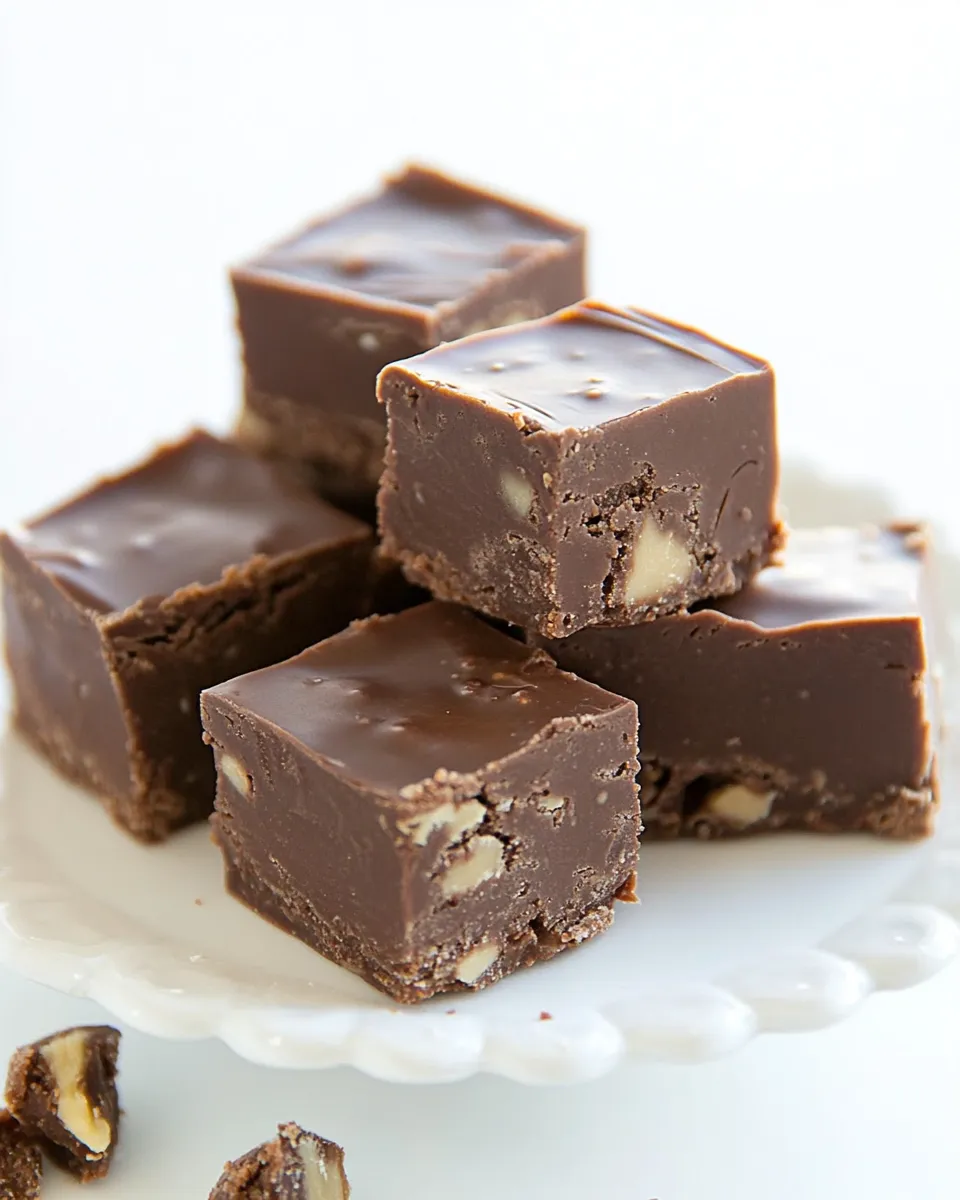
There’s something undeniably magical about fudge. The rich, creamy texture, the melt-in-your-mouth chocolate, and the sweet, nutty flavors come together to create a treat that’s hard to resist. Today, I’m excited to share my Original Fantasy Fudge Recipe, a nostalgic favorite that’s perfect for any occasion. Whether you’re preparing for the holidays, a birthday party, or just a sweet afternoon snack, this fudge is sure to impress. Plus, it’s incredibly easy to make! Let’s dive in.
Why It’s My Go-To
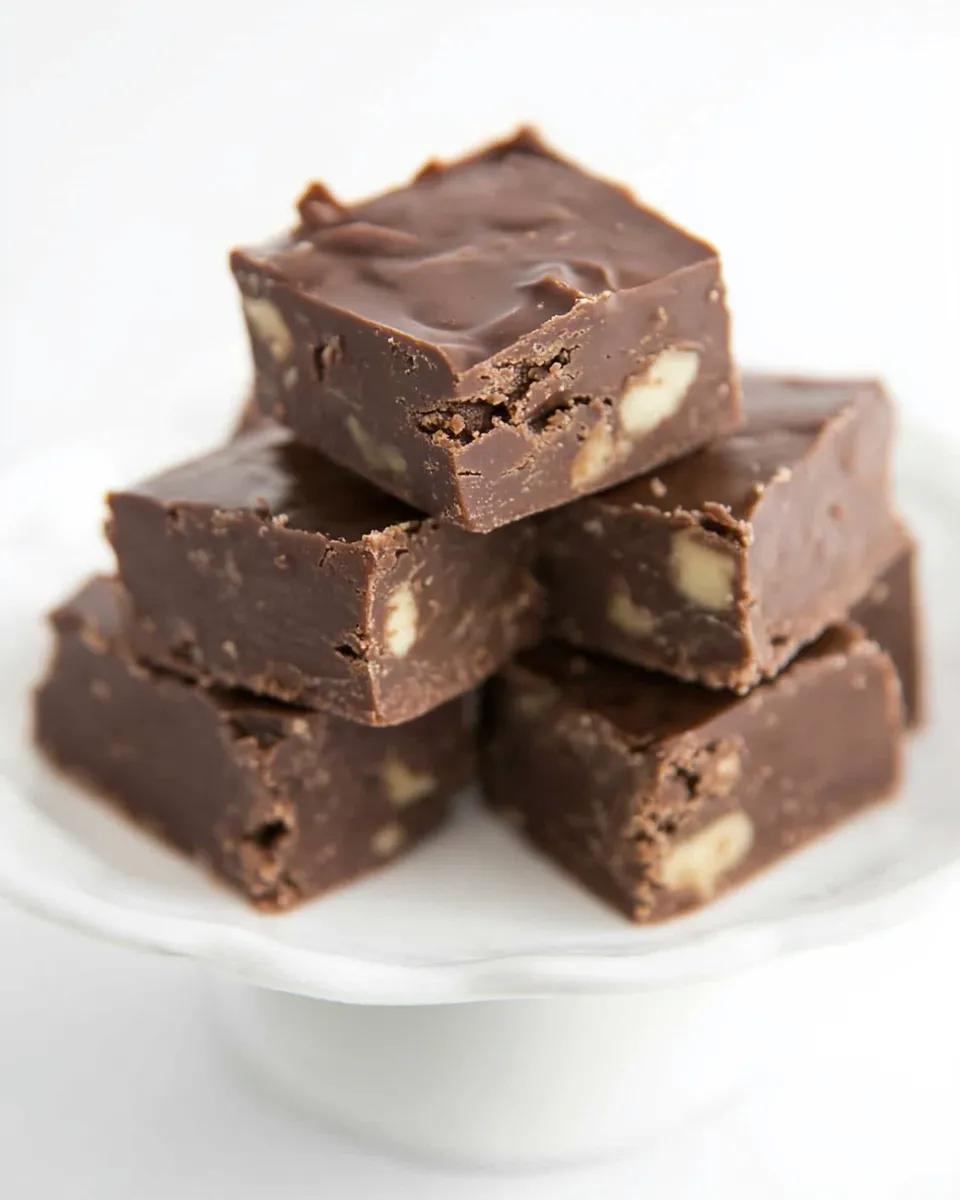
This recipe has been passed down through generations in my family, and it never fails to bring joy. The combination of chocolate and marshmallow fluff creates an indulgent treat that’s both rich and airy. The addition of walnuts gives it a delightful crunch, balancing the sweetness beautifully. I love that this fudge can be made in just about 30 minutes, with minimal fuss. It’s perfect for gifting or enjoying at home, and it’s always a crowd-pleaser.
Ingredient List
To craft this delicious fudge, you’ll need the following ingredients:
- 3 cups granulated sugar
- 1 cup salted butter
- 1 cup evaporated milk
- 2 cups chocolate chips (I used semi-sweet)
- 1 jar marshmallow fluff (7 ounces)
- 1 cup chopped walnuts
- 1 teaspoon vanilla extract
Make sure to gather everything before you start to ensure a smooth cooking experience!
Equipment Breakdown
Having the right tools can make all the difference in your cooking experience. Here’s what you’ll need:
- Medium saucepan – for melting ingredients.
- Wooden spoon or spatula – for stirring.
- 9×13-inch baking dish – to set the fudge.
- Parchment paper – for easy removal of fudge.
- Measuring cups and spoons – for accurate ingredient measurements.
With these tools in hand, you’ll be ready to create your fudge masterpiece!
Cook Original Fantasy Fudge Recipe Like This
Follow these simple steps to make your Original Fantasy Fudge Recipe:
Step 1: Prepare Your Baking Dish
Line your 9×13-inch baking dish with parchment paper, leaving some overhang on the sides. This will make it easy to lift the fudge out later.
Step 2: Combine Butter, Sugar, and Milk
In a medium saucepan, combine the 3 cups of granulated sugar, 1 cup of salted butter, and 1 cup of evaporated milk. Stir the mixture over medium heat until it comes to a full boil.
Step 3: Boil the Mixture
Once boiling, continue to stir the mixture for about 4-5 minutes. You want it to reach the soft ball stage, which is around 234°F (112°C) on a candy thermometer.
Step 4: Add Chocolate and Marshmallow Fluff
Remove the saucepan from heat. Stir in the 2 cups of chocolate chips and 1 jar of marshmallow fluff until fully melted and smooth.
Step 5: Incorporate Nuts and Vanilla
Add in the 1 cup of chopped walnuts and 1 teaspoon of vanilla extract. Stir until everything is well combined.
Step 6: Pour and Set
Pour the fudge mixture into your prepared baking dish, spreading it evenly. Allow it to cool at room temperature for about 2 hours until it’s set.
Step 7: Cut and Enjoy
Once the fudge is set, lift it out of the pan using the parchment paper overhang. Cut it into squares and enjoy your delicious homemade fudge!
Better-for-You Options

If you’re looking to make this recipe a bit healthier, consider these alternatives:
- Use coconut oil instead of butter for a dairy-free version.
- Substitute half of the granulated sugar with coconut sugar or a sugar alternative.
- Opt for dark chocolate chips for a richer flavor and less sugar.
- Incorporate nuts like almonds or pecans for different flavor profiles.
These substitutions can help you enjoy your fudge while keeping it a bit lighter!
Chef’s Rationale
Creating the perfect fudge is all about balancing flavors and textures. The combination of chocolate and marshmallow fluff not only gives the fudge its signature sweetness but also a unique texture that sets it apart from other chocolate treats. Using salted butter elevates the flavor profile, while the walnuts add a much-needed crunch.
When making fudge, the key is to ensure that you reach the right temperature while boiling. This ensures that the fudge sets correctly and achieves that ideal creamy texture. Keep stirring to prevent any burning or uneven cooking!
Refrigerate, Freeze, Reheat
Once you’ve made your Original Fantasy Fudge Recipe, you’ll want to know how to store it. The fudge can be stored at room temperature in an airtight container for up to a week. For longer storage, place it in the refrigerator, where it can last for up to three weeks.
If you want to keep it even longer, consider freezing the fudge. Wrap it tightly in plastic wrap and then place it in a freezer-safe container. It can last for up to three months in the freezer. When you’re ready to enjoy it, simply let it thaw at room temperature for a few hours or in the refrigerator overnight.
Common Questions
Can I use different types of chocolate chips?
Absolutely! Feel free to experiment with milk chocolate, dark chocolate, or even white chocolate chips depending on your taste preferences.
What if I don’t have evaporated milk?
You can substitute evaporated milk with whole milk or even a non-dairy milk alternative, but keep in mind that the texture may vary slightly.
How do I know when my fudge is done?
The fudge is done when it reaches the soft ball stage on a candy thermometer, typically around 234°F (112°C). Alternatively, you can do a cold water test by dropping a small amount into cold water; it should form a soft ball that holds its shape.
Can I add other mix-ins?
Yes! Feel free to get creative by adding ingredients like dried fruit, crushed cookies, or even a swirl of peanut butter for a different flavor experience. You could also check out Chocolate Peanut Butter Oatmeal Bowls for a delightful peanut butter treat!
If you’re inspired to keep the sweetness going, consider trying out these delightful recipes:
The Takeaway
Making your own fudge is not only simple, but it also allows for customization to fit your taste. The Original Fantasy Fudge Recipe is a timeless classic that’s sure to bring comfort and joy, whether shared with loved ones or indulged upon alone. With the right ingredients and equipment, you can create a delicious treat that rivals any store-bought alternative.
So, what are you waiting for? Gather your ingredients, and let’s make some fudge magic today!
Original Fantasy Fudge Recipe
Ingredients
Equipment
Method
- Line your 9x13-inch baking dish with parchment paper, leaving some overhang on the sides.
- In a medium saucepan, combine the granulated sugar, salted butter, and evaporated milk. Stir over medium heat until it comes to a full boil.
- Once boiling, continue to stir for about 4-5 minutes until it reaches the soft ball stage (around 234°F).
- Remove from heat and stir in the chocolate chips and marshmallow fluff until fully melted and smooth.
- Add the chopped walnuts and vanilla extract, stirring until well combined.
- Pour the fudge mixture into the prepared baking dish and spread it evenly. Allow it to cool at room temperature for about 2 hours until it’s set.
- Once set, lift the fudge out using the parchment overhang, cut into squares, and enjoy!
Notes
- Store fudge in an airtight container at room temperature for up to a week.
- For longer storage, refrigerate for up to three weeks.
- Freeze wrapped tightly for up to three months, and thaw at room temperature.