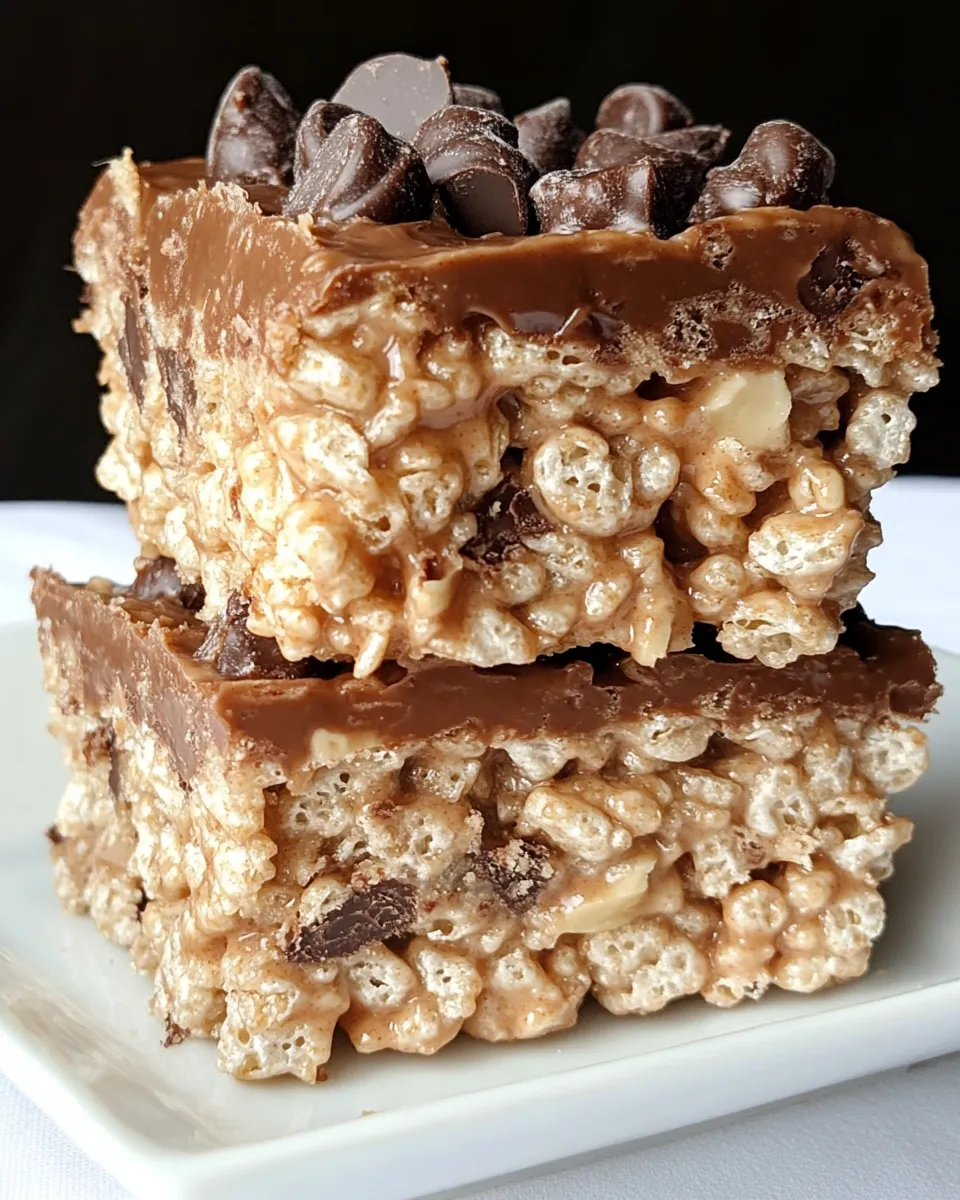
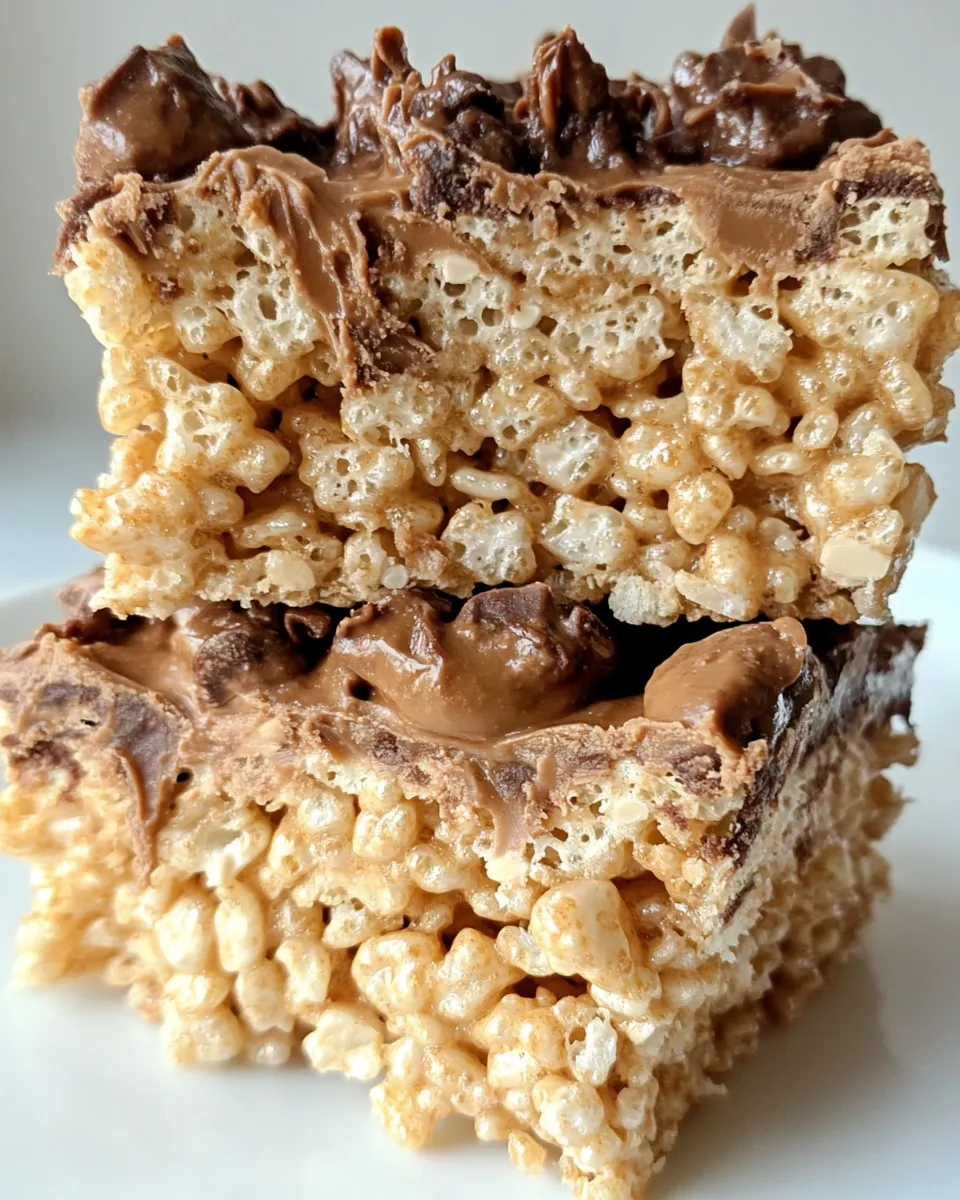
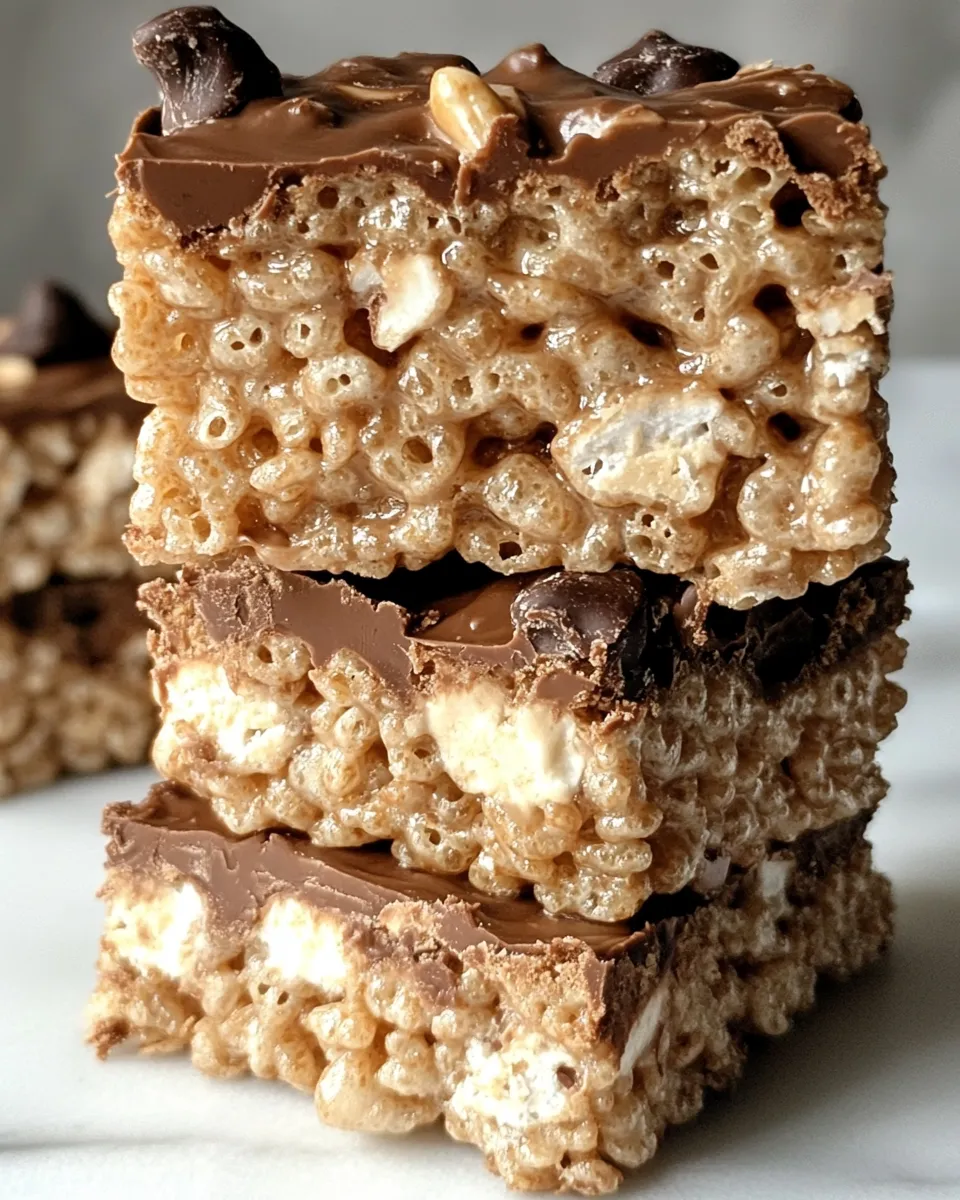
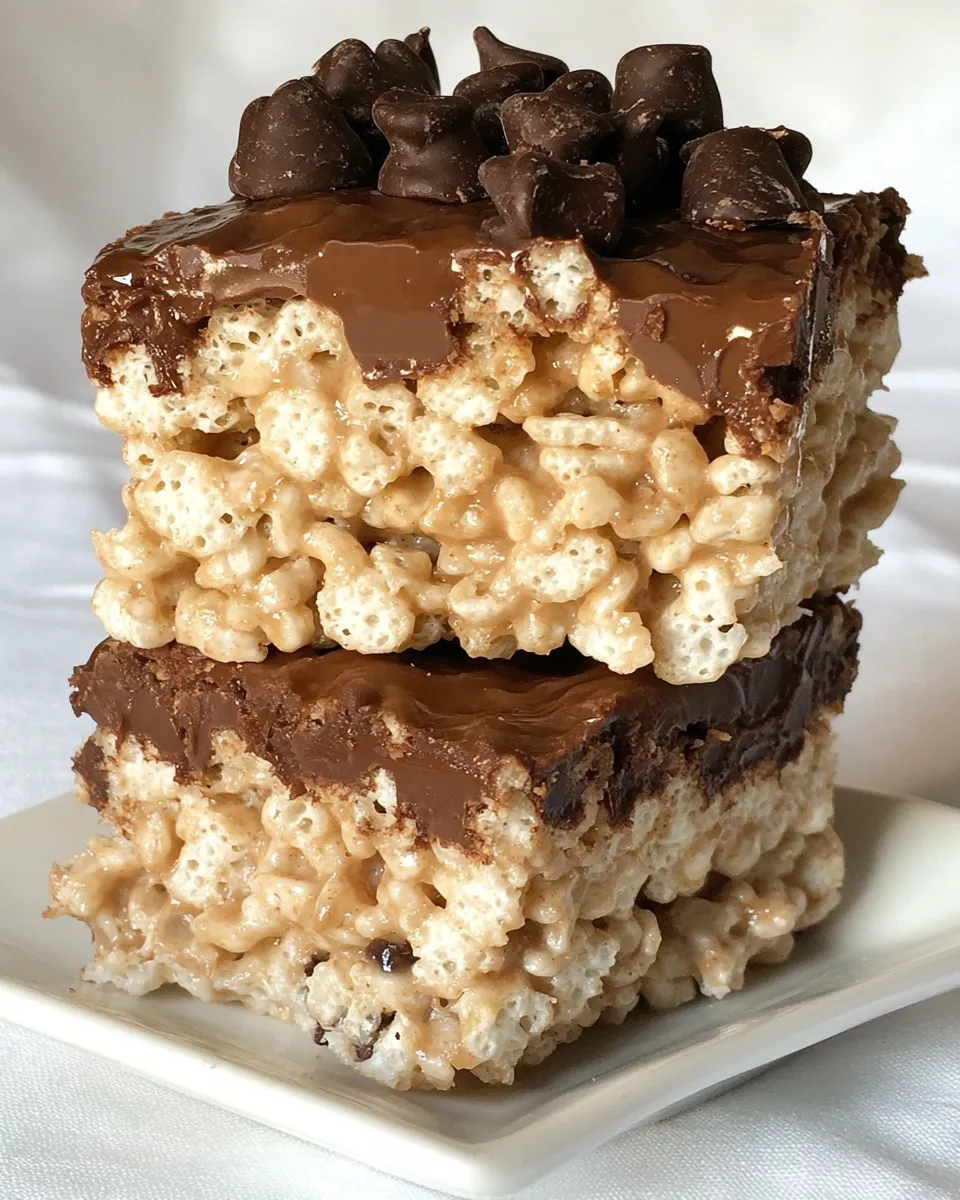
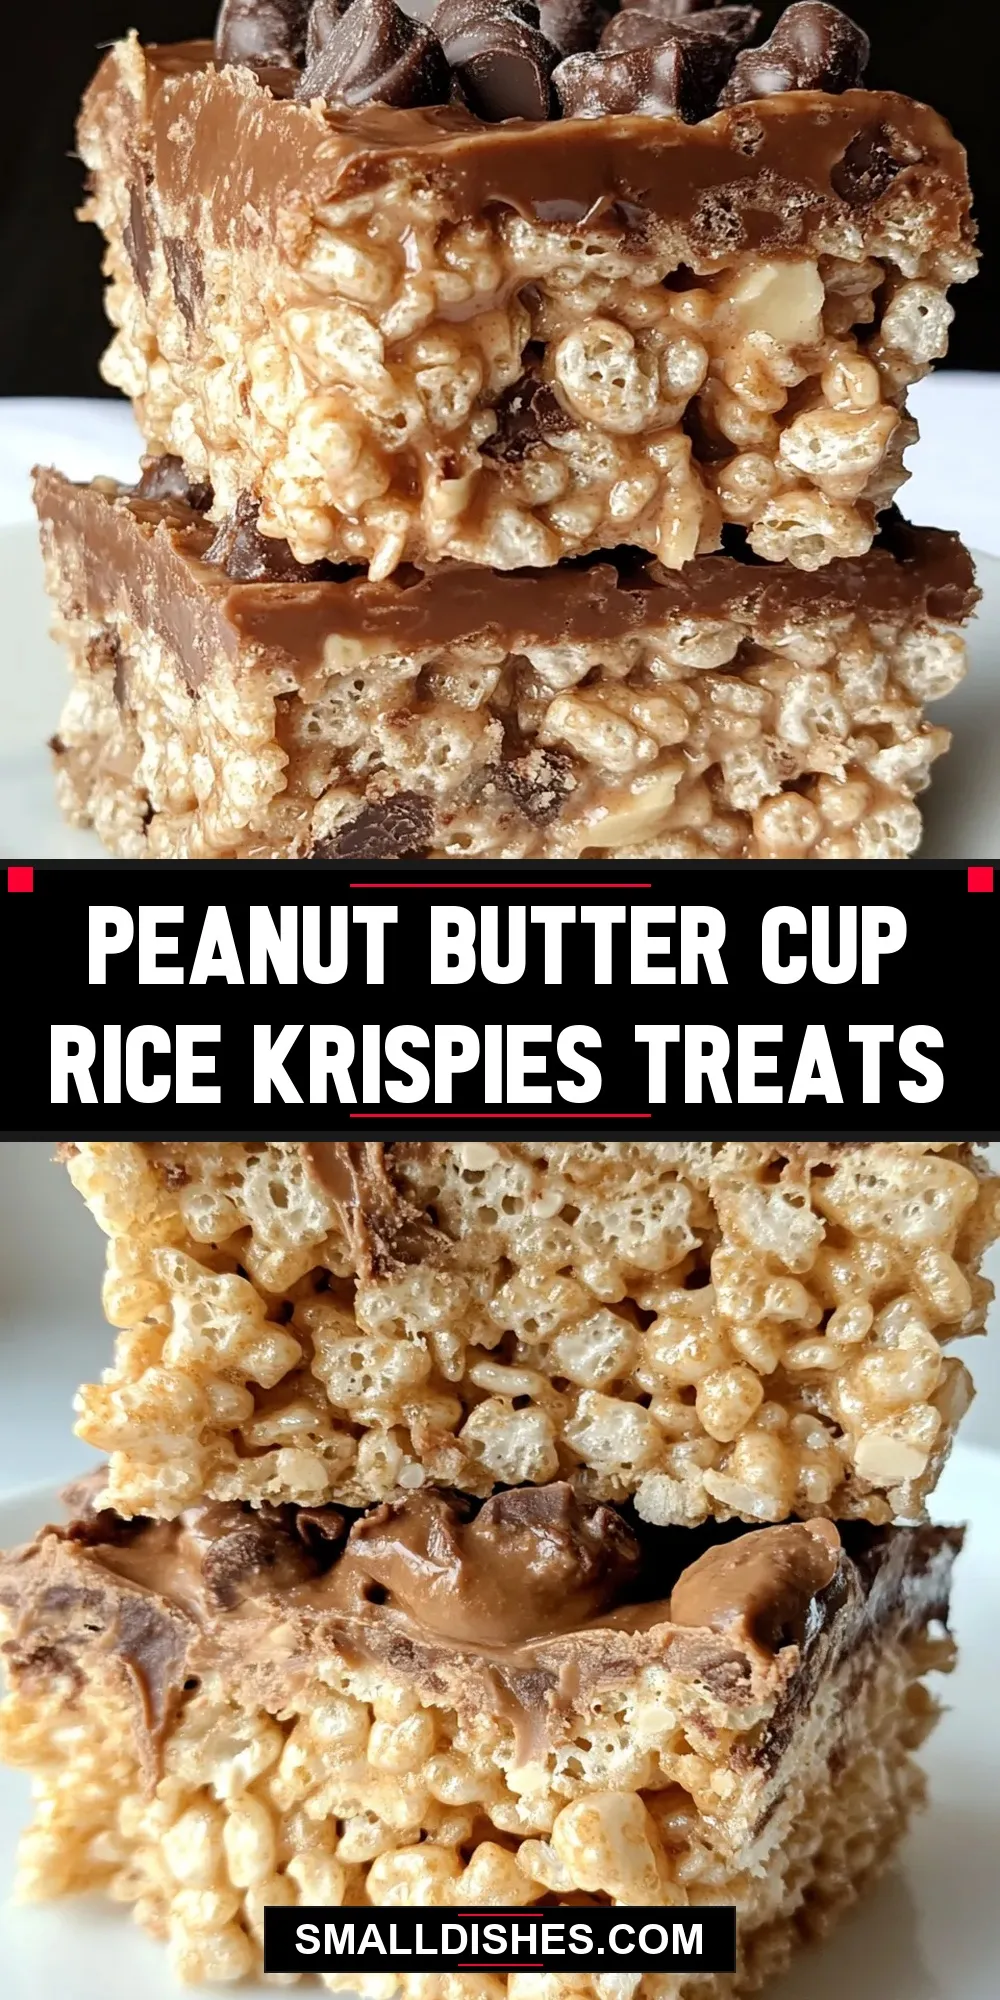
When it comes to nostalgic treats, few things can beat the delightful combination of crispy, chewy, and creamy textures that you find in Peanut Butter Cup Rice Krispies Treats. This recipe takes the classic Rice Krispies treat to a whole new level by adding creamy peanut butter and chunks of your favorite peanut butter cups. Perfect for parties, gatherings, or just a cozy night in, these treats are sure to be a hit. The best part? They are incredibly simple to make, requiring just a handful of ingredients, and you can whip them up in no time. Let’s dive into this delicious world of Peanut Butter Cup Rice Krispies Treats!
Why This Recipe Is Reliable
This Peanut Butter Cup Rice Krispies Treats recipe is a crowd-pleaser that combines the best of both worlds: the classic simplicity of traditional Rice Krispies treats and the indulgence of peanut butter cups. The ratios of ingredients ensure a perfect balance between sweetness and richness, making each bite utterly satisfying. With just a few steps and minimal equipment, you’ll have a batch of treats that are not only delicious but also incredibly reliable every time you make them. Plus, these treats can be stored for days, making them perfect for meal prep or last-minute dessert options.
Your Shopping Guide
Before you head to the store, make sure you have the following ingredients on your list:
- 6 cups (168g) Rice Krispies cereal
- 10.5 ounces (297.67g) miniature marshmallows
- ½ cup (56.75g) unsalted butter (2 ounces)
- 2 cups (516g) creamy peanut butter
- 12 ounces (340.2g) peanut butter cups (about 40), quartered
- 1 cup (180g) milk chocolate chips, or 6 ounces milk chocolate, finely chopped
Make sure to check your pantry for these staples before you run out to shop!
Cook’s Kit
To make these Peanut Butter Cup Rice Krispies Treats, you’ll need a few essential tools:
- Large mixing bowl: For combining the ingredients.
- Medium saucepan: To melt the butter and marshmallows.
- Spatula: For mixing and spreading the treats evenly.
- 9×13 inch baking dish: The perfect size for setting your treats.
- Measuring cups and spoons: For accurate measurements.
With everything in place, you’re ready to create these mouthwatering treats!
Step-by-Step: Peanut Butter Cup Rice Krispies Treats
Step 1: Prepare Your Baking Dish
Start by greasing a 9×13 inch baking dish with a little butter or cooking spray. This will ensure that your treats do not stick and are easy to cut later on.
Step 2: Melt the Butter and Marshmallows
In a medium saucepan over low heat, combine the unsalted butter and miniature marshmallows. Stir frequently until the marshmallows are completely melted and the mixture is smooth.
Step 3: Add the Peanut Butter
Once your butter and marshmallows are melted together, remove the saucepan from the heat and stir in the creamy peanut butter. Mix until well combined and smooth.
Step 4: Combine with Rice Krispies
In a large mixing bowl, pour the Rice Krispies cereal. Then, pour the melted peanut butter and marshmallow mixture over the cereal. Stir gently using a spatula, ensuring that all the cereal is coated evenly.
Step 5: Fold in the Peanut Butter Cups
Gently fold in the quartered peanut butter cups. Be careful not to break them too much as you mix; you want those delicious chunks in your treats!
Step 6: Transfer to Baking Dish
Pour the mixture into the greased baking dish. Use a spatula to press it down evenly and firmly, making sure it’s well packed.
Step 7: Melt the Chocolate
In a microwave-safe bowl, melt the milk chocolate chips in 30-second intervals, stirring in between, until smooth. Alternatively, you can use a double boiler for this step.
Step 8: Drizzle with Chocolate
Once the chocolate is melted, drizzle it over the top of the packed Rice Krispies treats using a spoon. This adds a delicious chocolatey layer that complements the peanut butter perfectly.
Step 9: Let It Set
Allow the treats to cool at room temperature for about 30 minutes. This will help them set properly so they’re easier to cut into squares.
Step 10: Cut and Serve
Once set, use a sharp knife to cut the treats into squares or rectangles. Serve them up and watch them disappear!
Holiday-Friendly Variations
These Peanut Butter Cup Rice Krispies Treats are versatile and can be adapted for various occasions. Here are some fun variations to consider:
- Festive Sprinkles: Add seasonal sprinkles on top of the melted chocolate for a fun, festive touch.
- Chocolate Drizzle: Use white chocolate or dark chocolate for drizzling instead of milk chocolate.
- Nutty Twist: Add chopped nuts or pretzels for an extra crunch.
- Flavor Infusion: Mix in a teaspoon of vanilla extract for added flavor in the marshmallow mixture.
These variations make it easy to customize the treats for any celebration or holiday!
Testing Timeline
If you’re looking to perfect your Peanut Butter Cup Rice Krispies Treats, consider this timeline for testing:
- Initial Test: Make the basic recipe to gauge flavor and texture.
- Variation Tests: Experiment with one variation at a time to see how the flavors change.
- Feedback Round: Share with friends or family and gather feedback on their favorites!
This testing approach will help you refine the recipe to your liking.
Make Ahead Like a Pro
Want to prepare these treats in advance? Here are some tips:
- Store Properly: Keep them in an airtight container at room temperature for up to a week.
- Freezing: You can freeze the treats for up to 3 months. Just wrap them tightly in plastic wrap and place them in a freezer-safe container.
- Reheat Gently: If they become hard after freezing, let them sit at room temperature for a bit before serving, or microwave for a few seconds to soften.
Preparation is key, and these tips will ensure your Peanut Butter Cup Rice Krispies Treats stay fresh and delicious!
Quick Questions
Can I use other types of cereal instead of Rice Krispies?
Absolutely! You can substitute Rice Krispies with other crispy cereals like Cornflakes or even puffed rice, but keep in mind that the texture may change slightly.
How do I make these treats gluten-free?
Simply ensure that the Rice Krispies you use are labeled gluten-free, as some brands may contain gluten.
What if I can’t find miniature marshmallows?
You can use regular marshmallows, just make sure to measure them out to about 10 ounces (about 40 marshmallows), and they will work just as well!
Can I add protein powder to this recipe?
Yes! You can add a scoop of your favorite protein powder to the peanut butter mixture for an extra boost. Just adjust the peanut butter slightly if the mixture becomes too thick.
One Pan, More Ideas
If you love one-pan desserts, you might want to try these delectable recipes:
- Christmas Crack Recipe – A festive treat that combines sweet and salty flavors.
- Pumpkin Oatmeal Chocolate Chip Cookies – A perfect fall-inspired treat full of warm spices.
These recipes will complement your Peanut Butter Cup Rice Krispies Treats beautifully!
Ready, Set, Cook
Now that you have all the details, it’s time to gather your ingredients and make your very own Peanut Butter Cup Rice Krispies Treats. They’re perfect for sharing or simply enjoying yourself. With their rich flavor and satisfying texture, these treats will quickly become a favorite in your household. Whether you’re celebrating a holiday or just looking for a sweet snack, these Peanut Butter Cup Rice Krispies Treats are sure to impress. Happy cooking!
Share on Pinterest
Peanut Butter Cup Rice Krispies Treats
Ingredients
Equipment
Method
- Step 1: Prepare Your Baking Dish - Start by greasing a 9x13 inch baking dish with a little butter or cooking spray.
- Step 2: Melt the Butter and Marshmallows - In a medium saucepan over low heat, combine the unsalted butter and miniature marshmallows. Stir frequently until melted.
- Step 3: Add the Peanut Butter - Remove from heat and stir in the creamy peanut butter until smooth.
- Step 4: Combine with Rice Krispies - In a large mixing bowl, pour the Rice Krispies cereal, then pour the melted mixture over it. Stir gently.
- Step 5: Fold in the Peanut Butter Cups - Gently fold in the quartered peanut butter cups.
- Step 6: Transfer to Baking Dish - Pour the mixture into the greased baking dish and press down evenly.
- Step 7: Melt the Chocolate - In a microwave-safe bowl, melt the milk chocolate chips in 30-second intervals until smooth.
- Step 8: Drizzle with Chocolate - Drizzle the melted chocolate over the treats.
- Step 9: Let It Set - Allow to cool at room temperature for about 30 minutes.
- Step 10: Cut and Serve - Cut into squares or rectangles and serve.
Notes
- Store in an airtight container at room temperature for up to a week.
- Freeze for up to 3 months wrapped tightly in plastic wrap.
- Let frozen treats sit at room temperature to soften before serving.