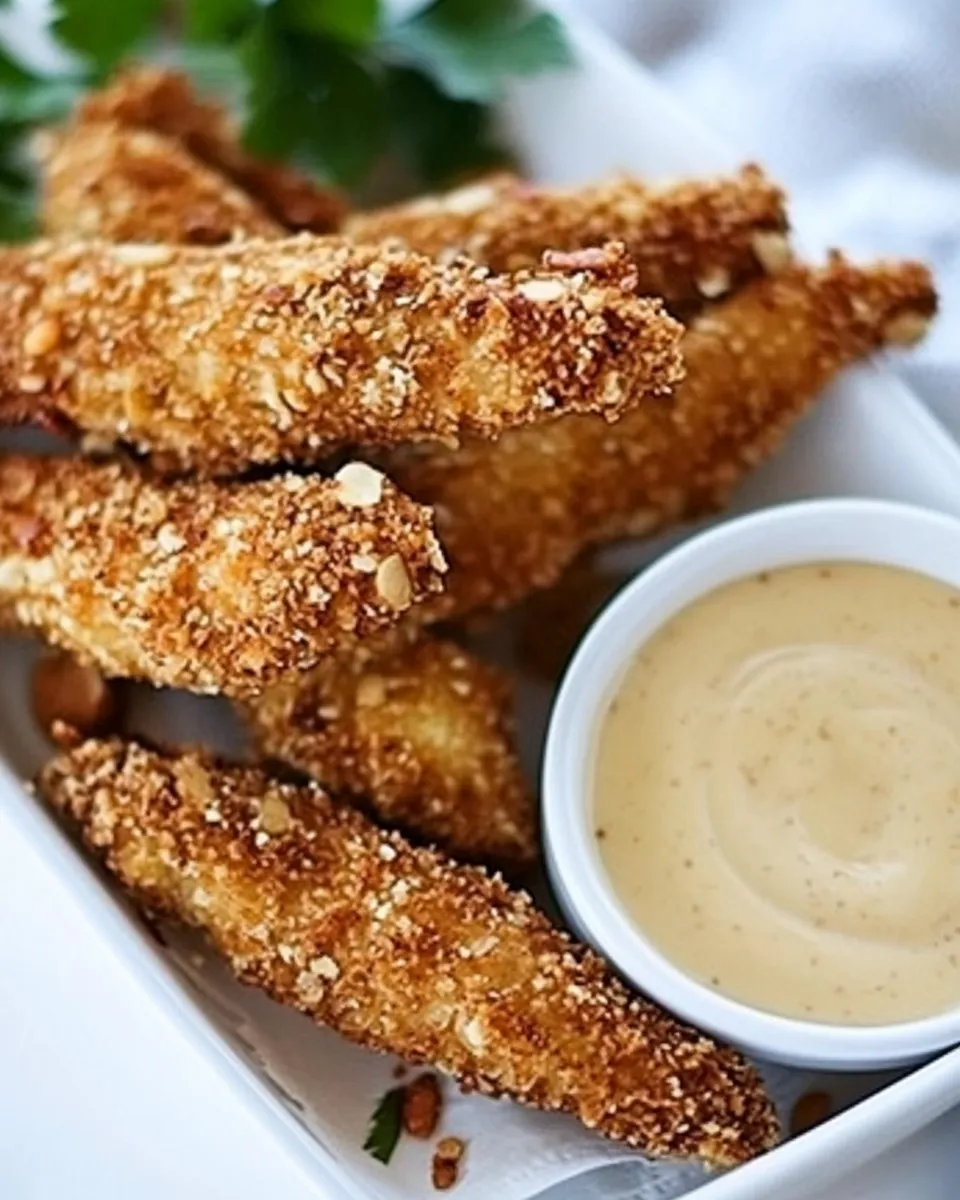
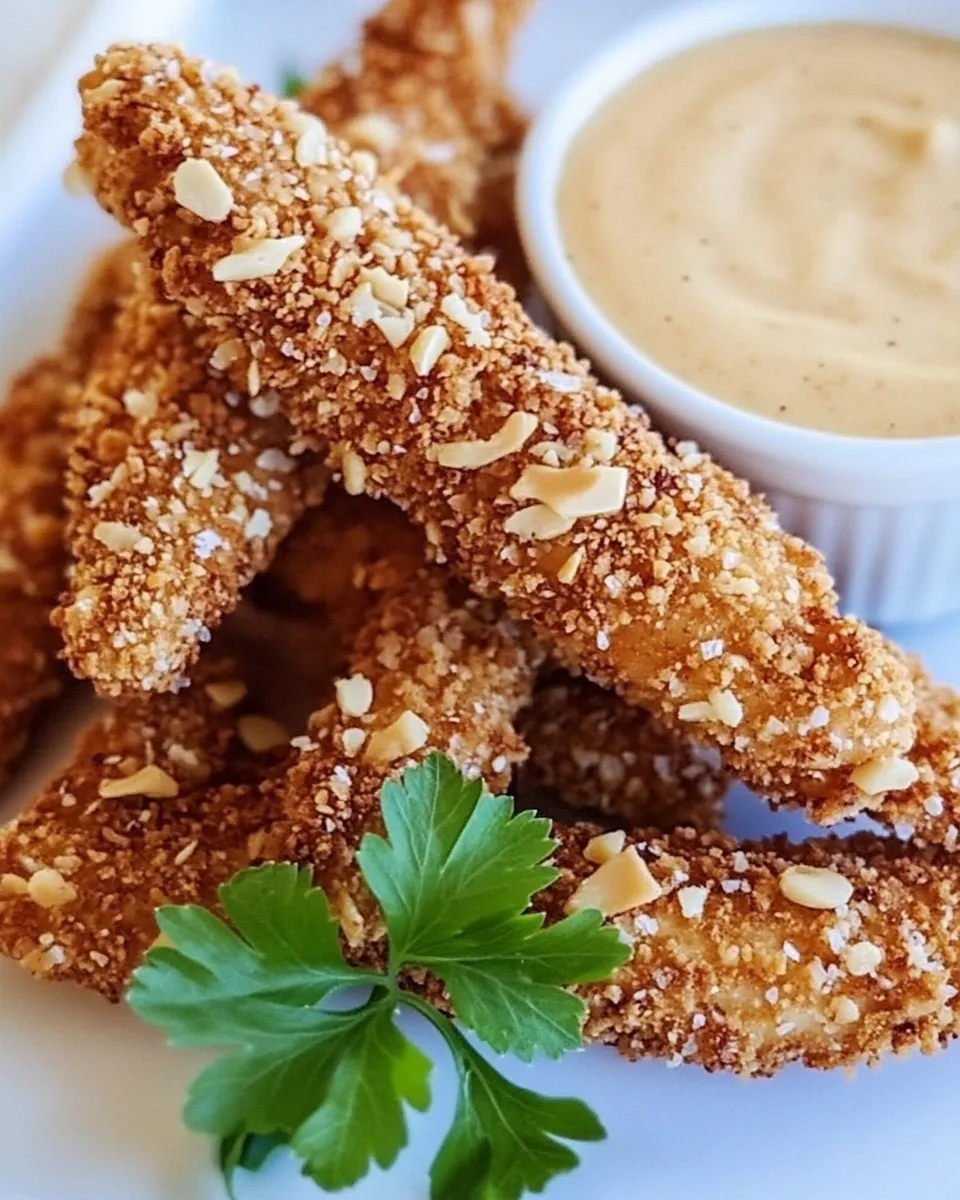
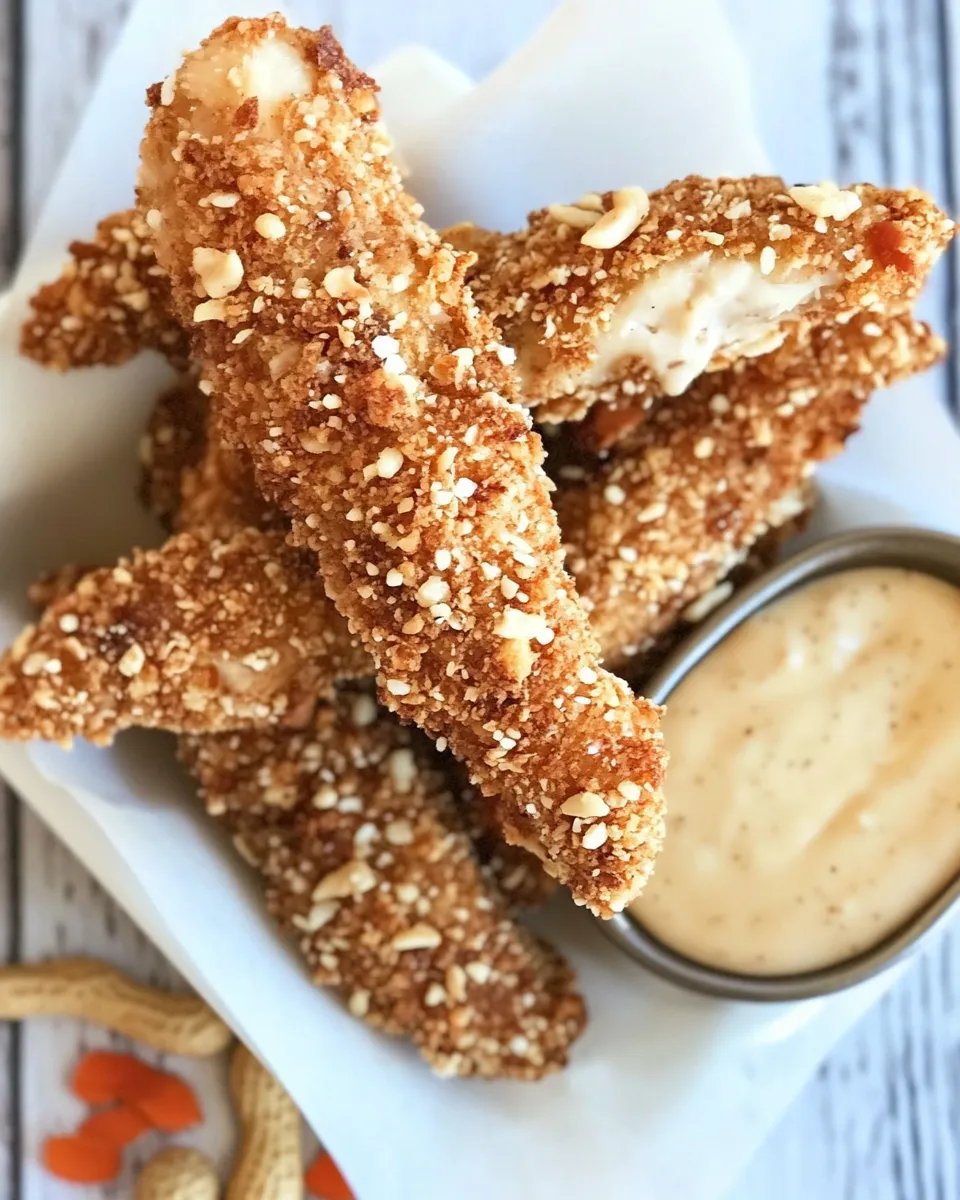
If you’re looking for a fun and flavorful twist on classic chicken fingers, look no further than these Peanut Crusted Chicken Fingers. With a delightful crunch from honey roasted peanuts and a rich, creamy dipping sauce, these chicken strips are sure to be a hit with both kids and adults alike. Whether you’re whipping them up for a family dinner or a game day snack, this recipe is sure to satisfy your cravings. Let’s dive into the deliciousness!
Top Reasons to Make Peanut Crusted Chicken Fingers
- Flavor Explosion: The combination of peanuts, Dijon mustard, and maple syrup creates a unique flavor profile that elevates the humble chicken finger.
- Easy to Make: With a simple step-by-step guide, making these chicken fingers is a breeze, even for novice cooks.
- Perfect for Meal Prep: These chicken fingers are great for meal prepping; they stay delicious whether served hot or cold.
- Kid-Friendly: Kids love finger foods, and the crunchy coating makes these chicken strips irresistible.
- Versatile Serving Options: Serve them with a variety of dips, or pair them with salads and sides for a complete meal.
What to Buy
- 1/2 cup mayonnaise
- 2 tablespoons Dijon mustard
- 2 tablespoons maple syrup
- Salt and pepper, to taste
- 3 boneless, skinless chicken breasts
- 1 1/2 cups panko bread crumbs
- 1 cup honey roasted peanuts
- 1/4 heaping teaspoon cayenne pepper
- 3/4 cup all-purpose flour
- 3 large eggs, lightly beaten
- Vegetable oil for frying
What’s in the Gear List
- Cutting Board: For chopping chicken and preparing ingredients.
- Sharp Knife: Essential for cutting chicken breasts into strips.
- Three Shallow Bowls: For the flour, eggs, and breadcrumb mixtures.
- Large Skillet: Ideal for frying the chicken fingers evenly.
- Paper Towels: To drain excess oil after frying.
Build Peanut Crusted Chicken Fingers Step by Step
Step 1: Prepare the Chicken
Begin by slicing the boneless, skinless chicken breasts into strips, about 1 inch wide. This size ensures even cooking and a perfect crunch.
Step 2: Make the Dipping Sauce
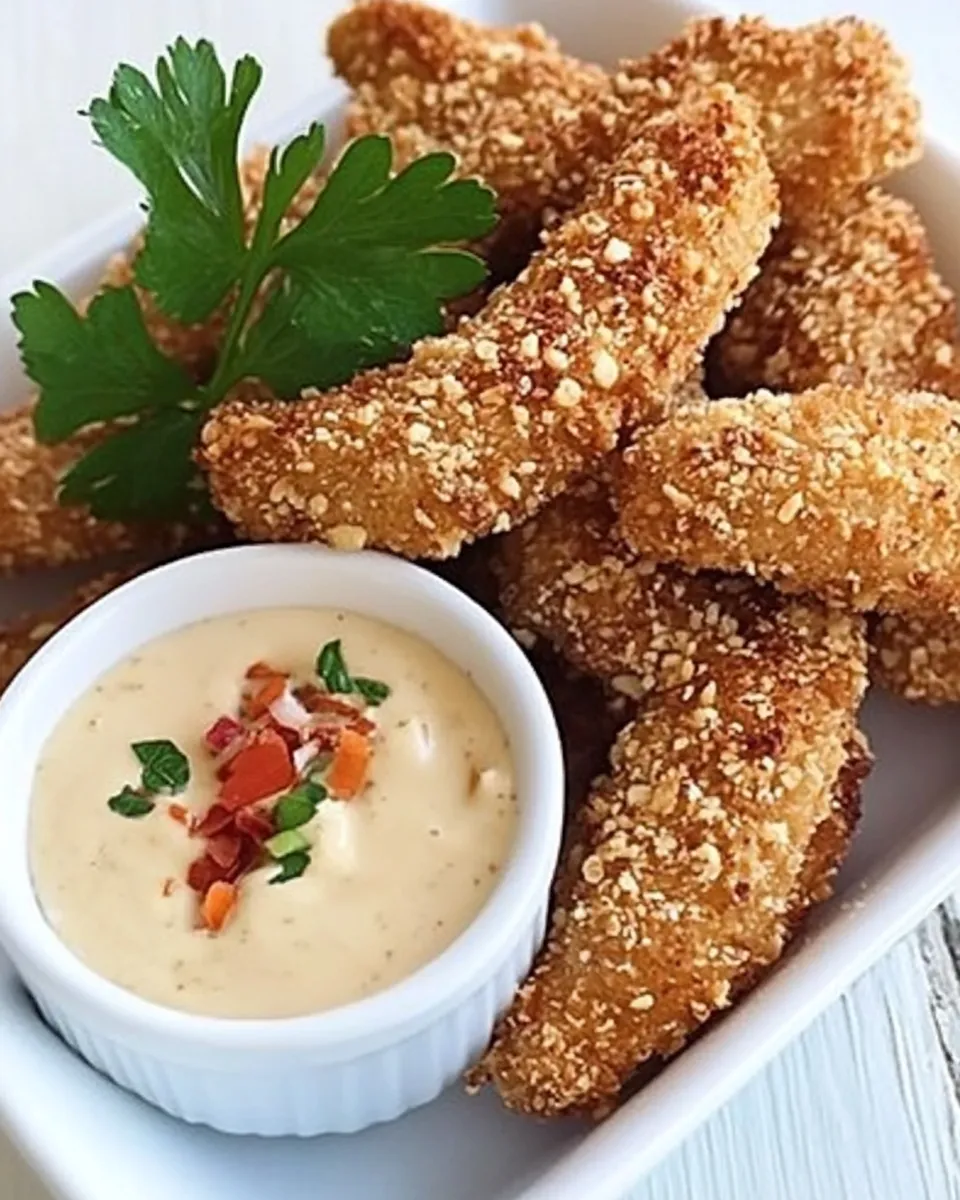
In a small bowl, whisk together the mayonnaise, Dijon mustard, maple syrup, and a pinch of salt and pepper. This creamy sauce will serve as a delicious dip for your chicken fingers.
Step 3: Set Up the Breading Station
In three shallow bowls, set up your breading station. In the first bowl, add the all-purpose flour. In the second, pour in the lightly beaten eggs. In the third bowl, combine the panko bread crumbs, chopped honey roasted peanuts, and cayenne pepper for an extra kick.
Step 4: Bread the Chicken
Take each chicken strip and first coat it in flour, shaking off any excess. Then, dip it into the egg mixture, allowing any excess to drip off. Finally, coat the chicken in the peanut panko mixture, pressing lightly to ensure it sticks well.
Step 5: Heat the Oil
In a large skillet, heat about 1/4 inch of vegetable oil over medium-high heat. You can test if the oil is ready by dropping in a small piece of bread; if it sizzles, you’re good to go!
Step 6: Fry the Chicken
Carefully place the breaded chicken strips into the hot oil, being sure not to overcrowd the skillet. Fry for about 4-5 minutes on each side, or until golden brown and cooked through. Remove and drain on paper towels.
Step 7: Serve and Enjoy!
Serve your Peanut Crusted Chicken Fingers hot with the dipping sauce on the side. Enjoy the crunchy texture and rich flavors that make this dish a standout!
Holiday & Seasonal Touches
- Add festive spices like cinnamon or nutmeg to the breading for a seasonal twist.
- Serve with a cranberry dipping sauce during the holidays for a seasonal touch.
- Pair with a fresh salad featuring seasonal ingredients like apples or pears in fall.
- Enjoy them at summer barbecues as a finger food option alongside your favorite sides.
Troubleshooting Tips
- If the coating isn’t sticking, ensure the chicken is properly dredged in flour and egg before the breadcrumb mixture.
- For a healthier option, bake the chicken fingers at 400°F for 20-25 minutes, flipping halfway through.
- If the oil is splattering, reduce the heat slightly to avoid burning the coating.
- Don’t overcrowd the skillet; fry in batches for even cooking.
Storage & Reheat Guide
Store any leftover Peanut Crusted Chicken Fingers in an airtight container in the refrigerator for up to 3 days. To reheat, place them in a preheated oven at 375°F for about 10-15 minutes until heated through and crispy again.
If you prefer to freeze them, place the cooked chicken fingers in a single layer on a baking sheet to freeze, then transfer them to a freezer-safe bag for up to 3 months. Reheat from frozen in the oven for best results.
Reader Questions
Can I use other types of nuts instead of peanuts?
Absolutely! You can substitute with almonds, cashews, or even sunflower seeds for a different flavor profile and texture.
What can I serve with these chicken fingers?
These chicken fingers pair well with a variety of sides like sweet potato fries, a fresh green salad, or even a fruit salsa for a refreshing contrast.
Can I make these chicken fingers in advance?
Yes, you can bread the chicken and store it in the refrigerator for up to 24 hours before frying. Just make sure to coat them just before cooking for the best crunch.
How do I make these gluten-free?
To make gluten-free Peanut Crusted Chicken Fingers, simply use gluten-free breadcrumbs and flour in place of regular flour and panko.
Bring It Home
With the perfect balance of crunch and flavor, these Peanut Crusted Chicken Fingers are bound to become a beloved dish in your home. Their unique twist on a classic favorite will not only satisfy your taste buds but also impress your guests. So gather your ingredients, follow the steps, and get ready to enjoy a delightful meal that’s perfect for any occasion!
Share on Pinterest

Peanut Crusted Chicken Fingers
Ingredients
Equipment
Method
- Begin by slicing the boneless, skinless chicken breasts into strips, about 1 inch wide. This size ensures even cooking and a perfect crunch.
- In a small bowl, whisk together the mayonnaise, Dijon mustard, maple syrup, and a pinch of salt and pepper. This creamy sauce will serve as a delicious dip for your chicken fingers.
- In three shallow bowls, set up your breading station. In the first bowl, add the all-purpose flour. In the second, pour in the lightly beaten eggs. In the third bowl, combine the panko bread crumbs, chopped honey roasted peanuts, and cayenne pepper for an extra kick.
- Take each chicken strip and first coat it in flour, shaking off any excess. Then, dip it into the egg mixture, allowing any excess to drip off. Finally, coat the chicken in the peanut panko mixture, pressing lightly to ensure it sticks well.
- In a large skillet, heat about 1/4 inch of vegetable oil over medium-high heat. You can test if the oil is ready by dropping in a small piece of bread; if it sizzles, you’re good to go!
- Carefully place the breaded chicken strips into the hot oil, being sure not to overcrowd the skillet. Fry for about 4-5 minutes on each side, or until golden brown and cooked through. Remove and drain on paper towels.
- Serve your Peanut Crusted Chicken Fingers hot with the dipping sauce on the side. Enjoy the crunchy texture and rich flavors that make this dish a standout!
Notes
- For a healthier option, bake the chicken fingers at 400°F for 20-25 minutes, flipping halfway through.
- Store any leftovers in an airtight container in the refrigerator for up to 3 days.
- To make gluten-free, use gluten-free breadcrumbs and flour instead of regular.