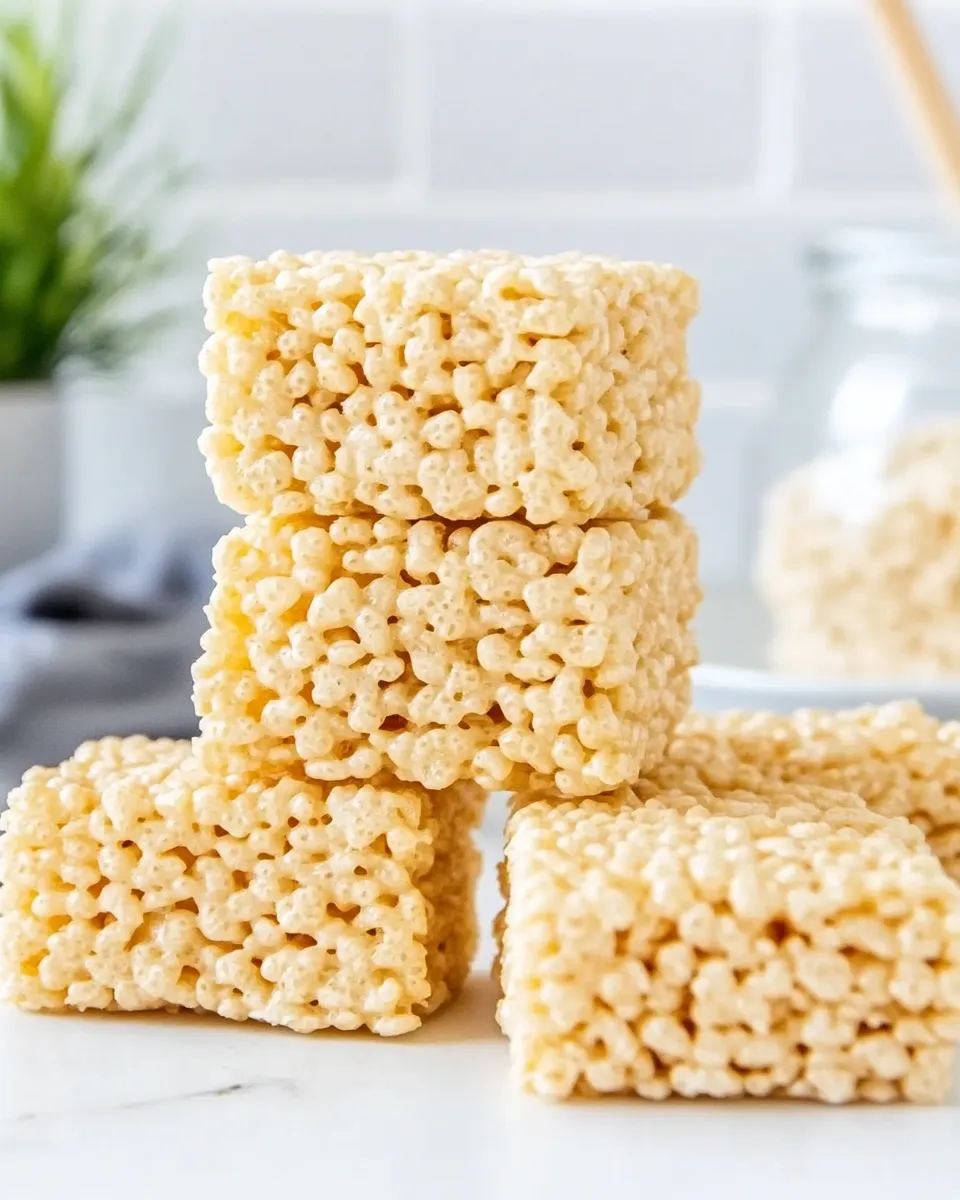
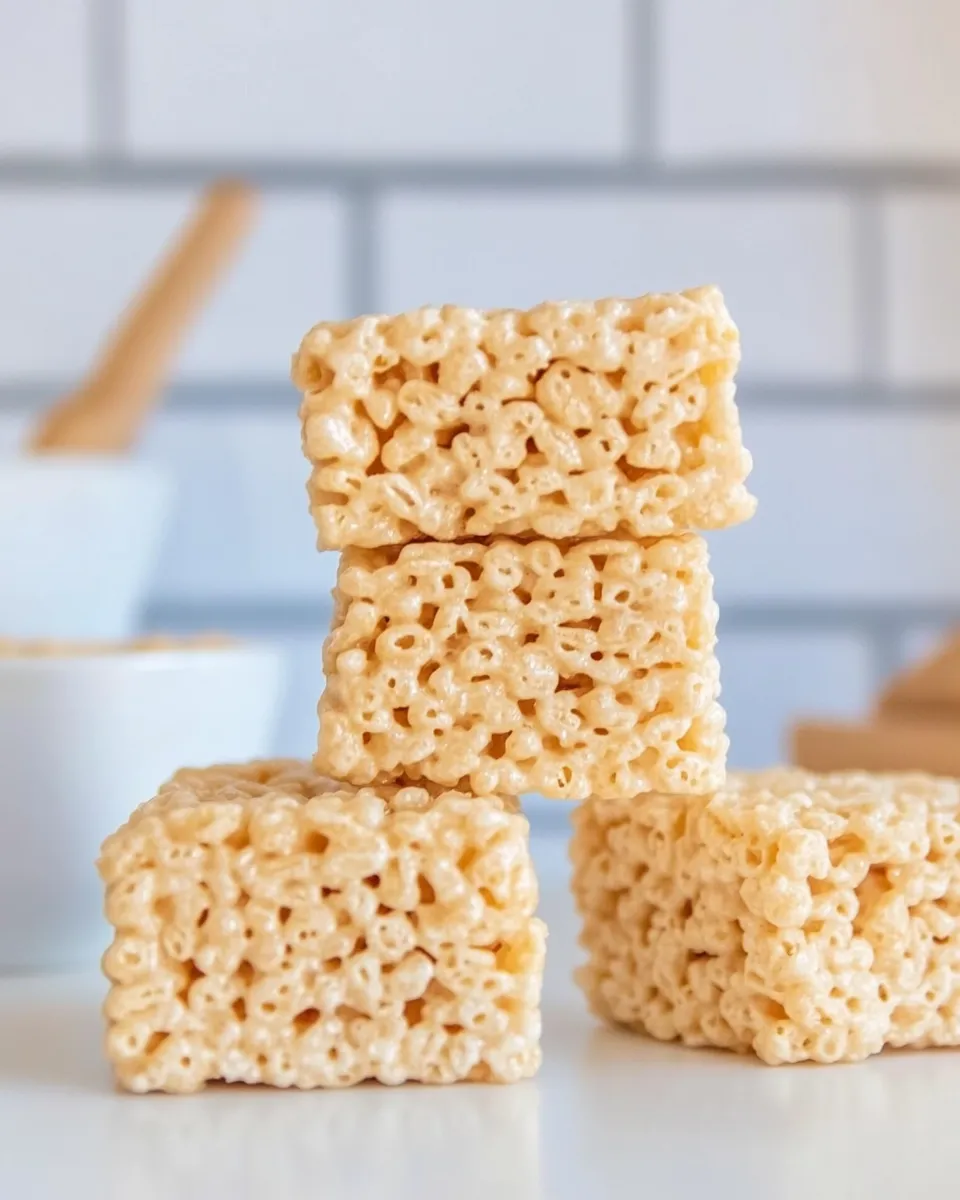
If you’re on the lookout for a delicious snack that combines nostalgia with a healthy twist, look no further than these Protein Rice Krispies. These treats bring back memories of childhood while providing a nutritious boost thanks to the addition of protein powder. Perfect for an after-workout snack or a midday pick-me-up, these Rice Krispies are not only easy to make but also customizable to fit your dietary needs. Let’s dive into this fun recipe that will satisfy your cravings and keep you fueled throughout the day!
Why This Recipe Works
This Protein Rice Krispies recipe works because it combines the classic taste of Rice Krispies treats with a modern nutritional twist. By incorporating protein powder and coconut oil, we enhance the flavor and health benefits of this beloved snack. The marshmallows provide the perfect sweetness and gooey texture, while the crispy brown rice cereal adds that satisfying crunch we all love. Plus, they take just minutes to prepare, making them an instant favorite for anyone looking for a quick and healthy treat.
What You’ll Gather
- 5 cups crispy brown rice cereal (Rice Krispies or similar)
- 1 cup protein powder (your choice of flavor)
- 10 1/2 ounces marshmallows or sugar-free marshmallows
- 1/4 cup coconut oil
Must-Have Equipment
- Large Mixing Bowl: To mix all your ingredients together.
- Microwave-Safe Bowl: For melting the marshmallows and coconut oil.
- Spatula or Wooden Spoon: To combine everything thoroughly.
- 9×13-inch Baking Pan: To set your treats.
Directions: Protein Rice Krispies
Step 1: Prepare Your Baking Pan
Begin by greasing a 9×13-inch baking pan with a little coconut oil to prevent sticking. This will help your Protein Rice Krispies come out easily once set.
Step 2: Melt Marshmallows and Coconut Oil
In a microwave-safe bowl, combine the marshmallows and coconut oil. Heat in the microwave in 30-second intervals, stirring in between, until the mixture is smooth and fully melted.
Step 3: Mix in Protein Powder
Once the marshmallow mixture is smooth, remove it from the microwave and stir in the protein powder until well combined. This will give your Rice Krispies a delicious flavor and a protein boost!
Step 4: Add the Cereal
Gently fold in the crispy brown rice cereal until it’s evenly coated with the marshmallow mixture. Use a spatula or wooden spoon to ensure every piece is covered.
Step 5: Press into the Baking Pan
Transfer the mixture into your prepared baking pan and press it down firmly using your hands or the back of a spatula. Make sure it’s packed tightly for the best texture.
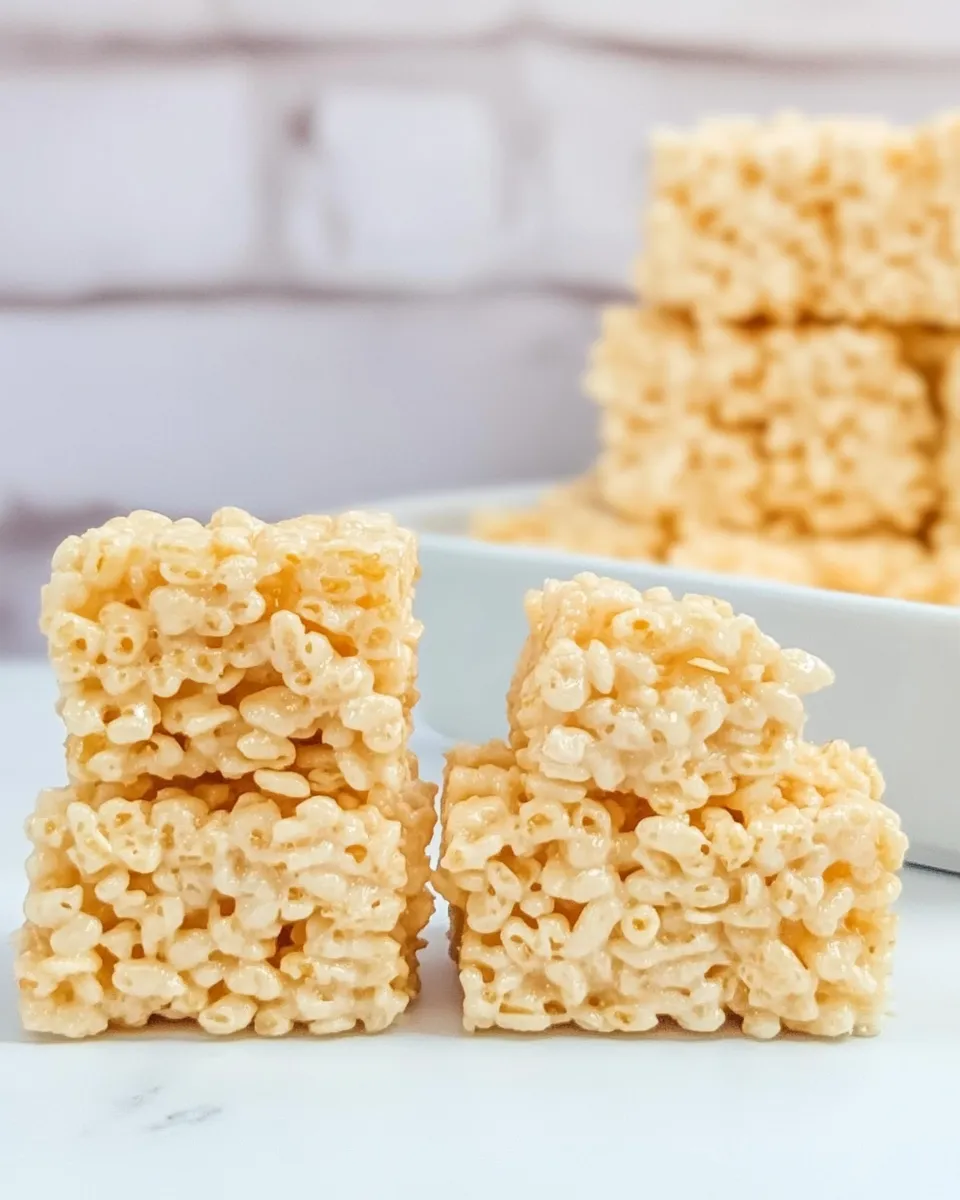
Step 6: Cool and Cut
Allow the Protein Rice Krispies to cool completely at room temperature. Once set, cut them into squares or rectangles as desired.
Fit It to Your Goals
- Flavor Variations: Experiment with different protein powder flavors like chocolate or vanilla for a unique taste.
- Add-Ins: Consider adding nuts, seeds, or dried fruit to enhance the texture and nutritional value.
- Sweetness Level: Adjust the amount of marshmallows or use a sugar substitute if you prefer a less sweet treat.
- Vegan Option: Substitute the marshmallows with vegan marshmallows and choose a plant-based protein powder.
Notes on Ingredients
When selecting your ingredients for Protein Rice Krispies, consider the following:
- Protein Powder: Choose a high-quality protein powder that fits your dietary preferences, whether that’s whey, casein, or plant-based.
- Coconut Oil: This adds a slight coconut flavor and healthy fats; however, you can substitute it with a neutral oil if desired.
- Marshmallows: Regular or sugar-free marshmallows work well; just ensure they melt smoothly for the best texture.
Meal Prep & Storage Notes
Your Protein Rice Krispies can be a great addition to your meal prep routine. Here are some tips for storage:
- Storage Container: Keep them in an airtight container at room temperature for up to one week.
- Freezing: If you want to extend their shelf life, you can freeze the squares in a freezer-safe bag for up to three months.
- Thawing: Allow to thaw at room temperature before enjoying.
Troubleshooting Q&A
What if my Protein Rice Krispies are too sticky?
If your mixture is too sticky, it may be due to too many marshmallows or not enough protein powder. Try reducing the marshmallow amount slightly next time or adding a bit more protein powder to balance it out.
Can I use a different type of cereal?
Absolutely! Feel free to substitute with other crispy cereals or even puffed quinoa for a different texture and flavor profile.
How can I make these Protein Rice Krispies more nutritious?
You can add flax seeds, chia seeds, or even a scoop of nut butter to the mixture to increase the fiber and healthy fat content.
What should I do if the mixture doesn’t hold together?
If your Protein Rice Krispies fall apart, it may be due to insufficient marshmallows or not pressing them firmly enough into the pan. Ensure you pack them tightly and consider adding a little more marshmallow next time.
Hungry for More?
If you enjoyed these Protein Rice Krispies, you’ll love exploring more delicious recipes that are both nourishing and satisfying. From savory to sweet, there’s always something new to try in the kitchen!
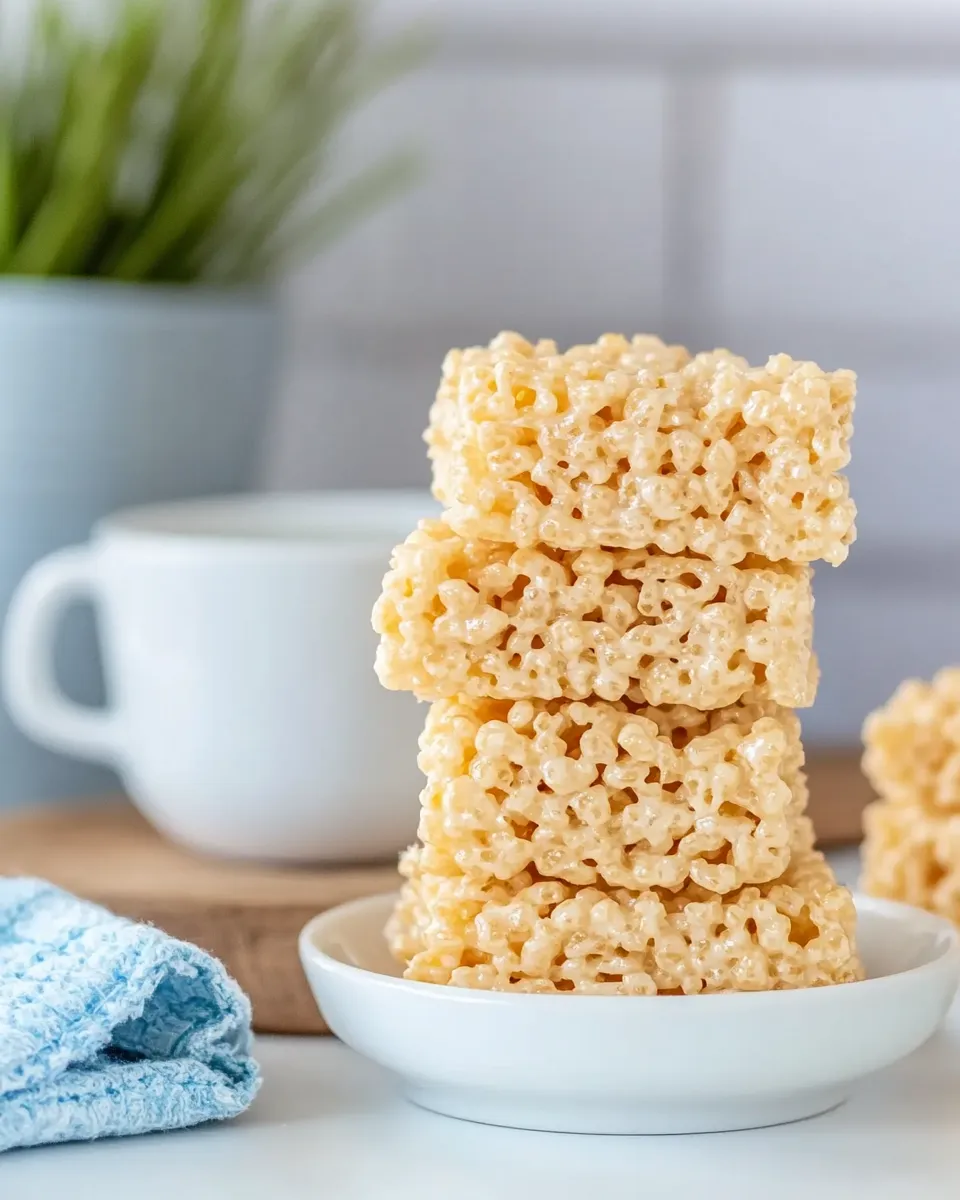
In conclusion, Protein Rice Krispies are a fantastic way to enjoy a classic treat while incorporating the added benefits of protein. They’re simple to make, delicious, and can be tailored to fit your taste preferences. So gather your ingredients, whip up a batch, and enjoy a snack that’s as nutritious as it is nostalgic. Happy cooking!
Share on Pinterest
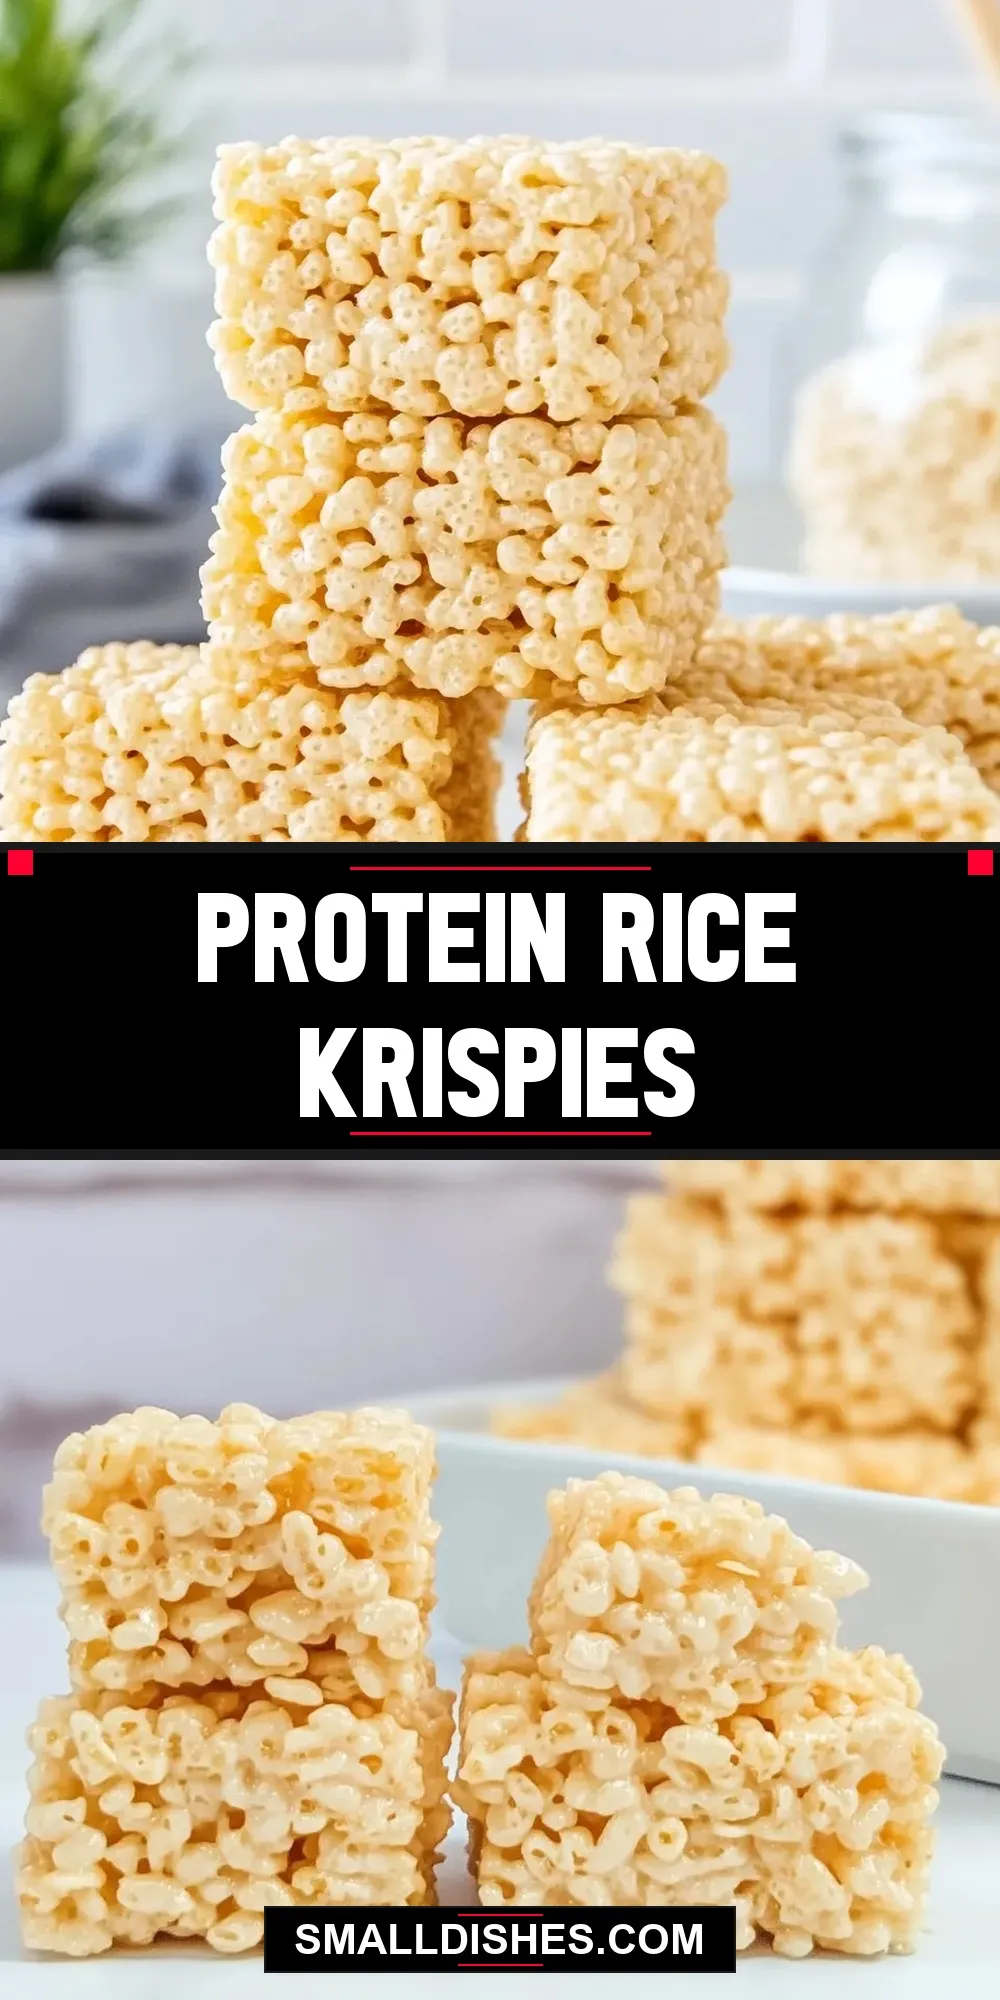
Protein Rice Krispies
Ingredients
Equipment
Method
- Prepare Your Baking Pan: Grease a 9x13-inch baking pan with a little coconut oil to prevent sticking.
- Melt Marshmallows and Coconut Oil: In a microwave-safe bowl, combine the marshmallows and coconut oil. Heat in 30-second intervals, stirring until smooth.
- Mix in Protein Powder: Stir in the protein powder until well combined.
- Add the Cereal: Gently fold in the crispy brown rice cereal until evenly coated.
- Press into the Baking Pan: Transfer the mixture into the prepared baking pan and press down firmly.
- Cool and Cut: Allow to cool completely at room temperature and then cut into squares.
Notes
- For flavor variations, try different protein powder flavors like chocolate or vanilla.
- Consider adding nuts, seeds, or dried fruit for extra texture.
- Store in an airtight container at room temperature for up to one week.