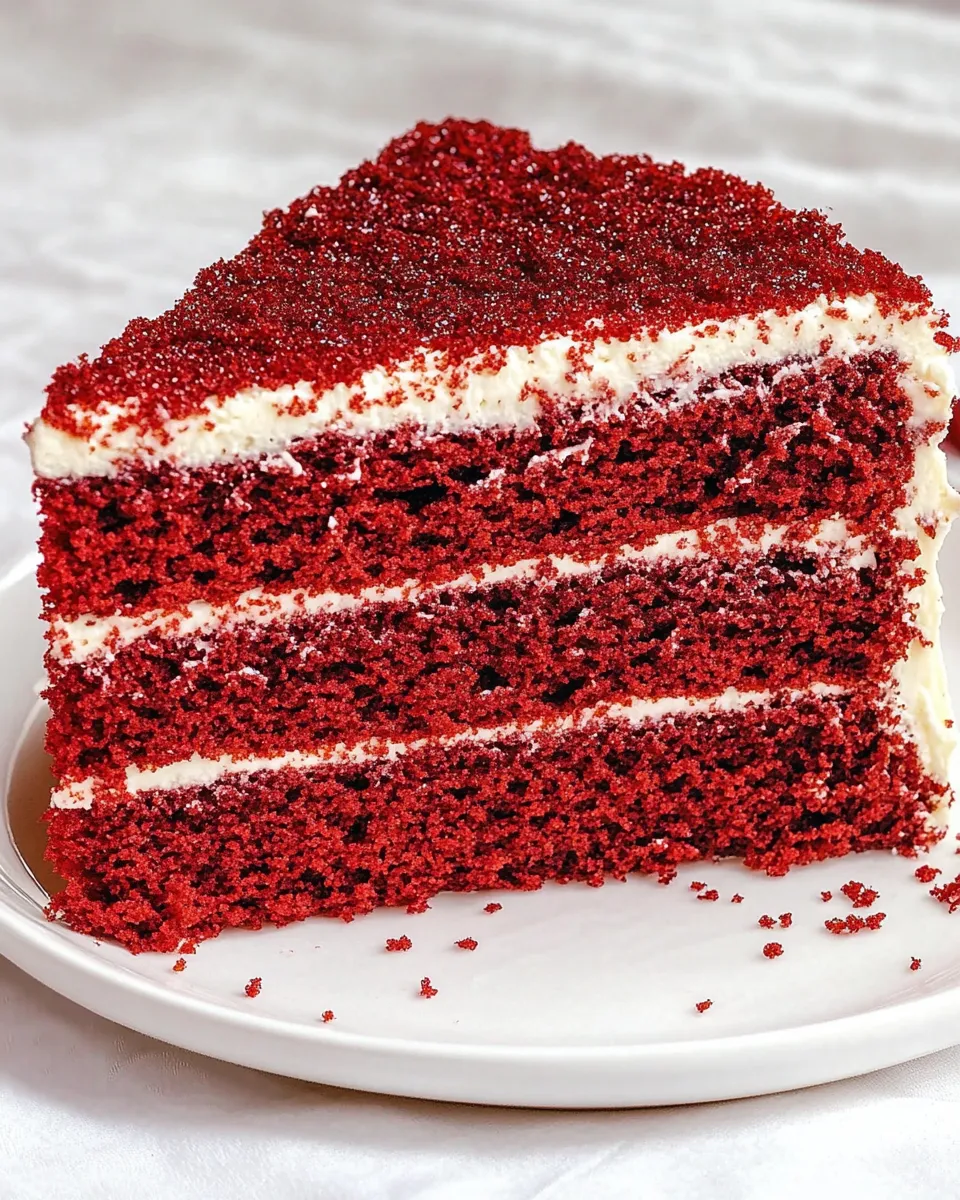
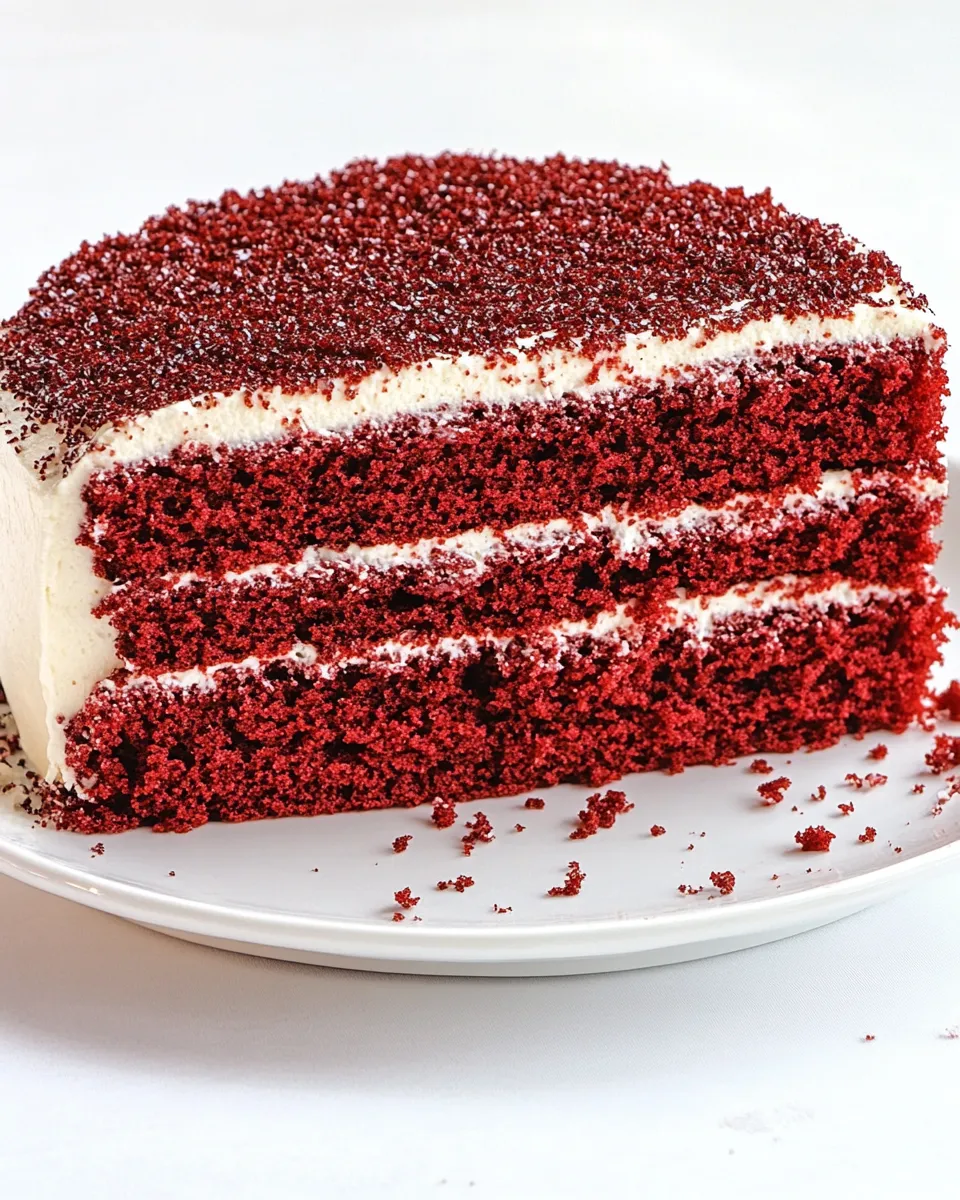
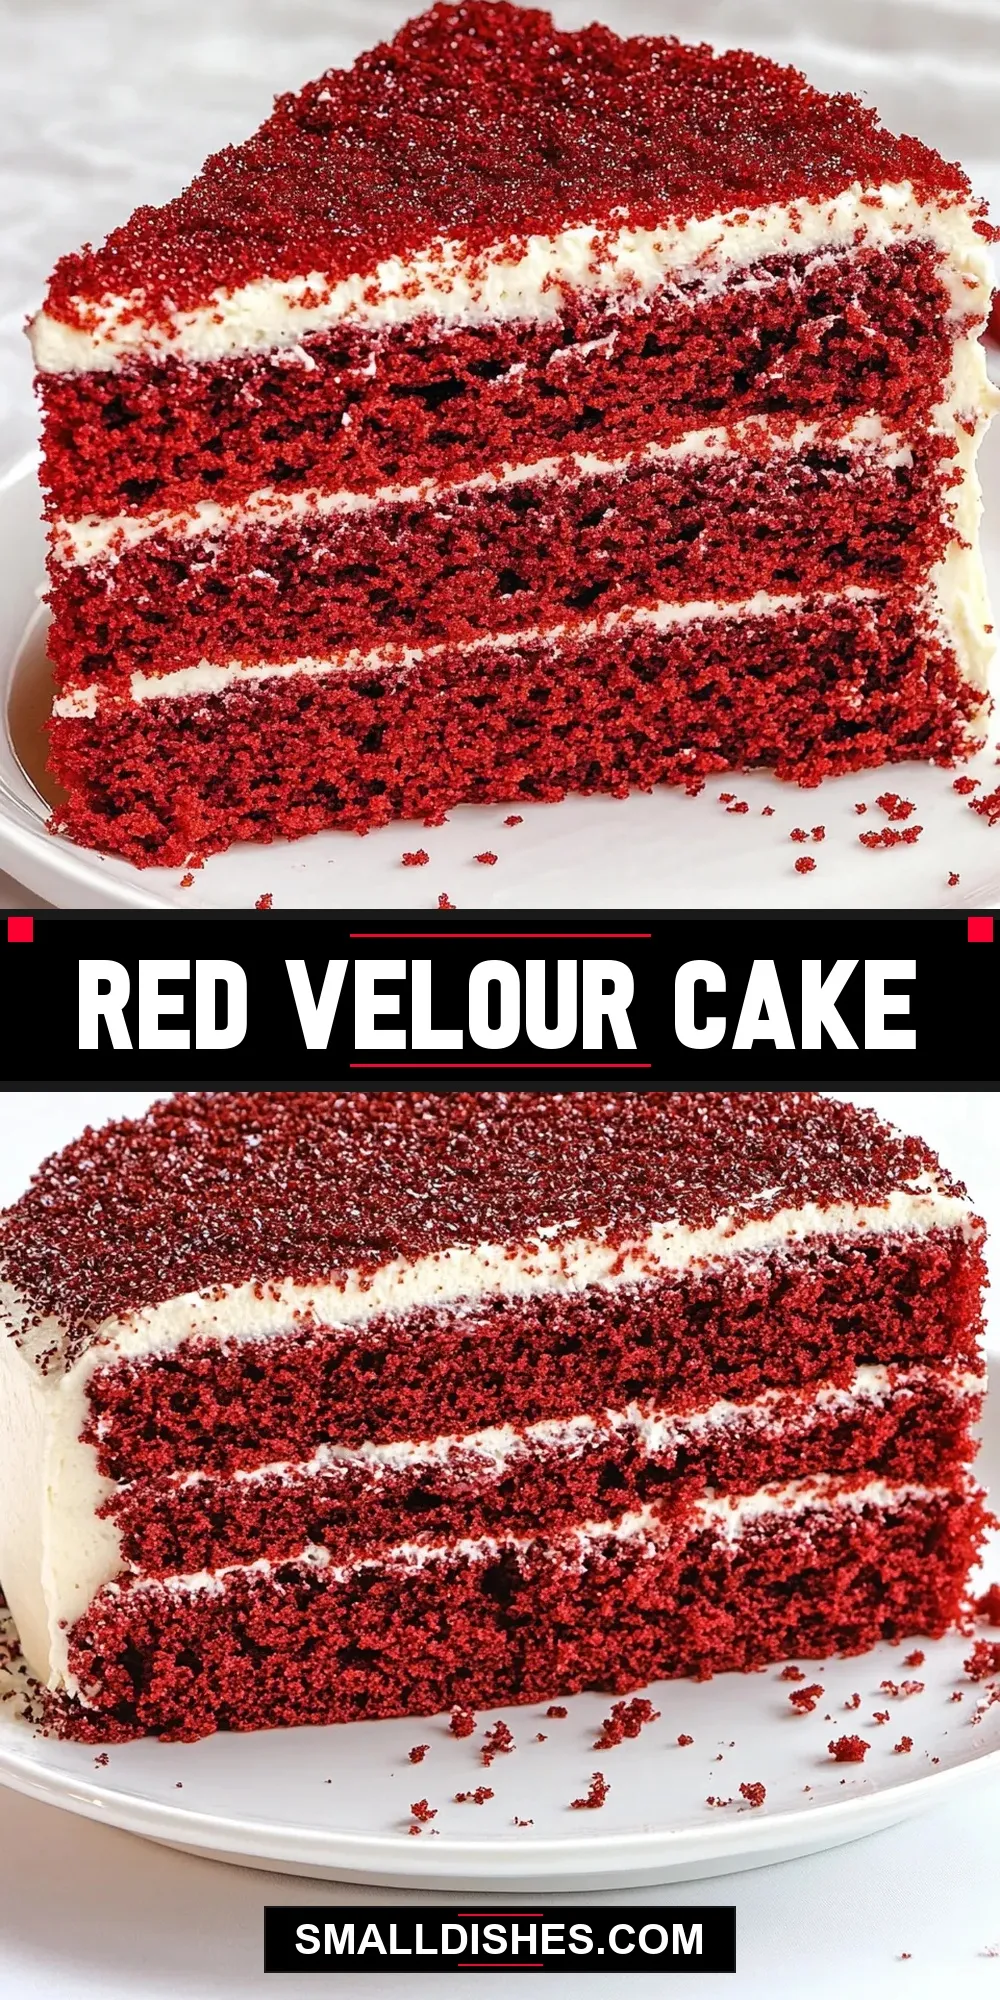
Red Velour Cake is a delightful twist on the classic red velvet cake, featuring a rich and moist texture that’s simply irresistible. This cake is perfect for any occasion, whether it’s a birthday celebration, a holiday gathering, or just an indulgent treat for yourself. The striking red hue and velvety crumb, paired with a luscious cream cheese frosting, make it a showstopper that looks as good as it tastes. Let’s dive into this scrumptious recipe that will undoubtedly become a favorite in your baking repertoire.
Why You’ll Love This Recipe
This Red Velour Cake is not just about its stunning appearance; it’s about the flavor and texture that come together harmoniously. With its rich cocoa undertone and creamy frosting, each slice is a taste of heaven. Plus, the recipe is straightforward, making it accessible for bakers of all skill levels. You’ll love how the combination of ingredients creates a moist, tender cake that pairs perfectly with the tangy cream cheese frosting. It’s a cake that brings joy to every bite!
What Goes In
To create this stunning Red Velour Cake, you will need the following ingredients:
- 2 cups all-purpose flour
- 2 teaspoons baking powder
- 1 teaspoon baking soda
- 1 teaspoon salt
- 2 tablespoons cocoa powder
- 1 tablespoon vinegar
- 2 teaspoons vanilla extract
- 1 tablespoon red gel food coloring
- 1 cup unsalted butter, softened
- 1 cup sugar
- 2 eggs
- 1 cup buttermilk
For the cream cheese frosting:
- 1 cup unsalted butter, softened
- 2 tablespoons all-purpose flour
- 1 cup milk (I used 3%)
- 1 teaspoon vanilla extract
- 1/4 teaspoon salt
- 8 ounces cream cheese, softened
- 1 cup icing sugar (also known as confectioner’s sugar or powdered sugar)
Equipment Breakdown
You’ll need a few essential tools to whip up this delicious Red Velour Cake:
- Mixing Bowls: For combining dry and wet ingredients.
- Electric Mixer: To achieve a smooth batter and fluffy frosting.
- Measuring Cups and Spoons: For accurate ingredient measurements.
- 9-inch Round Cake Pans: For baking the cake layers.
- Cooling Rack: To cool the cake before frosting.
- Spatula: For spreading the frosting evenly.
Method: Red Velour Cake
Let’s get baking! Follow these steps to create your own stunning Red Velour Cake.
Step 1: Preheat the Oven
Preheat your oven to 350°F (175°C). Grease and flour your 9-inch round cake pans to ensure the cakes come out easily.
Step 2: Combine Dry Ingredients
In a large mixing bowl, whisk together the all-purpose flour, baking powder, baking soda, salt, and cocoa powder. Set this mixture aside.
Step 3: Mix Wet Ingredients
In a separate bowl, mix the softened butter and sugar until light and fluffy. This should take about 3-4 minutes with an electric mixer. Add the eggs one at a time, beating well after each addition. Stir in the vanilla extract and vinegar.
Step 4: Add Food Coloring
Add the red gel food coloring to the wet mixture and mix until evenly combined. The vibrant color will start to shine through!
Step 5: Combine Wet and Dry Mixtures
Gradually add the dry ingredient mixture to the wet mixture, alternating with the buttermilk. Start and finish with the dry ingredients. Mix until just combined; be careful not to overmix.
Step 6: Bake the Cakes
Divide the batter evenly between the prepared cake pans. Bake in the preheated oven for 25-30 minutes, or until a toothpick inserted into the center comes out clean. Allow the cakes to cool in the pans for about 10 minutes before transferring them to a cooling rack to cool completely.
Step 7: Make the Cream Cheese Frosting
While the cakes are cooling, prepare the cream cheese frosting. In a mixing bowl, beat the softened cream cheese and unsalted butter together until creamy. Gradually add the icing sugar, salt, and vanilla extract, mixing until smooth. If the frosting is too thick, add a bit of milk to reach your desired consistency.
Step 8: Assemble the Cake
Once the cakes are completely cool, place one layer on a serving plate. Spread a generous layer of cream cheese frosting on top. Place the second layer on top and frost the top and sides of the cake with the remaining frosting. Decorate as desired!
Spring to Winter: Ideas
This Red Velour Cake is versatile and can be enjoyed throughout the year. Here are some creative ideas to enhance your cake experience:
- For a seasonal touch, decorate with fresh berries in the summer.
- Add a drizzle of chocolate ganache for an extra layer of indulgence.
- Incorporate some peppermint extract during the winter holidays for a festive twist.
- Pair slices with a scoop of vanilla ice cream for a delightful dessert.
Behind-the-Scenes Notes
Here are a few tips to keep in mind as you prepare your Red Velour Cake:
- Using gel food coloring will give you a more vibrant red without altering the cake’s texture.
- Ensure all your ingredients are at room temperature for the best mixing results.
- Do not skip the cooling step! A warm cake can melt your frosting.
- You can make the cake layers a day ahead and store them wrapped in plastic wrap until you’re ready to frost.
Keep It Fresh: Storage Guide
To keep your Red Velour Cake fresh and delicious:
- Store any leftover cake in an airtight container at room temperature for up to 3 days.
- If you want to keep it longer, refrigerate the cake for up to a week.
- For longer storage, freeze the cake layers wrapped in plastic wrap and aluminum foil for up to 3 months. Thaw in the refrigerator before frosting and serving.
FAQ
Can I use regular food coloring instead of gel?
While you can use regular food coloring, it may not give you the same vibrant red hue as gel food coloring. Gel food coloring is more concentrated and provides better results without adding extra liquid to the batter.
What can I substitute for buttermilk?
If you don’t have buttermilk on hand, you can easily make a substitute by mixing 1 cup of milk with 1 tablespoon of vinegar or lemon juice. Let it sit for about 5 minutes before using.
Can I make this cake ahead of time?
Absolutely! You can bake the cake layers ahead of time and store them in the refrigerator or freezer until you’re ready to frost and serve.
What’s a good pairing for Red Velour Cake?
This cake pairs beautifully with a cup of coffee or a glass of cold milk. You might also enjoy it with a scoop of ice cream or alongside Red Velvet Pancakes With Cream Cheese Glaze for a brunch treat.
Before You Go
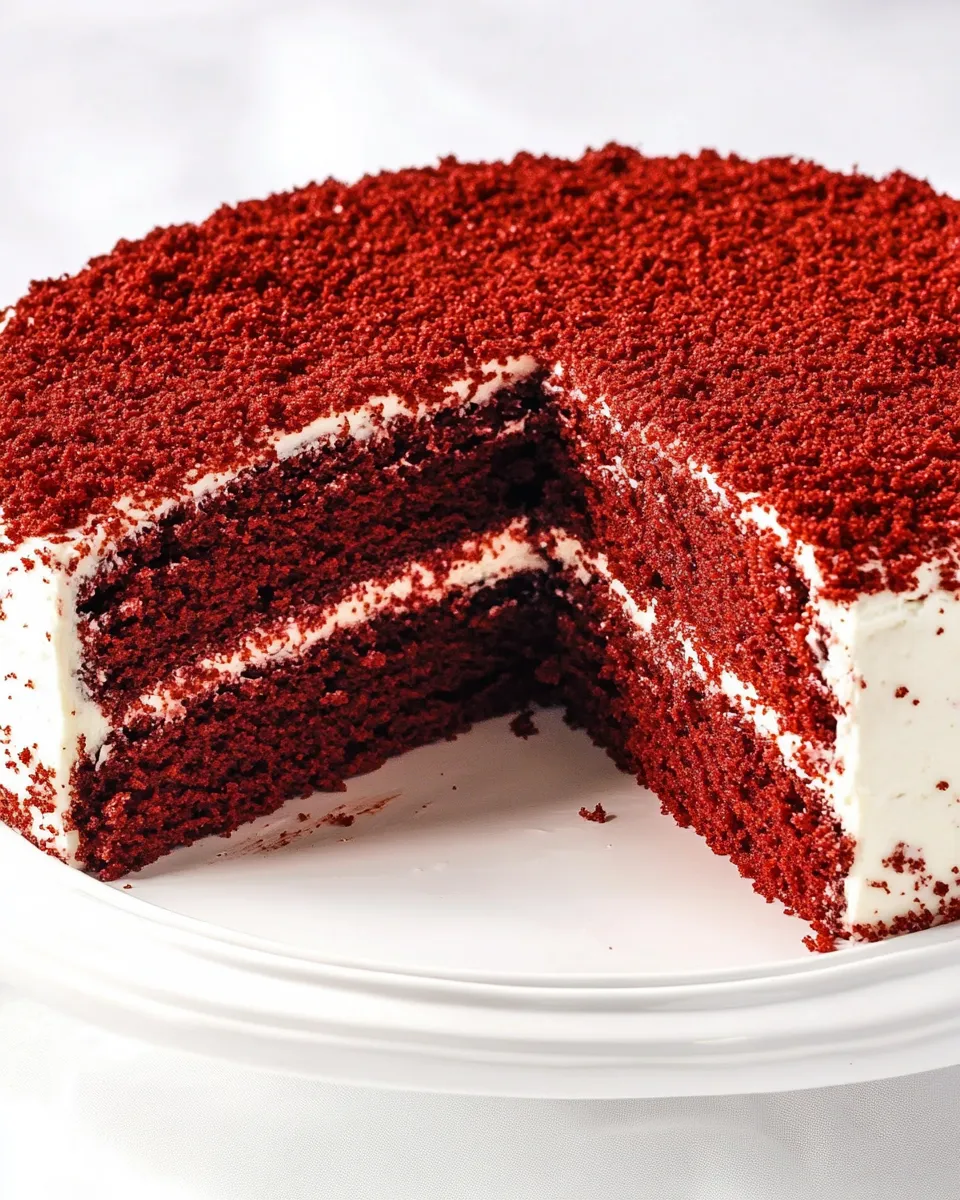
Red Velour Cake is a delightful dessert that combines elegance with a rich, decadent flavor. Whether you’re celebrating a special occasion or simply looking to treat yourself, this cake is sure to impress. Enjoy the process of baking and savor each bite of this luscious creation. Happy baking!
Share on Pinterest
Red Velour Cake
Ingredients
Equipment
Method
- Preheat your oven to 350°F (175°C). Grease and flour your 9-inch round cake pans to ensure the cakes come out easily.
- In a large mixing bowl, whisk together the all-purpose flour, baking powder, baking soda, salt, and cocoa powder. Set this mixture aside.
- In a separate bowl, mix the softened butter and sugar until light and fluffy. This should take about 3-4 minutes with an electric mixer. Add the eggs one at a time, beating well after each addition. Stir in the vanilla extract and vinegar.
- Add the red gel food coloring to the wet mixture and mix until evenly combined. The vibrant color will start to shine through!
- Gradually add the dry ingredient mixture to the wet mixture, alternating with the buttermilk. Start and finish with the dry ingredients. Mix until just combined; be careful not to overmix.
- Divide the batter evenly between the prepared cake pans. Bake in the preheated oven for 25-30 minutes, or until a toothpick inserted into the center comes out clean. Allow the cakes to cool in the pans for about 10 minutes before transferring them to a cooling rack to cool completely.
- While the cakes are cooling, prepare the cream cheese frosting. In a mixing bowl, beat the softened cream cheese and unsalted butter together until creamy. Gradually add the icing sugar, salt, and vanilla extract, mixing until smooth. If the frosting is too thick, add a bit of milk to reach your desired consistency.
- Once the cakes are completely cool, place one layer on a serving plate. Spread a generous layer of cream cheese frosting on top. Place the second layer on top and frost the top and sides of the cake with the remaining frosting. Decorate as desired!
Notes
- Using gel food coloring will give you a more vibrant red without altering the cake’s texture.
- Ensure all your ingredients are at room temperature for the best mixing results.
- Do not skip the cooling step! A warm cake can melt your frosting.