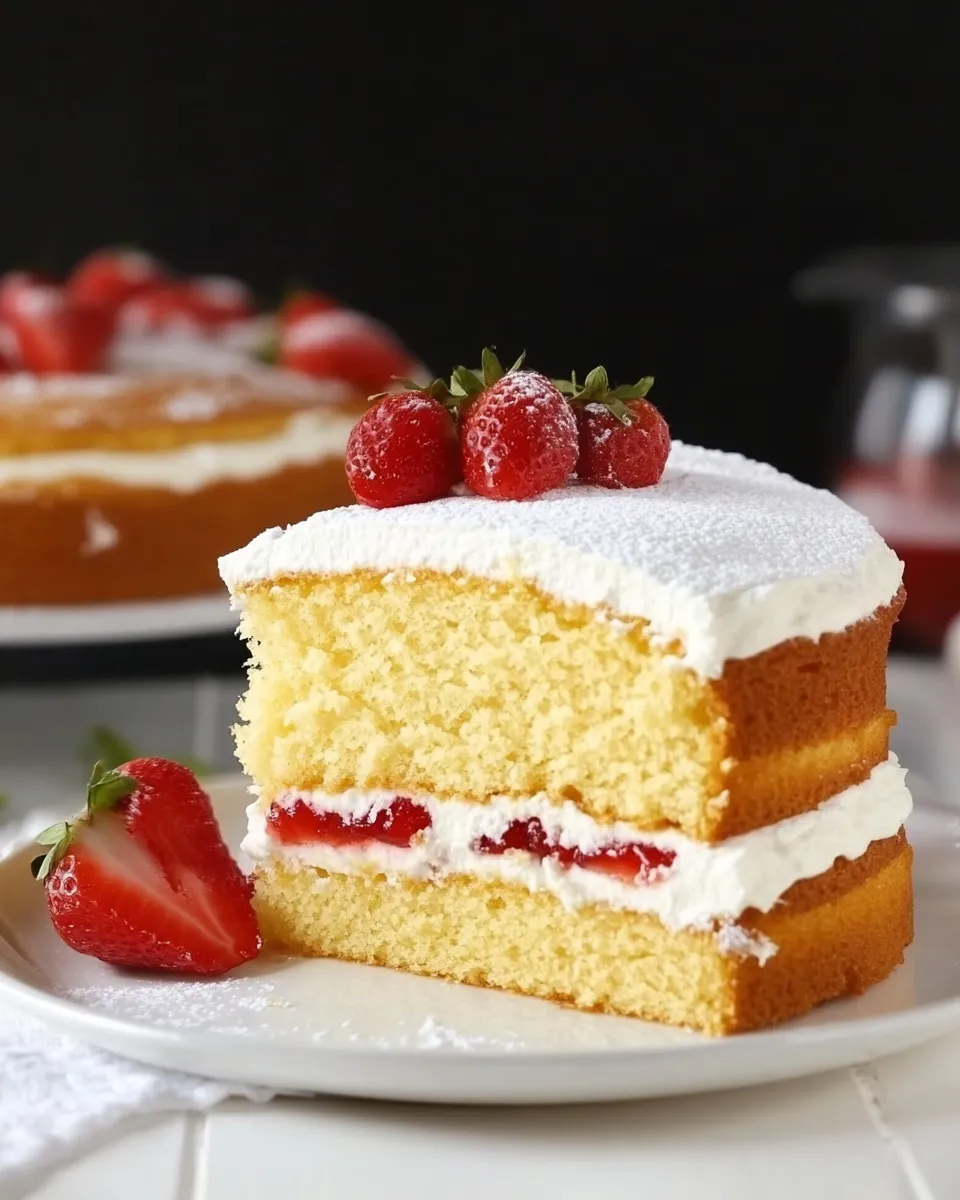
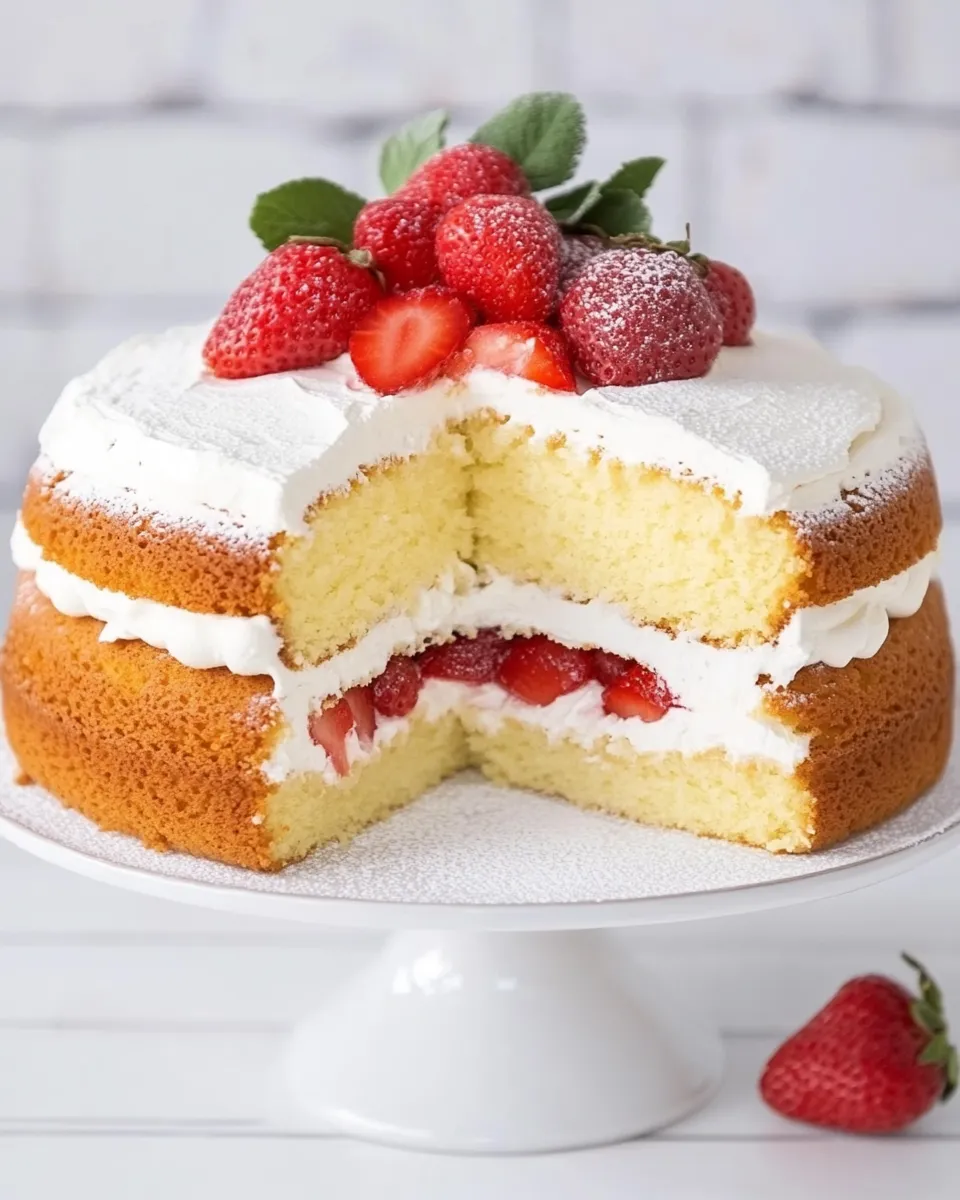
Ah, the Victoria Sponge Cake! This classic British delight is the epitome of simple elegance. Named after Queen Victoria, who enjoyed a slice with her afternoon tea, this cake is as delightful to make as it is to eat. With its light and airy texture, luscious whipped cream, and a fruity jam filling, it’s the perfect dessert for any occasion—be it a cozy tea party or a grand celebration.
Top Reasons to Make Victoria Sponge Cake
- Easy to Make: With just a handful of ingredients, this cake is straightforward and beginner-friendly.
- Versatile: Customize with your favorite jams or fruits, and even consider variations like adding lemon or almond extract.
- Perfect for Any Occasion: Whether it’s a birthday, a tea party, or simply a sweet treat for yourself, this cake fits the bill.
- Impressive Presentation: Dusting the top with powdered sugar makes it look elegant and inviting.
Gather These Ingredients
- 1 3/4 cups all-purpose flour, sifted
- 2 teaspoons baking powder
- 1/2 teaspoon salt
- 1 cup quality butter, room temperature
- 1 cup caster or super fine sugar (or grind regular sugar in a blender until fine)
- 1 teaspoon pure vanilla extract
- 4 large eggs, room temperature
- 2 tablespoons milk, room temperature
- Whipped Cream Filling:
- 3/4 cup heavy whipping cream, chilled
- 1 tablespoon powdered sugar
- 1/2 teaspoon quality pure vanilla extract
- Strawberry or raspberry jam
- Powdered sugar for dusting
- Buttercream Filling (if making mini cakes):
- 1 stick quality butter, room temperature
- 1 1/4 cups powdered sugar
- 1 tablespoon milk, plus more as needed
Tools & Equipment Needed
- Mixing Bowls: For combining wet and dry ingredients.
- Electric Mixer: To achieve that light and airy batter.
- Measuring Cups and Spoons: Accurate measurements ensure perfect results.
- 9-inch Round Cake Pans: For baking your sponge layers.
- Cooling Rack: Essential for cooling your cakes evenly.
- Spatula: For spreading the cream and jam.
Cooking Victoria Sponge Cake: The Process

Step 1: Preheat the Oven
Preheat your oven to 350°F (175°C). It’s crucial to have the oven at the right temperature before your cake goes in!
Step 2: Prepare Your Pans
Grease and line two 9-inch round cake pans with parchment paper. This will ensure that your cakes come out smoothly.
Step 3: Combine Dry Ingredients
In a medium bowl, sift together the all-purpose flour, baking powder, and salt. This step is essential for a light and airy cake.
Step 4: Cream Butter and Sugar
In a large mixing bowl, beat the butter and sugar together using an electric mixer until the mixture is pale and fluffy. This should take about 5 minutes.
Step 5: Add Eggs and Vanilla
Add the eggs one at a time, mixing well after each addition. Then, mix in the vanilla extract.
Step 6: Incorporate Dry Ingredients
Slowly add the dry ingredients to the wet mixture, alternating with the milk. Begin and end with the flour mixture. Mix until just combined; be careful not to overmix!
Step 7: Bake the Cakes
Divide the batter evenly between the prepared cake pans. Bake in the preheated oven for 25-30 minutes or until a toothpick inserted in the center comes out clean.
Step 8: Cool the Cakes
Once baked, let the cakes cool in the pans for 10 minutes before transferring them to a cooling rack to cool completely.
Step 9: Prepare the Whipped Cream Filling
In a chilled bowl, whip the heavy cream until soft peaks form. Gradually add the powdered sugar and vanilla extract, and continue to whip until stiff peaks form.
Step 10: Assemble the Cake
Once the cakes are completely cool, spread a layer of strawberry or raspberry jam on top of one cake layer. Then, add a generous layer of whipped cream on top of the jam. Place the second cake layer on top and dust the top with powdered sugar.
Seasonal Flavor Boosts
- Summer: Use fresh berries like blueberries or sliced peaches.
- Fall: Consider adding a touch of cinnamon and serving with spiced apple jam.
- Winter: Try a chocolate ganache layer for a festive twist.
- Spring: Incorporate lemon zest and use lemon curd instead of jam for a refreshing flavor.
Behind-the-Scenes Notes
When preparing your Victoria Sponge Cake, make sure all your ingredients are at room temperature for the best mixing results. This will help create that lovely, fluffy texture we all adore. If you’d like to make mini cakes, simply divide the batter into smaller pans and adjust the baking time accordingly. For a delightful twist, you can also try making a Chocolate Butter Cake for chocolate lovers!
Cooling, Storing & Rewarming
The Victoria Sponge Cake should be enjoyed fresh, but you can store any leftovers in an airtight container at room temperature for up to three days. If you want to enjoy it warm, a quick reheating in the oven at a low temperature will bring back its delightful texture. Just be sure not to overheat it, as this can dry out the cake.
Quick Q&A
Can I use different types of flour for this recipe?
While all-purpose flour is recommended for the best texture, you can experiment with cake flour for an even lighter sponge or gluten-free flour blends if necessary.
What type of jam works best?
Strawberry and raspberry are traditional favorites, but feel free to use any fruit jam you love—apricot or cherry can also be delightful!
Can I freeze the Victoria Sponge Cake?
Yes! You can freeze the unfilled sponge layers for up to three months. Just make sure to wrap them tightly in plastic wrap and foil before freezing.
What if I want to add a buttercream filling instead?
Simply whip together the quality butter, powdered sugar, and milk until smooth and creamy. Spread it between the layers before adding the whipped cream and jam.
The Last Word
The Victoria Sponge Cake is a timeless masterpiece that is both simple and sophisticated. Each bite is a delightful combination of fluffy cake, sweet jam, and creamy filling, making it a crowd-pleaser. Whether you’re serving it at a special gathering or enjoying it with a cup of tea, this cake is sure to impress. So gather your ingredients, roll up your sleeves, and get ready to bake a cake that will delight everyone around you!
Victoria Sponge Cake
Ingredients
Equipment
Method
- Step 1: Preheat your oven to 350°F (175°C). It’s crucial to have the oven at the right temperature before your cake goes in!
- Step 2: Grease and line two 9-inch round cake pans with parchment paper. This will ensure that your cakes come out smoothly.
- Step 3: In a medium bowl, sift together the all-purpose flour, baking powder, and salt. This step is essential for a light and airy cake.
- Step 4: In a large mixing bowl, beat the butter and sugar together using an electric mixer until the mixture is pale and fluffy. This should take about 5 minutes.
- Step 5: Add the eggs one at a time, mixing well after each addition. Then, mix in the vanilla extract.
- Step 6: Slowly add the dry ingredients to the wet mixture, alternating with the milk. Begin and end with the flour mixture. Mix until just combined; be careful not to overmix!
- Step 7: Divide the batter evenly between the prepared cake pans. Bake in the preheated oven for 25-30 minutes or until a toothpick inserted in the center comes out clean.
- Step 8: Once baked, let the cakes cool in the pans for 10 minutes before transferring them to a cooling rack to cool completely.
- Step 9: In a chilled bowl, whip the heavy cream until soft peaks form. Gradually add the powdered sugar and vanilla extract, and continue to whip until stiff peaks form.
- Step 10: Once the cakes are completely cool, spread a layer of strawberry or raspberry jam on top of one cake layer. Then, add a generous layer of whipped cream on top of the jam. Place the second cake layer on top and dust the top with powdered sugar.
Notes
- Ensure all ingredients are at room temperature for best results.
- You can make mini cakes by dividing the batter into smaller pans.
- Store leftovers in an airtight container at room temperature for up to three days.