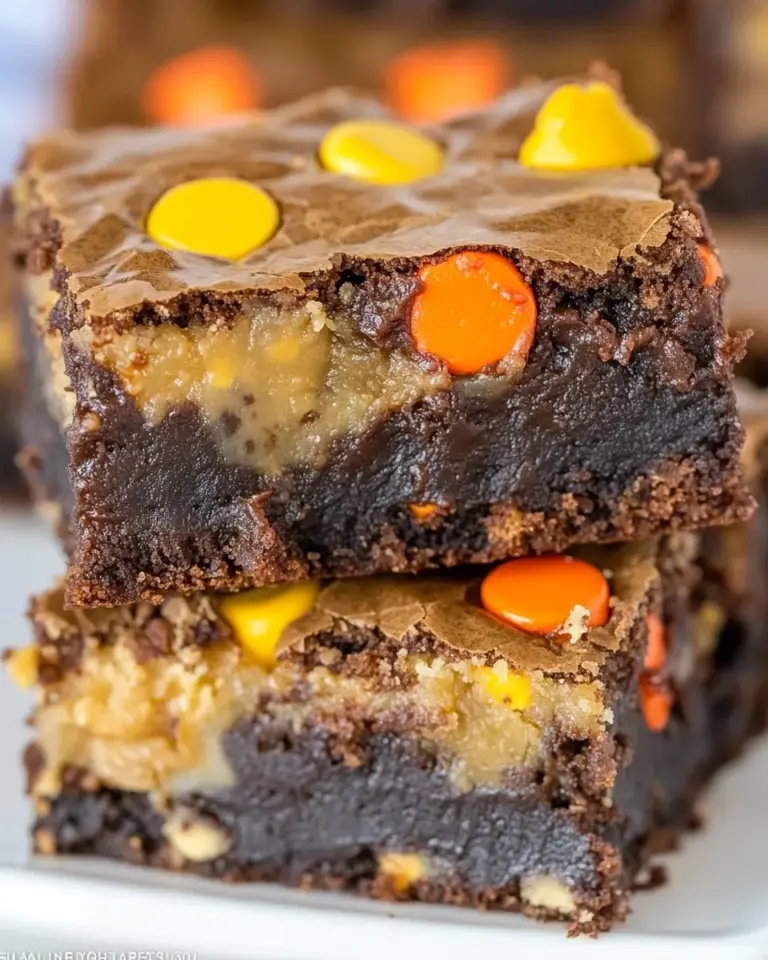
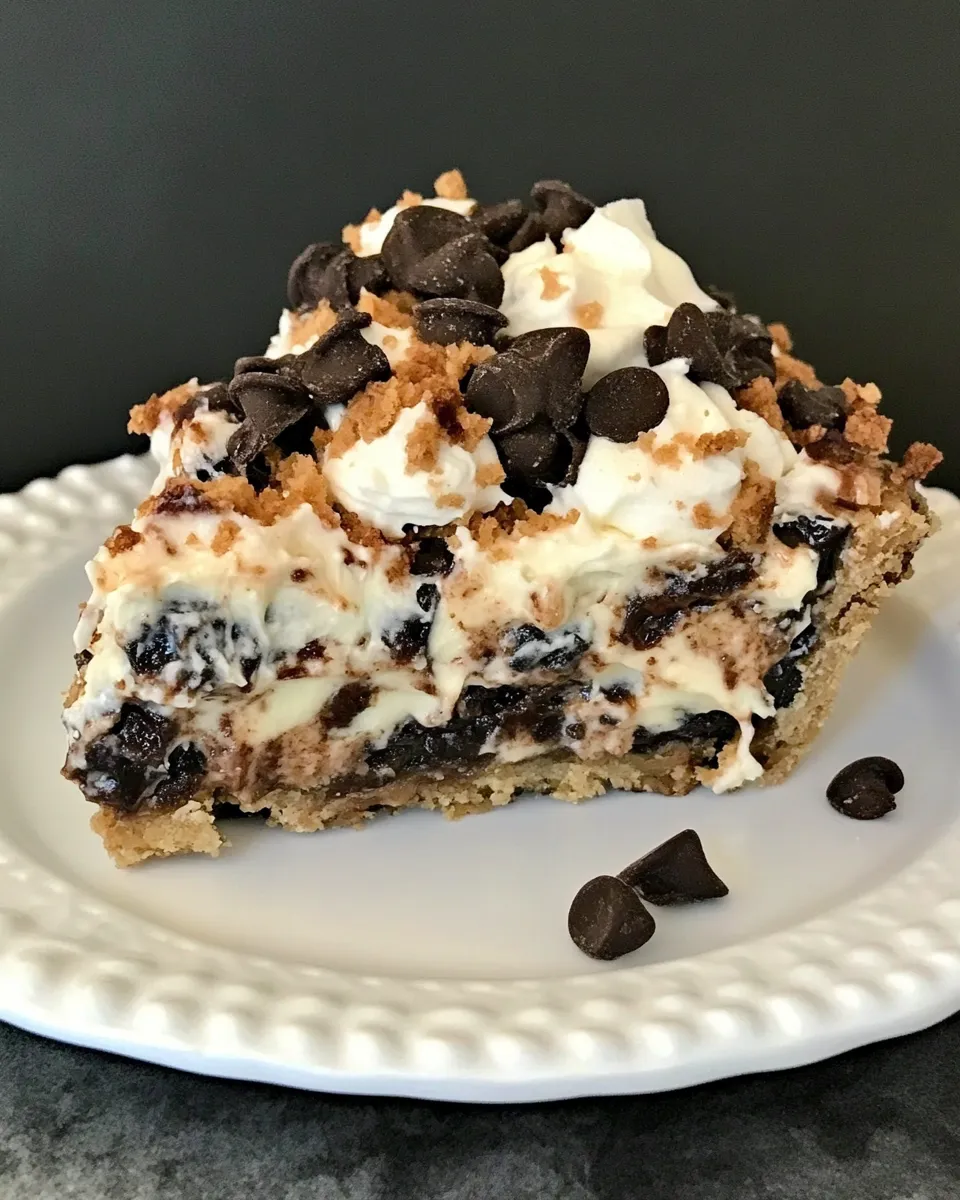
If you’re a fan of desserts that are both creamy and chocolatey, then get ready to be blown away by the Cookies n Cream Magic Bar Pie From Dessert Mash-Ups. This delightful dessert is a fusion of classic flavors, combining the crunch of chocolate sandwich cookies with the sweet creaminess of chocolate chips and coconut. Perfect for any occasion, this pie is easy to whip up and will leave your guests begging for seconds. So, roll up your sleeves and let’s dive into this delicious pie that brings all the magic of cookies and cream to your table!
Reasons to Love Cookies n Cream Magic Bar Pie From Dessert Mash-Ups
There are countless reasons to adore this dessert, but here are a few that stand out:
- Decadent Flavor: The combination of chocolate and coconut creates a rich and satisfying taste experience.
- Easy Preparation: With just a handful of ingredients, this pie comes together quickly, making it perfect for busy bakers.
- Versatile Dessert: Whether it’s a birthday party, holiday gathering, or just a family dinner, this pie fits any occasion.
- Kid-Friendly: Children and adults alike will fall in love with the flavors and textures of this delightful dessert.
The Ingredient Lineup
To create this irresistible Cookies n Cream Magic Bar Pie From Dessert Mash-Ups, you’ll need the following ingredients:
- 25 chocolate sandwich cookies – Crushed to form the base of the pie.
- 1/4 cup (1/2 stick) unsalted butter – Melted to bind the crust together.
- 1 cup milk chocolate chips – For a gooey, chocolatey filling.
- 1 cup white or peanut butter chocolate chips – Adds a delightful twist to the flavor profile.
- 1 cup sweetened shredded coconut – For texture and a tropical touch.
- 12 chocolate peanut butter sandwich cookies – Coarsely chopped, these add even more flavor and crunch.
- 1 (14-ounce) can sweetened condensed milk – This is the magical ingredient that ties everything together.
Essential Tools for Success
Before you get started, make sure you have the following tools on hand:
- Mixing Bowl – For combining the crust ingredients.
- 9-inch Pie Dish – To bake your magic bar pie.
- Measuring Cups and Spoons – For precise ingredient measurements.
- Spatula – To spread and smooth the filling evenly.
- Oven – To bake your delicious creation.
Cookies n Cream Magic Bar Pie From Dessert Mash-Ups: How It’s Done

Ready to get baking? Here’s how to create your own Cookies n Cream Magic Bar Pie From Dessert Mash-Ups in just a few simple steps.
Step 1: Prepare the Crust
Start by preheating your oven to 350°F (175°C). In a mixing bowl, combine the crushed chocolate sandwich cookies and melted butter. Mix until the crumbs are well-coated and the mixture resembles wet sand. Press this mixture firmly into the bottom of a 9-inch pie dish to form your crust.
Step 2: Layer the Filling
Once the crust is prepared, sprinkle the milk chocolate chips evenly over the crust. Follow this by adding the white or peanut butter chocolate chips, spreading them out for an even distribution.
Step 3: Add Coconut and Cookies
Next, sprinkle the sweetened shredded coconut over the chocolate chips, followed by the coarsely chopped chocolate peanut butter sandwich cookies. This will add a delightful texture and flavor to the pie.
Step 4: Pour the Condensed Milk
Finally, pour the entire can of sweetened condensed milk over the layered ingredients, ensuring all the elements are well-coated. This is where the magic happens, as the milk binds everything together while baking.
Step 5: Bake
Place the pie in the preheated oven and bake for about 25-30 minutes, or until the edges are golden and the center is set. The filling should be bubbly and slightly firm to the touch.
Step 6: Cool and Serve
Once baked, remove the pie from the oven and allow it to cool completely in the pie dish. For the best experience, chill it in the refrigerator for at least two hours before serving. Slice into squares or wedges and enjoy!
Seasonal Adaptations
This Cookies n Cream Magic Bar Pie From Dessert Mash-Ups is versatile enough to adapt to different seasons. Here are a few ideas:
- Fall: Add in some pumpkin spice seasoning or mix in some chopped pecans for a warm, autumnal flavor.
- Winter: Incorporate crushed peppermint candies or a drizzle of dark chocolate for a festive touch.
- Spring: Use pastel-colored chocolate chips or add a layer of fresh strawberries on top before serving.
- Summer: Consider a layer of fresh berries or a scoop of vanilla ice cream on the side for a refreshing treat.
Recipe Notes & Chef’s Commentary
- Feel free to experiment with different types of chocolate chips, such as dark chocolate or butterscotch, for varied flavors.
- Make sure to crush the sandwich cookies finely for a smoother crust.
- If you prefer a less sweet pie, consider using unsweetened coconut and reducing the amount of sweetened condensed milk slightly.
- This pie can be made ahead of time and stored in the refrigerator for up to 4 days, making it perfect for meal prep.
Save It for Later
If this Cookies n Cream Magic Bar Pie From Dessert Mash-Ups sounds like a winner, don’t hesitate to bookmark this recipe for later! It’s one of those desserts that you’ll want to revisit time and again.
Popular Questions
Can I use gluten-free cookies for the crust?
Absolutely! Simply substitute the chocolate sandwich cookies with your favorite gluten-free alternatives.
How should I store leftovers?
Store any leftover pie in an airtight container in the refrigerator for up to four days.
Can I freeze this pie?
Yes, you can freeze the pie. Just wrap it tightly in plastic wrap and then in aluminum foil. It can be frozen for up to three months. Thaw in the refrigerator before serving.
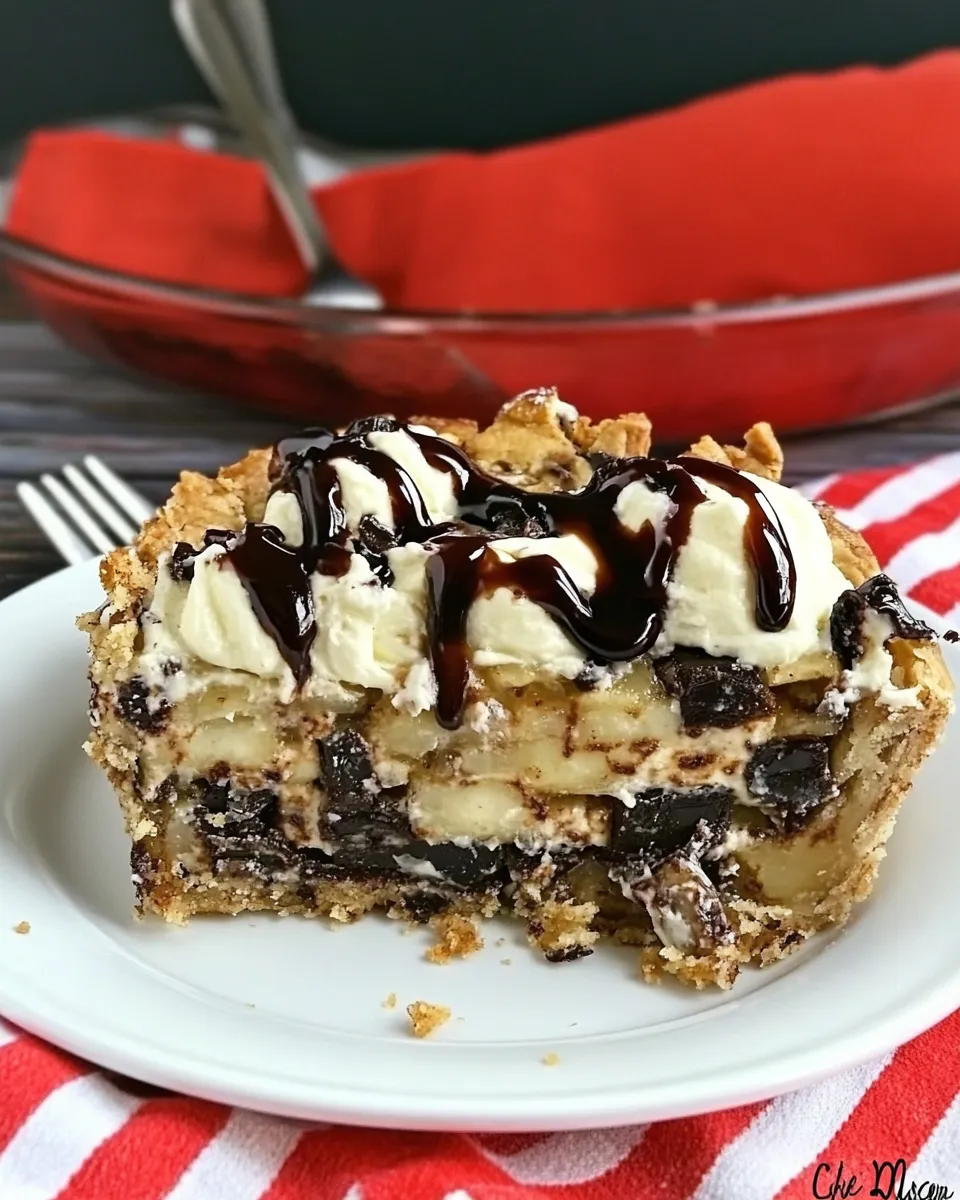
What can I serve with the pie?
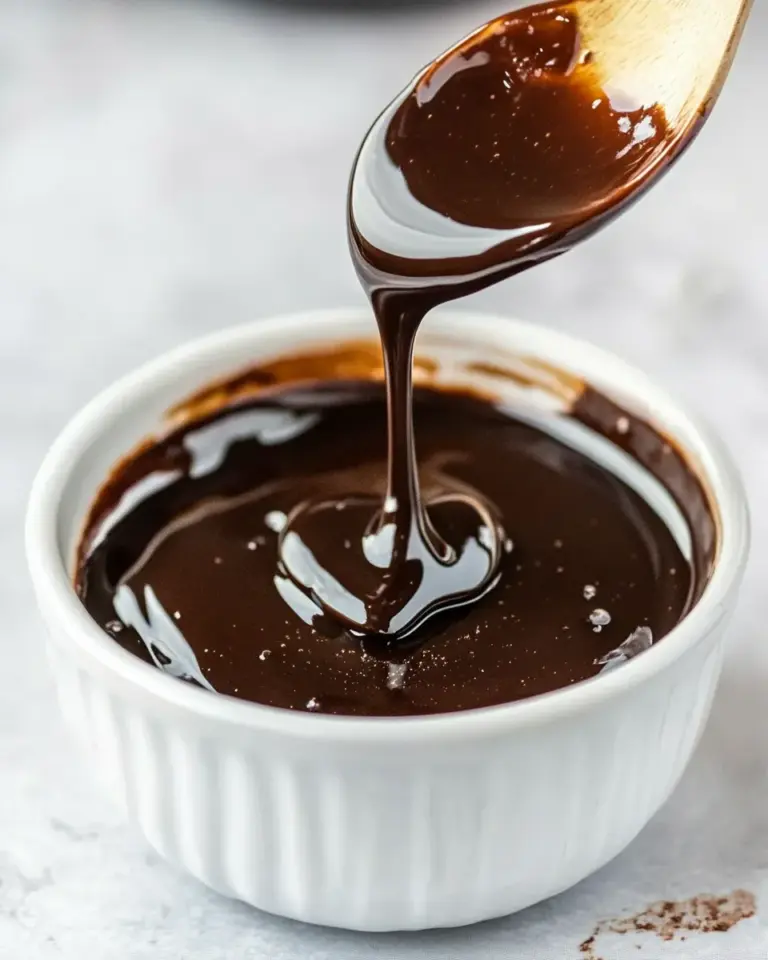
This pie is delicious on its own, but you can elevate it with a dollop of whipped cream or a scoop of ice cream. A drizzle of chocolate syrup wouldn’t hurt either!
Ready, Set, Cook
Now that you have all the details on how to make this delectable Cookies n Cream Magic Bar Pie From Dessert Mash-Ups, it’s time to get in the kitchen and start baking! With its layers of chocolatey goodness and a crunchy cookie crust, this pie is sure to become a favorite in your household. Happy baking!
Cookies n Cream Magic Bar Pie From Dessert Mash-Ups
Ingredients
Equipment
Method
- Step 1: Prepare the Crust - Preheat your oven to 350°F (175°C). In a mixing bowl, combine the crushed chocolate sandwich cookies and melted butter. Mix until the crumbs are well-coated and the mixture resembles wet sand. Press this mixture firmly into the bottom of a 9-inch pie dish to form your crust.
- Step 2: Layer the Filling - Once the crust is prepared, sprinkle the milk chocolate chips evenly over the crust. Follow this by adding the white or peanut butter chocolate chips, spreading them out for an even distribution.
- Step 3: Add Coconut and Cookies - Next, sprinkle the sweetened shredded coconut over the chocolate chips, followed by the coarsely chopped chocolate peanut butter sandwich cookies. This will add a delightful texture and flavor to the pie.
- Step 4: Pour the Condensed Milk - Finally, pour the entire can of sweetened condensed milk over the layered ingredients, ensuring all the elements are well-coated. This is where the magic happens, as the milk binds everything together while baking.
- Step 5: Bake - Place the pie in the preheated oven and bake for about 25-30 minutes, or until the edges are golden and the center is set. The filling should be bubbly and slightly firm to the touch.
- Step 6: Cool and Serve - Once baked, remove the pie from the oven and allow it to cool completely in the pie dish. For the best experience, chill it in the refrigerator for at least two hours before serving. Slice into squares or wedges and enjoy!
Notes
- Feel free to experiment with different types of chocolate chips, such as dark chocolate or butterscotch, for varied flavors.
- Make sure to crush the sandwich cookies finely for a smoother crust.
- If you prefer a less sweet pie, consider using unsweetened coconut and reducing the amount of sweetened condensed milk slightly.
- This pie can be made ahead of time and stored in the refrigerator for up to 4 days, making it perfect for meal prep.