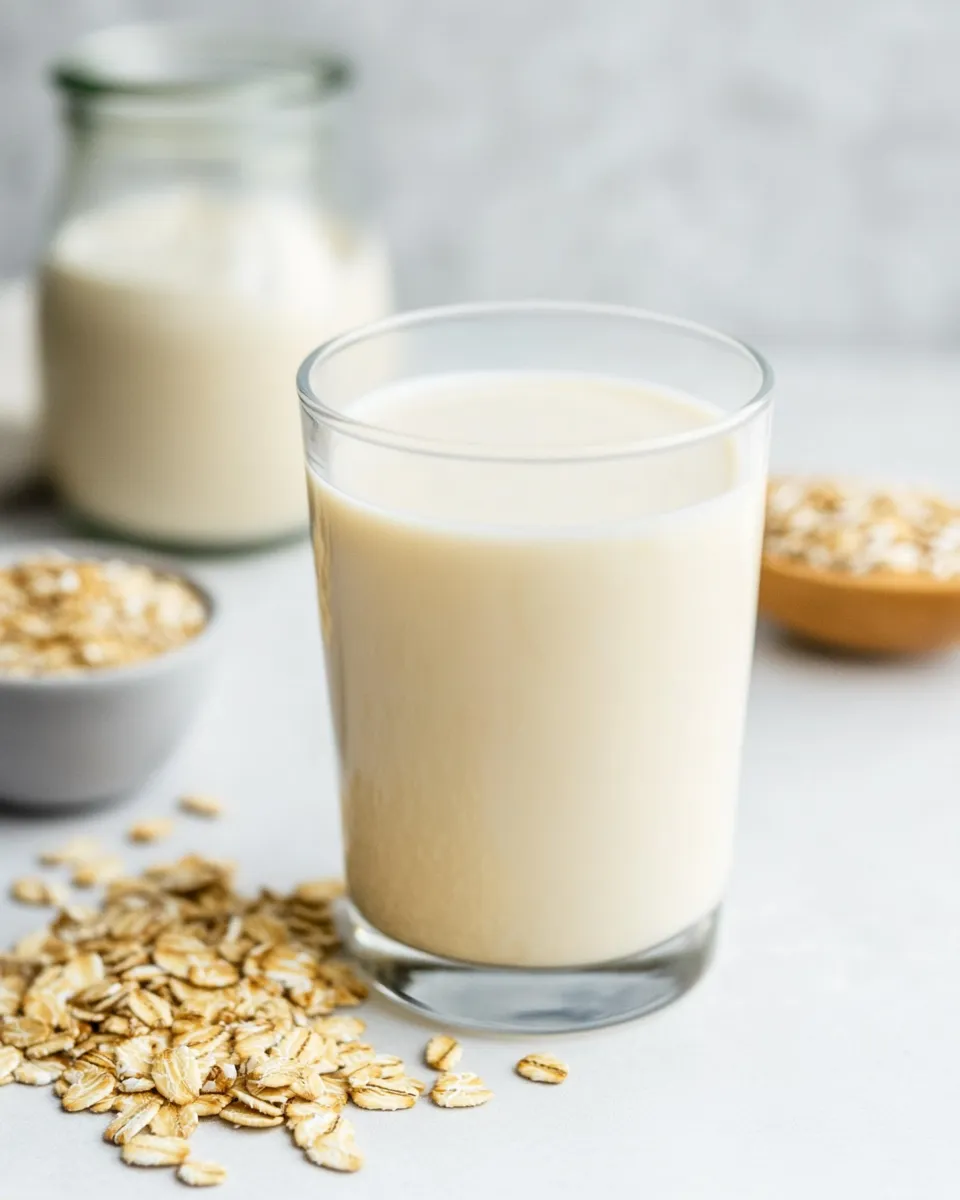
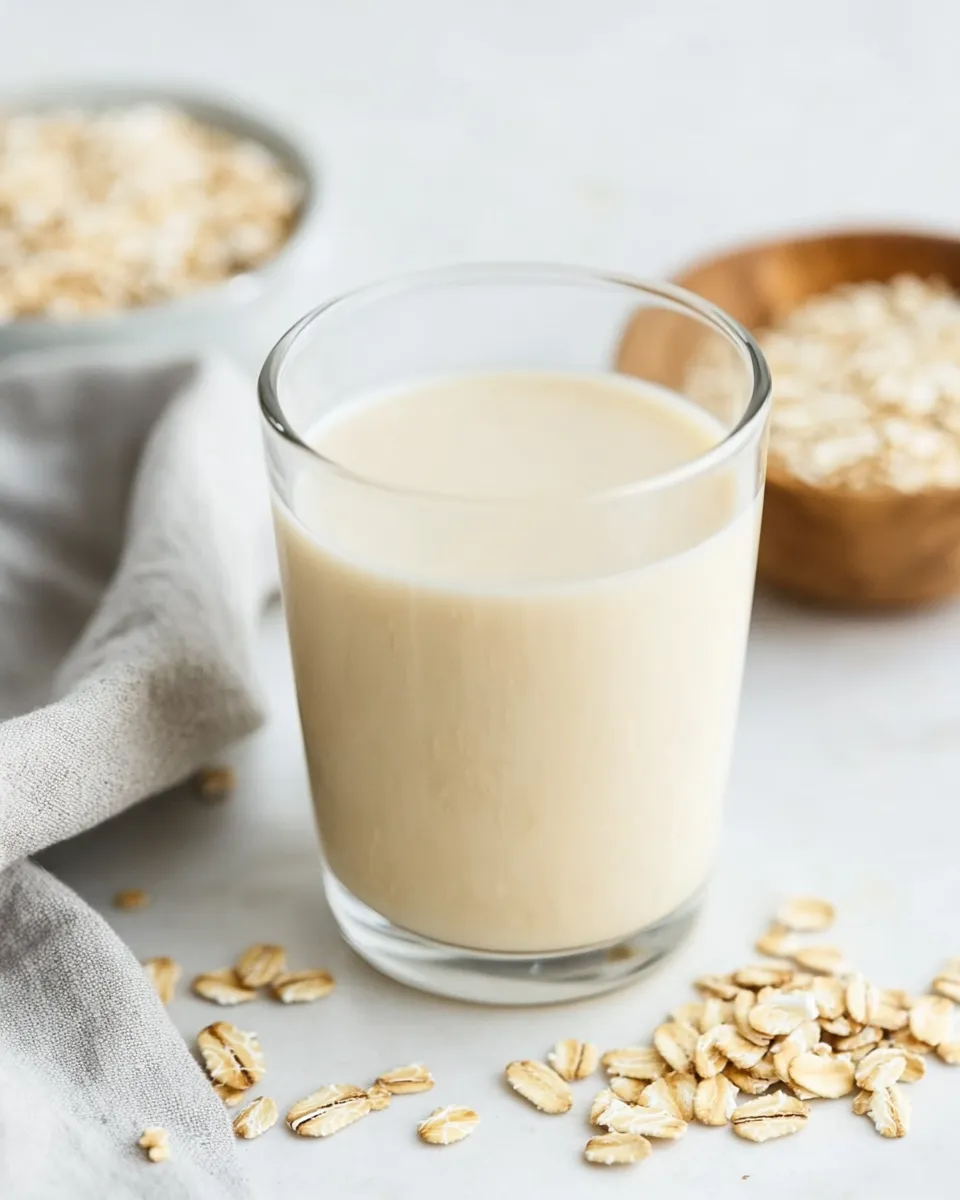
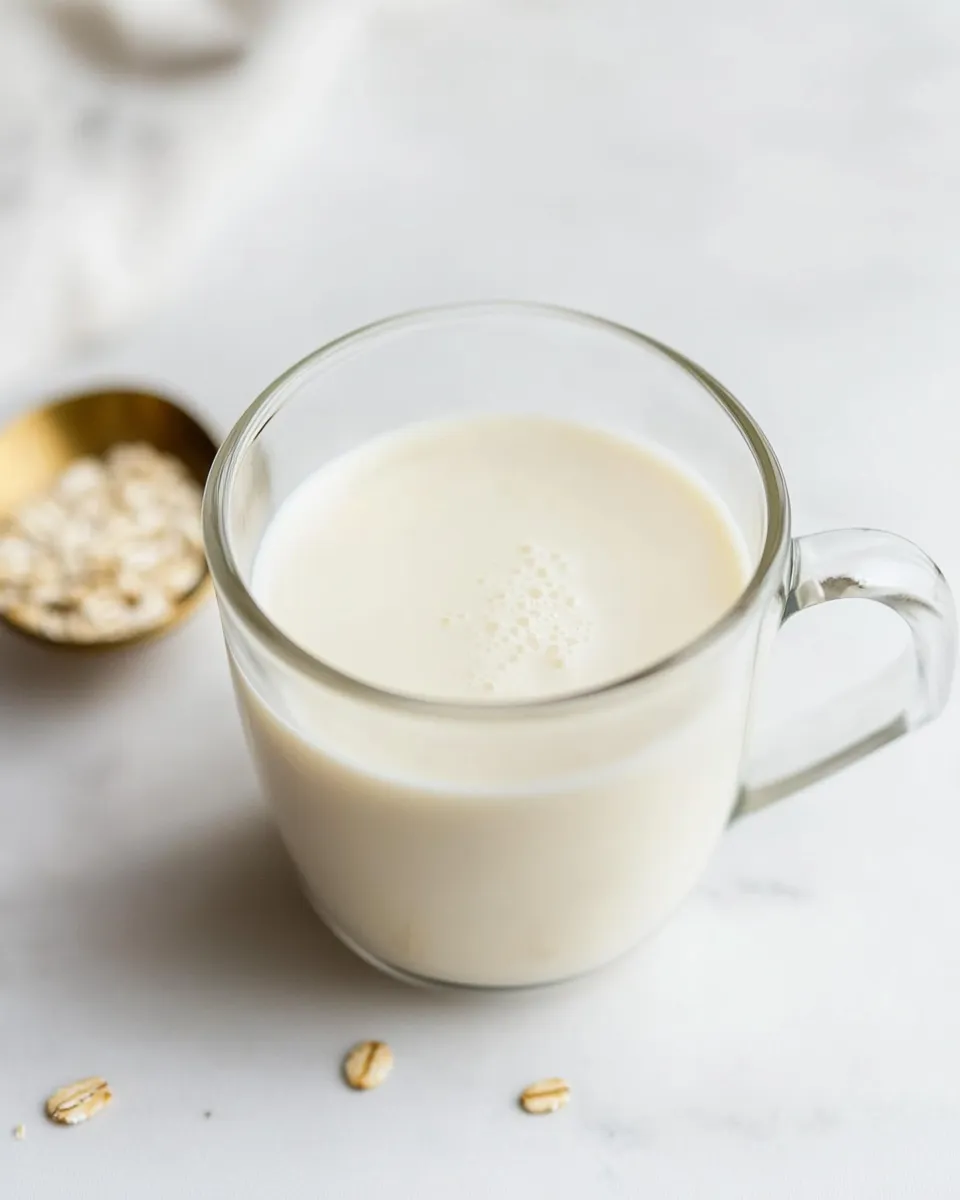
If you’re on the hunt for a creamy, delicious alternative to dairy milk, look no further than this Simple DIY Oat Milk. With just a few ingredients and minimal effort, you can create a plant-based milk that’s perfect for your morning coffee, smoothies, or even just a glass on its own. Not only is it budget-friendly, but it’s also incredibly easy to customize to your taste preferences. Let’s dive in and get started!
Why You’ll Love This Recipe
Making Simple DIY Oat Milk at home is not only satisfying but also incredibly versatile. Here are a few reasons you’ll love this recipe:
– **Quick and Easy**: With just a little soaking and blending, you can whip up oat milk in no time.
– **Customizable**: Adjust the thickness and flavor to suit your preferences, whether you want it sweetened, flavored, or plain.
– **Nut-Free**: Perfect for those with nut allergies, oat milk is a creamy alternative without the nuts.
– **Sustainable**: Making your own oat milk reduces packaging waste and is often more environmentally friendly than store-bought options.
The Essentials
To create your own Simple DIY Oat Milk, gather the following ingredients:
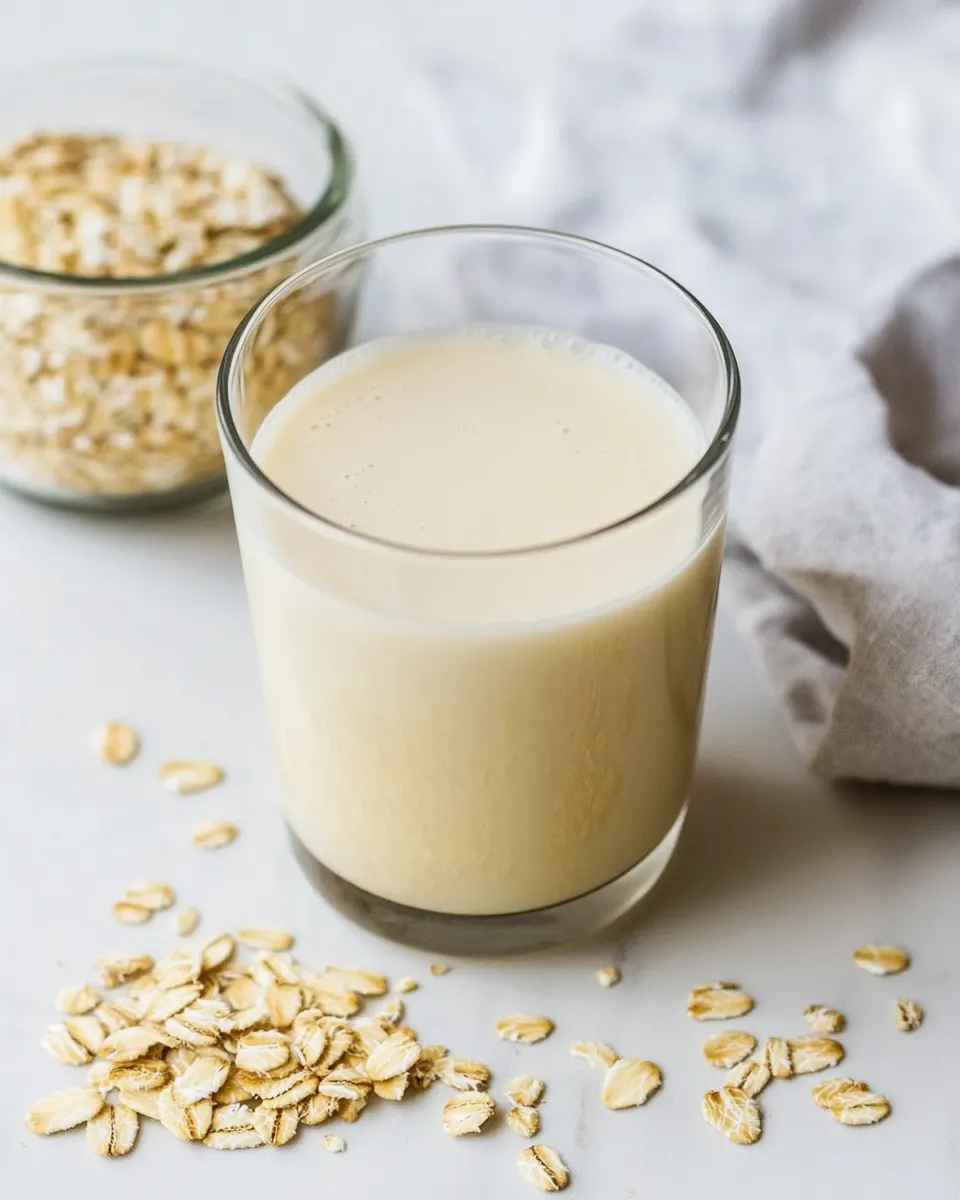
- 1 cup quick or rolled oats – These are the base of your oat milk. Quick oats will blend smoother, while rolled oats provide a more robust flavor.
- 3 to 4 cups water – The amount of water you use will determine how thick your oat milk is. Start with 3 cups for creamier milk and add more if you prefer it thinner.
- Optional sweeteners – Consider adding a splash of maple syrup, honey, or a pitted date for a touch of sweetness.
- Optional flavorings – Vanilla extract, cinnamon, or cocoa powder can elevate your oat milk to the next level.
Equipment Breakdown
Before you get started, make sure you have the following equipment on hand:
- Blender – A high-speed blender is ideal for achieving a smooth consistency.
- Fine mesh strainer or nut milk bag – This will help you strain out the oat pulp, ensuring your milk is smooth.
- Large bowl or pitcher – Use this to catch the strained oat milk.
- Storage container – A glass jar or bottle is perfect for storing your freshly made oat milk in the fridge.
Method: Simple DIY Oat Milk
Ready to make your own Simple DIY Oat Milk? Follow these straightforward steps:
Step 1: Soak the Oats
Start by soaking your oats in water overnight. This will help soften them, making them easier to blend and ensuring a creamier texture.
Step 2: Drain and Rinse
After soaking, drain the oats and give them a quick rinse under cold water to remove any excess starch. This step is crucial for achieving a smooth finish.
Step 3: Blend
Place the rinsed oats in your blender and add 3 to 4 cups of fresh water, depending on your desired thickness. Blend on high for about 30 seconds until well combined.
Step 4: Strain
Using a fine mesh strainer or nut milk bag, strain the blended mixture into a large bowl or pitcher. Squeeze or press to extract as much liquid as possible, leaving the oat pulp behind.
Step 5: Flavor (Optional)
If you want to add sweetness or flavor, return the strained milk to the blender and add your desired sweeteners or flavorings. Blend again briefly to combine.
Step 6: Store
Transfer your Simple DIY Oat Milk to a storage container and keep it in the fridge. It should stay fresh for about 4 to 5 days. Remember to shake well before each use, as natural separation may occur.
Make It Year-Round
You can enjoy Simple DIY Oat Milk throughout the year with these tips:
- Seasonal Flavors – Experiment with seasonal spices like pumpkin spice in the fall or peppermint extract during the winter holidays.
- Use Leftover Oat Pulp – Don’t throw away the oat pulp! Use it in smoothies, baked goods, or even in your morning oatmeal. Check out recipes like Slow Cooker Steel Cut Oats for inspiration.
- Batch Prep – Make a larger batch and freeze portions in ice cube trays. Use these in smoothies or thaw them for quick oat milk when you need it.
Mistakes That Ruin Simple DIY Oat Milk
While making Simple DIY Oat Milk is easy, there are a few common pitfalls to avoid:
- Not Rinsing the Oats – Failing to rinse the oats can lead to a gummy texture, so don’t skip this step.
- Over-Blending – Blending for too long can release excess starch, resulting in slimy milk. Stick to about 30 seconds.
- Using Too Much Water – If you prefer thicker milk, start with less water and adjust to your liking instead of adding too much initially.
- Forgetting to Shake Before Use – Natural separation occurs, so give your oat milk a good shake before pouring.
Storage Pro Tips
To keep your Simple DIY Oat Milk fresh and delicious, consider these storage tips:
Store your oat milk in an airtight container in the fridge. It’s best consumed within 4 to 5 days for optimal freshness. If you notice any off smells or flavors, it’s best to discard it. Always shake well before using to recombine any separated layers.
- Glass Containers – Use glass to avoid any potential leaching from plastic. Plus, glass is easy to clean and re-use.
- Label Your Containers – Mark the date on your storage container so you can keep track of its freshness.
Helpful Q&A
Can I use steel-cut oats instead of rolled or quick oats?
While you can use steel-cut oats, they will require a longer soak time and may need extra blending to achieve a smooth consistency. Rolled or quick oats are recommended for the best results.
What can I do with leftover oat pulp?
Leftover oat pulp can be added to smoothies, baked into muffins or cookies, or even stirred into your morning oatmeal. Try using it in recipes like Pumpkin Oatmeal Chocolate Chip Cookies for a delicious twist.
Can I sweeten my oat milk?
Absolutely! You can sweeten your oat milk with natural sweeteners like maple syrup, honey, or a date. Just blend your sweetener of choice with the oats and water for a delightful flavor.
How can I make my oat milk creamier?
For creamier oat milk, reduce the amount of water you use, or try adding a small pinch of salt or a splash of vanilla for added richness and flavor.
If you enjoyed making , here are some more recipes you might love:
Time to Try It
Now that you have all the tools and knowledge to create your own Simple DIY Oat Milk, it’s time to give it a try! Enjoy the creamy texture and subtle flavor in your favorite recipes or simply pour a glass and enjoy as is. Your taste buds will thank you, and you’ll feel great knowing exactly what’s in your milk. Happy blending!
Simple DIY Oat Milk
Ingredients
Equipment
Method
- Step 1: Soak the Oats - Start by soaking your oats in water overnight.
- Step 2: Drain and Rinse - Drain the oats and rinse under cold water.
- Step 3: Blend - Blend the rinsed oats with 3 to 4 cups of fresh water for about 30 seconds.
- Step 4: Strain - Strain the blended mixture into a bowl or pitcher.
- Step 5: Flavor (Optional) - Add sweeteners or flavorings to the strained milk and blend again.
- Step 6: Store - Transfer to a storage container and keep in the fridge.
Notes
- Store oat milk in an airtight container for up to 5 days.
- Shake well before each use to recombine.
- Experiment with seasonal flavors for variety!