Nothing beats the indulgent bliss of a homemade chocolate milkshake. Creamy, rich, and utterly satisfying, this treat is perfect for any occasion, whether you’re cooling off on a hot day or celebrating a special moment. With just a few simple ingredients, you can create a delightful chocolate milkshake that will impress both friends and family alike. Let’s dive into the sweet world of chocolate milkshakes!
The Upside of Chocolate Milkshake
Chocolate milkshakes are more than just a delicious dessert; they are a nostalgic treat that can transport you back to childhood. The combination of cold ice cream and rich chocolate flavors creates a harmonious blend that delights the taste buds. Plus, they’re incredibly versatile! You can customize your milkshake with different toppings, mix-ins, and even switch up the ice cream flavors to suit your mood.
Whether you’re looking to indulge yourself or want to treat someone special, a chocolate milkshake is always a crowd-pleaser. And let’s not forget, it’s a great way to cool down when the sun is shining bright.
Ingredient Breakdown
To whip up your own chocolate milkshake, you’ll need the following ingredients:
- 6 cups vanilla ice cream or chocolate ice cream: This is the base of your milkshake. Vanilla ice cream offers a classic flavor, while chocolate ice cream intensifies the chocolate experience.
- 1/3 cup milk: You can use regular milk or opt for chocolate milk for an extra chocolatey twist. Adjust the amount based on your preferred thickness.
- 1/3 cup chocolate sauce: This adds a delightful sweetness and rich chocolate flavor. Drizzle some on top for presentation!
- Whipped cream (optional): For the ultimate indulgence, top your milkshake with a generous swirl of whipped cream.
Equipment & Tools
Before you begin, gather the following tools:
- Blender: A high-powered blender will help you achieve a smooth and creamy consistency.
- Spoon or spatula: For scooping out the ice cream and mixing ingredients.
- Glass or cup: To serve your delicious creation.
- Measuring cups: To ensure you get the right proportions for your milkshake.
Chocolate Milkshake Made Stepwise

Step 1: Gather Your Ingredients
Start by collecting all your ingredients and tools. This makes the process seamless and enjoyable.
Step 2: Add the Ice Cream
In your blender, add 6 cups of your chosen ice cream. Whether you opt for vanilla or chocolate, make sure it’s softened slightly to make blending easier.
Step 3: Pour in the Milk
Add the 1/3 cup of milk to the blender. If you prefer a thicker shake, start with less milk and add more as needed.
Step 4: Add the Chocolate Sauce
Drizzle in the 1/3 cup of chocolate sauce. You can adjust this amount based on how chocolatey you want your shake to be.
Step 5: Blend Until Smooth
Secure the lid on the blender and blend on high until all ingredients are well combined and smooth. Stop to scrape down the sides if necessary.
Step 6: Check the Consistency
If your milkshake is too thick, add a little more milk and blend again until you reach your desired consistency.
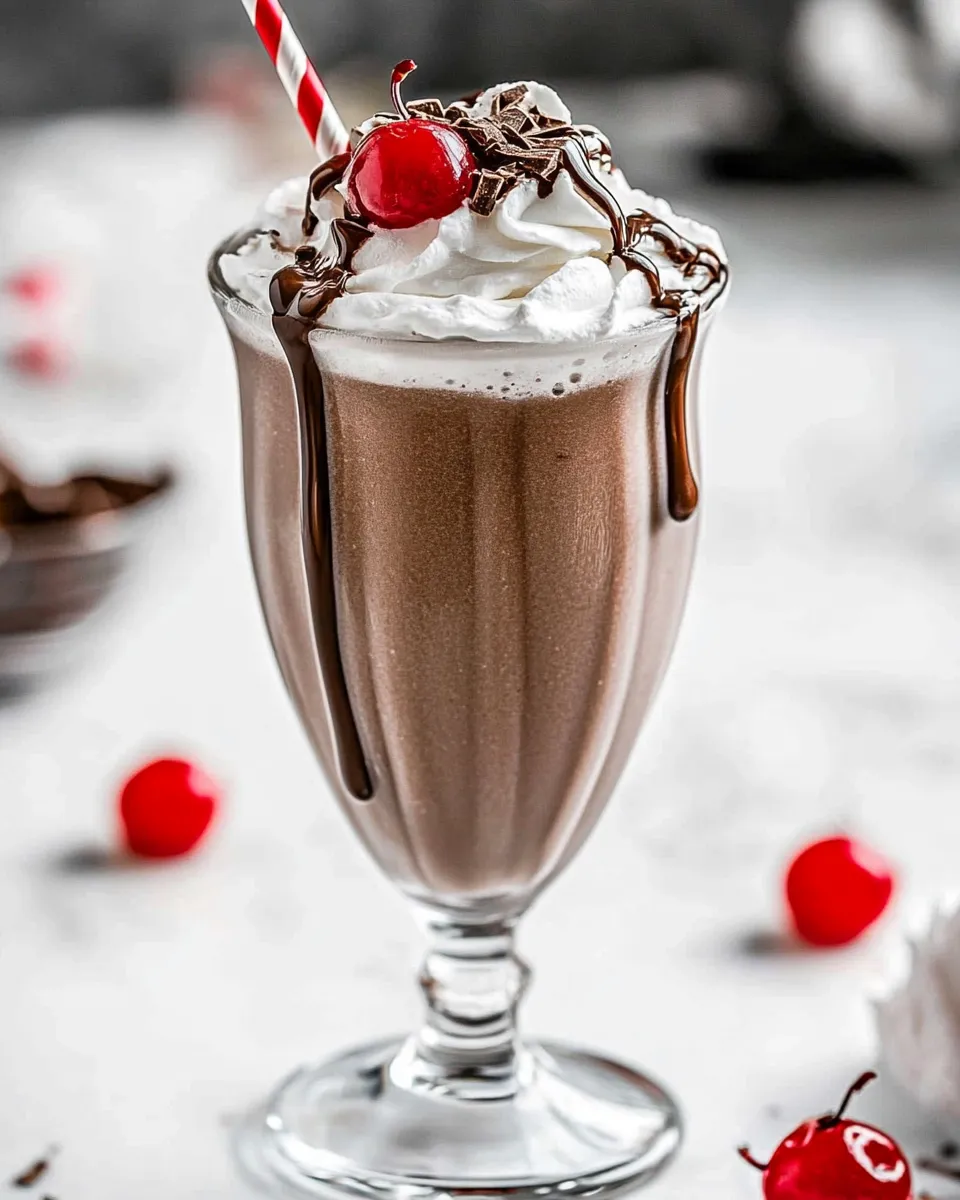
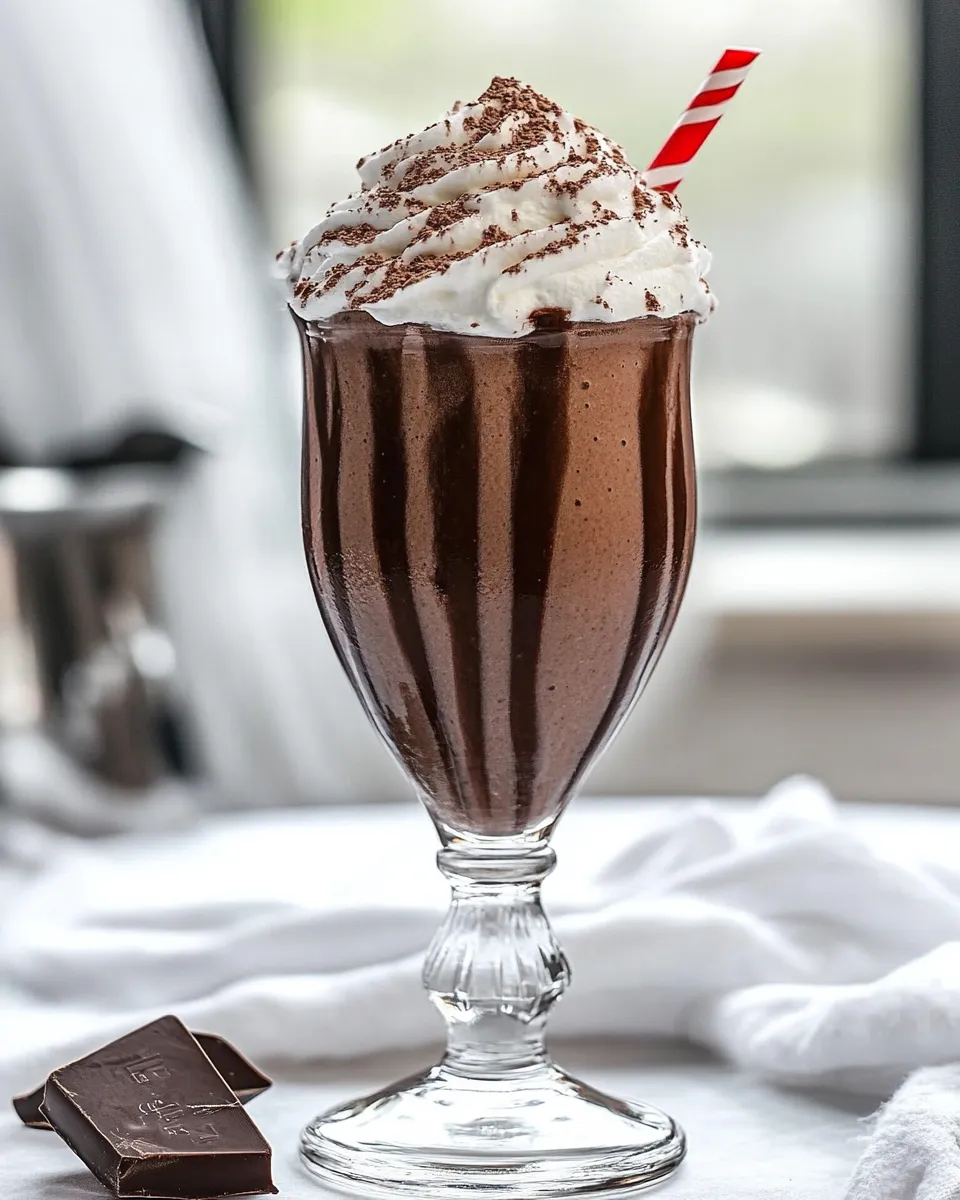
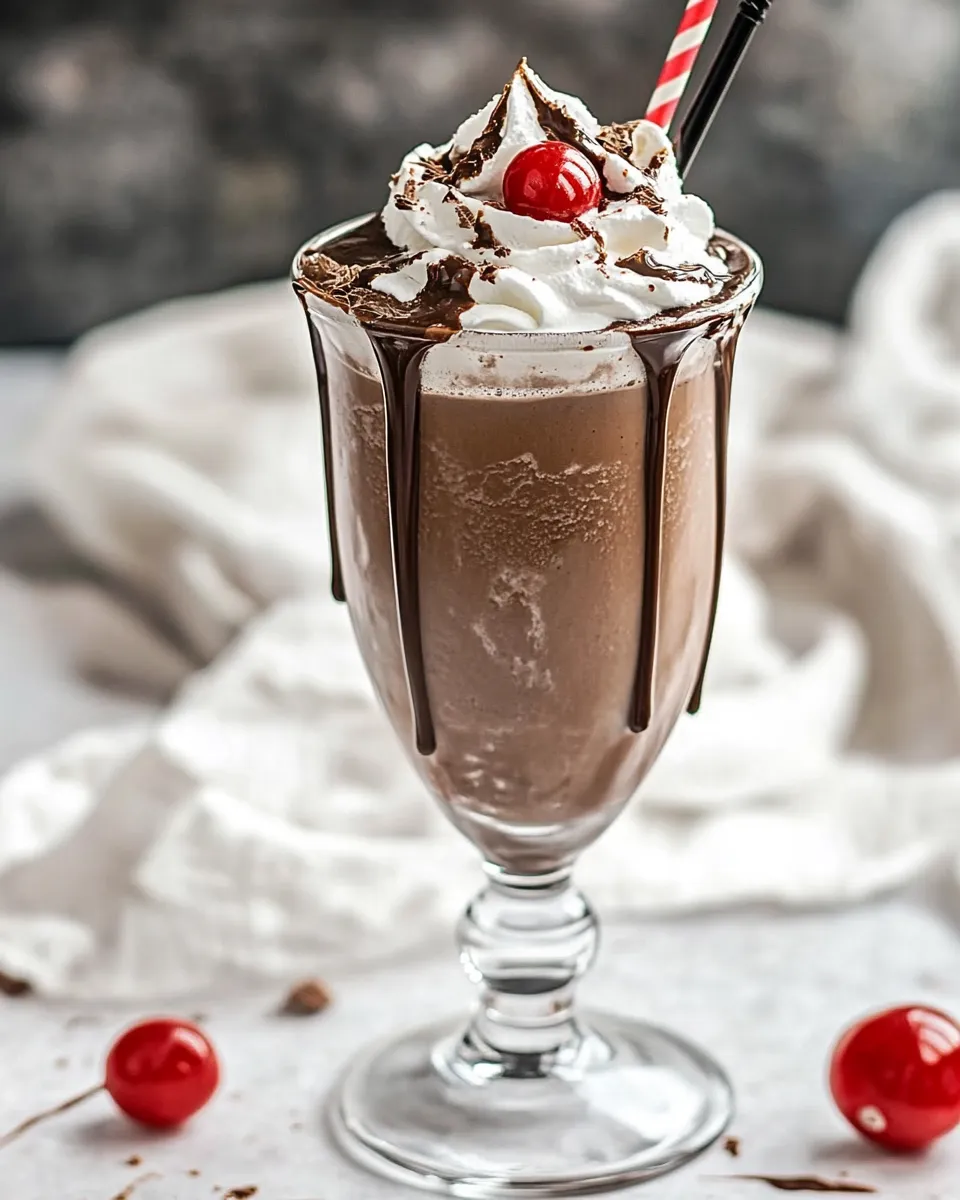
Step 7: Serve and Top
Pour your chocolate milkshake into a glass. If desired, top it with whipped cream and an extra drizzle of chocolate sauce for that picture-perfect finish.
Seasonal Serving Ideas
Chocolate milkshakes can be enjoyed year-round, but here are some seasonal ideas to elevate your experience:
- Summer: Add fresh strawberries or raspberries for a fruity twist.
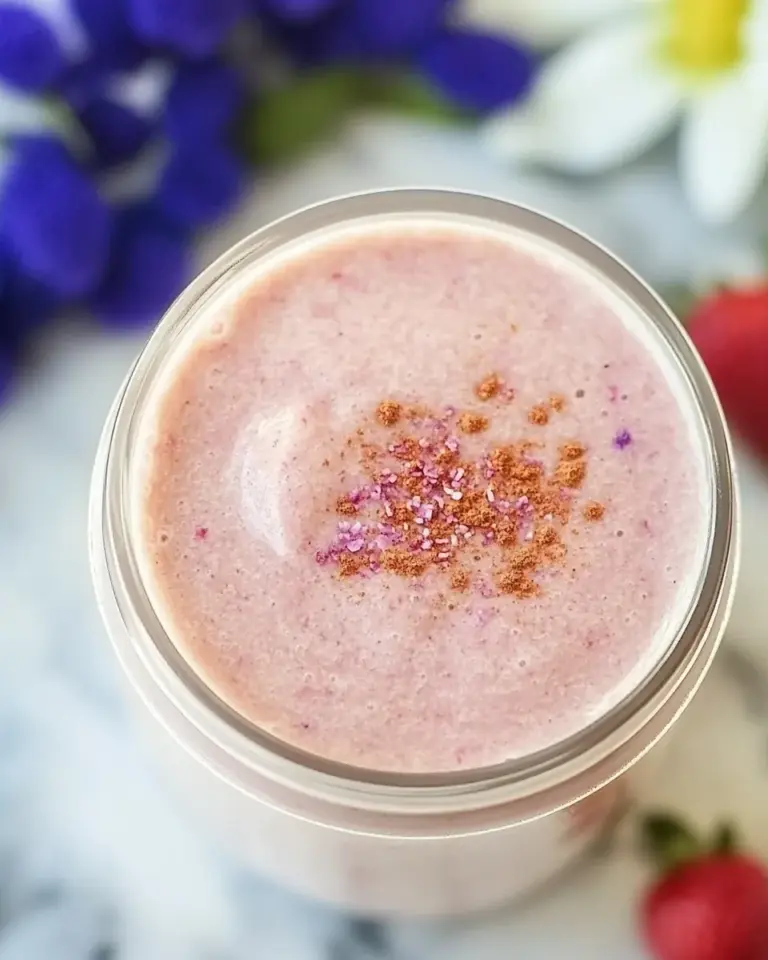
- Fall: Incorporate a dash of cinnamon or pumpkin spice for a cozy seasonal flavor.
- Winter: Mix in peppermint extract for a festive chocolate milkshake.
- Spring: Top with edible flowers for a beautiful presentation.
Mistakes Even Pros Make
Even the most experienced home chefs can stumble when making chocolate milkshakes. Here are some common pitfalls to avoid:
- Using hard ice cream: If your ice cream is too hard, it can make blending difficult. Let it sit at room temperature for a few minutes before scooping.
- Not measuring: It’s easy to eyeball ingredients, but measuring ensures consistent results.
- Over-blending: Blending for too long can cause the shake to become too thin. Blend just until combined.
- Skipping the toppings: Toppings can elevate your milkshake from good to great, so don’t skip them!
Storage & Reheat Guide
While chocolate milkshakes are best enjoyed fresh, you can store any leftovers for later. Here’s how:
If you have leftover milkshake, transfer it to an airtight container and place it in the freezer. It can last for about 1-2 weeks. When you’re ready to enjoy it again, let it soften slightly at room temperature before stirring or blending again to revive its creamy texture.
Top Questions & Answers
Can I use non-dairy ice cream for my chocolate milkshake?
Absolutely! Non-dairy ice creams made from almond, coconut, or cashew milk work great in this recipe. Just keep in mind that the flavor and texture may vary slightly.
What if I want a healthier version of this chocolate milkshake?
You can substitute regular ice cream with a low-fat or frozen yogurt option. Additionally, using unsweetened almond milk instead of regular milk can lower the calorie count.
Can I make this milkshake ahead of time?
While it’s best served fresh, you can prepare the components ahead of time and blend them when you’re ready to serve. Just remember that the texture will change if stored for too long.
What are some toppings I can add to my chocolate milkshake?
In addition to whipped cream, consider adding chocolate shavings, crushed nuts, or even a sprinkle of sea salt for a delightful twist. You can also include Chocolate Pretzel Peanut Butter Balls for a crunchy topping!
If you’re looking to expand your dessert repertoire, consider trying these delicious recipes:
See You at the Table
Nothing compares to the joy of sharing a rich, creamy chocolate milkshake with friends and family. This delightful treat can be a centerpiece for gatherings or a simple way to brighten your day. The beauty of making your own chocolate milkshake is that you can customize it as you wish, making it truly your own. So next time you’re in need of a sweet pick-me-up, remember this recipe and indulge in the chocolatey goodness!
Chocolate Milkshake
Ingredients
Equipment
Method
- Step 1: Gather Your Ingredients
- Step 2: Add the Ice Cream In your blender, add 6 cups of your chosen ice cream. Whether you opt for vanilla or chocolate, make sure it’s softened slightly to make blending easier.
- Step 3: Pour in the Milk Add the 1/3 cup of milk to the blender. If you prefer a thicker shake, start with less milk and add more as needed.
- Step 4: Add the Chocolate Sauce Drizzle in the 1/3 cup of chocolate sauce. You can adjust this amount based on how chocolatey you want your shake to be.
- Step 5: Blend Until Smooth Secure the lid on the blender and blend on high until all ingredients are well combined and smooth. Stop to scrape down the sides if necessary.
- Step 6: Check the Consistency If your milkshake is too thick, add a little more milk and blend again until you reach your desired consistency.
- Step 7: Serve and Top Pour your chocolate milkshake into a glass. If desired, top it with whipped cream and an extra drizzle of chocolate sauce for that picture-perfect finish.
Notes
- Use slightly softened ice cream for easier blending.
- Experiment with different ice cream flavors for unique tastes.
- Store leftovers in an airtight container in the freezer for 1-2 weeks.