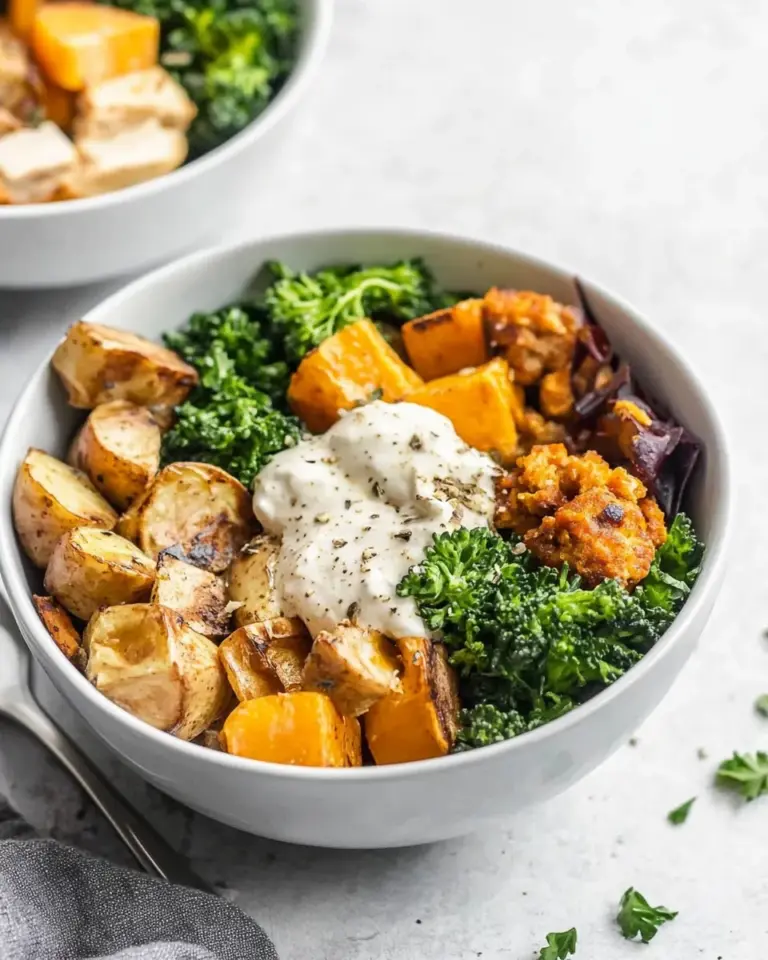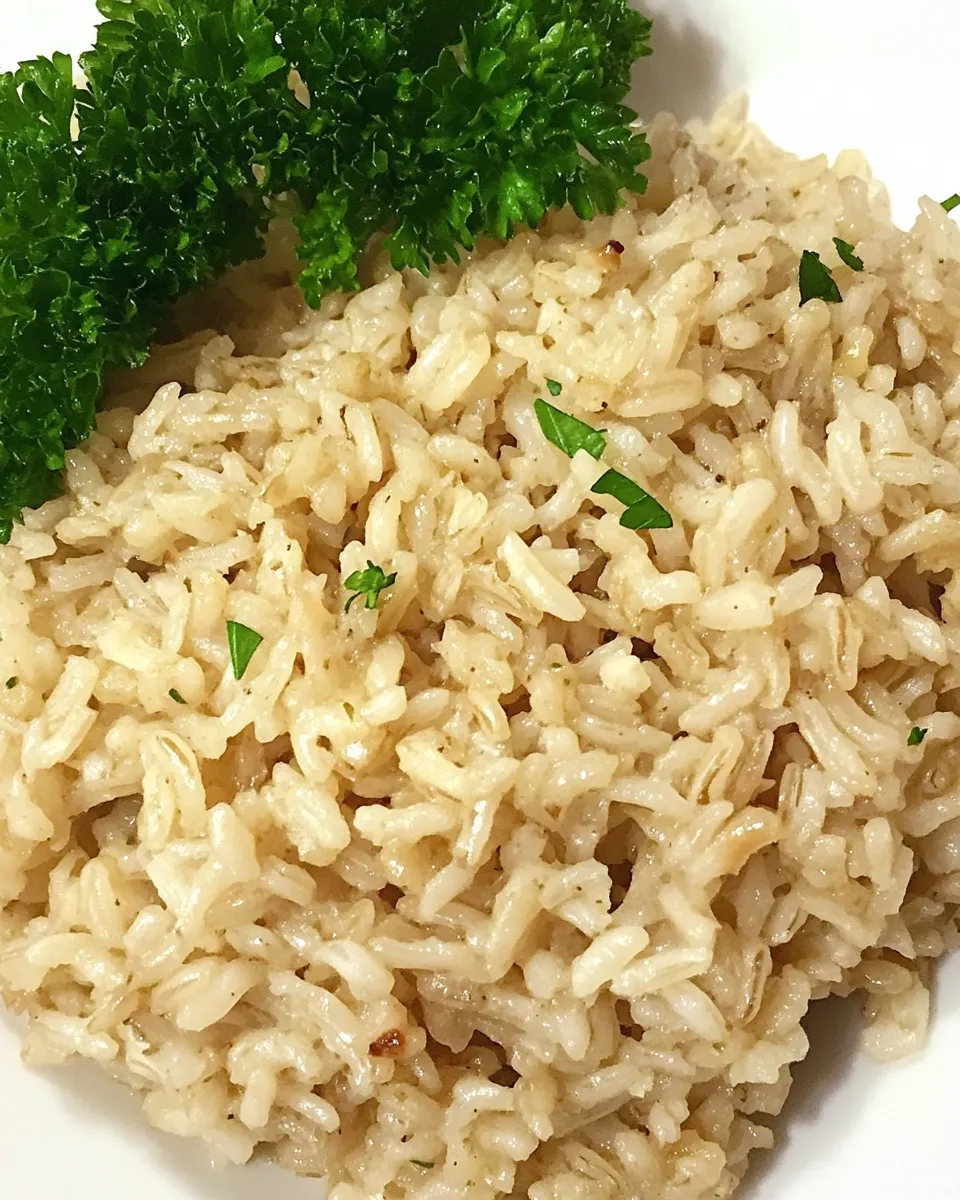
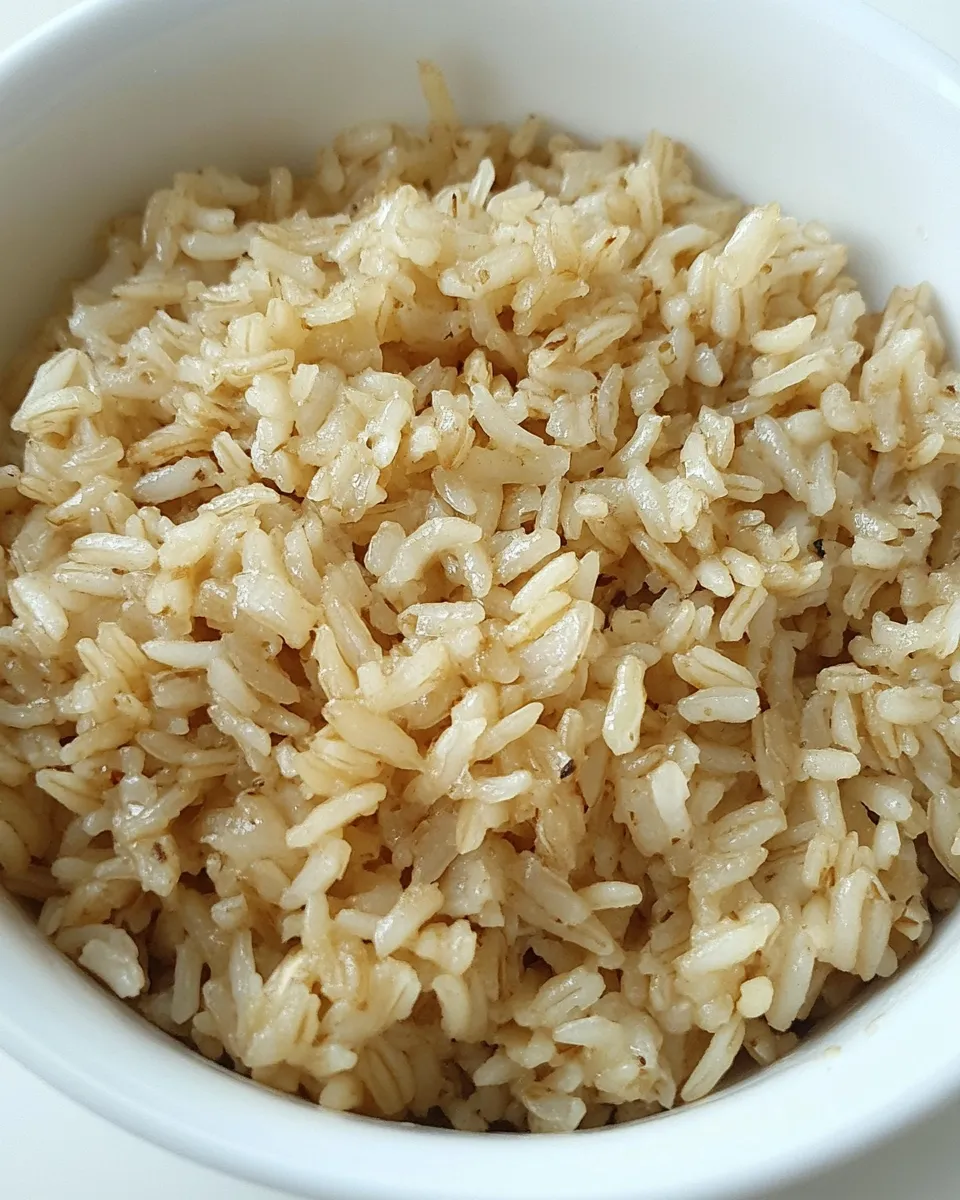
Baked brown rice is a simple, wholesome side dish that complements a variety of meals. It’s an easy way to prepare brown rice without the fuss of stovetop cooking. With just four ingredients, you can achieve perfectly fluffy rice every time. Whether you’re serving it alongside grilled vegetables, roasted meats, or using it as a base for flavorful bowls, this baked brown rice recipe will become a staple in your kitchen.
Why It Works Every Time
Baking brown rice in the oven is a game changer. The method allows the rice to cook evenly, absorbing just the right amount of water for a fluffy texture. Unlike stovetop cooking, where rice can easily become overcooked or undercooked, baking provides a consistent heat that ensures every grain is tender and delicious. The addition of butter enhances the flavor while also helping to keep the grains separate, making this a foolproof way to prepare brown rice.
What to Buy
To make baked brown rice, you’ll need the following ingredients:
- Brown Rice: Look for long-grain or short-grain, depending on your preference. Make sure it’s uncooked.
- Water: Filtered or tap water will work for this recipe. Adjust based on the rice type.
- Unsalted Butter: Use high-quality butter for the best flavor. You can also substitute with olive oil for a dairy-free option.
- Kosher Salt: This salt enhances the flavor of the rice. If you use table salt, reduce the amount slightly.
Equipment at a Glance
- Oven-safe Baking Dish: A glass or ceramic dish works well for baking the rice.
- Measuring Cups: Accurate measurements are key for perfect rice.
- Aluminum Foil: This will cover the dish while it bakes, trapping steam and moisture.
- Fork: For fluffing the rice once it’s done baking.
Baked Brown Rice, Made Easy
Step 1: Preheat the Oven
Preheat your oven to 375°F (190°C). This ensures that the rice cooks evenly from the start.
Step 2: Prepare the Baking Dish
In your oven-safe baking dish, combine 1 cup of brown rice, 2 cups of water, 1 tablespoon of unsalted butter, and 1 teaspoon of kosher salt. Stir to combine all the ingredients.
Step 3: Cover the Dish
Cover the baking dish tightly with aluminum foil. This step is crucial as it traps steam, which helps the rice cook properly.
Step 4: Bake the Rice
Place the covered baking dish in the preheated oven and bake for 1 hour. Resist the urge to peek, as this will let steam escape.
Step 5: Fluff and Serve
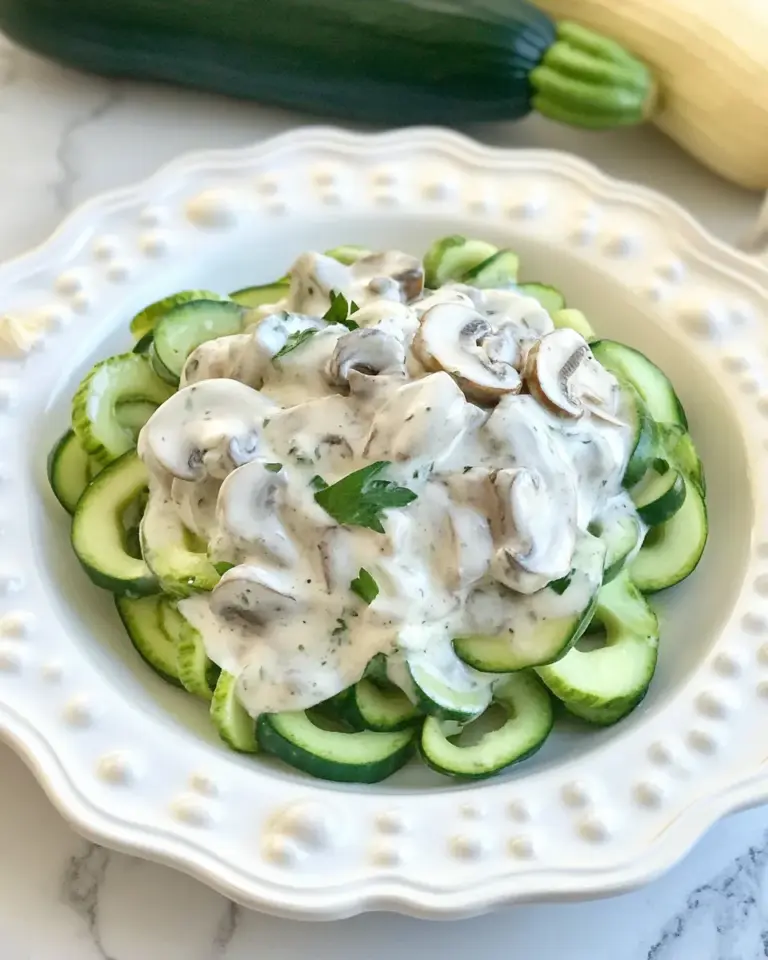
After 1 hour, carefully remove the foil (watch out for steam!). Use a fork to fluff the rice gently. It’s now ready to be served alongside your favorite dishes, such as Garlic Butter Chicken Thighs With Rice Pilaf or Sticky Orange Chicken Thighs With Fried Rice.
Dietary Customizations
- Dairy-Free: Substitute the unsalted butter with olive oil or a dairy-free butter alternative.
- Gluten-Free: Brown rice is naturally gluten-free, making this dish suitable for those with gluten sensitivities.
- Herbs and Spices: Add herbs like thyme or rosemary for an aromatic twist, or spices like turmeric for added color and flavor.
- Vegetable Broth: Instead of water, use vegetable broth for a deeper flavor.
Mistakes Even Pros Make
Even seasoned cooks can make mistakes when it comes to baking brown rice. Here are a few common pitfalls to avoid:
- Not Measuring Ingredients Accurately: The ratio of rice to water is crucial. Too much water can make the rice mushy, while too little can leave it undercooked.
- Skipping the Cover: Remember to cover the dish tightly with foil. Leaving it uncovered will result in dry rice.
- Opening the Oven Door: Resist the temptation to check on the rice until the cooking time is up. Opening the oven door releases the steam needed for cooking.
- Using the Wrong Type of Rice: Make sure to use brown rice; white rice has a different cooking time and method.
How to Store & Reheat
To store leftover baked brown rice:
- Refrigeration: Allow the rice to cool completely, then transfer it to an airtight container. It can be stored in the refrigerator for up to 5 days.
- Freezing: For longer storage, freeze the rice in portions. Use freezer-safe bags or containers, and it will last for up to 3 months.
- Reheating: To reheat, add a splash of water to the rice and cover it to steam in the microwave, or warm it in a pan on the stove with a bit of water until heated through.
Reader Questions
Can I use white rice instead of brown rice?
While you can use white rice, the water ratio and baking time will differ. White rice generally cooks faster, so it won’t yield the same results as brown rice in this recipe.
How can I enhance the flavor of the baked brown rice?
You can add aromatics such as garlic or onion powder, or stir in fresh herbs after cooking for an extra flavor boost. Using broth instead of water also makes a significant difference.
What if my rice is still hard after baking?
If your rice is hard, it may need more water or time. You can add a little more water, cover it back up, and return it to the oven for an additional 10-15 minutes.
Can I add vegetables to the baked brown rice?
Yes, you can add vegetables like peas, carrots, or bell peppers. Just add them to the rice before covering it and baking; however, be cautious not to add too much liquid.
Once you’ve mastered baked brown rice, consider trying these delicious recipes:
Time to Try It
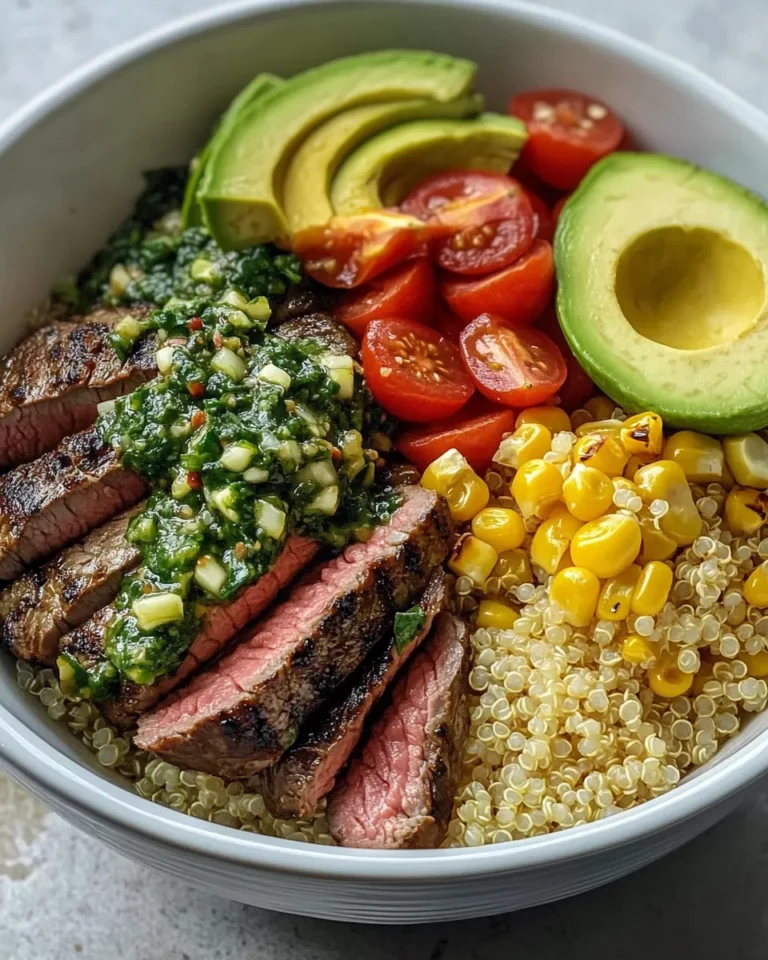
Baked brown rice is not just a side dish; it’s a versatile base for countless meals. With its simple preparation and delightful flavor, it’s time to give this recipe a try. Whether you’re cooking for a crowd or just for yourself, baked brown rice will deliver satisfying results every time. Enjoy the process, and feel free to get creative with your toppings and pairings!
Baked Brown Rice
Ingredients
Equipment
Method
- Step 1: Preheat your oven to 375°F (190°C) to ensure even cooking.
- Step 2: In your oven-safe baking dish, combine the brown rice, water, unsalted butter, and kosher salt. Stir to combine.
- Step 3: Cover the dish tightly with aluminum foil to trap steam.
- Step 4: Bake for 1 hour. Avoid opening the oven door during baking.
- Step 5: After baking, carefully remove the foil and fluff the rice with a fork. Serve with your favorite dishes.
Notes
- Substitute butter with olive oil for a dairy-free option.
- Store leftovers in an airtight container in the refrigerator for up to 5 days.
- For extra flavor, consider using vegetable broth instead of water.