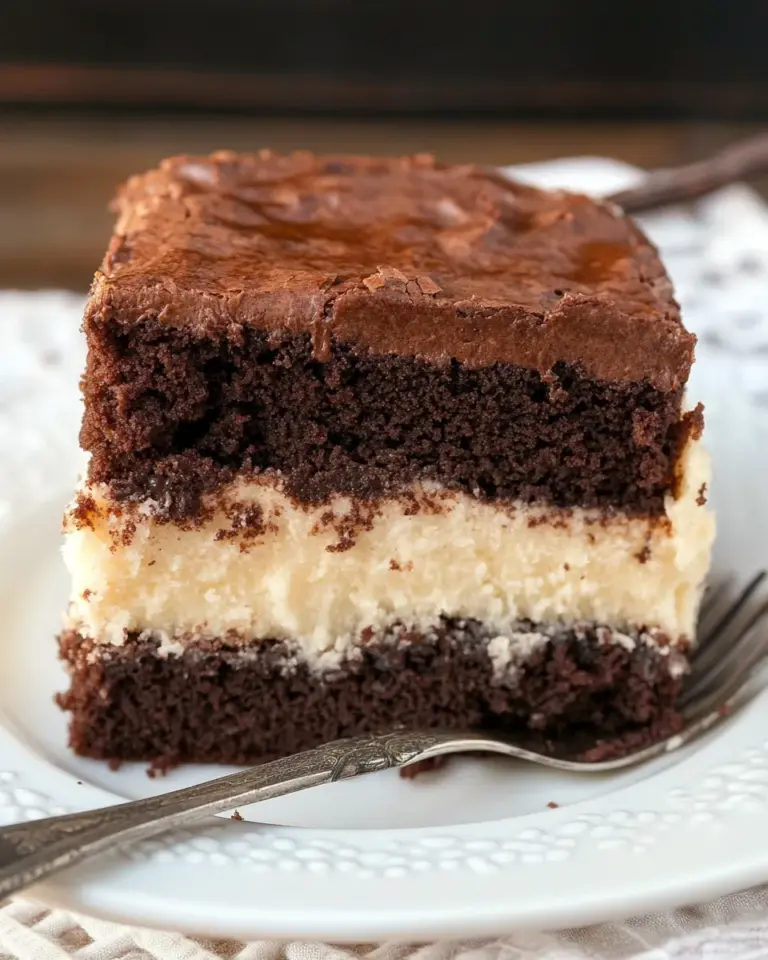
There’s something irresistibly comforting about the combination of chocolate and peanut butter, isn’t there? When you bring them together in a fudgy dessert, you create a treat that’s perfect for any occasion. These Chocolate Peanut Butter Fudge Bars are rich, creamy, and incredibly easy to make. They are the perfect indulgence for chocolate lovers and peanut butter enthusiasts alike. Let’s dive into why this recipe should be a staple in your dessert repertoire.
Why This Recipe Belongs in Your Rotation
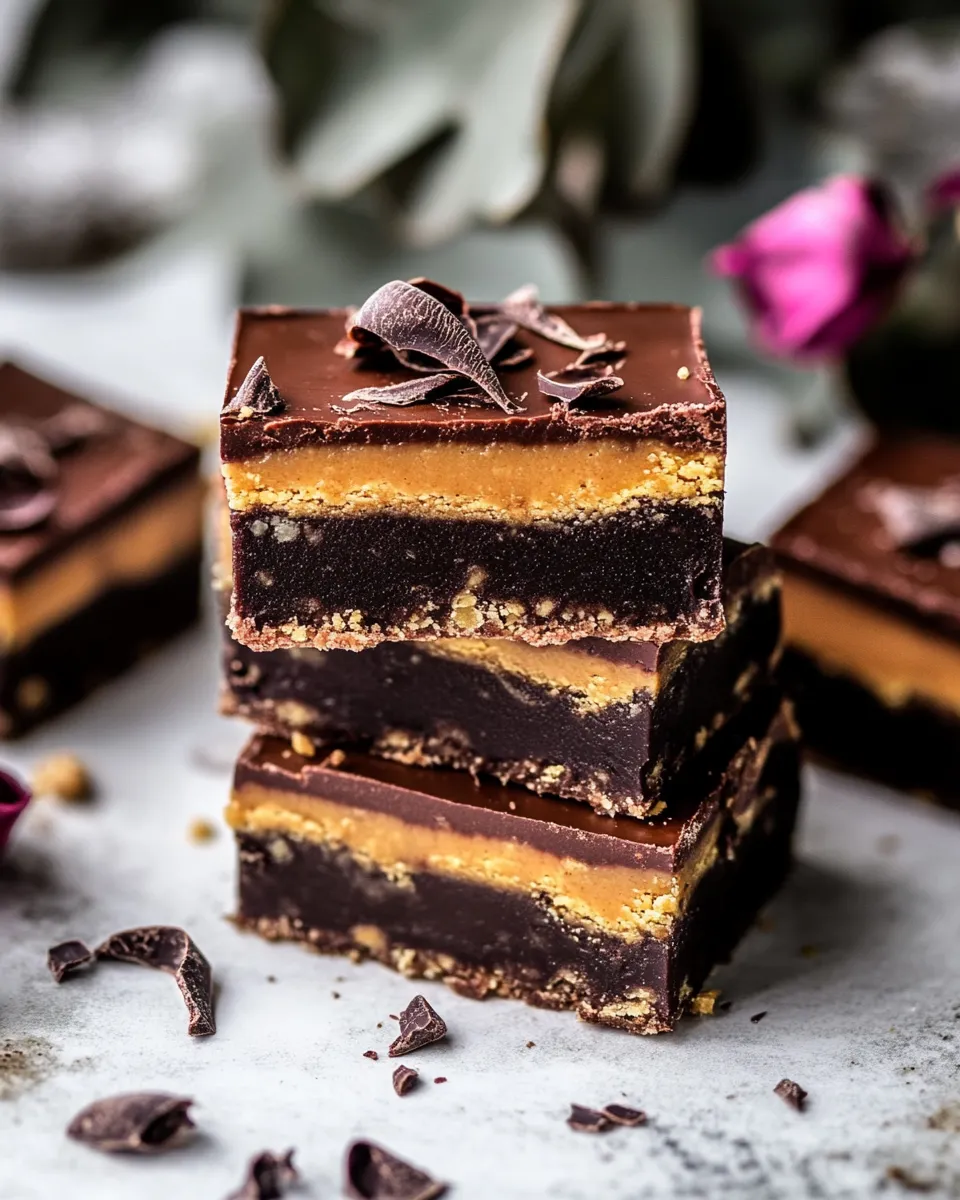
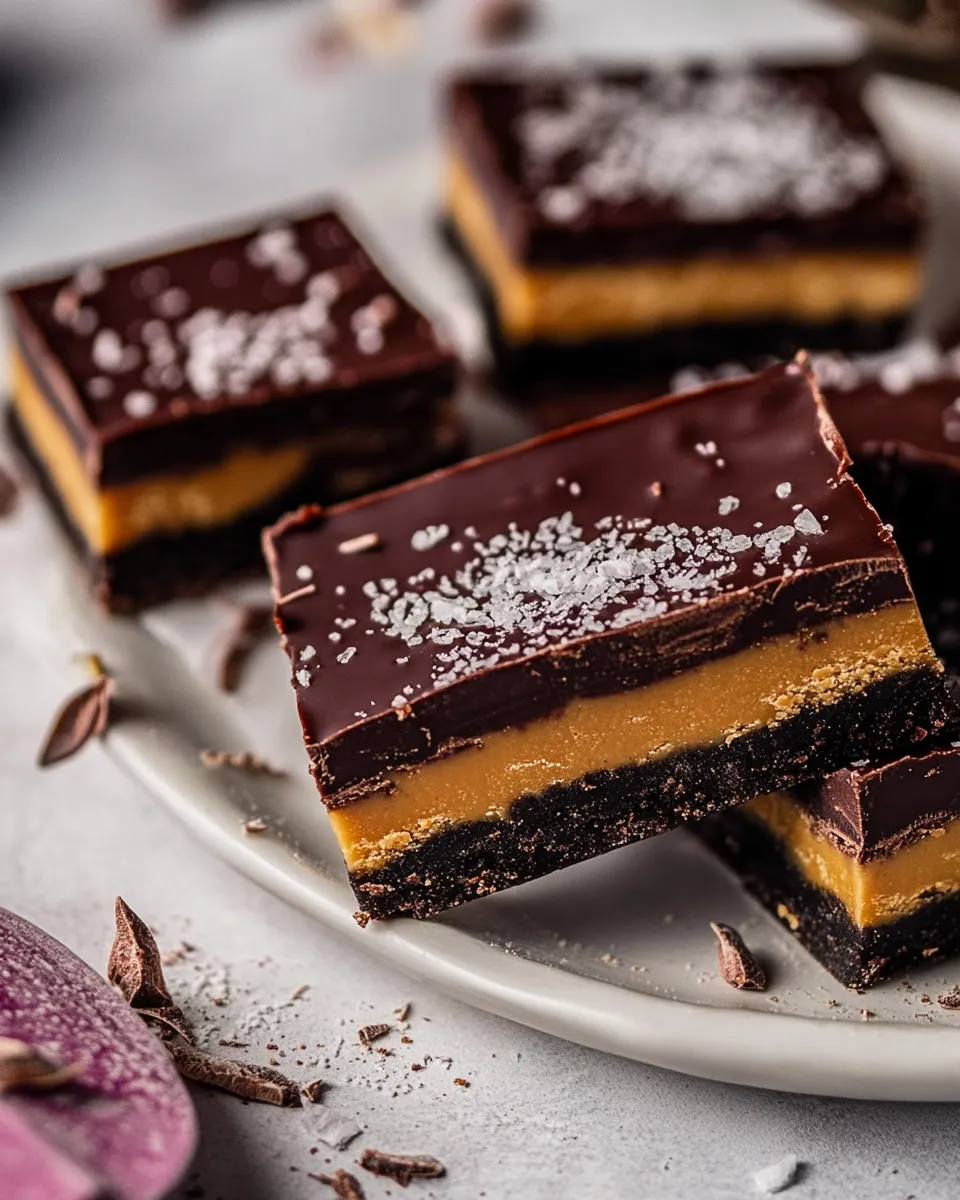
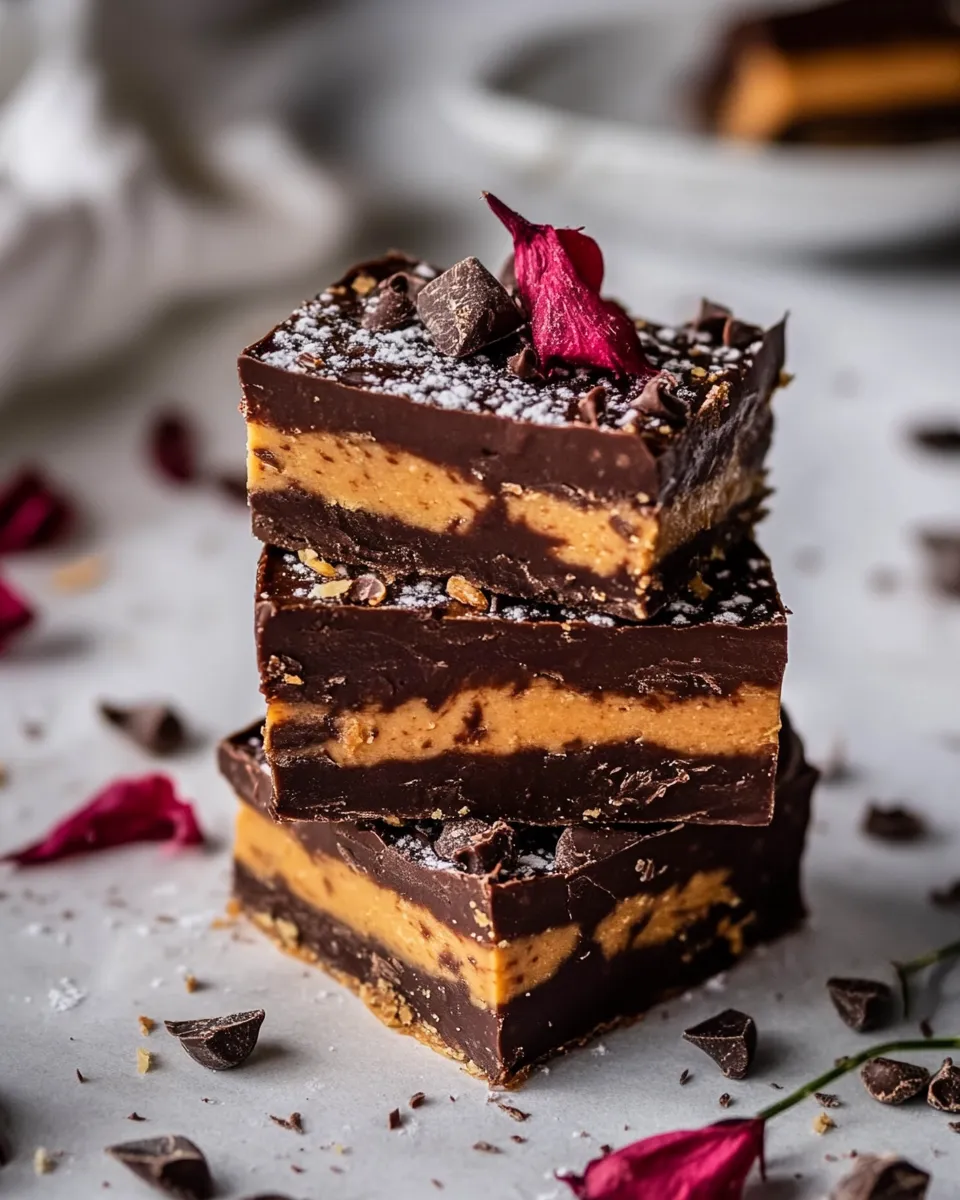
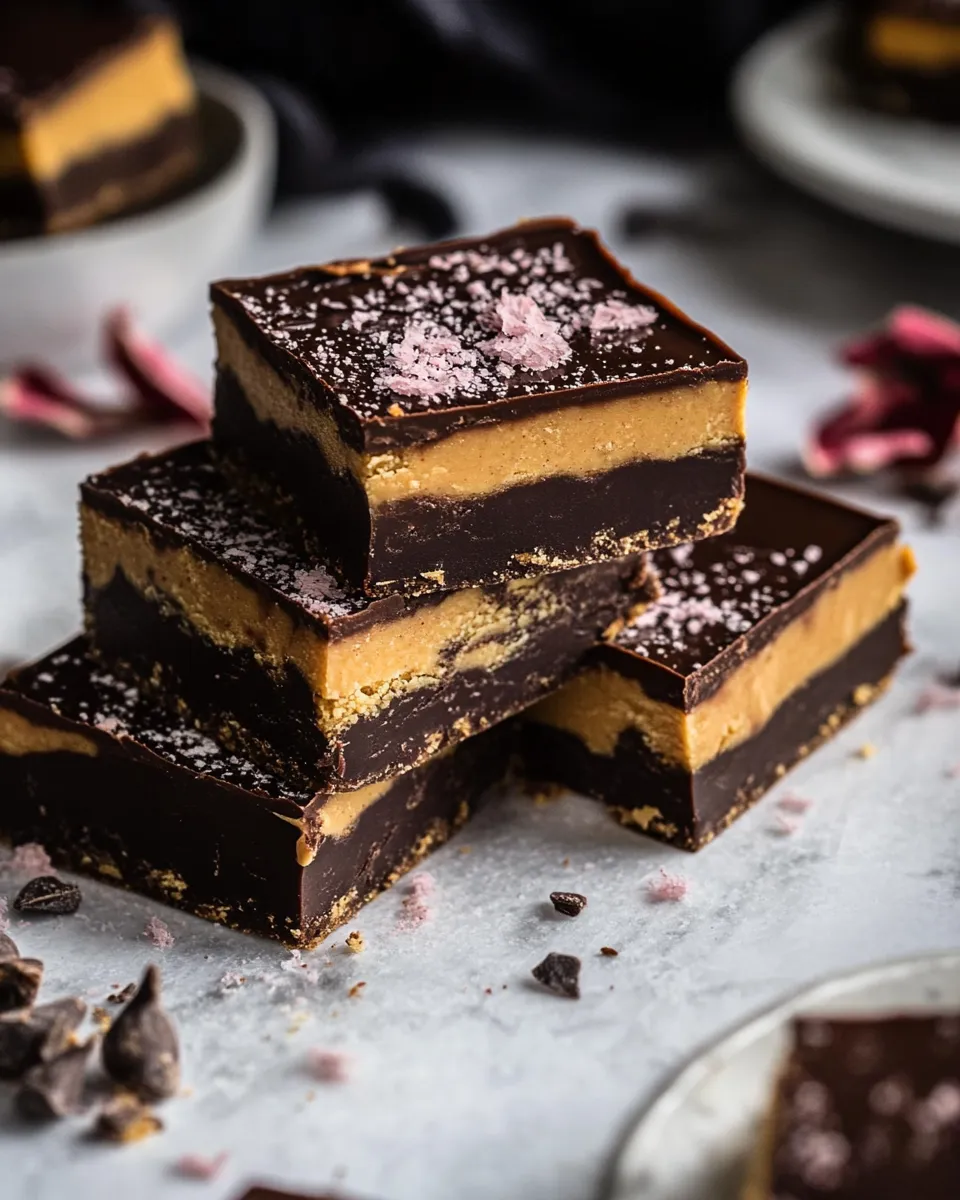
Chocolate Peanut Butter Fudge Bars are not just another dessert; they are a harmonious blend of flavors and textures. The smooth, creamy peanut butter contrasts beautifully with the rich chocolate layers, making each bite a delightful experience. They are perfect for parties, potlucks, or simply as a sweet treat to enjoy at home. Plus, they require minimal baking effort, meaning you can whip them up quickly without any fuss. If you’re looking to impress friends and family or satisfy your own sweet tooth, these fudge bars will do just that.
Ingredient Breakdown
Let’s take a closer look at the ingredients that make these Chocolate Peanut Butter Fudge Bars so delicious:
- 40 chocolate wafer cookies or Oreos without filling: These provide a crunchy, chocolatey base that adds texture.
- 4 tablespoons salted butter: This gives richness and helps bind the crust together.
- 1/2 cup semi-sweet chocolate chips: For added chocolate goodness in the fudge layer.
- 2 teaspoons instant coffee: Enhances the chocolate flavor without making the bars taste like coffee.
- 2 teaspoons vanilla extract: Adds a lovely warmth and depth of flavor.
- 1 cup creamy peanut butter: The star of the show, providing that signature flavor and creaminess.
- 1/4 cup pure maple syrup: A natural sweetener that complements the peanut butter.
- 1/4 cup melted coconut oil: Helps to set the fudge and adds a hint of tropical flavor.
- 2 cups semi-sweet chopped chocolate or chocolate chips: For the top layer of fudge, ensuring a rich finish.
- 1 cup heavy cream: Essential for making the chocolate layer creamy and luscious.
- Sea salt (if desired): A sprinkle on top enhances the flavors beautifully.
Tools of the Trade
Before we start crafting these delightful bars, gather the following tools to make the process as smooth as possible:
- 9×9 inch baking pan: For setting your fudge bars.
- Mixing bowls: For combining your crust and fudge components.
- Microwave-safe dish: To melt your chocolate and butter.
- Spatula: For spreading the mixtures evenly.
- Double boiler (optional): For those who prefer melting chocolate the traditional way.
Step-by-Step: Chocolate Peanut Butter Fudge Bars.
Now, let’s get to the fun part—making the Chocolate Peanut Butter Fudge Bars! Follow these simple steps to create your own batch:
Step 1: Prepare the Crust
Begin by preheating your oven to 350°F (175°C). In a food processor, pulse the chocolate wafer cookies or Oreos until they become fine crumbs. Transfer the crumbs to a mixing bowl and combine them with the melted butter. Mix until the crumbs are evenly coated.
Step 2: Press the Crust
Pour the crumb mixture into the prepared baking pan and press it firmly into the bottom to create an even layer. Bake for 10 minutes, then remove it from the oven and let it cool.
Step 3: Make the Peanut Butter Layer
In a separate bowl, combine the creamy peanut butter, pure maple syrup, and instant coffee. Mix until smooth and well incorporated. Spread this mixture evenly over the cooled crust.
Step 4: Prepare the Chocolate Fudge Layer
In a microwave-safe dish, combine the heavy cream and semi-sweet chocolate chips. Microwave in 30-second intervals, stirring in between, until the chocolate is fully melted and the mixture is smooth. Stir in the vanilla extract and melted coconut oil.
Step 5: Assemble the Bars
Pour the chocolate fudge mixture over the peanut butter layer. Use a spatula to spread it evenly. If desired, sprinkle sea salt on top for that perfect sweet-and-salty touch.
Step 6: Chill and Set
Refrigerate the bars for at least 2 hours, or until they are firm. Once set, remove from the pan and slice into squares.
Budget & Availability Swaps
If you’re looking to adjust this recipe based on what you have on hand or to fit your budget, consider the following swaps:
- Use graham cracker crumbs instead of chocolate wafer cookies for a different flavor profile.
- Opt for almond butter or sunflower seed butter in place of peanut butter if you have nut allergies.
- Try using honey or agave syrup in place of maple syrup for sweetness.
- For a dairy-free version, substitute heavy cream with coconut cream and use dairy-free chocolate chips.
What Could Go Wrong
While this recipe is straightforward, a few things can go awry:
- If the crust is not pressed firmly enough, it may crumble when you slice the bars.
- Overheating the chocolate can lead to a grainy texture; stir gently and heat in short intervals.
- Not allowing the bars to set long enough can result in a messy cut; patience is key!
- Using old or expired ingredients, especially chocolate, may affect the flavor.
Best Ways to Store
To keep your Chocolate Peanut Butter Fudge Bars fresh and delicious, follow these storage tips:
- Store in an airtight container in the refrigerator for up to two weeks.
- For longer storage, freeze the bars for up to three months. Just be sure to separate layers with parchment paper.
- Allow to thaw in the refrigerator before enjoying if frozen.
Top Questions & Answers
Can I use natural peanut butter instead of creamy peanut butter?
Yes, but be aware that natural peanut butter can be runnier and may affect the texture of the bars. You might want to adjust the amount slightly.
How can I make these bars gluten-free?
Use gluten-free chocolate wafers or gluten-free cookies instead of standard Oreos or chocolate wafers.
What can I use instead of coconut oil?
Any neutral oil, like vegetable or canola oil, can work in place of coconut oil, although the flavor may vary slightly.
Can I add nuts or other mix-ins to the bars?
Absolutely! Chopped peanuts, chocolate chunks, or even dried fruit can add extra texture and flavor to your fudge bars.
To elevate your dessert experience, consider serving these Chocolate Peanut Butter Fudge Bars with:
Before You Go
Embrace the joy of baking and treat yourself with these fantastic Chocolate Peanut Butter Fudge Bars. Whether you’re hosting a gathering or enjoying a quiet night in, these bars are sure to hit the spot. They combine the best of both worlds—rich chocolate and creamy peanut butter—into an easy-to-make dessert that pleases everyone. Indulge in the flavors and share them with loved ones, or keep them all to yourself; we won’t judge! Happy baking!
Chocolate Peanut Butter Fudge Bars.
Ingredients
Equipment
Method
- Step 1: Prepare the Crust: Preheat your oven to 350°F (175°C). In a food processor, pulse the chocolate wafer cookies or Oreos until they become fine crumbs. Transfer the crumbs to a mixing bowl and combine them with the melted butter. Mix until the crumbs are evenly coated.
- Step 2: Press the Crust: Pour the crumb mixture into the prepared baking pan and press it firmly into the bottom to create an even layer. Bake for 10 minutes, then remove it from the oven and let it cool.
- Step 3: Make the Peanut Butter Layer: In a separate bowl, combine the creamy peanut butter, pure maple syrup, and instant coffee. Mix until smooth and well incorporated. Spread this mixture evenly over the cooled crust.
- Step 4: Prepare the Chocolate Fudge Layer: In a microwave-safe dish, combine the heavy cream and semi-sweet chocolate chips. Microwave in 30-second intervals, stirring in between, until the chocolate is fully melted and the mixture is smooth. Stir in the vanilla extract and melted coconut oil.
- Step 5: Assemble the Bars: Pour the chocolate fudge mixture over the peanut butter layer. Use a spatula to spread it evenly. If desired, sprinkle sea salt on top for that perfect sweet-and-salty touch.
- Step 6: Chill and Set: Refrigerate the bars for at least 2 hours, or until they are firm. Once set, remove from the pan and slice into squares.
Notes
- Store in an airtight container in the refrigerator for up to two weeks.
- For longer storage, freeze the bars for up to three months, separating layers with parchment paper.
- Allow to thaw in the refrigerator before enjoying if frozen.