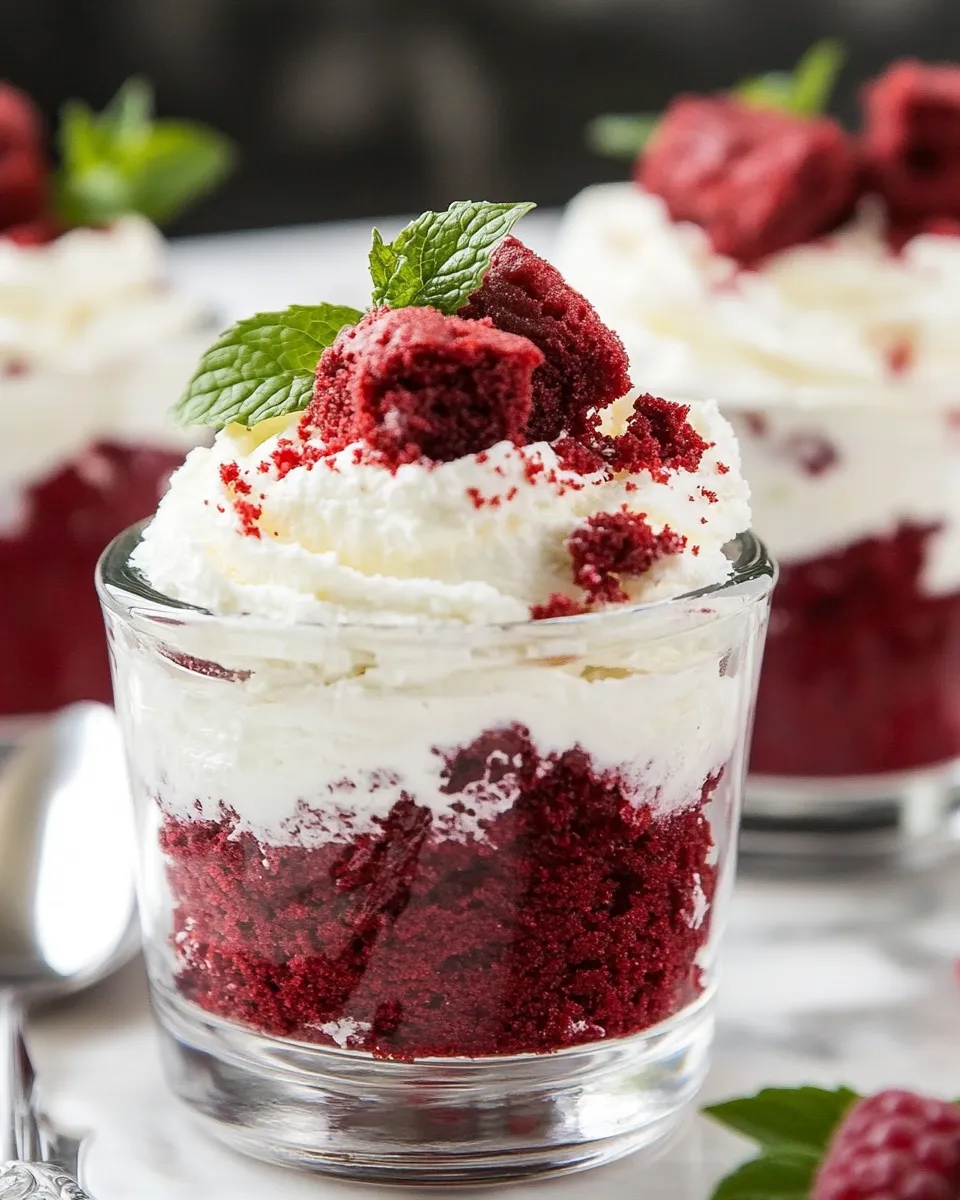
Nothing says celebration quite like a decadent dessert, and when it comes to sweet indulgence, Individual Red Velvet Trifles are the ultimate treat. These trifles are not only visually stunning but also rich in flavor, combining soft, velvety cake layers with creamy cheesecake filling. Perfect for parties or simply to satisfy a sweet tooth, these individual desserts are sure to impress. Let’s dive into why this recipe is a must-try!
Why It’s My Go-To
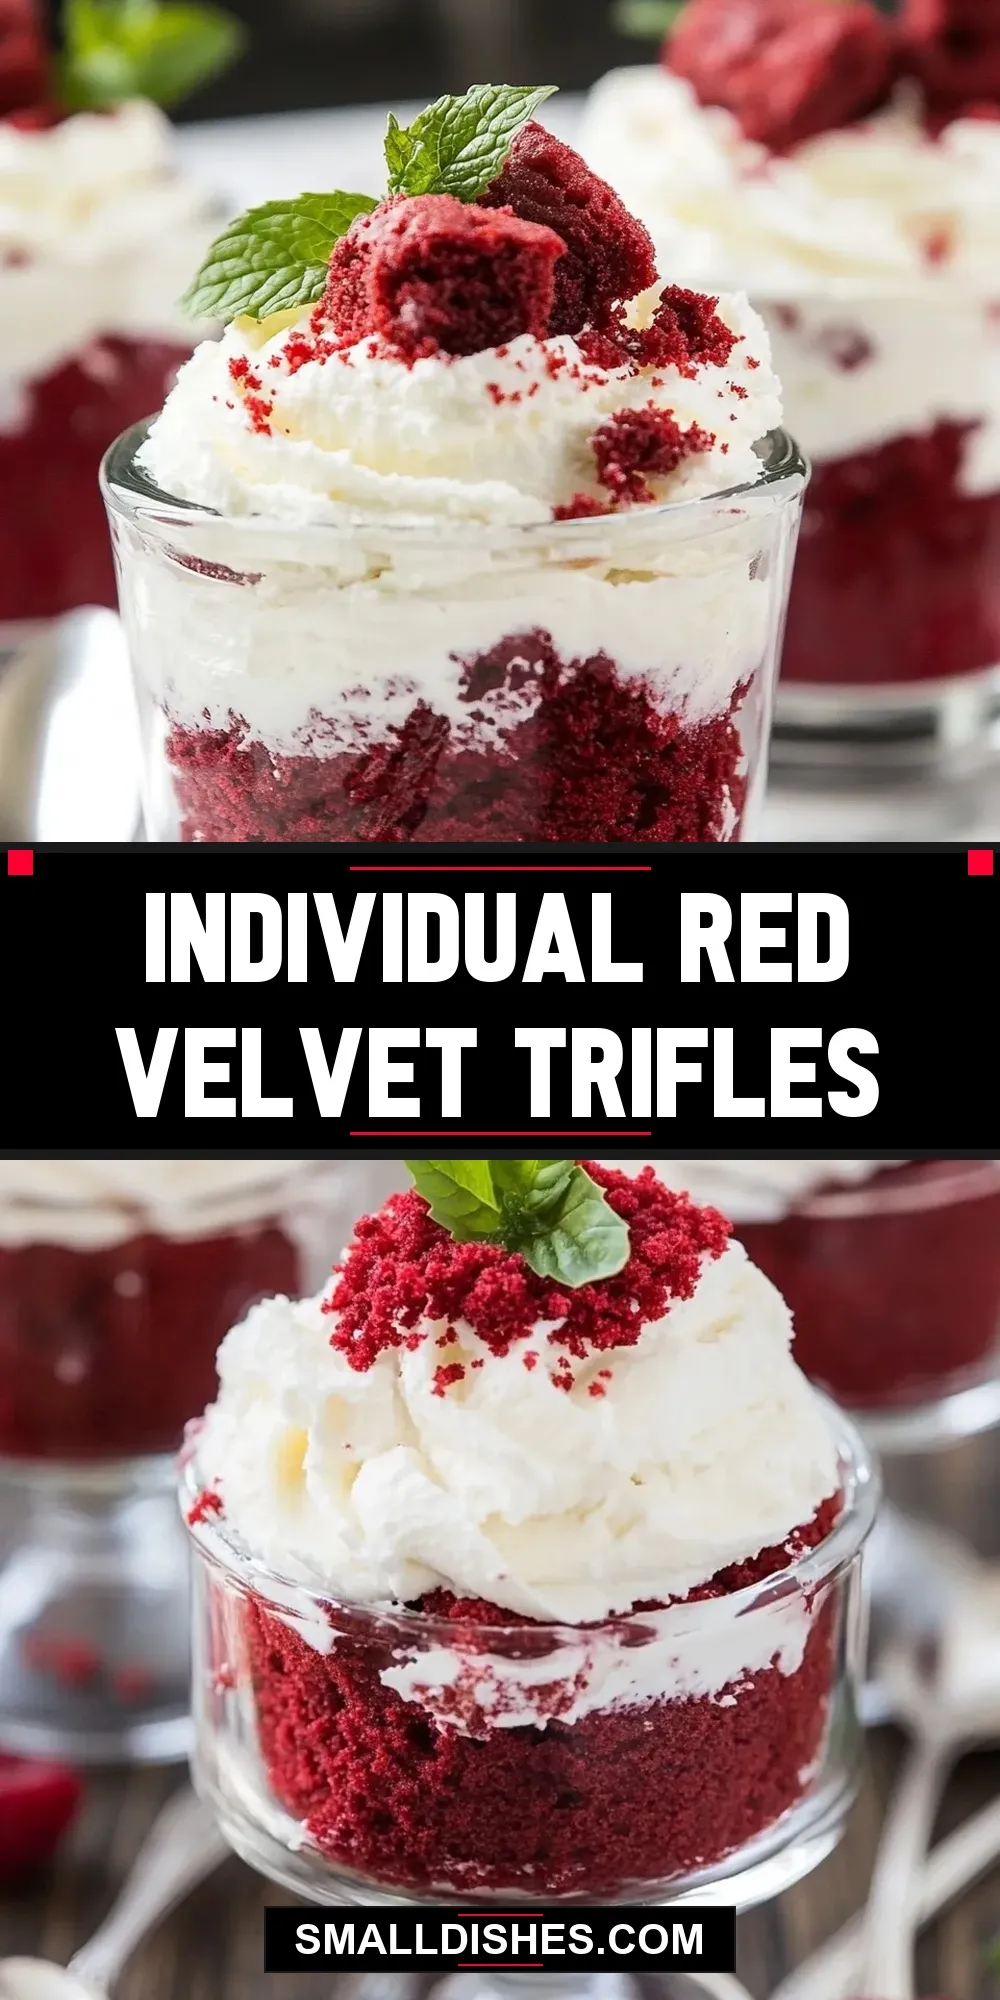
Red velvet cake has a unique charm with its vibrant color and subtle chocolate flavor. Pairing it with layers of creamy cheesecake pudding creates a delightful contrast that has made Individual Red Velvet Trifles my go-to dessert for any occasion. Whether celebrating a birthday, holiday, or just because, these trifles are always a hit. Plus, the individual servings make them easy to serve and even easier to enjoy!
The Ingredient Lineup
To create these delightful trifles, you’ll need the following ingredients:
- 3 1/4 cups all-purpose flour
- 2 cups sugar
- 3 tablespoons unsweetened cocoa powder
- 2 teaspoons baking soda
- 3/4 teaspoon salt
- 1 3/4 cups buttermilk
- 1 1/4 cups vegetable oil
- 3 large eggs
- 1 teaspoon distilled white vinegar
- 1 (1-ounce) bottle liquid red food coloring
- 1 (3.4-ounce) package instant cheesecake pudding mix (or white chocolate)
- 2 cups cold milk
- 1 (8-ounce) container frozen whipped topping, defrosted
These ingredients combine to create a rich and moist red velvet cake, perfectly complemented by a fluffy cheesecake layer.
Equipment & Tools
Before you begin, gather the following tools:
- Mixing bowls: For combining dry and wet ingredients.
- Whisk: To ensure a smooth batter.
- Measuring cups and spoons: Precision is key in baking.
- 9×13 inch baking pan: For baking the cake.
- Trifle cups or jars: For assembling your individual trifles.
- Spatula: For layering the ingredients smoothly.
With the right tools in hand, you’re ready to create these stunning desserts!
Individual Red Velvet Trifles Made Stepwise
Step 1: Prepare the Red Velvet Cake
Preheat your oven to 350°F (175°C). In a large mixing bowl, whisk together the all-purpose flour, sugar, cocoa powder, baking soda, and salt until well combined.
Step 2: Mix Wet Ingredients
In another bowl, mix the buttermilk, vegetable oil, eggs, vinegar, and red food coloring. Slowly add the wet mixture to the dry ingredients, stirring until smooth and fully combined.
Step 3: Bake the Cake
Pour the batter into a greased 9×13 inch baking pan. Bake for 30-35 minutes, or until a toothpick inserted into the center comes out clean. Let the cake cool completely before cutting it into squares.
Step 4: Make the Cheesecake Layer
In a separate bowl, combine the instant cheesecake pudding mix and cold milk. Whisk until the mixture thickens, then fold in the defrosted whipped topping until smooth and creamy.
Step 5: Assemble the Trifles
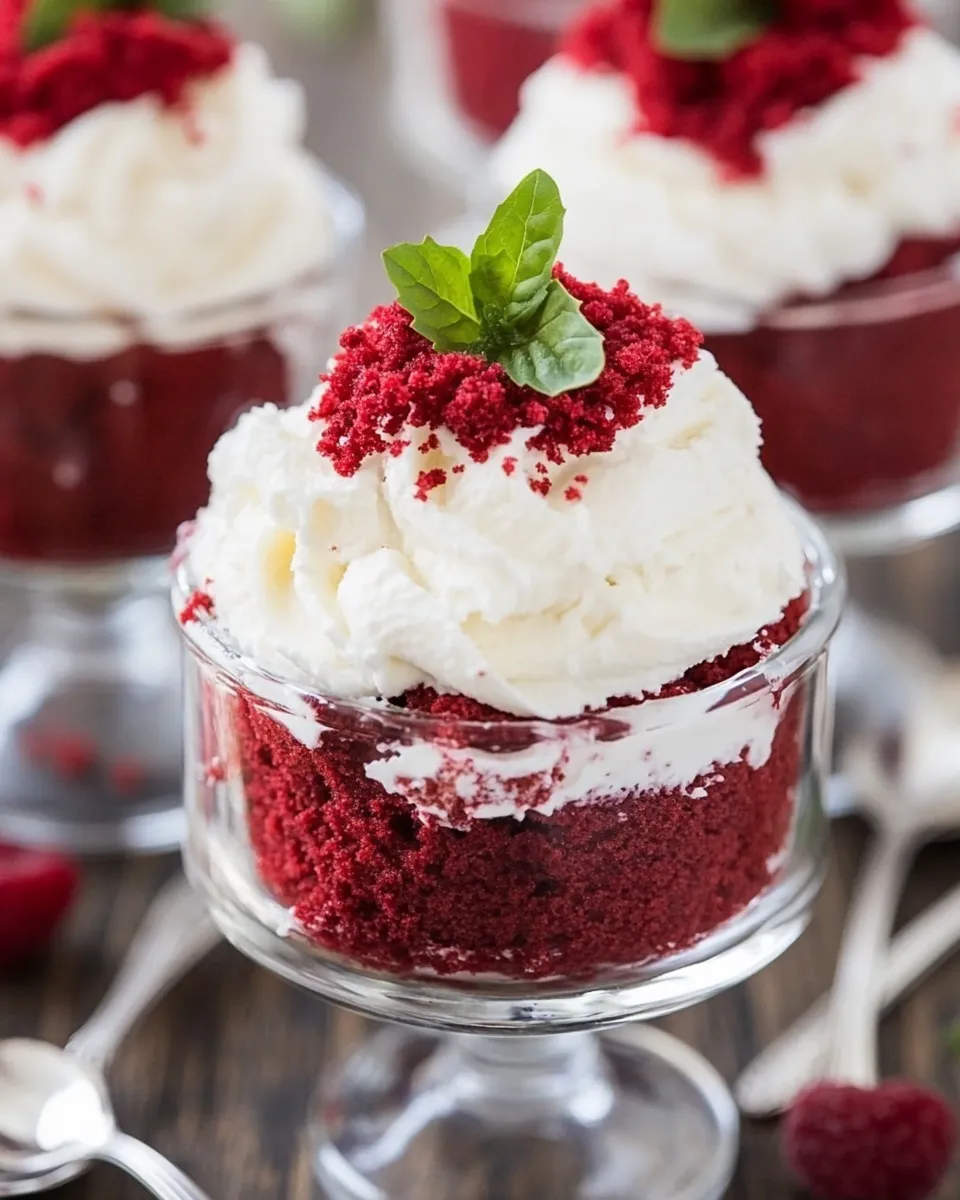
In your trifle cups or jars, layer pieces of the red velvet cake followed by a generous scoop of the cheesecake mixture. Repeat the layers until the cups are filled, finishing with a layer of cheesecake on top.
Step 6: Chill Before Serving
Cover the assembled trifles with plastic wrap and refrigerate for at least 2 hours to allow the flavors to meld. When ready to serve, you can garnish with additional whipped topping or chocolate shavings for an extra touch of elegance.
Spring to Winter: Ideas

These Individual Red Velvet Trifles can be adapted to fit any season or occasion. Consider these ideas:
- Top with fresh berries for a springtime twist.
- Use peppermint extract in the cheesecake layer for a festive winter flavor.
- Add a drizzle of chocolate sauce for an indulgent treat.
- Incorporate crushed cookies for added texture and flavor.
The versatility of trifles makes them suitable for any gathering!
Watch Outs & How to Fix
While making these trifles is straightforward, here are a few things to keep in mind:
- Overmixing the batter: This can lead to a dense cake. Mix until just combined.
- Underbaking: Ensure the cake is fully baked before cooling to prevent sogginess.
- Layering issues: If your layers are too thick, use a smaller amount of cake and cheesecake to maintain balance.
If you encounter these issues, don’t worry! Baking is all about learning and adapting.
Keep It Fresh: Storage Guide
To ensure your Individual Red Velvet Trifles stay fresh, follow these tips:
- Store in the refrigerator for up to 3 days.
- Keep the trifles covered to prevent drying out.
- Assembled trifles can be frozen for up to 1 month; just be aware that the texture may change slightly upon thawing.
With proper storage, you can enjoy these delightful desserts for days!
Reader Questions
Can I use a different type of pudding mix?
Absolutely! You can substitute with flavors like vanilla or chocolate pudding mix. Each will give your trifles a unique twist!
What if I don’t have buttermilk?
You can make a quick substitute by mixing 1 cup of milk with 1 tablespoon of vinegar or lemon juice. Let it sit for about 5 minutes before using.
Can I make this recipe gluten-free?
Yes! Simply substitute the all-purpose flour with a gluten-free blend that measures cup-for-cup.
How can I make these trifles more chocolatey?
Consider adding chocolate chips to the cheesecake layer or drizzling Chocolate Buttercream Frosting between the layers for an extra chocolate kick.
Quick Weeknight Wins
If you’re looking for more delicious and easy-to-make desserts, check out these recipes:
These recipes are perfect for when you want something sweet without spending hours in the kitchen.
Wrap-Up
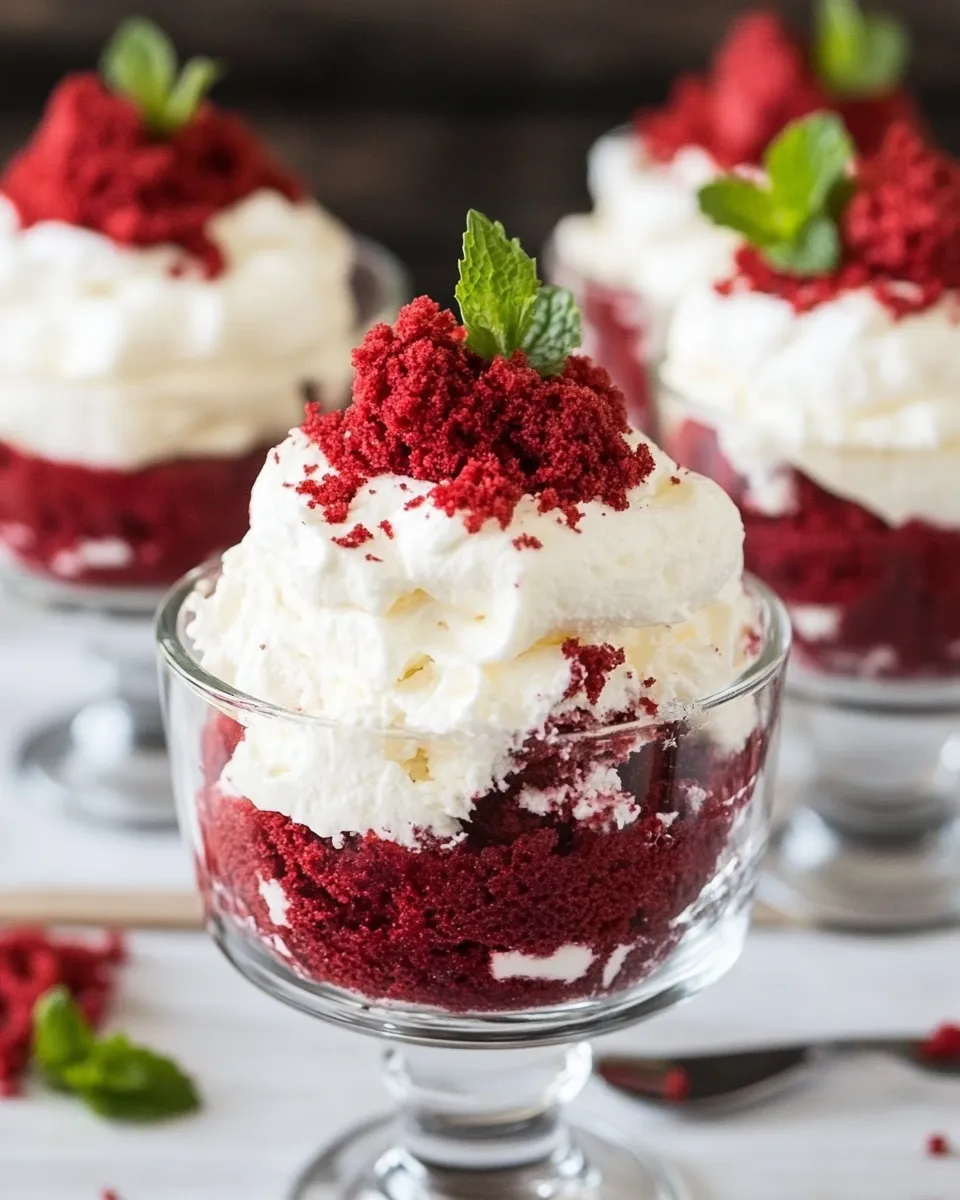
With the perfect balance of flavors and textures, Individual Red Velvet Trifles are bound to become a favorite in your dessert repertoire. Their vibrant appearance and delicious taste make them ideal for any occasion, and the best part is that they are simple to make! So gather your ingredients, follow the steps, and prepare to wow your friends and family with these delightful treats. You will be glad you did!
Share on Pinterest
Individual Red Velvet Trifles
Ingredients
Equipment
Method
- Step 1: Preheat your oven to 350°F (175°C). In a large mixing bowl, whisk together the all-purpose flour, sugar, cocoa powder, baking soda, and salt until well combined.
- Step 2: In another bowl, mix the buttermilk, vegetable oil, eggs, vinegar, and red food coloring. Slowly add the wet mixture to the dry ingredients, stirring until smooth and fully combined.
- Step 3: Pour the batter into a greased 9x13 inch baking pan. Bake for 30-35 minutes, or until a toothpick inserted into the center comes out clean. Let the cake cool completely before cutting it into squares.
- Step 4: In a separate bowl, combine the instant cheesecake pudding mix and cold milk. Whisk until the mixture thickens, then fold in the defrosted whipped topping until smooth and creamy.
- Step 5: In your trifle cups or jars, layer pieces of the red velvet cake followed by a generous scoop of the cheesecake mixture. Repeat the layers until the cups are filled, finishing with a layer of cheesecake on top.
- Step 6: Cover the assembled trifles with plastic wrap and refrigerate for at least 2 hours to allow the flavors to meld. When ready to serve, you can garnish with additional whipped topping or chocolate shavings for an extra touch of elegance.
Notes
- Store assembled trifles in the refrigerator for up to 3 days.
- Keep trifles covered to prevent drying out.
- Assembled trifles can be frozen for up to 1 month.