If you’re looking for a delightful and health-boosting condiment, look no further than Lemon Fermented Ginger Honey. This vibrant concoction marries the bright, zesty flavors of lemon with the spicy warmth of ginger, all harmoniously sweetened with honey. The fermentation process not only enhances the flavors but also infuses this blend with probiotics that are great for your gut health. Whether you enjoy it in a warm cup of tea, drizzled over yogurt, or as a syrup for pancakes, this fermented honey is bound to become a staple in your kitchen.
Why It’s My Go-To
Lemon Fermented Ginger Honey has become my go-to remedy for everything from a sore throat to a simple afternoon pick-me-up. The combination of ginger and lemon is not only refreshing but also packed with antioxidants and anti-inflammatory properties. This unique blend offers a perfect balance of sweetness and tang, making it a versatile ingredient in both sweet and savory dishes. Plus, the fermentation adds a delightful depth of flavor that you simply can’t achieve with raw honey alone. It’s a culinary adventure that brings health benefits right to your table!
Shopping List
To whip up this delightful Lemon Fermented Ginger Honey, you’ll need the following ingredients:
- Fresh lemons: 2-3 medium-sized, preferably organic
- Fresh ginger: 2-3 inches, peeled and thinly sliced
- Raw honey: 1 cup or more, depending on the size of your jar
Make sure to choose high-quality ingredients for the best results. Look for vibrant lemons and fresh ginger with a firm texture. The raw honey should be unprocessed to ensure maximum health benefits.
Equipment & Tools
Before diving into the fermentation process, gather the necessary tools:
- Glass jar: A quart-sized jar with a tight-fitting lid works best.
- Plate: To catch any drips during the fermentation.
- Spoon or spatula: To stir the mixture and ensure there are no air bubbles.
- Peeler and knife: For preparing the ginger.
Having everything ready will make the process smoother and more enjoyable.
Lemon Fermented Ginger Honey Made Stepwise
Step 1: Prepare Your Ingredients
Start by washing the lemons and ginger thoroughly. Slice the lemons into thin rounds, removing any seeds you find along the way. Peel the ginger and slice it into thin pieces as well.
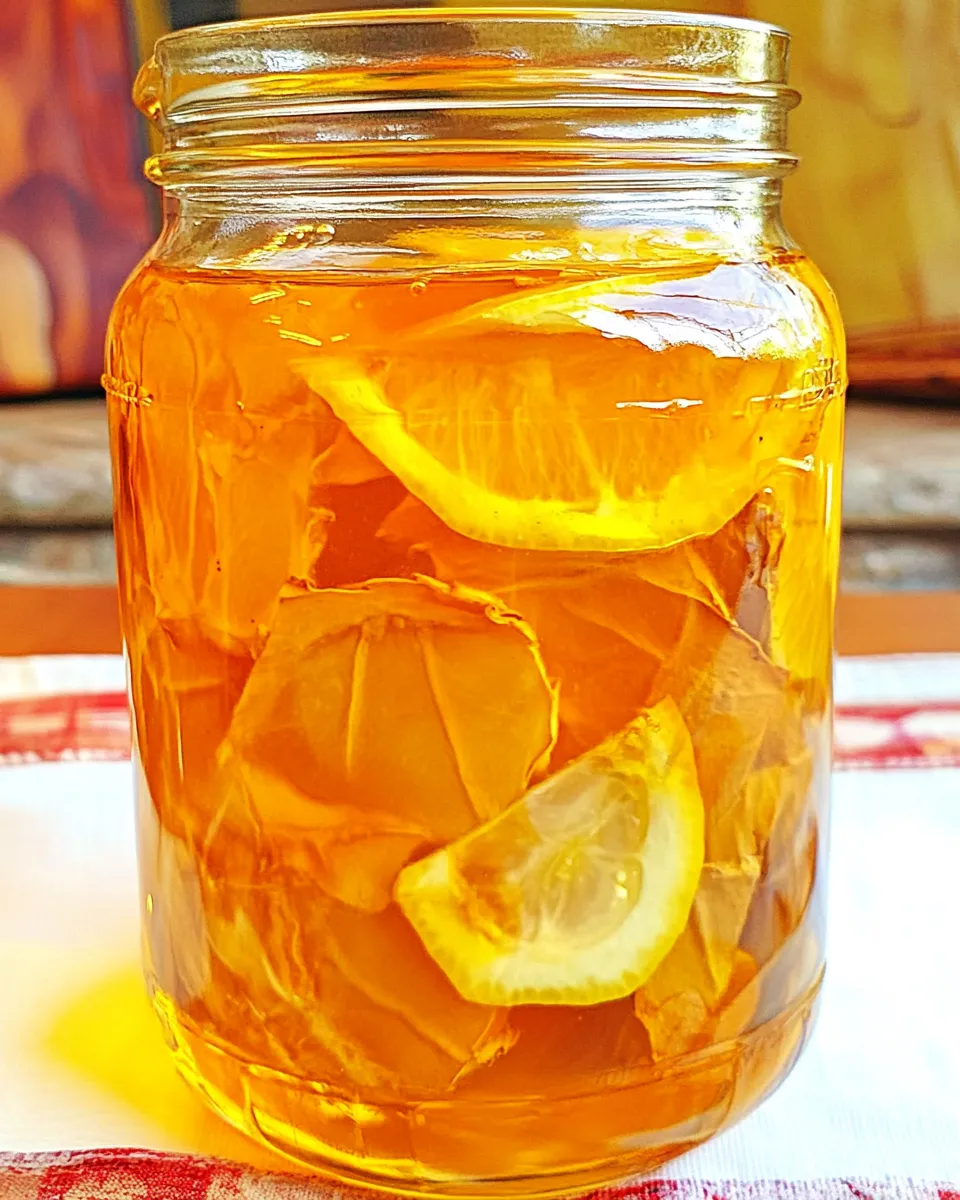
Step 2: Layer Them in the Jar
Place the lemon and ginger slices in your clean glass jar, layering them as you go. Aim for an even distribution of both ingredients for a balanced flavor.
Step 3: Add the Honey
Pour in enough raw honey to completely cover the lemon and ginger slices. The honey should rise above the contents, ensuring everything is submerged to prevent mold.
Step 4: Stir and Remove Air Bubbles
Using a spoon, stir the mixture gently but thoroughly. This step is crucial as it helps to release any trapped air bubbles beneath the slices, which can hinder the fermentation process.
Step 5: Seal and Let It Ferment
Secure the lid tightly on the jar and place it in a warm spot in your kitchen, away from direct sunlight. A cupboard or pantry is ideal.
Step 6: Burp the Jar Daily
Every day, remember to “burp” the jar. This means briefly opening the lid to release any gases that build up during fermentation. This step is vital to ensure a successful fermentation process.
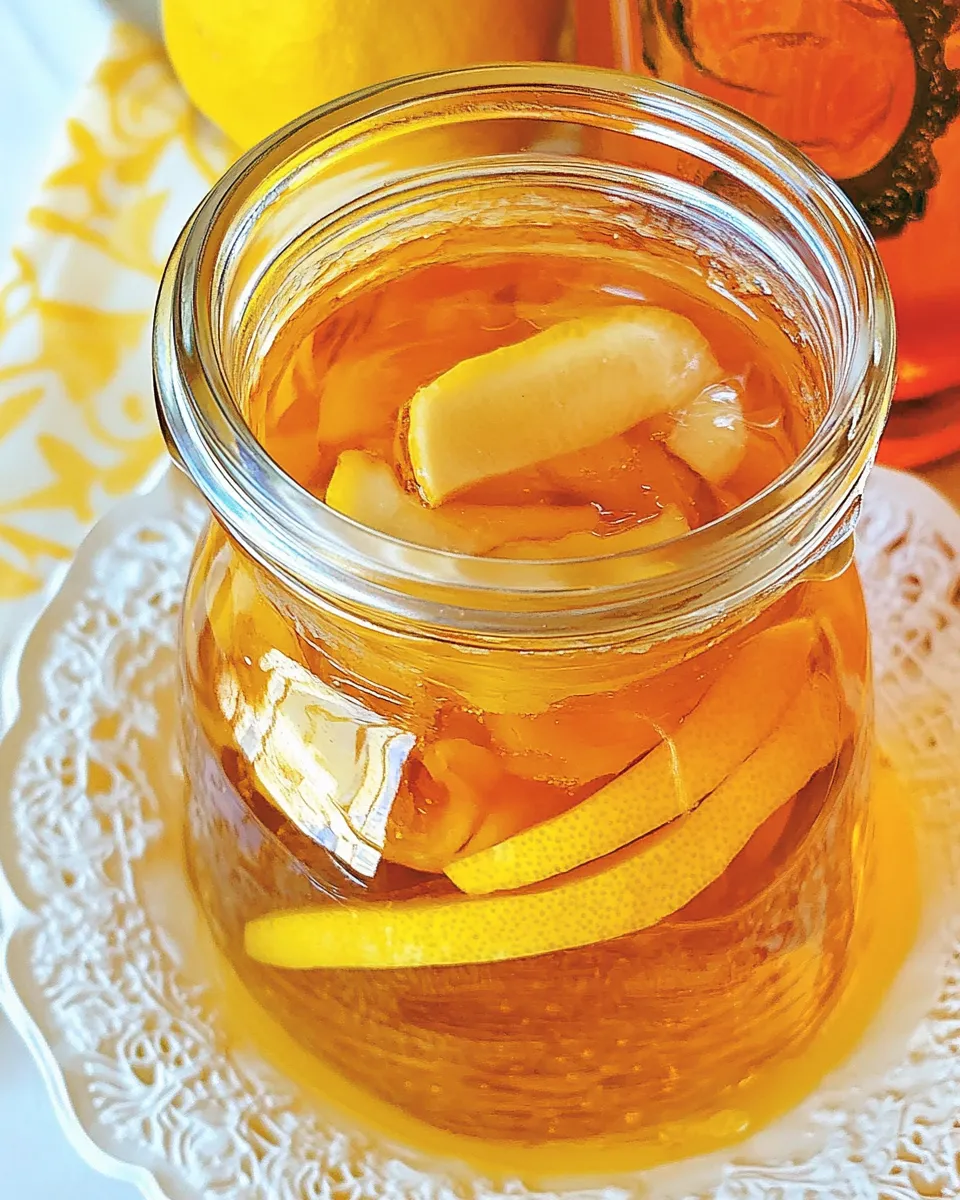
Step 7: Taste and Enjoy
After about 5-7 days, your Lemon Fermented Ginger Honey should be ready. You can taste it and see if it meets your flavor preference. If you like a stronger flavor, let it ferment longer.
Seasonal Flavor Boosts
To keep things exciting, consider adding these seasonal flavor boosts to your Lemon Fermented Ginger Honey:
- Mint leaves: For a refreshing summer twist.
- Cinnamon sticks: To add warmth during the colder months.
- Turmeric: For an anti-inflammatory boost.
- Chili flakes: If you enjoy a little heat.
Experimenting with different flavors can make this recipe your own and keep it interesting year-round.
Learn from These Mistakes
While making Lemon Fermented Ginger Honey is relatively straightforward, here are some common pitfalls to avoid:
- Not using enough honey: Ensure all ingredients are submerged to prevent mold.
- Using unwashed utensils: Always use clean tools and jars to avoid contamination.
- Placing in direct sunlight: This can affect the fermentation process negatively.
- Skipping the burping step: Regularly releasing gas is essential for successful fermentation.
Learning from these mistakes will help you achieve the perfect balance of flavors and fermentation.
Cooling, Storing & Rewarming
Once your Lemon Fermented Ginger Honey is ready, here’s how to store and use it:
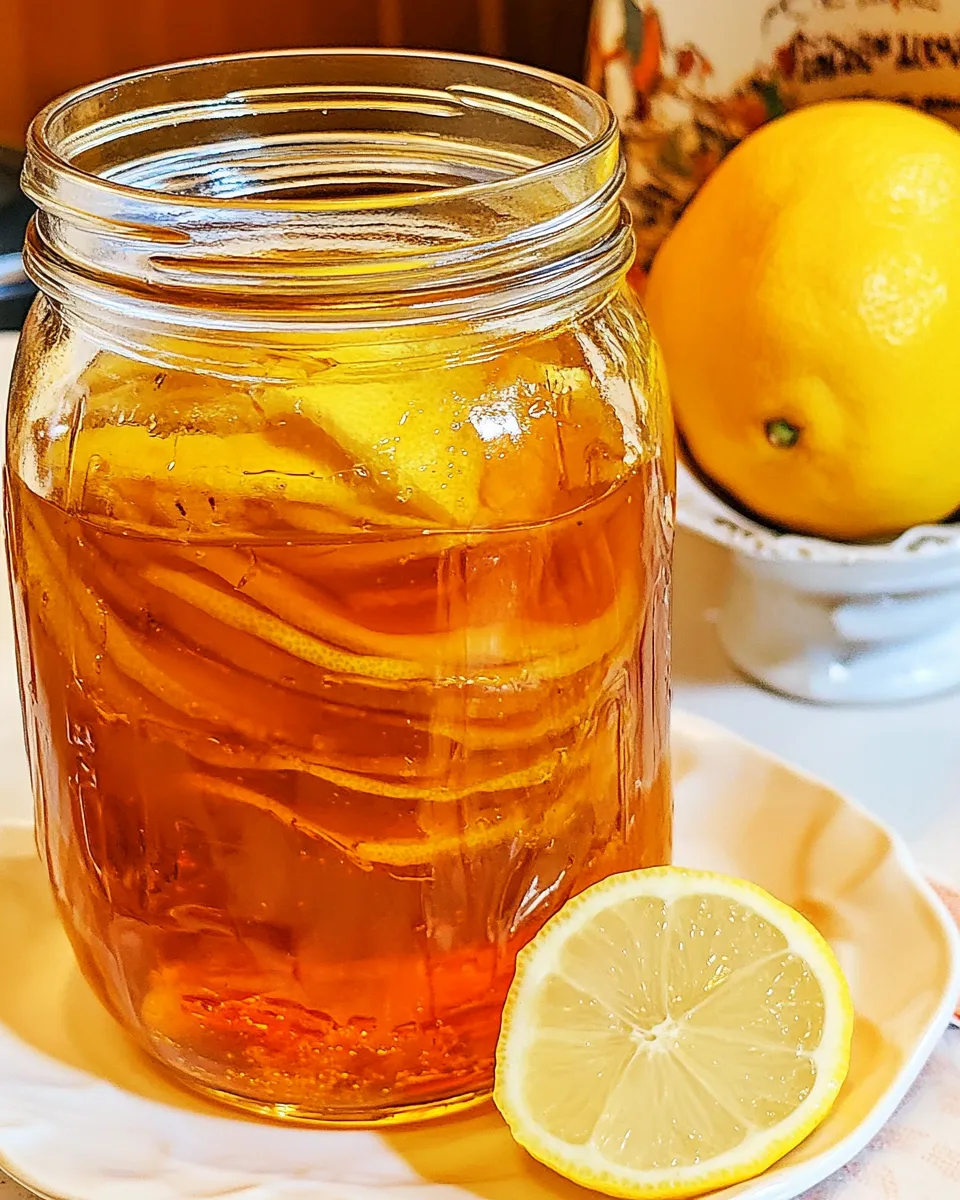
- Cooling: Allow it to cool at room temperature before sealing it for long-term storage.
- Storing: Keep it in a cool, dark place, and it can last for several months due to the natural preservatives in honey.
- Rewarming: If the honey crystallizes, place the jar in warm water to dissolve the crystals without losing the beneficial properties.
This careful handling ensures you enjoy your fermented honey for as long as possible.
Handy Q&A
Can I use any type of honey for this recipe?
While you can technically use any honey, raw, unprocessed honey is recommended for its health benefits and flavor profile. Avoid using honey that has been heavily processed, as it can lack the enzymes and nutrients that make fermentation successful.
How long should I let it ferment?
Fermentation can take anywhere from 5 to 14 days, depending on your taste preference. The longer you let it ferment, the deeper the flavors will develop. Just make sure to taste it along the way!
Can I use dried ginger instead of fresh?
While fresh ginger is recommended for the best flavor and health benefits, you can use dried ginger as a substitute. Keep in mind that the flavor will be slightly different, and you may need to adjust the quantity based on your taste.
What do I do if I see mold?
If you notice any mold on the surface, it’s best to discard the entire batch. Mold can indicate that the fermentation process didn’t go as planned, often due to air exposure. Always ensure the ingredients are submerged in honey.
Using Lemon Fermented Ginger Honey can elevate your weeknight meals effortlessly. Here are some quick ideas:
These ideas are not only quick but also add a vibrant flavor to your meals.
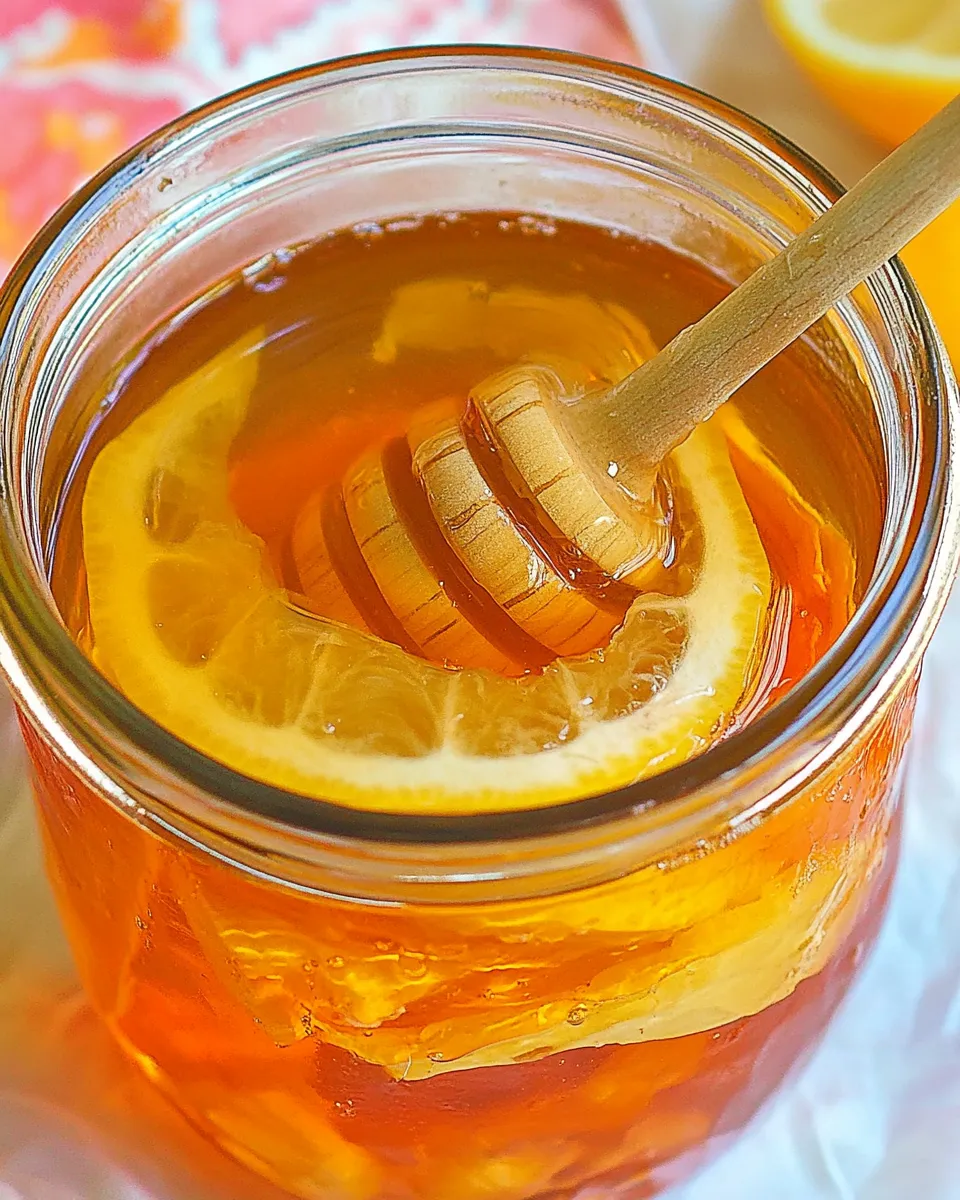
Let’s Eat
Lemon Fermented Ginger Honey is more than just a condiment; it’s a testament to the beauty of fermentation and the joy of cooking with fresh, wholesome ingredients. Whether you’re drizzling it over breakfast pancakes, mixing it into salad dressings, or adding a spoonful to your favorite herbal tea, this recipe is bound to brighten your day. It’s simple, delicious, and packed with health benefits, making it a must-try for anyone looking to enhance their culinary repertoire. Embrace this flavorful journey, and enjoy every spoonful of your homemade Lemon Fermented Ginger Honey!
Lemon Fermented Ginger Honey
Ingredients
Equipment
Method
- Start by washing the lemons and ginger thoroughly. Slice the lemons into thin rounds, removing any seeds you find along the way. Peel the ginger and slice it into thin pieces as well.
- Place the lemon and ginger slices in your clean glass jar, layering them as you go. Aim for an even distribution of both ingredients for a balanced flavor.
- Pour in enough raw honey to completely cover the lemon and ginger slices. The honey should rise above the contents, ensuring everything is submerged to prevent mold.
- Using a spoon, stir the mixture gently but thoroughly to release any trapped air bubbles beneath the slices.
- Secure the lid tightly on the jar and place it in a warm spot in your kitchen, away from direct sunlight.
- Every day, remember to 'burp' the jar by briefly opening the lid to release any gases that build up during fermentation.
- After about 5-7 days, your Lemon Fermented Ginger Honey should be ready. Taste it to see if it meets your flavor preference.
Notes
- Use ripe, organic lemons for the best flavor.
- Ensure all ingredients are submerged to prevent mold.
- Store the jar in a cool, dark place for longer shelf life.