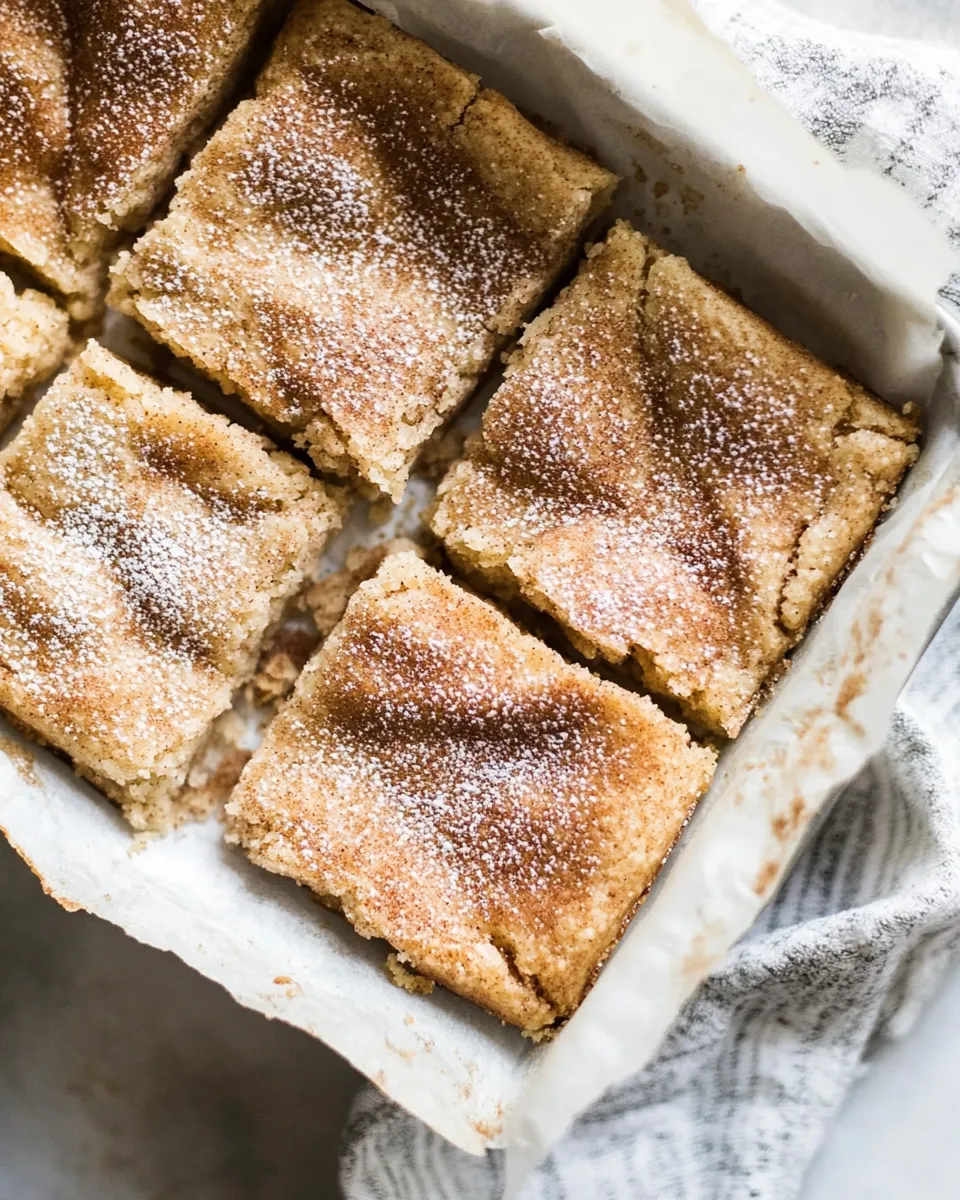
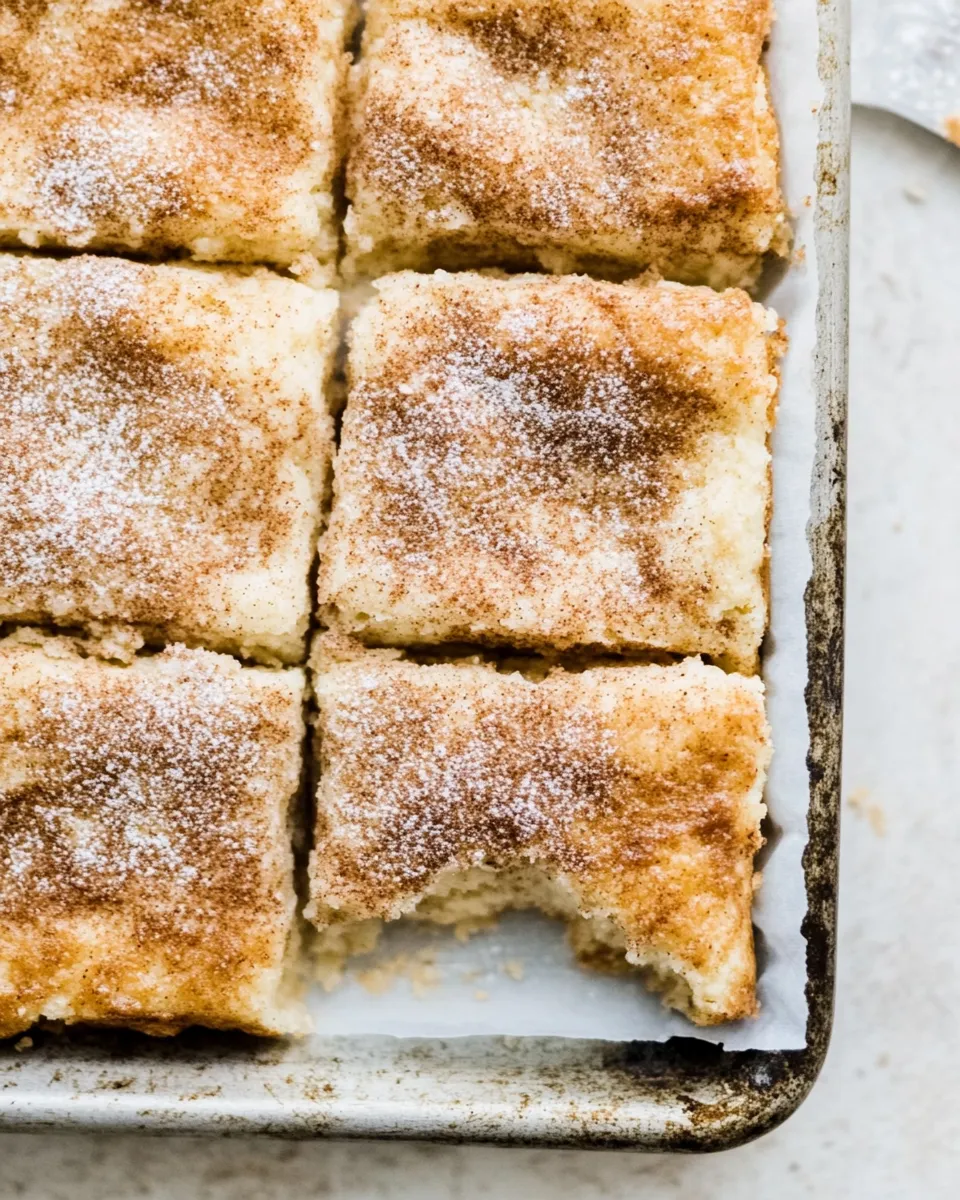
There’s something utterly comforting about a pan of freshly baked Snickerdoodle Bars. These delightful treats capture the essence of the classic snickerdoodle cookie—soft, chewy, and perfectly spiced with cinnamon. The best part? You can cut them into squares and share them easily, making them perfect for gatherings or a cozy night in. If you’ve ever craved the warm, nostalgic flavor of a snickerdoodle but wanted it in a bar form, you’re in for a treat. Let’s dive into this easy recipe that will have your taste buds dancing!
What You’ll Love About This Recipe
These Snickerdoodle Bars are incredibly simple to make, and they bake up beautifully with a soft, tender texture. The combination of butter and shortening gives them a rich flavor while keeping them moist. Plus, the cinnamon-sugar topping adds a lovely crunch and a burst of flavor that makes each bite irresistible. Whether you’re a seasoned baker or just starting out, this recipe is foolproof and sure to impress!
Ingredients at a Glance
- 1/2 cup butter, softened
- 1/2 cup shortening
- 1 1/2 cups granulated sugar
- 2 large eggs
- 2 teaspoons vanilla extract
- 2 3/4 cups all-purpose flour
- 1 1/2 teaspoons cream of tartar
- 1 teaspoon baking soda
- 1/4 teaspoon salt
- 1 1/2 tablespoons granulated sugar (for topping)
- 1 teaspoon ground cinnamon (for topping)
Must-Have Equipment
- Mixing bowls: For combining ingredients.
- Electric mixer: Makes creaming the butter and sugar effortless.
- Baking pan: A 9×13 inch pan works perfectly for these bars.
- Spatula: For spreading the batter evenly in the pan.
- Measuring cups and spoons: Accurate measurements are key to perfect bars.
Snickerdoodle Bars: How It’s Done
Step 1: Preheat Your Oven
Start by preheating your oven to 350°F (175°C). This ensures your Snickerdoodle Bars bake evenly and rise beautifully.
Step 2: Cream the Butter and Shortening
In a large mixing bowl, combine the softened butter and shortening. Using an electric mixer, beat them together until the mixture is light and fluffy. This should take about 2-3 minutes.
Step 3: Add Sugar and Eggs
Gradually add the granulated sugar to the butter mixture, continuing to beat until well combined. Next, add the eggs, one at a time, mixing well after each addition. Finally, stir in the vanilla extract.
Step 4: Combine Dry Ingredients
In a separate bowl, whisk together the all-purpose flour, cream of tartar, baking soda, and salt. This step is crucial to ensure even distribution of the leavening agents and salt.
Step 5: Mix Dry Ingredients into Wet Ingredients
Slowly add the dry mixture to the wet mixture, stirring until just combined. Be careful not to overmix, as this can lead to dense bars.
Step 6: Prepare the Cinnamon Sugar
In a small bowl, mix together the granulated sugar and ground cinnamon. This will be sprinkled on top of the bars before baking.
Step 7: Spread the Batter
Grease your 9×13 inch baking pan or line it with parchment paper for easy removal. Spread the batter evenly in the pan, smoothing the top with a spatula.
Step 8: Sprinkle the Cinnamon Sugar
Sprinkle the cinnamon-sugar mixture generously over the top of the batter. This will create a lovely, sweet crust on your bars.
Step 9: Bake
Place the pan in the preheated oven and bake for 20-25 minutes, or until the edges are lightly golden and a toothpick inserted in the center comes out clean.
Step 10: Cool and Cut
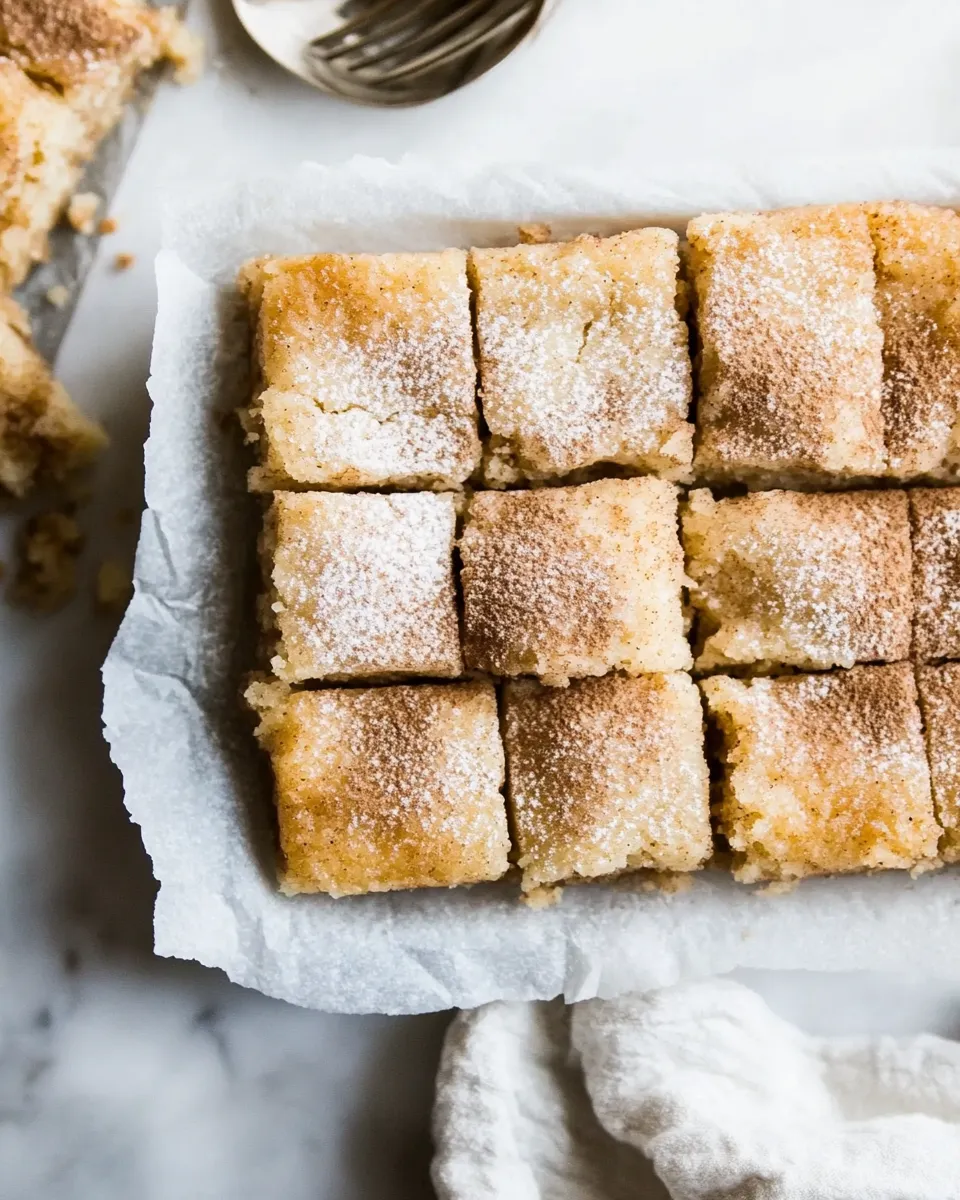
Once baked, remove the pan from the oven and allow the bars to cool in the pan for about 10 minutes. Then, transfer them to a wire rack to cool completely before cutting them into squares.
Allergy-Friendly Substitutes
- Dairy-Free: Use a plant-based butter and shortening alternative.
- Egg-Free: Substitute each egg with 1/4 cup unsweetened applesauce or a flax egg (1 tablespoon flaxseed meal mixed with 2.5 tablespoons water).
- Gluten-Free: Use a 1:1 gluten-free flour blend in place of all-purpose flour.
What Could Go Wrong
Even though this recipe is straightforward, a few common mistakes can occur:
- Overmixing: This can lead to tough bars. Mix just until combined.
- Underbaking: Make sure to bake until golden brown; otherwise, the centers can be too gooey.
- Incorrect measurements: Baking is a science, so be sure to measure ingredients accurately.
Freezer-Friendly Notes
These Snickerdoodle Bars are freezer-friendly! To freeze, cut the cooled bars into squares and wrap them individually in plastic wrap, then place them in an airtight container or freezer bag. They can be frozen for up to 3 months. When you’re ready to enjoy, thaw them at room temperature or pop them in the microwave for a few seconds to warm them up!
Top Questions & Answers
Can I make Snickerdoodle Bars ahead of time?
Absolutely! These bars can be made a day in advance. Just store them in an airtight container at room temperature. They also taste great the next day as the flavors meld together.
How do I know when my Snickerdoodle Bars are done?
The edges should be lightly golden, and a toothpick inserted into the center should come out clean or with just a few moist crumbs. Be careful not to overbake!
Can I add nuts or chocolate to my Snickerdoodle Bars?
Yes! Feel free to fold in some chopped nuts or chocolate chips into the batter for an extra layer of flavor and texture.
How should I store leftovers?
Store any leftover Snickerdoodle Bars in an airtight container at room temperature for up to a week. If you live in a humid area, keeping them in the fridge is a good idea to maintain freshness.
Final Bite
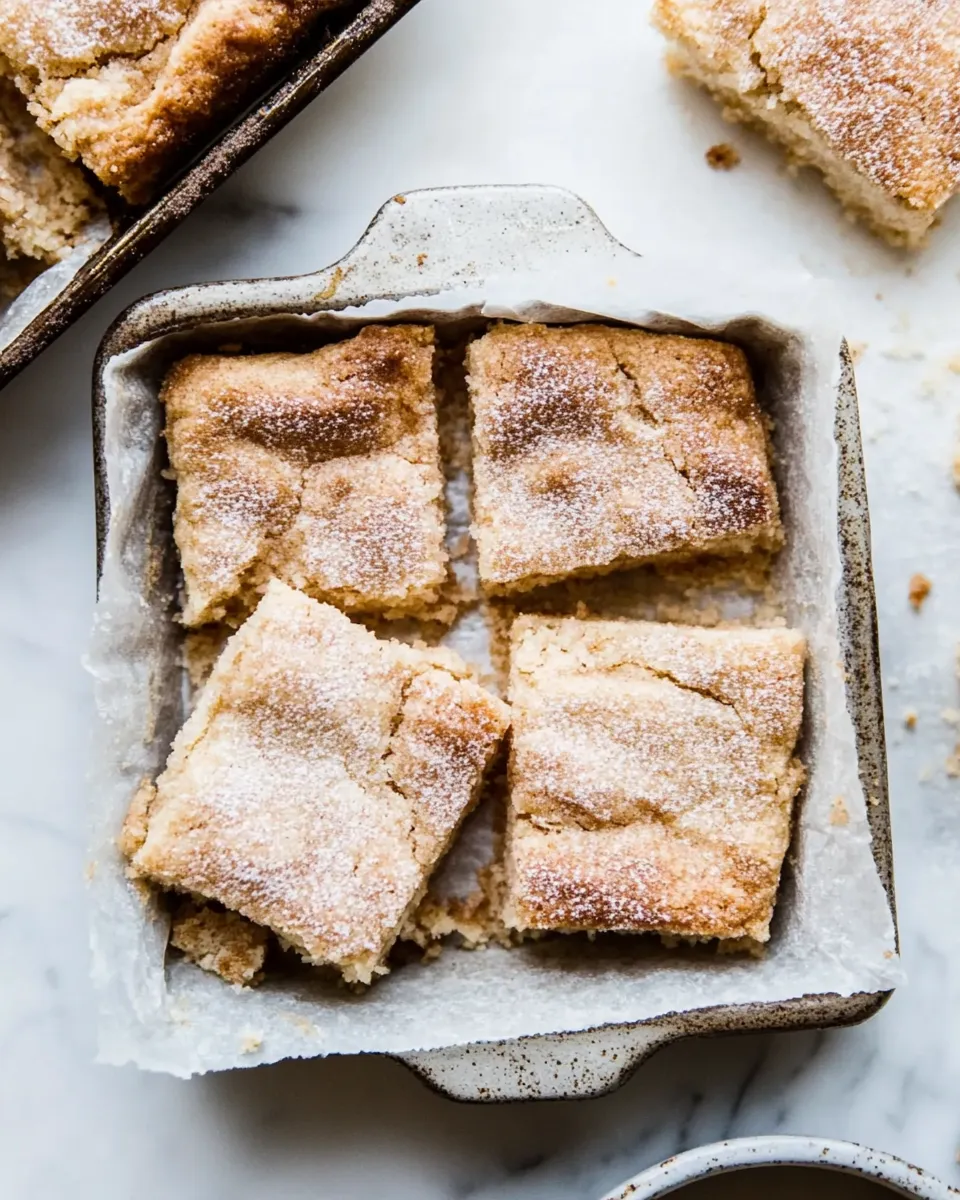
These Snickerdoodle Bars are the perfect sweet treat to satisfy your cravings for something classic yet comforting. Their soft center, combined with the crisp cinnamon-sugar topping, makes them a delightful addition to any dessert table. Whether you’re sharing them with friends or keeping them all to yourself, they’re sure to bring smiles and joy. So gather your ingredients, preheat your oven, and enjoy a batch of these irresistible bars today!
Snickerdoodle Bars
Ingredients
Equipment
Method
- Step 1: Preheat your oven to 350°F (175°C).
- Step 2: In a large mixing bowl, cream the softened butter and shortening until light and fluffy.
- Step 3: Gradually add the granulated sugar, then add the eggs one at a time, mixing well after each addition, and stir in the vanilla extract.
- Step 4: In another bowl, whisk together the flour, cream of tartar, baking soda, and salt.
- Step 5: Slowly add the dry mixture to the wet mixture, stirring until just combined.
- Step 6: In a small bowl, mix the granulated sugar and ground cinnamon for the topping.
- Step 7: Grease or line a 9x13 inch baking pan, then spread the batter evenly in the pan.
- Step 8: Sprinkle the cinnamon sugar mixture over the top of the batter.
- Step 9: Bake for 20-25 minutes or until the edges are golden and a toothpick comes out clean.
- Step 10: Allow to cool in the pan for 10 minutes, then transfer to a wire rack to cool completely before cutting into squares.
Notes
- For a fun twist, add chocolate chips or nuts to the batter.
- Store leftovers in an airtight container for up to a week.
- These bars freeze well; wrap individually and freeze for up to 3 months.